We replaced the existing backsplash with tiles that go behind the cooker to the back of the sink
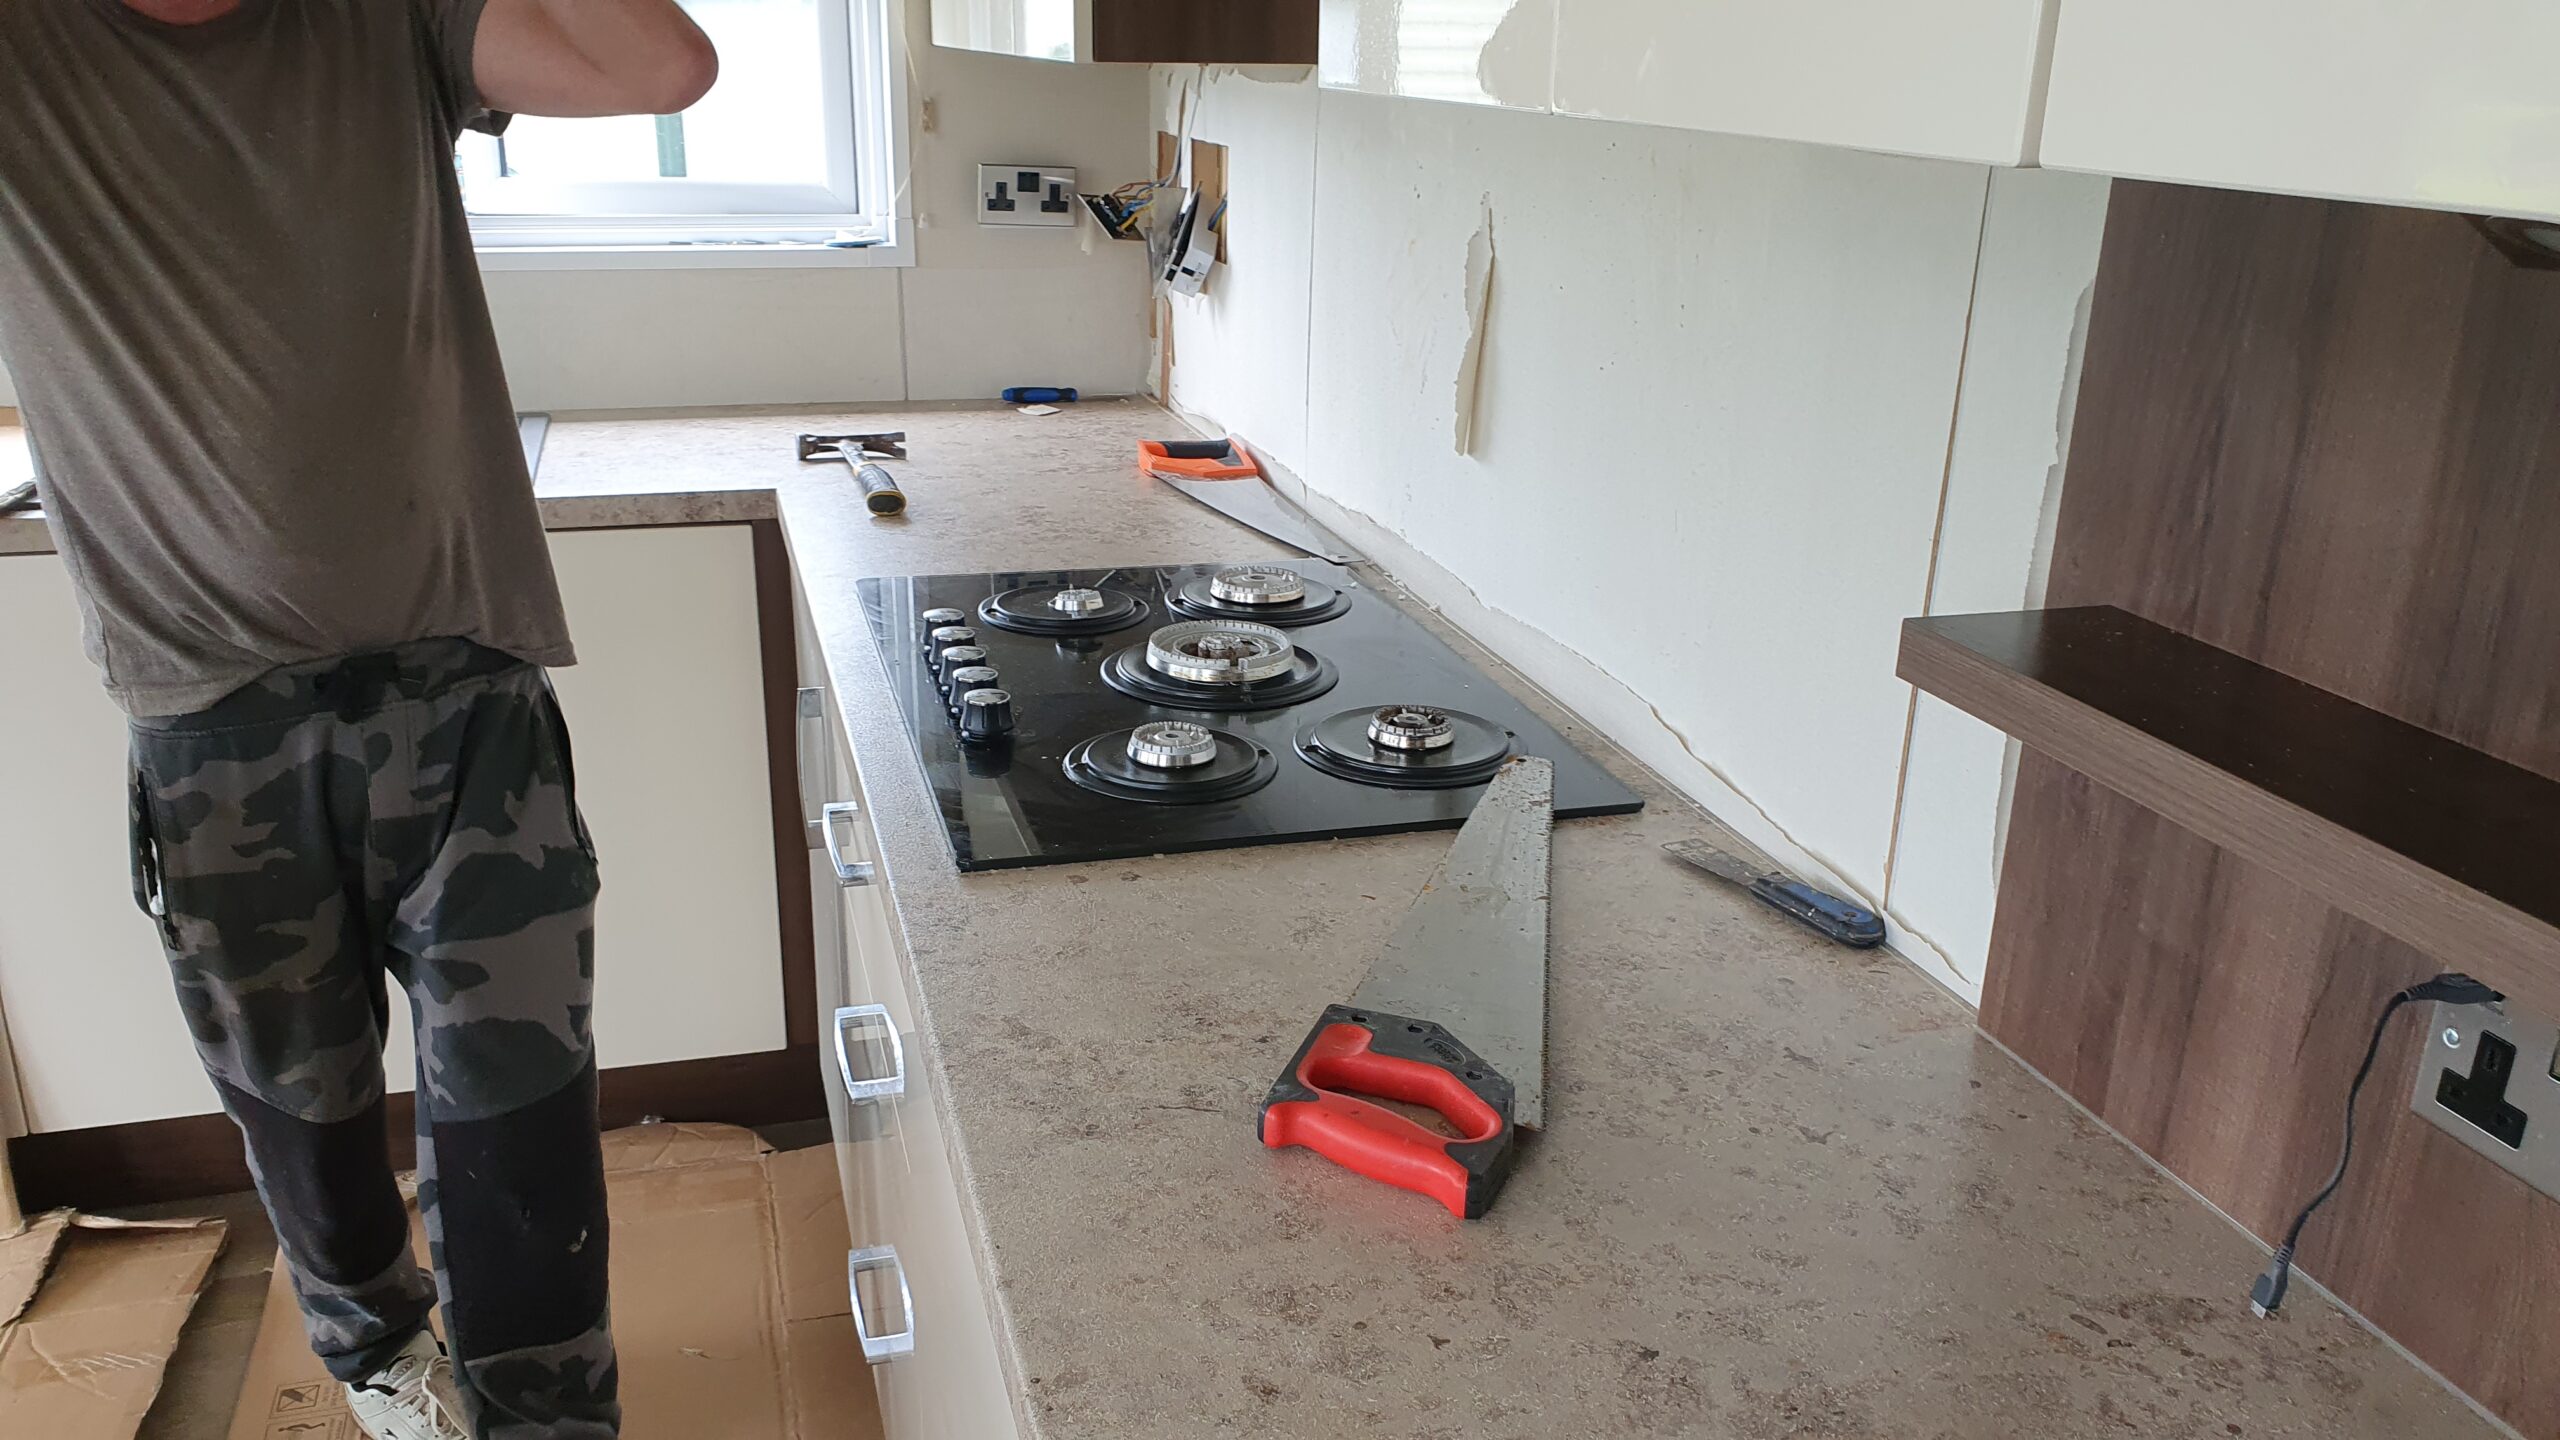
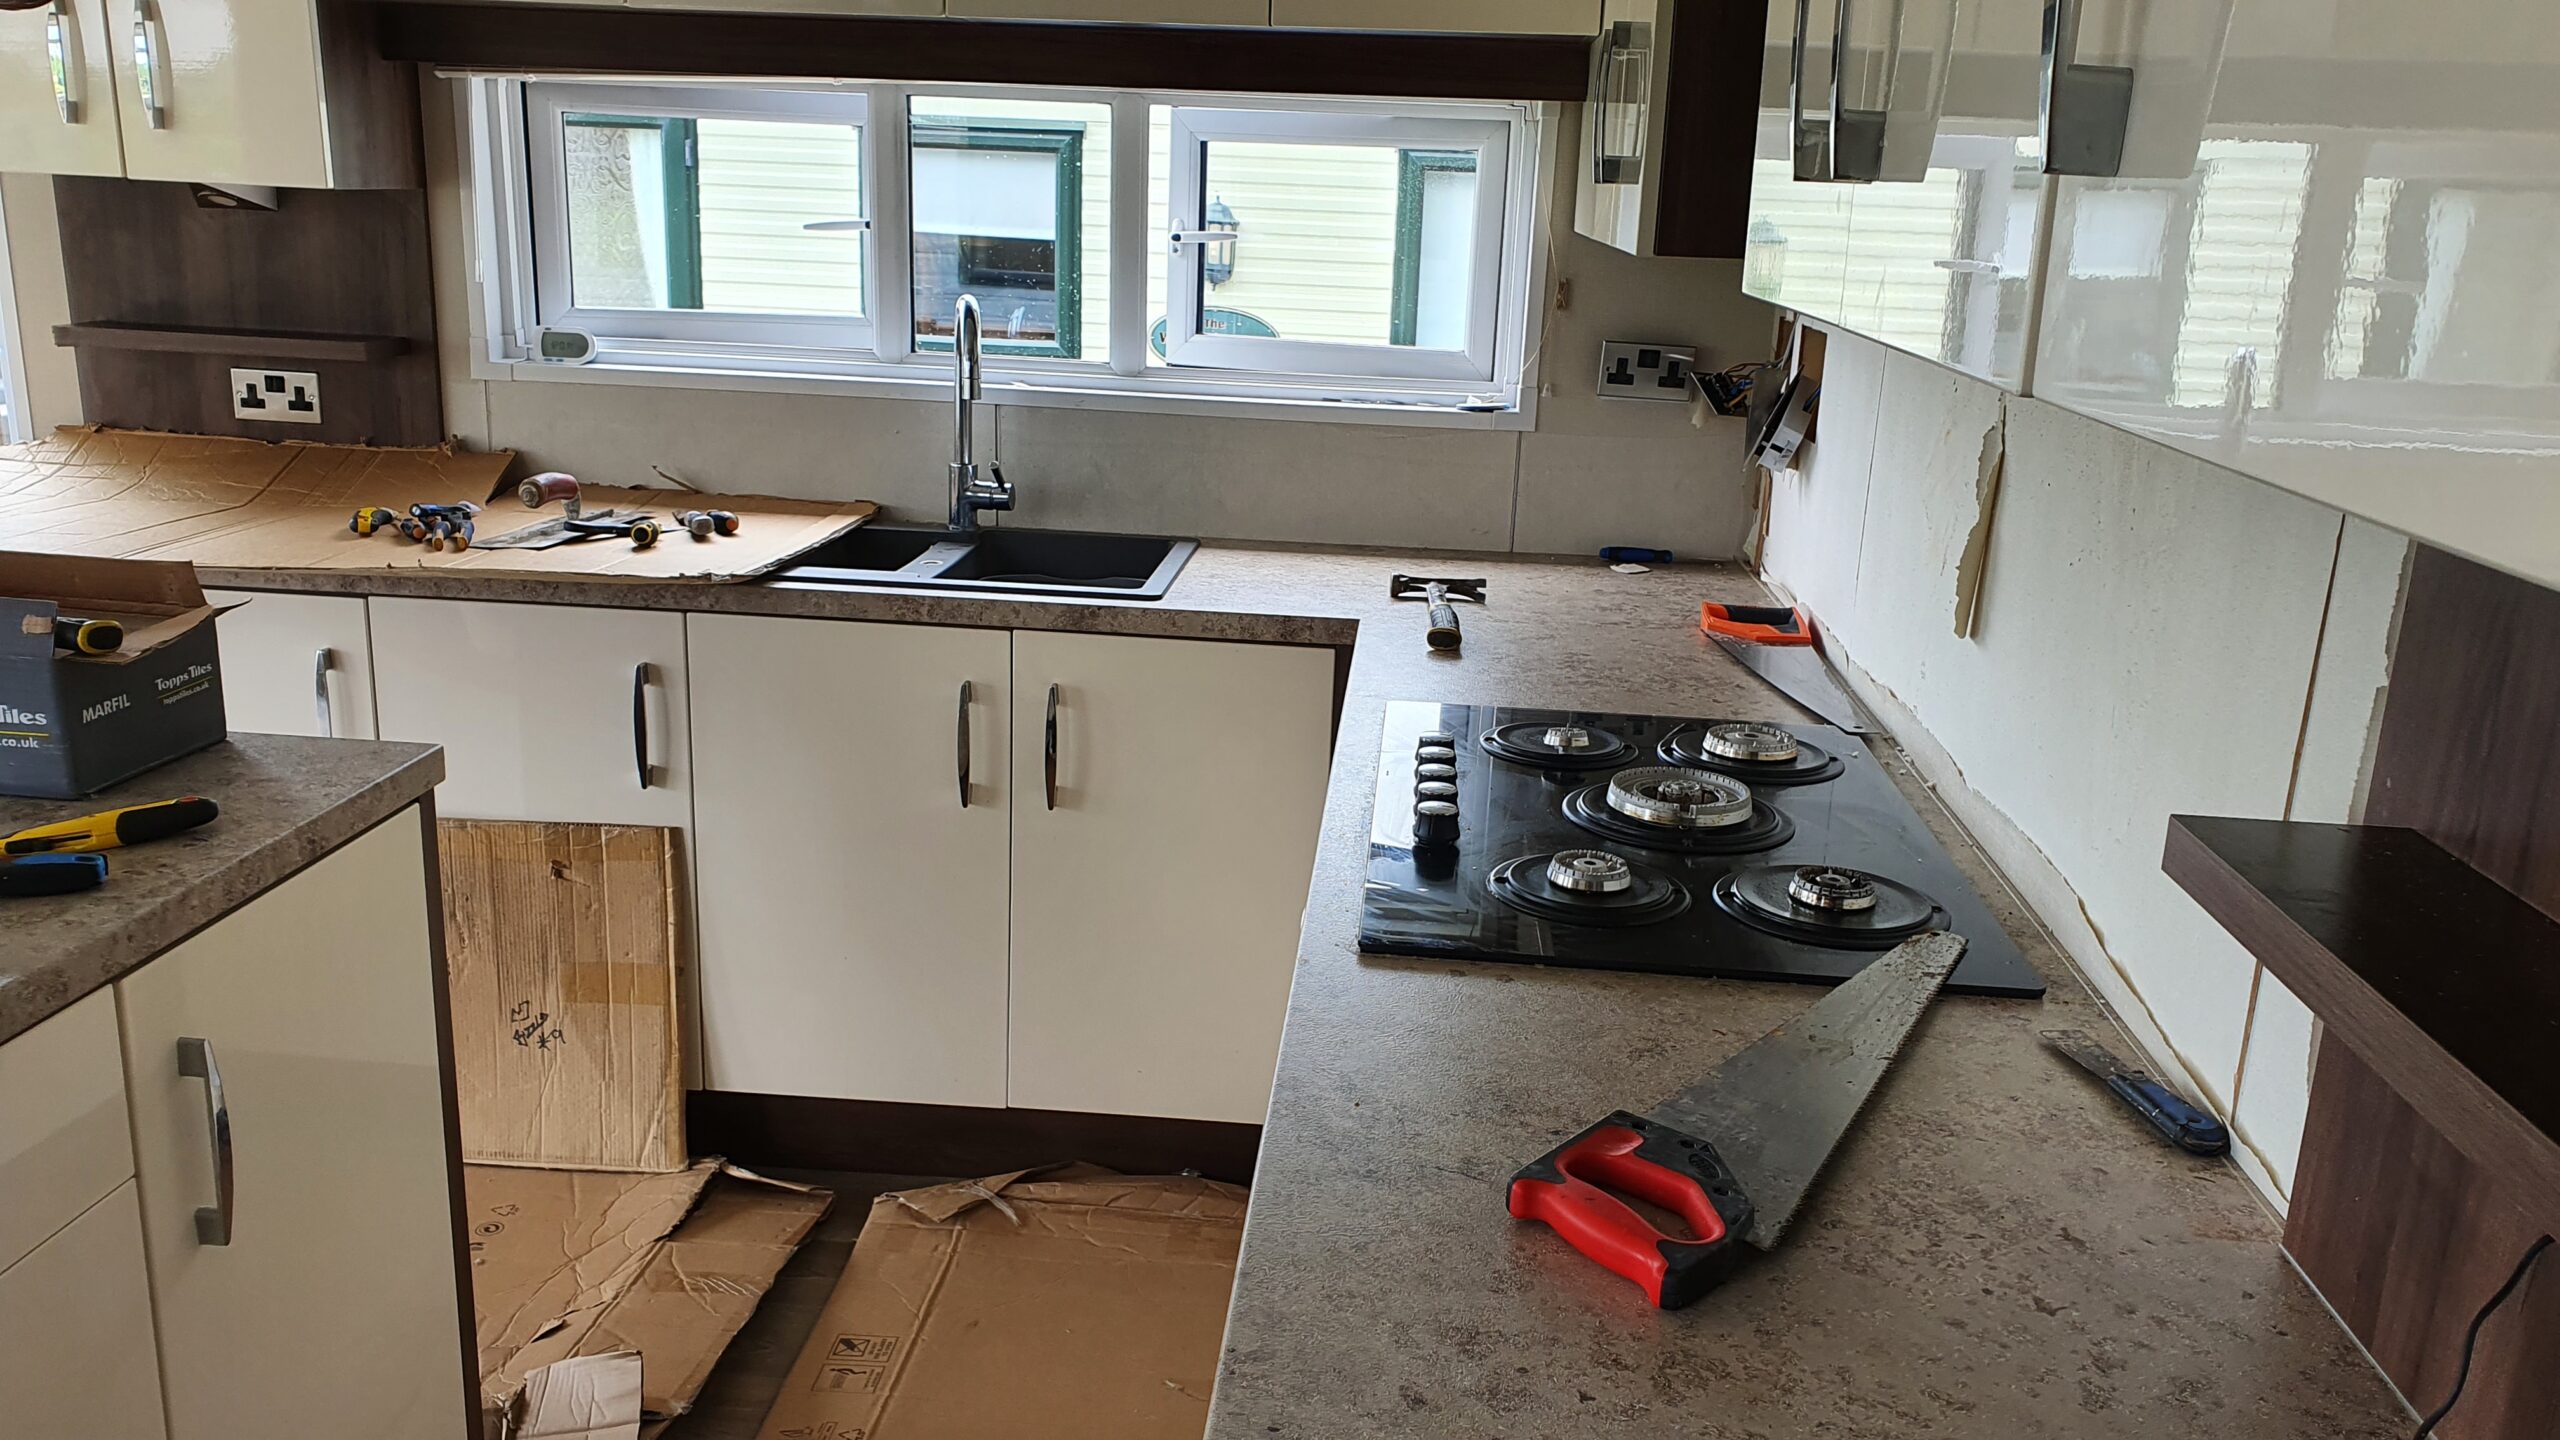
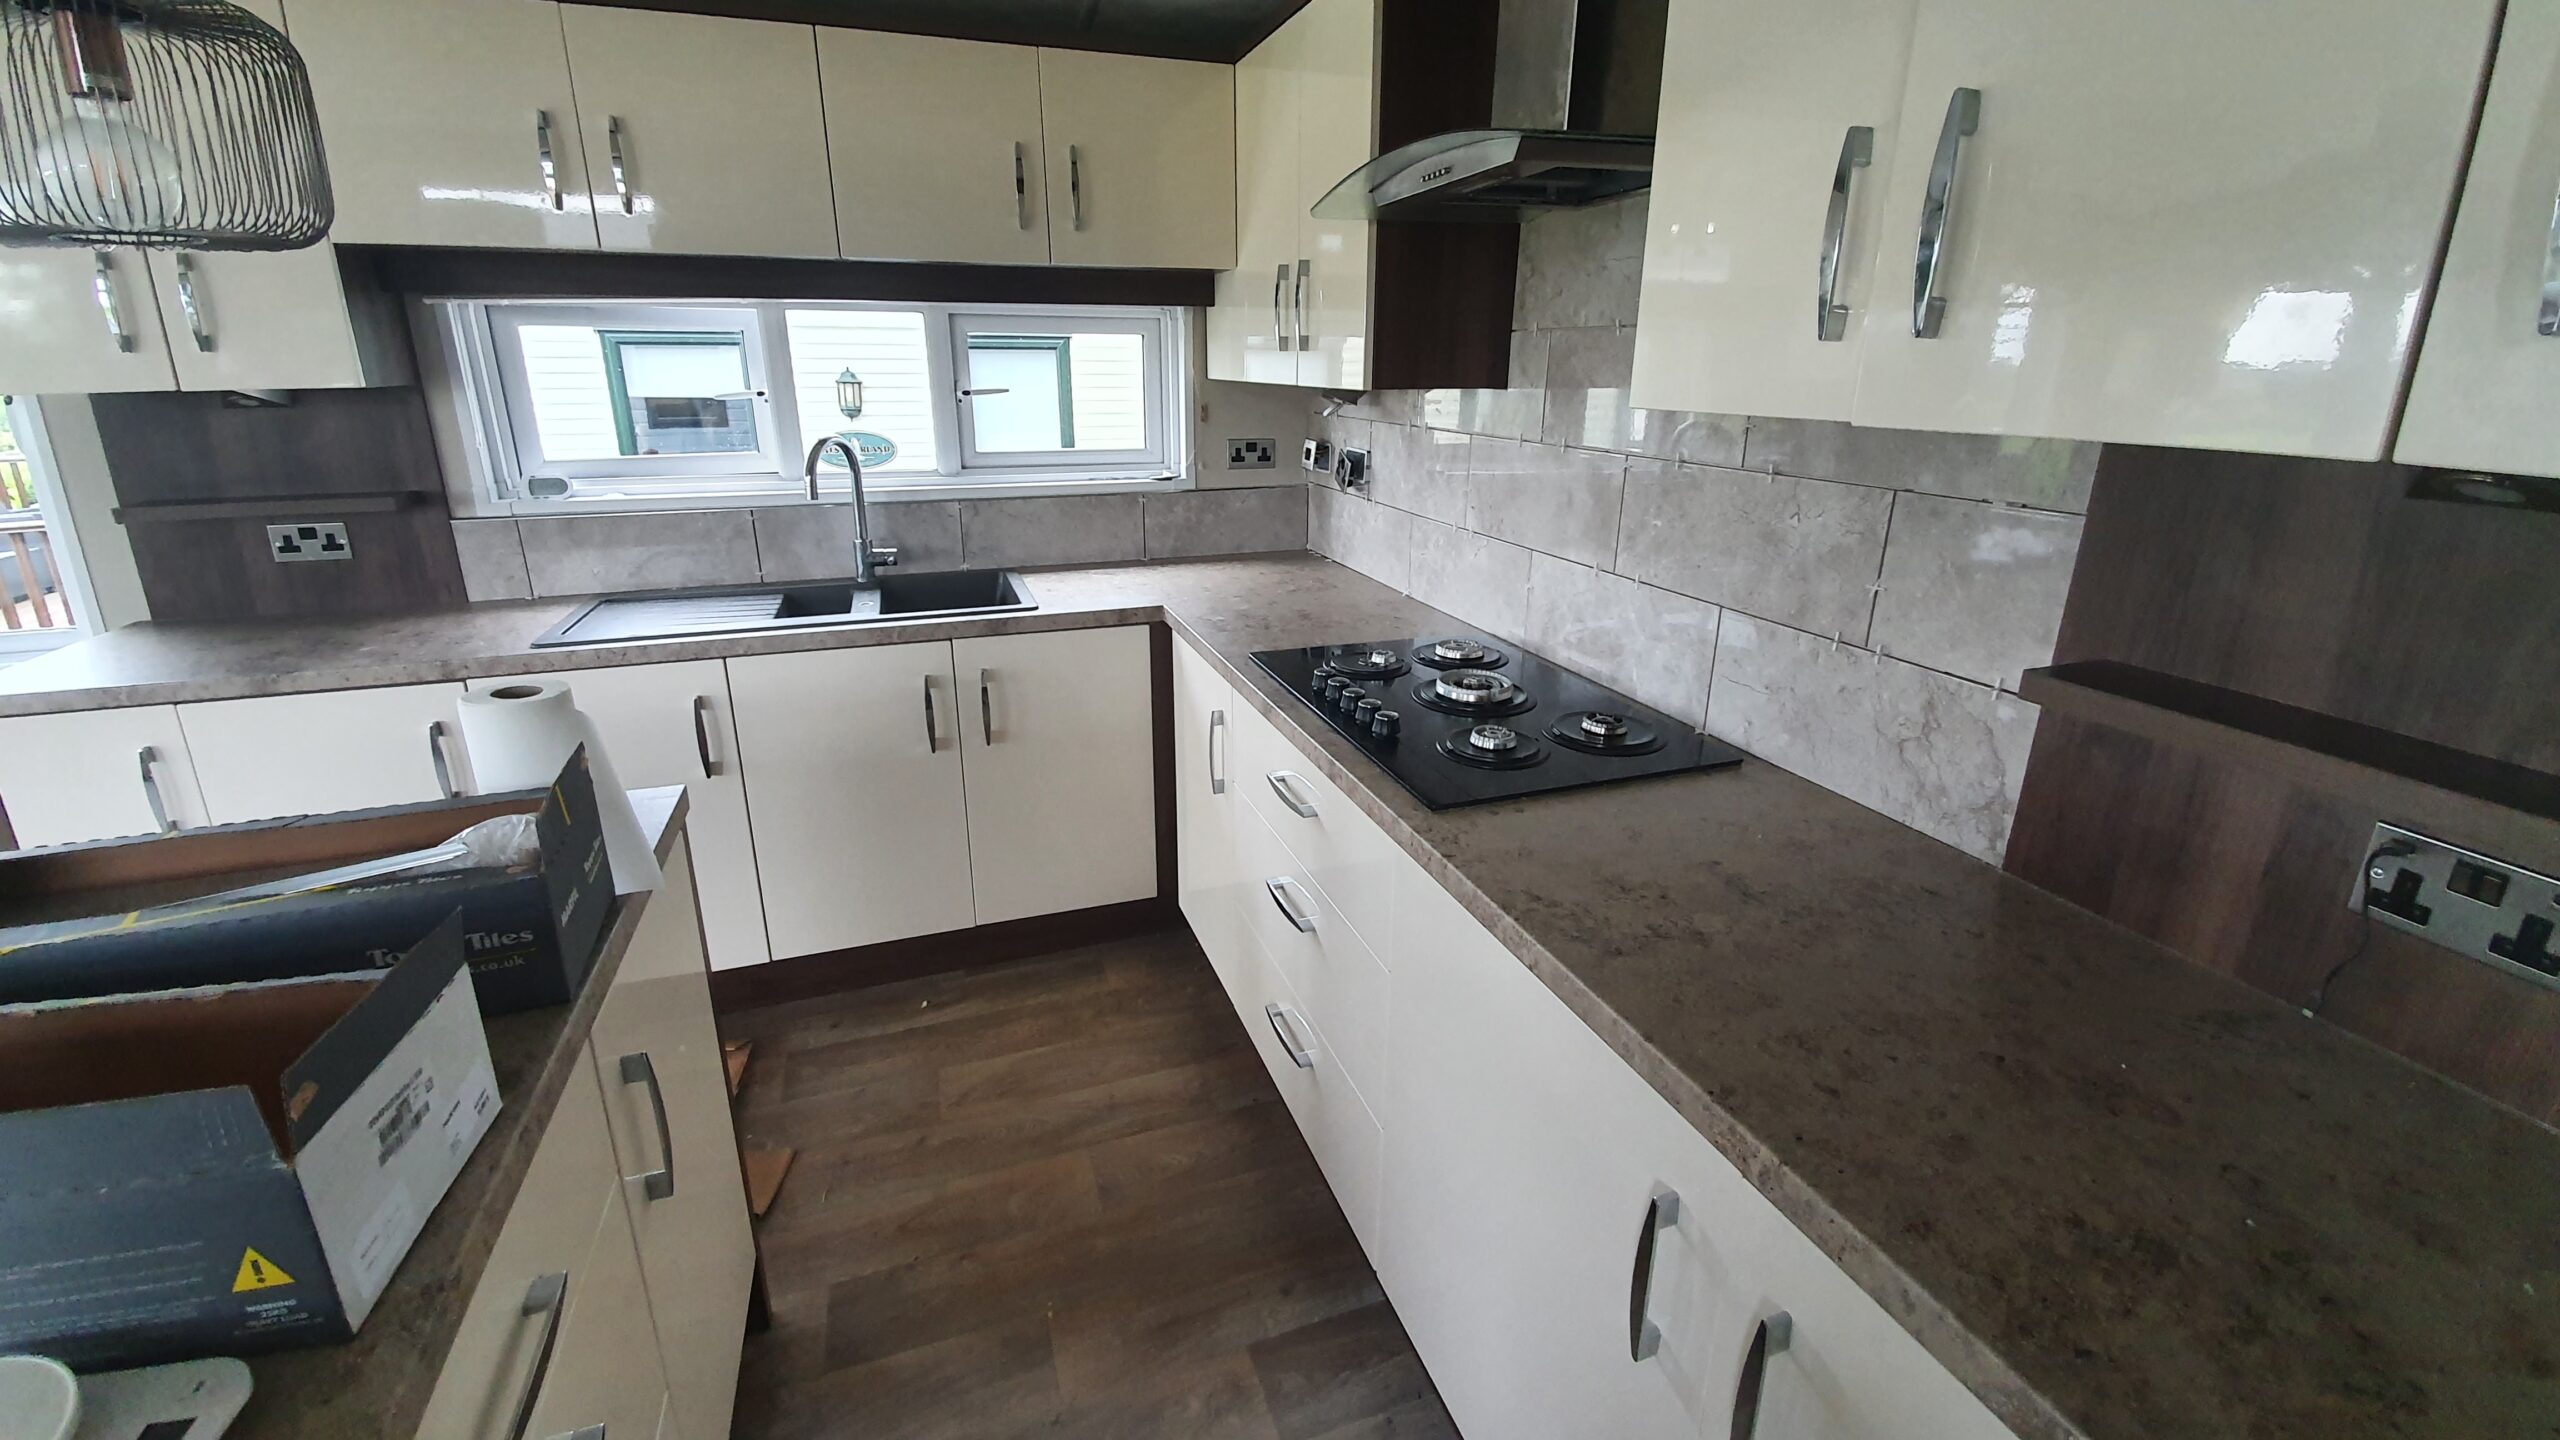

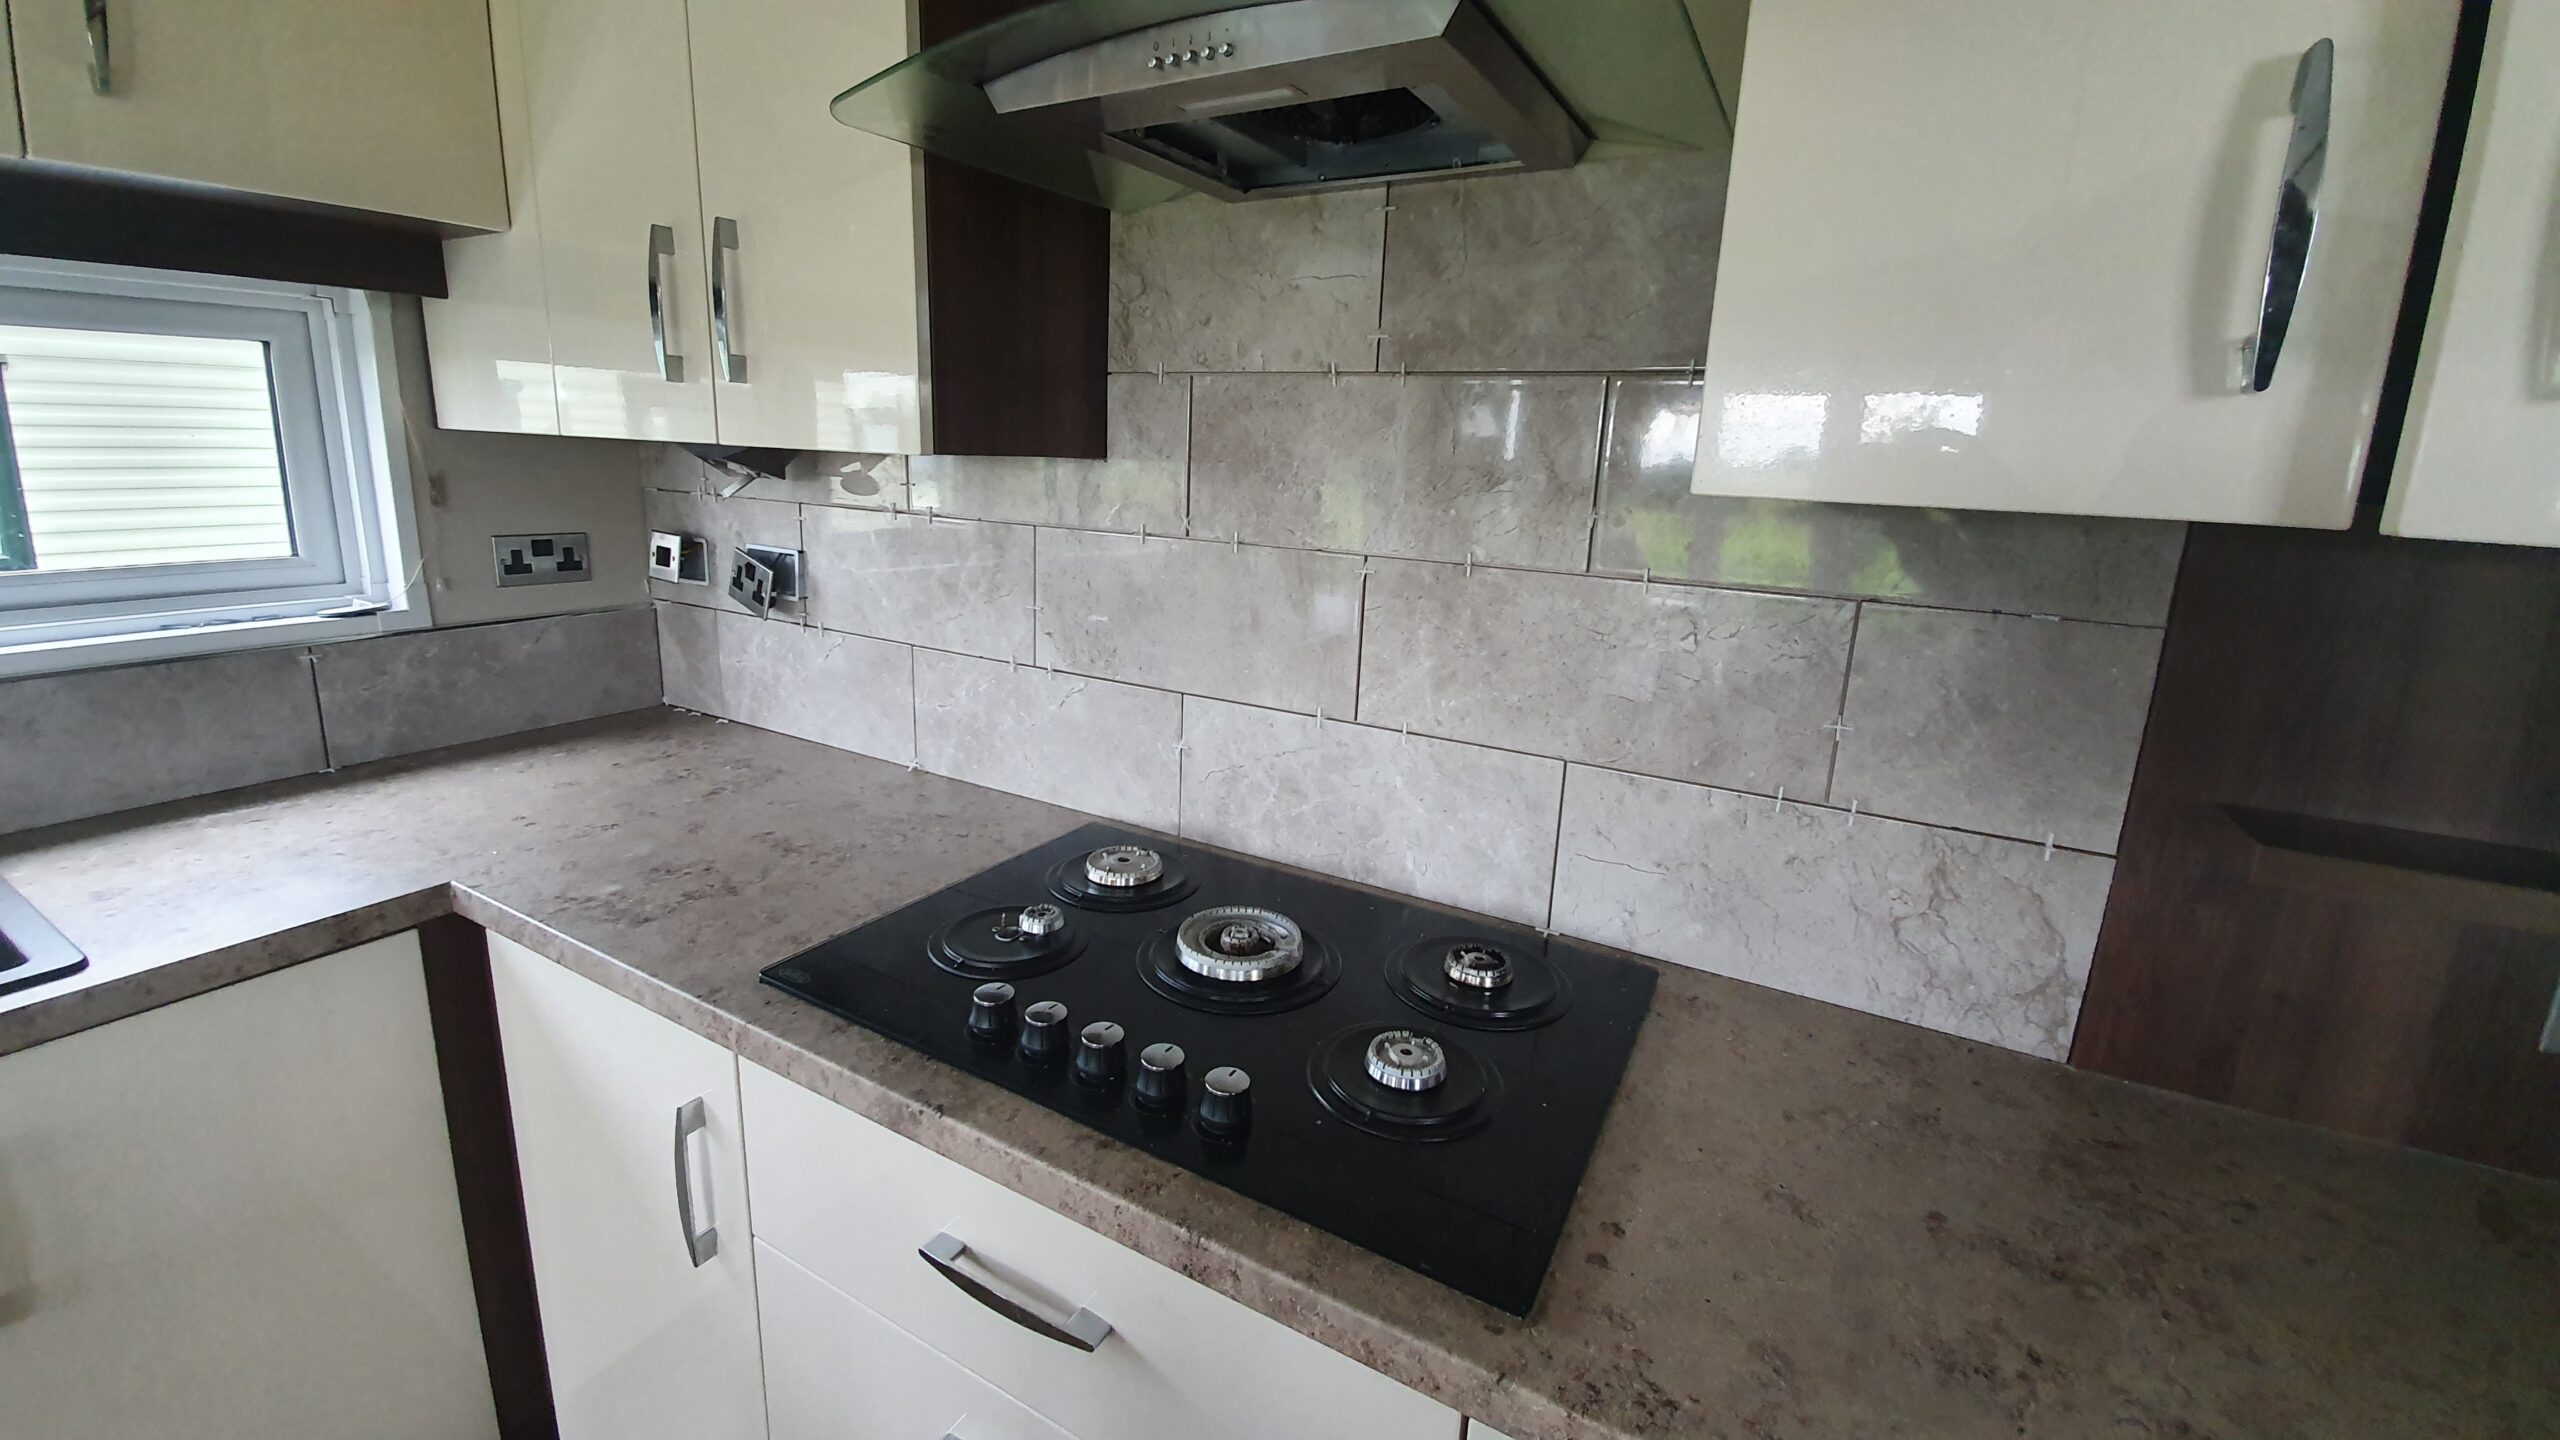
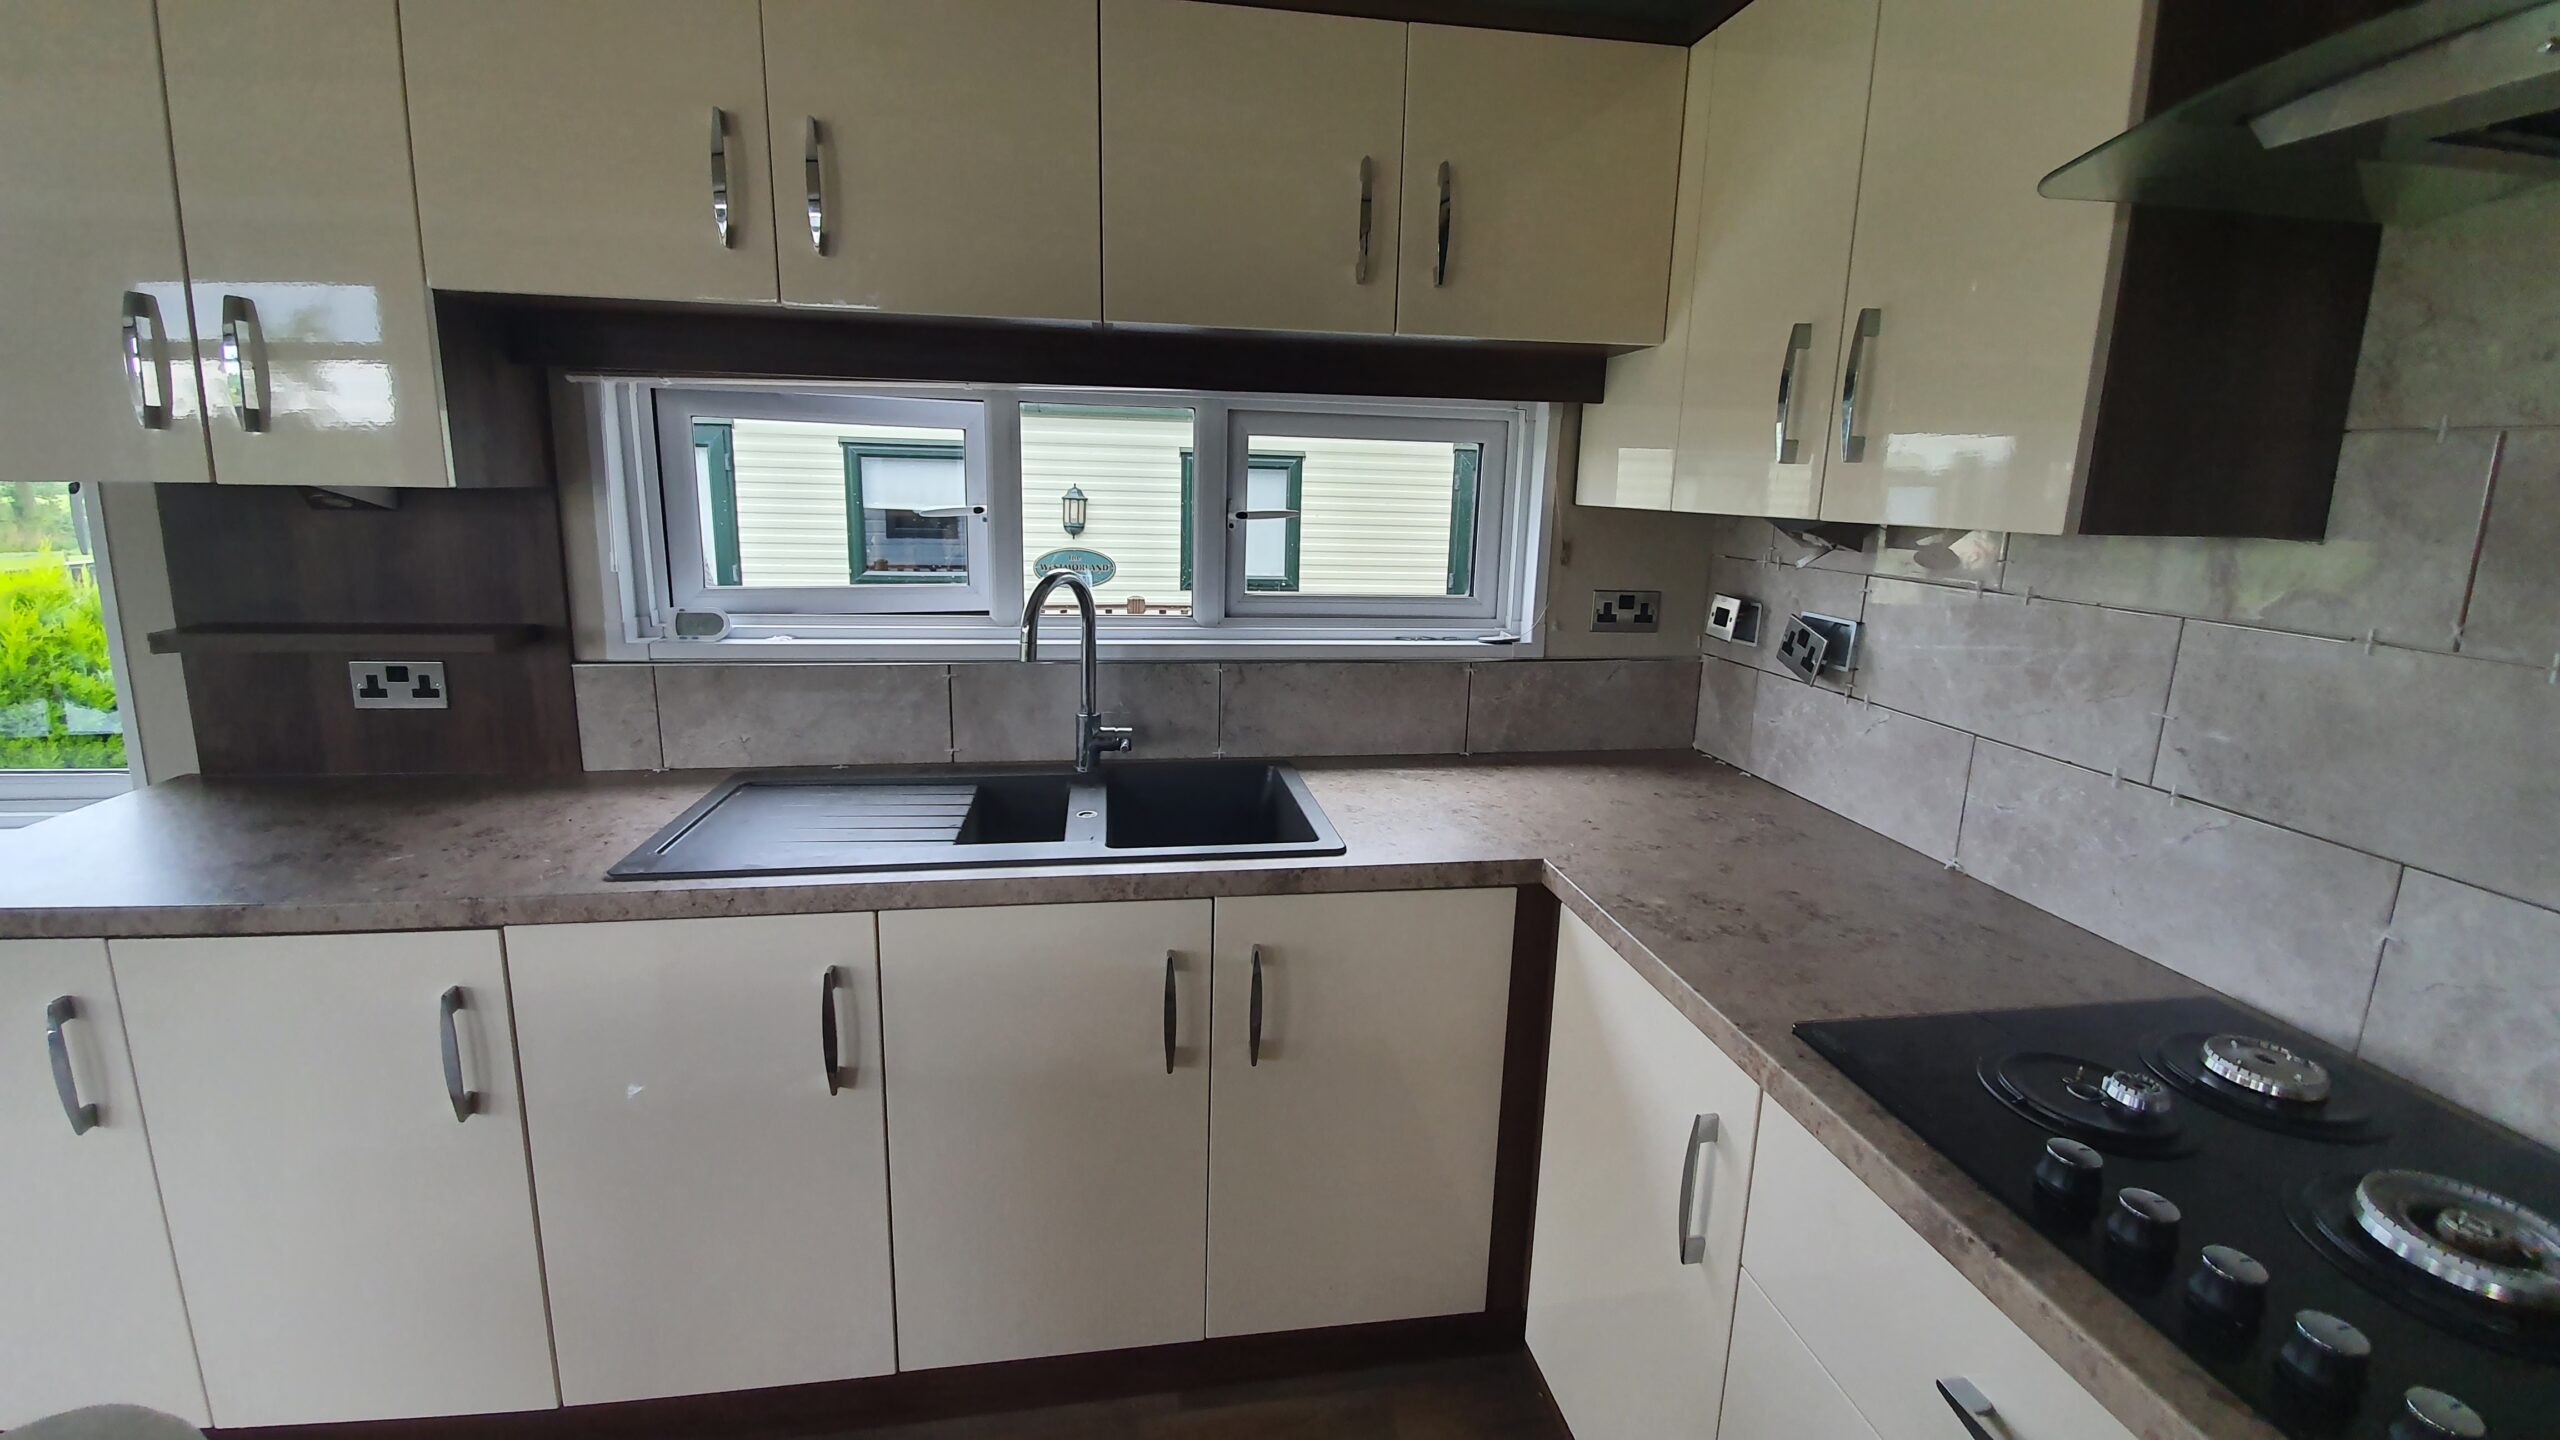
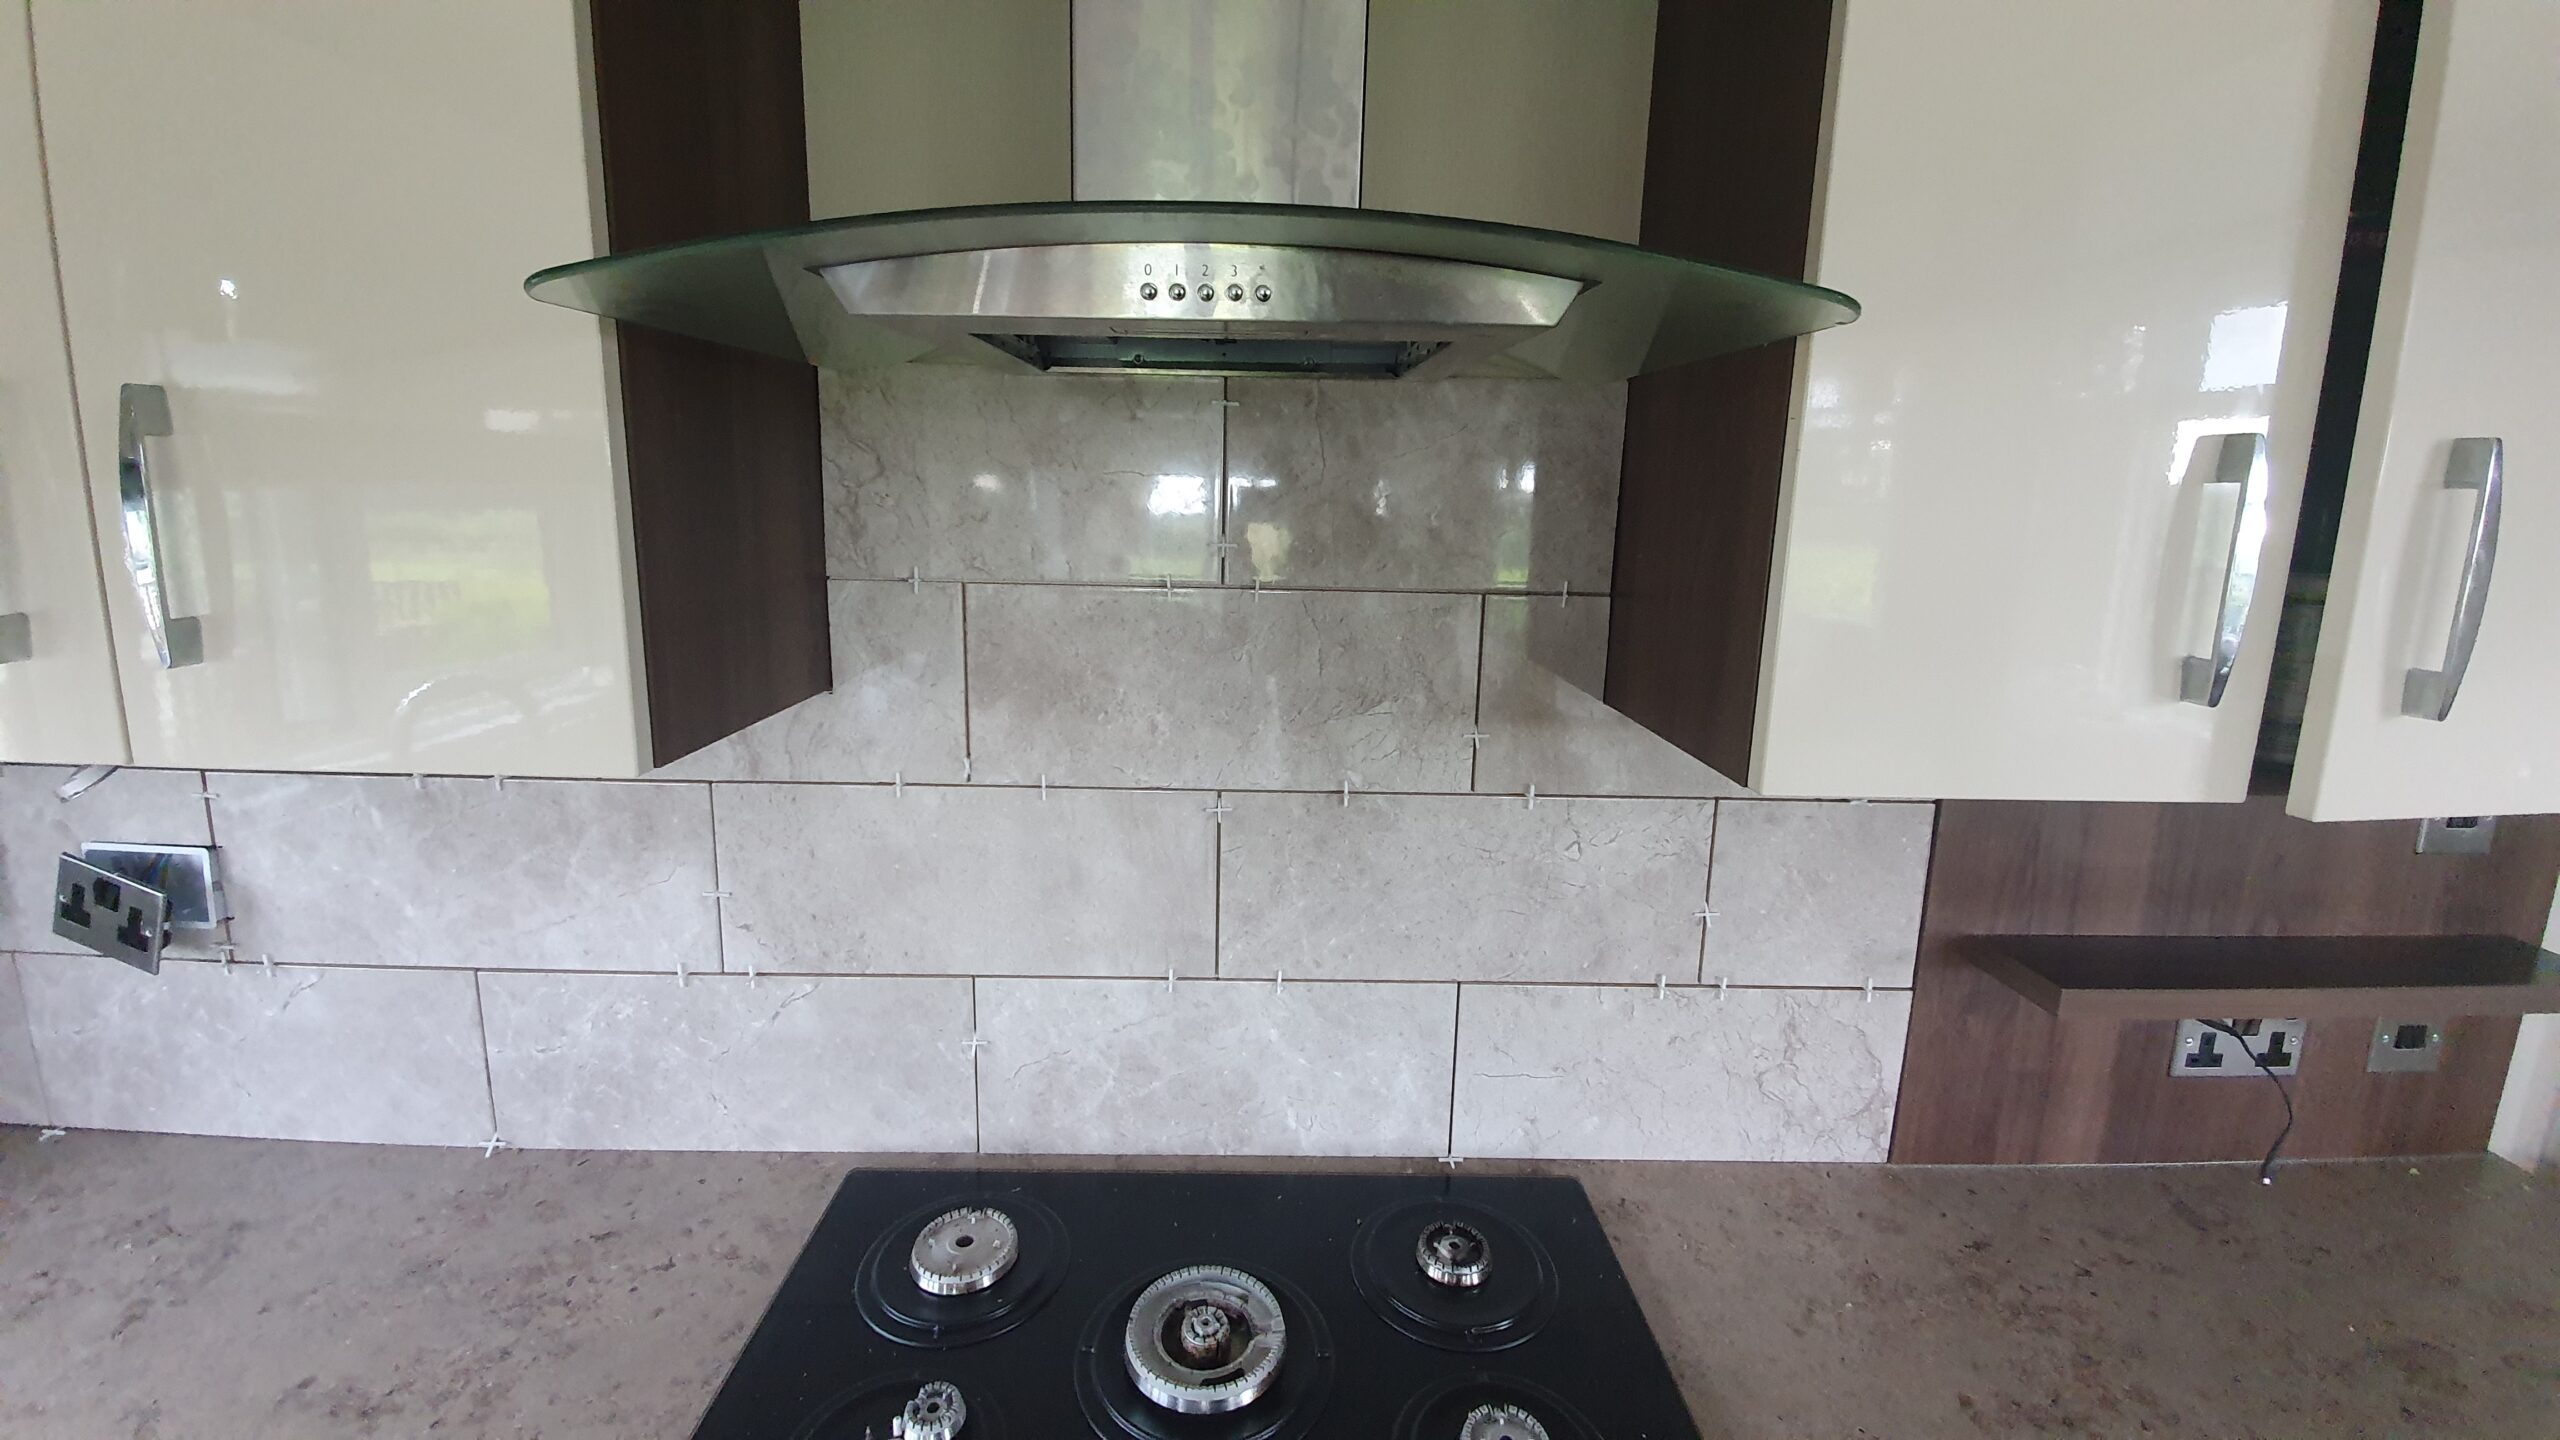
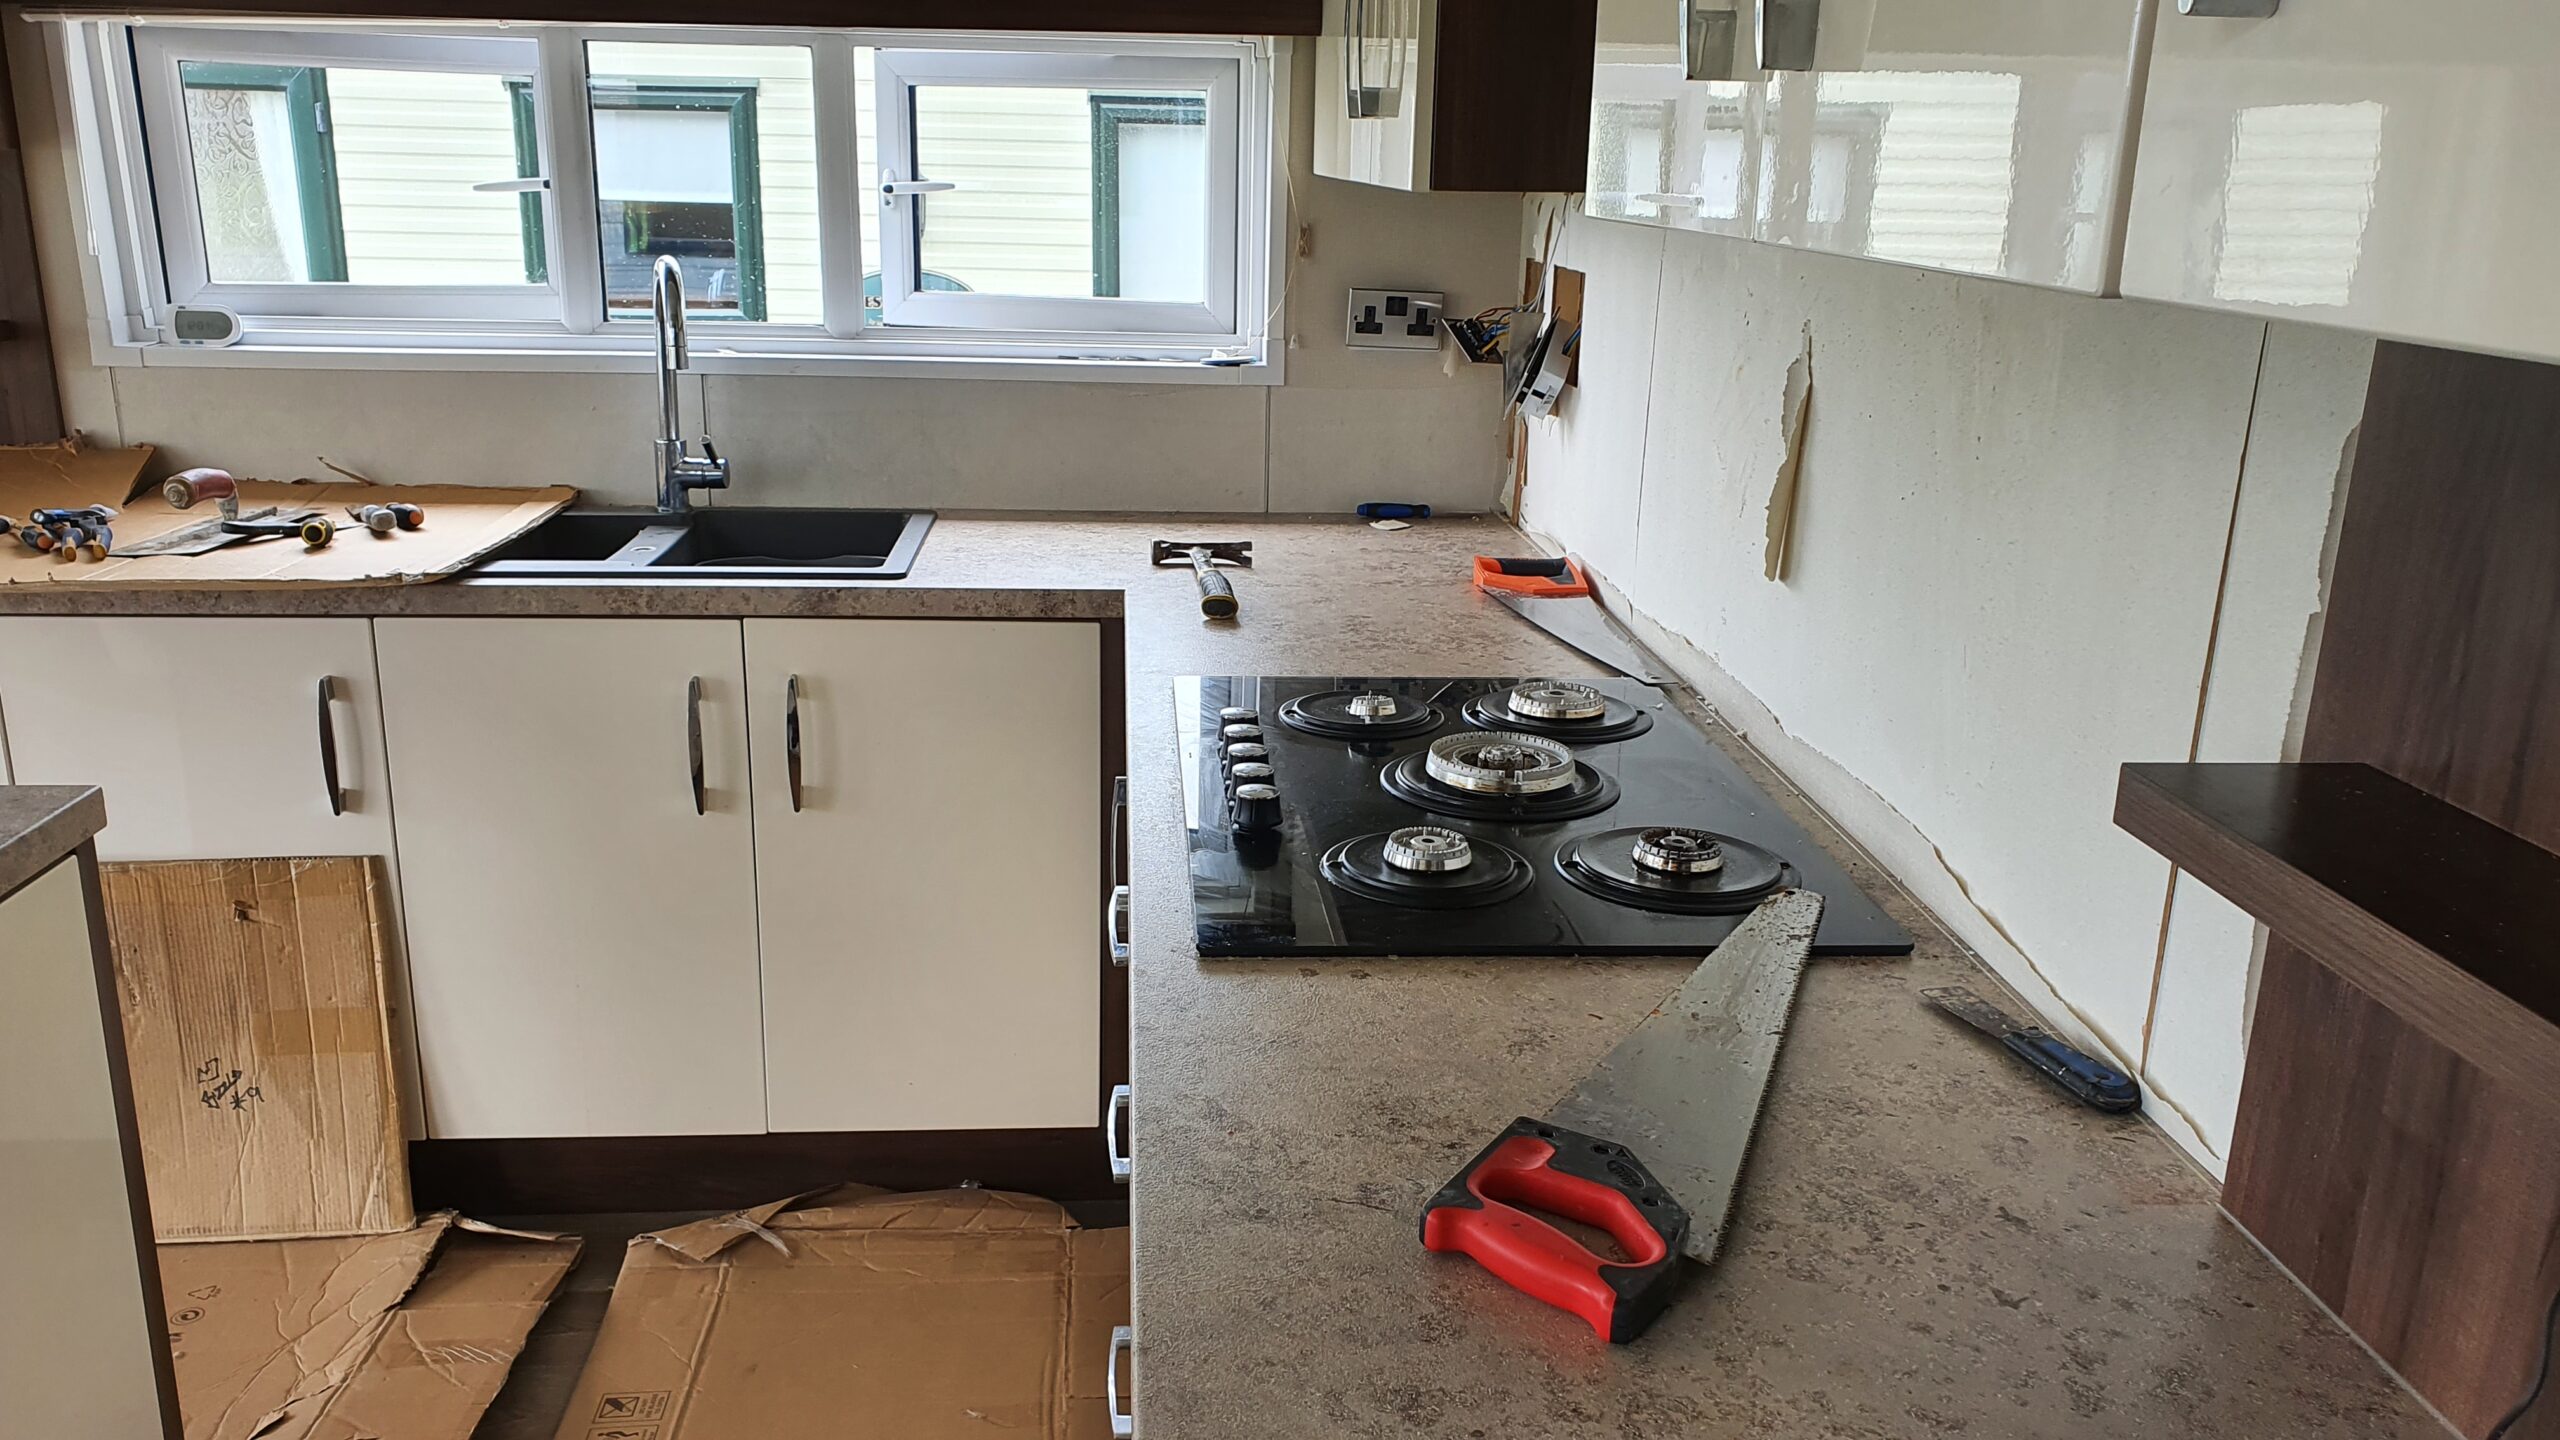
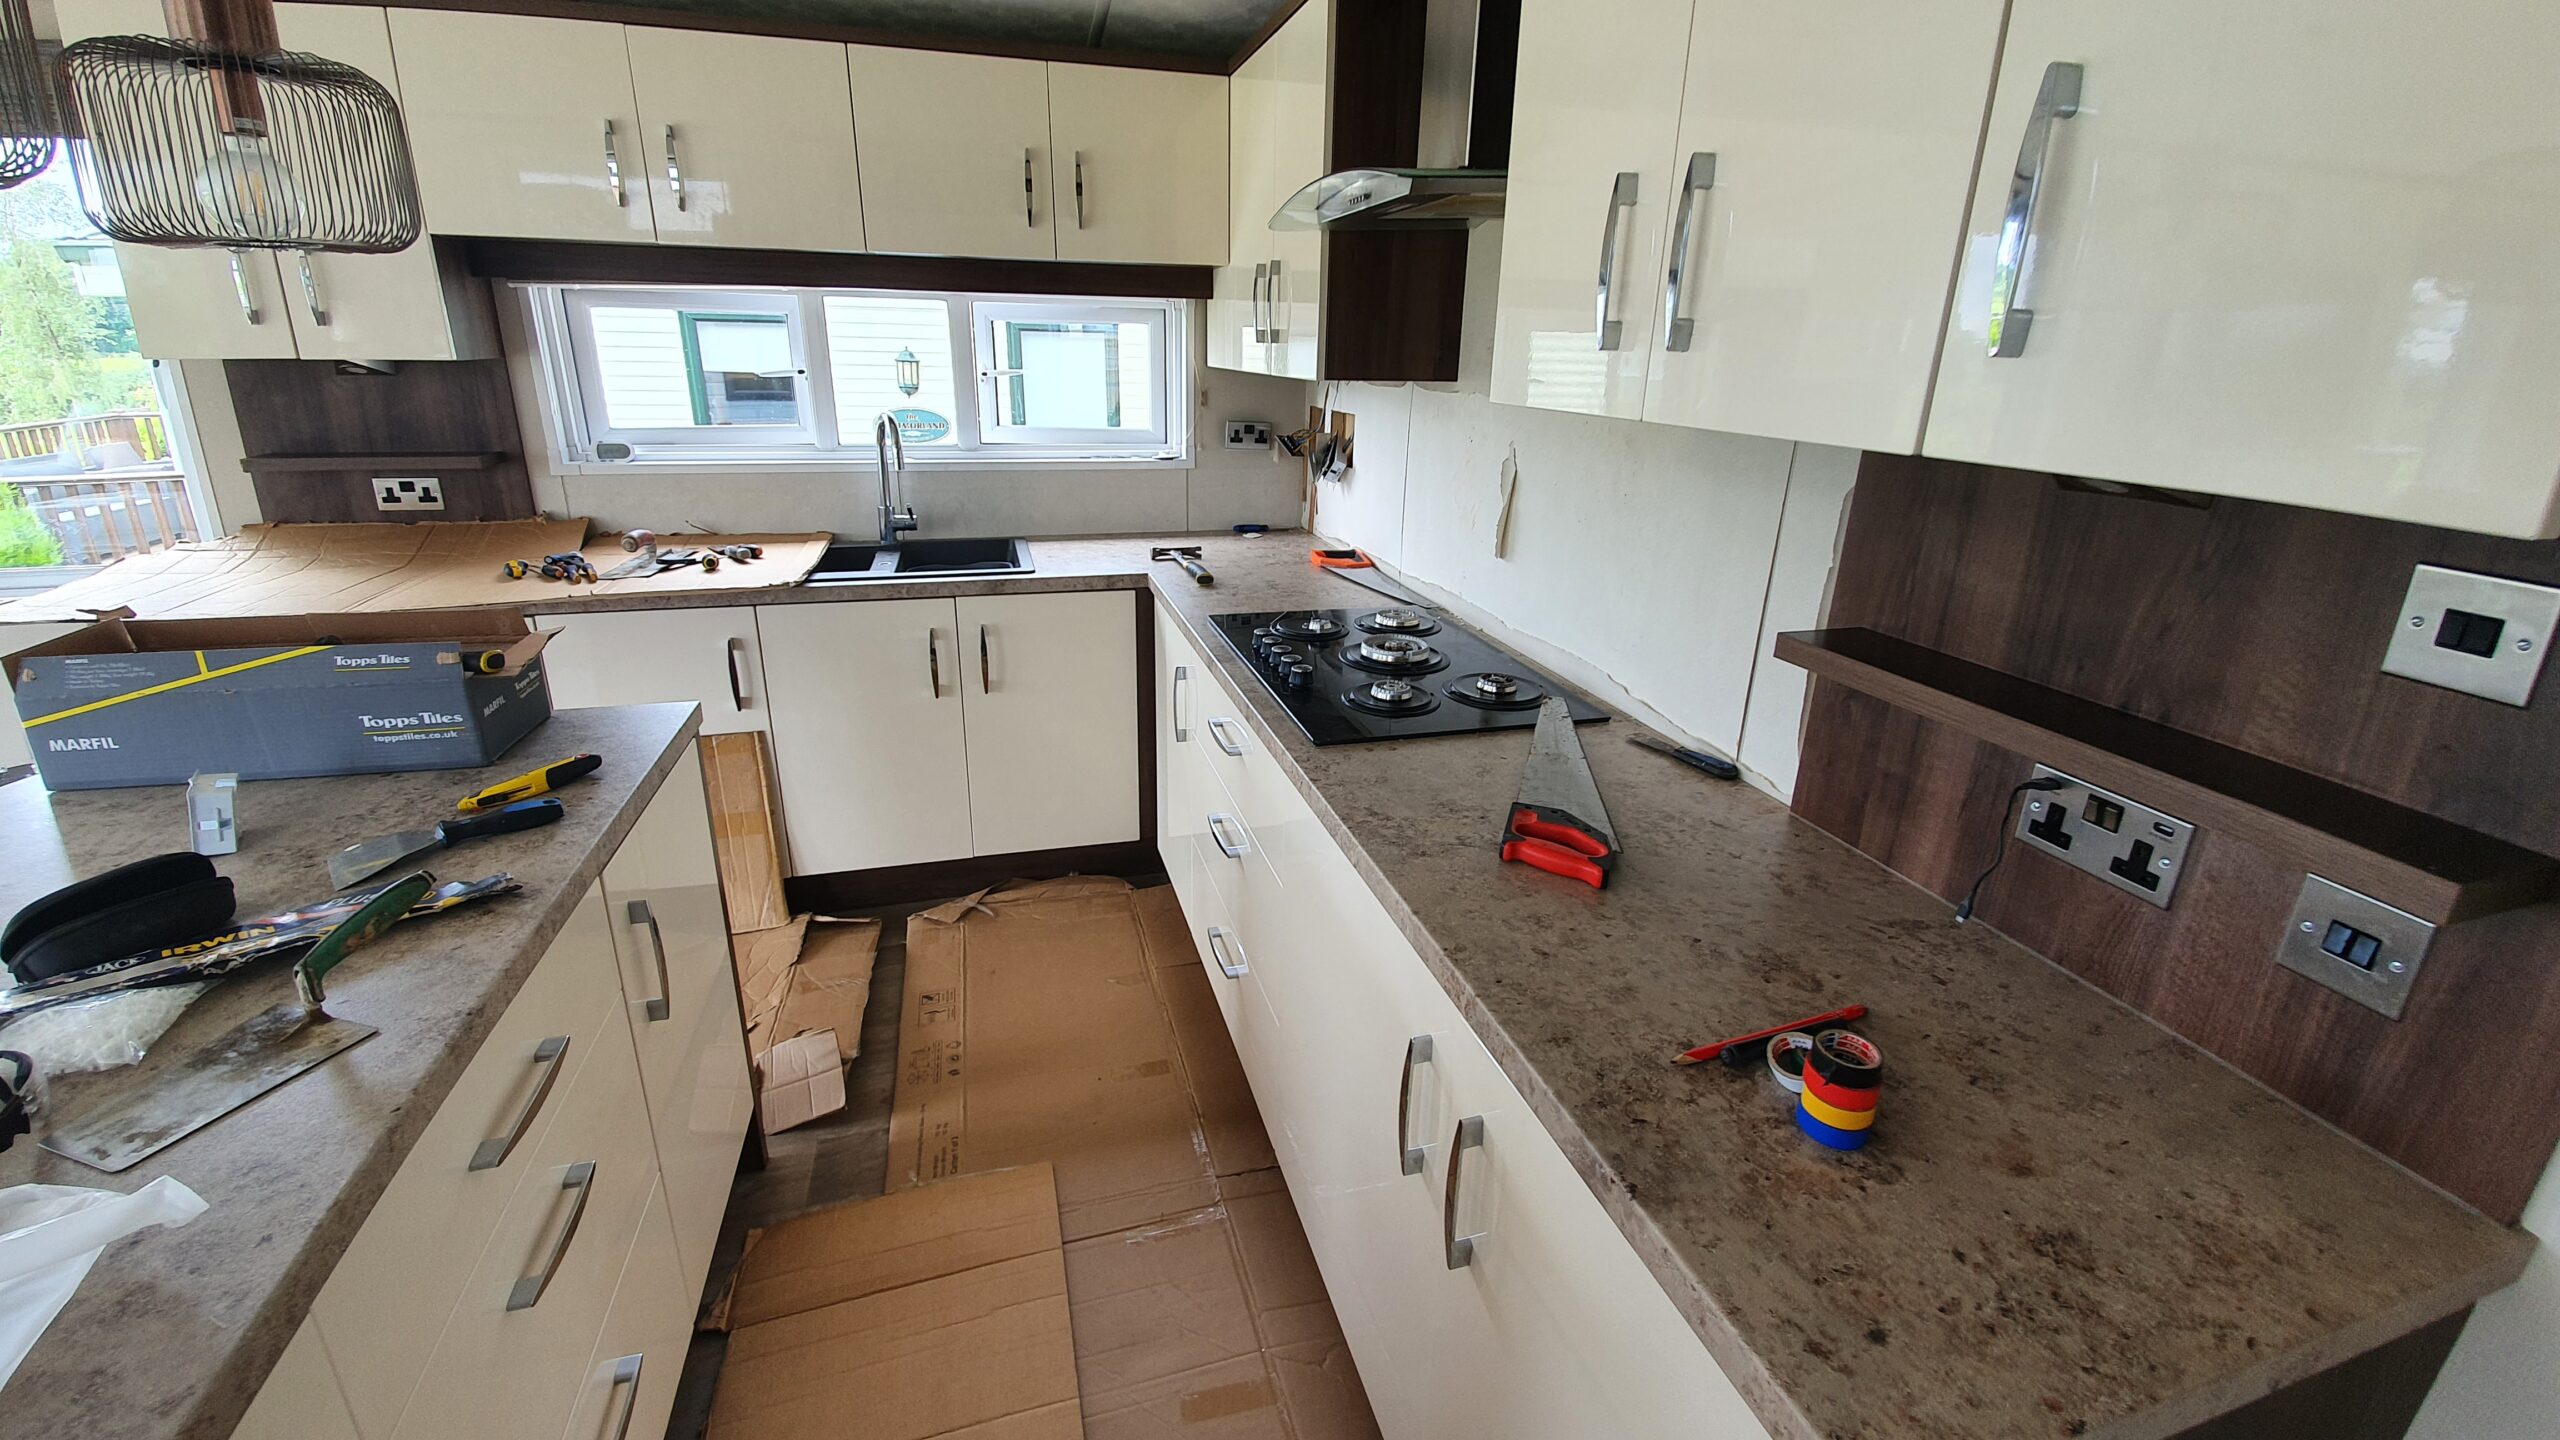
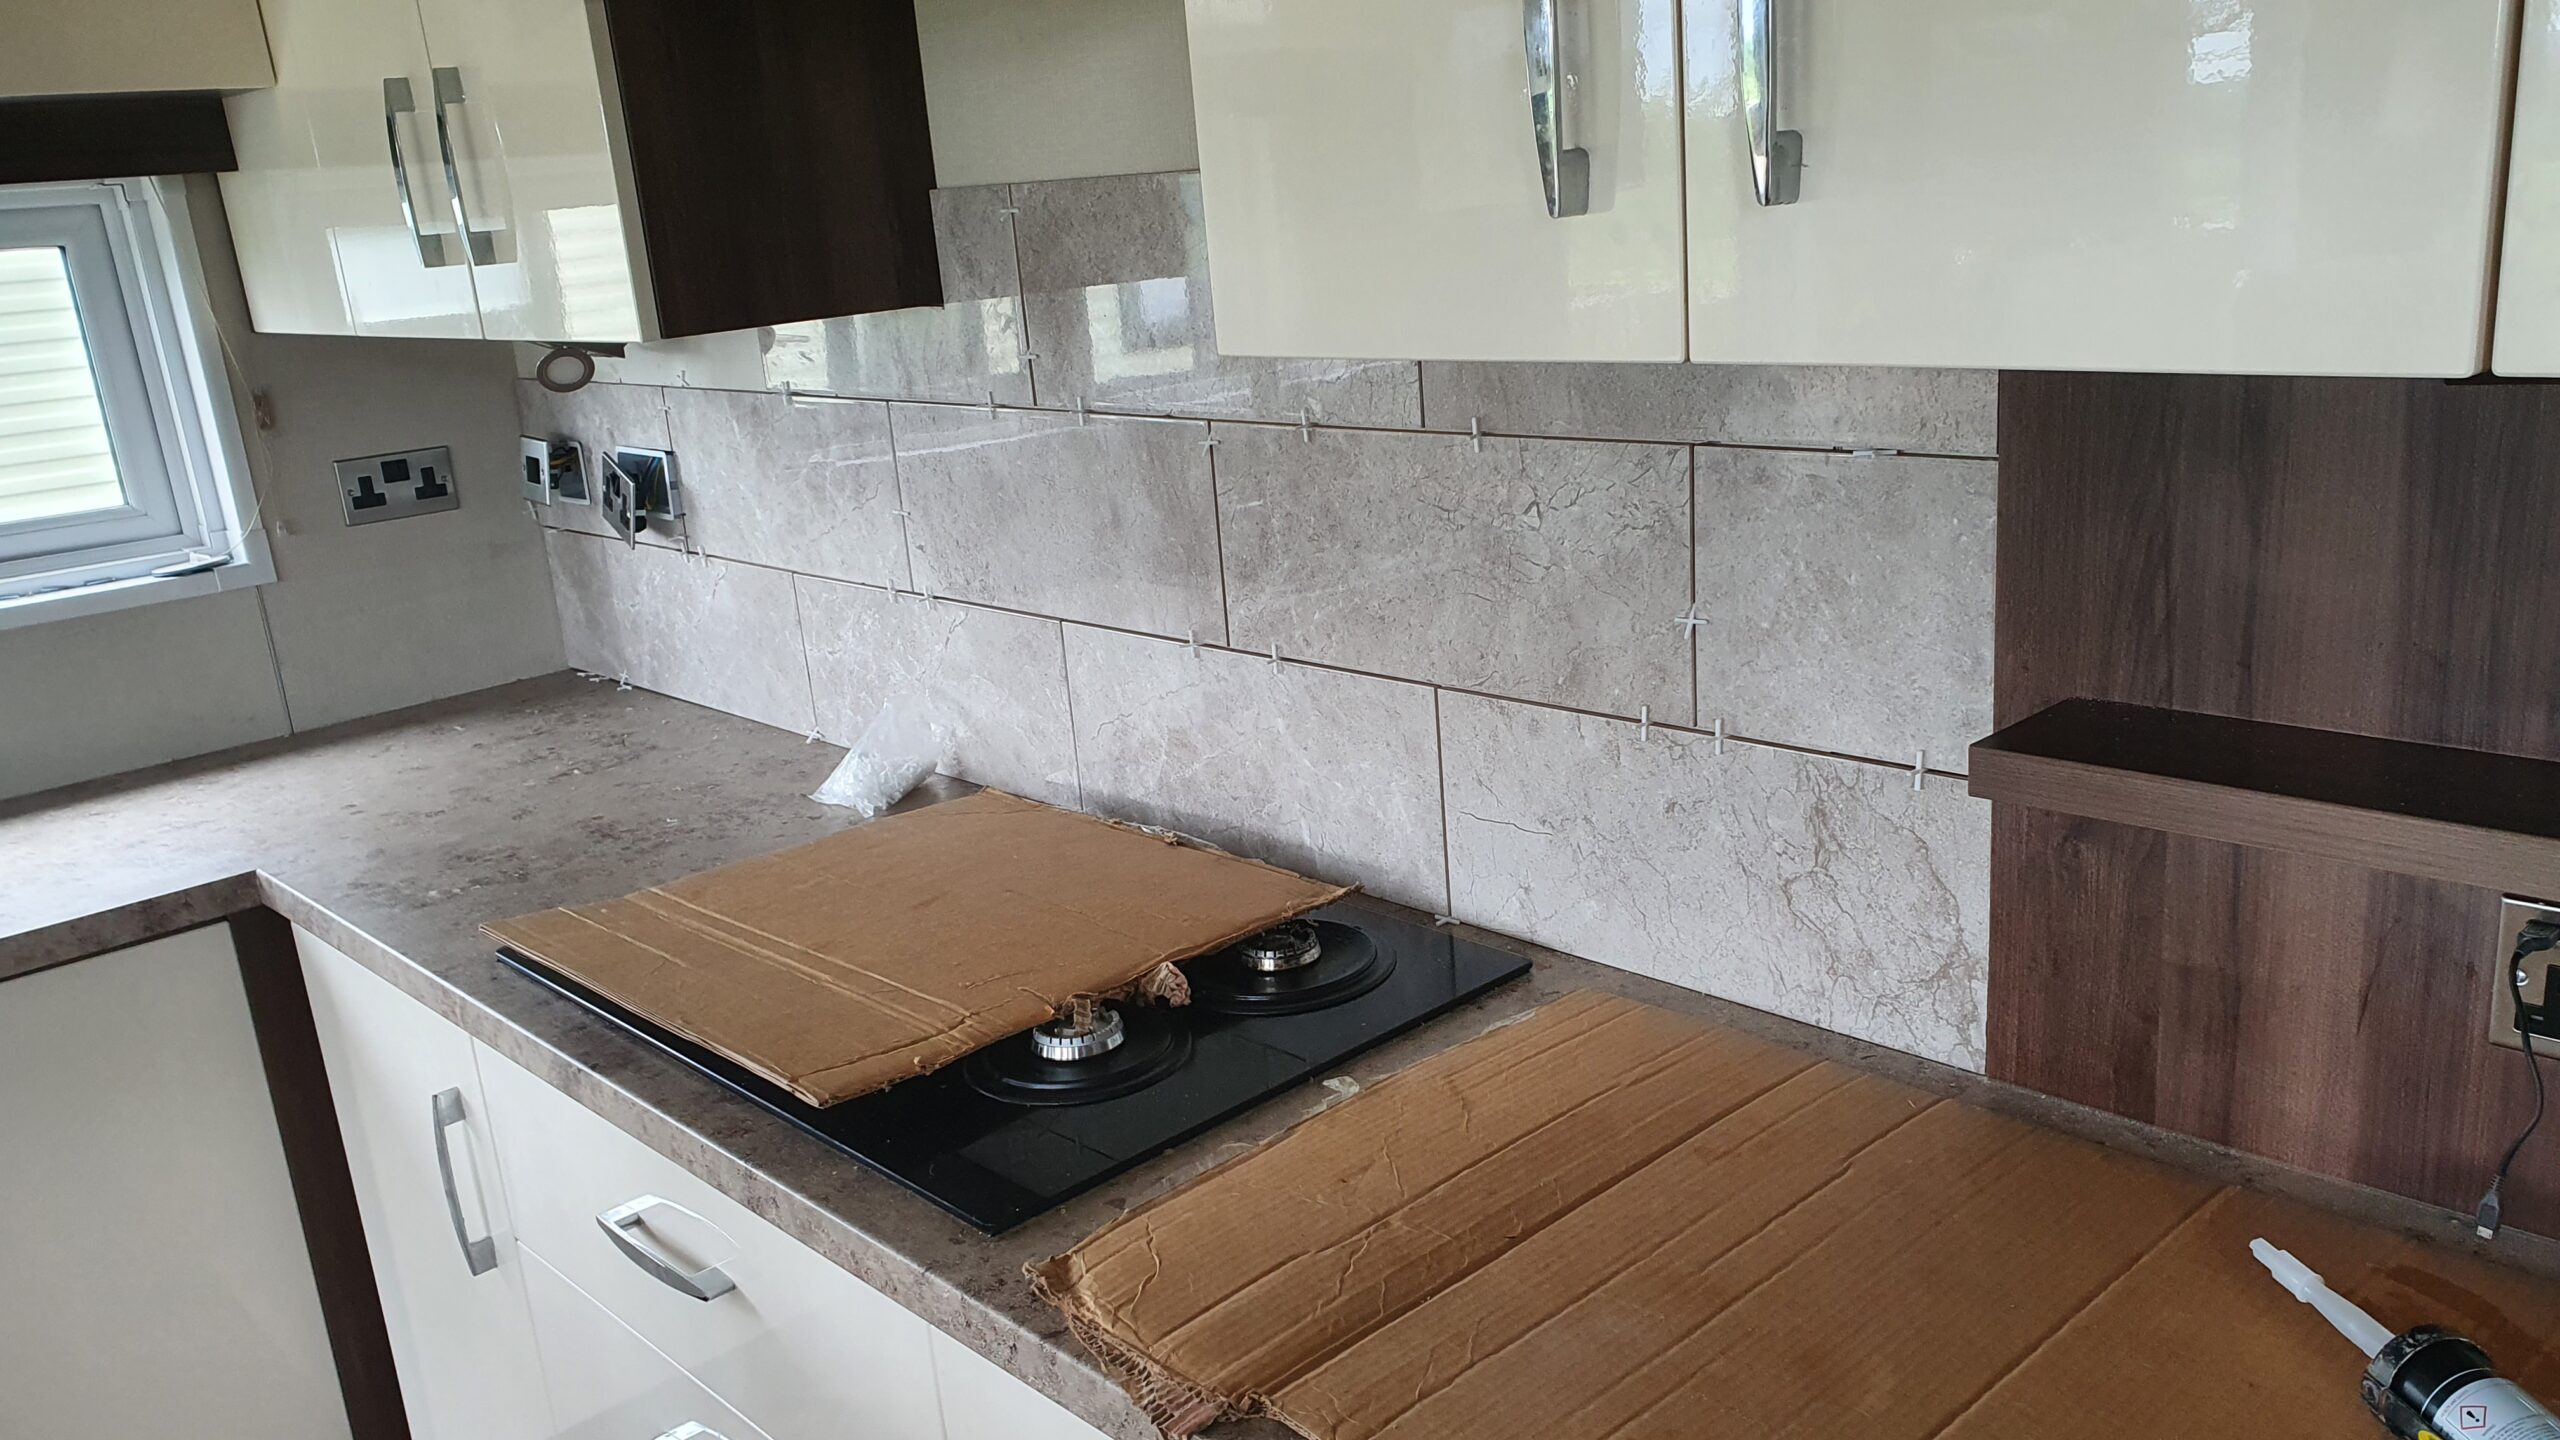


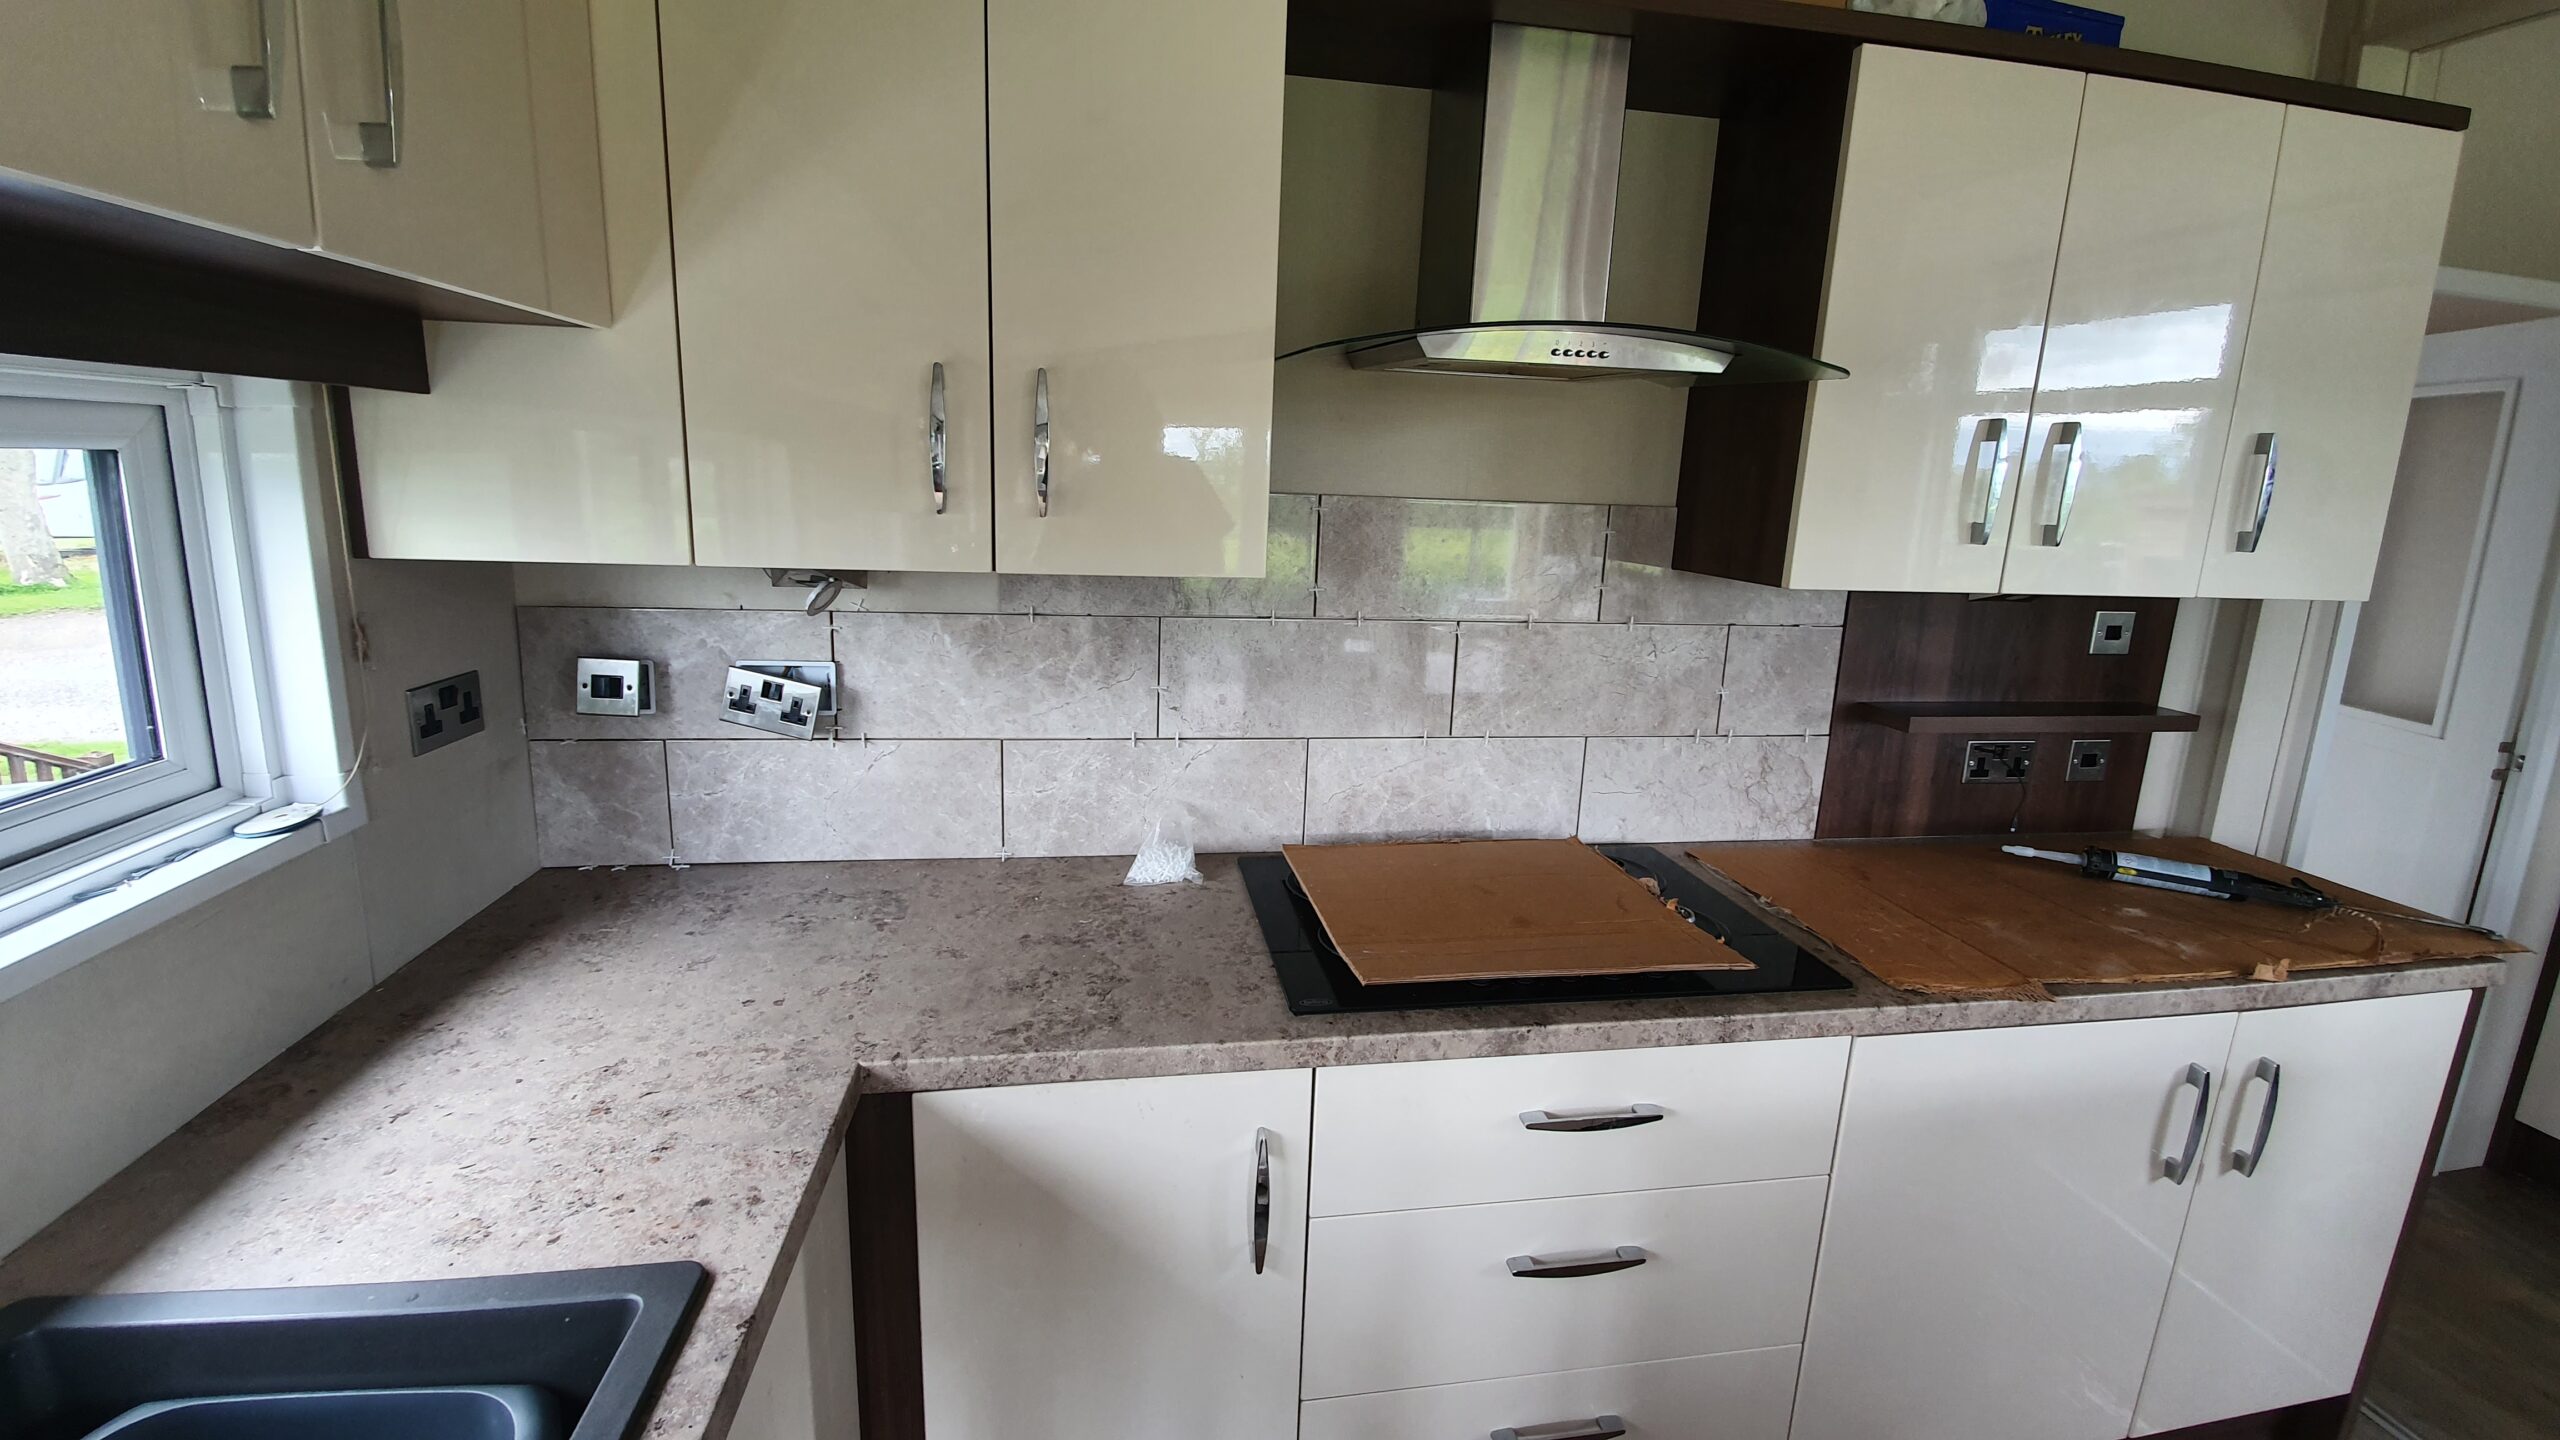
We replaced the existing backsplash with tiles that go behind the cooker to the back of the sink
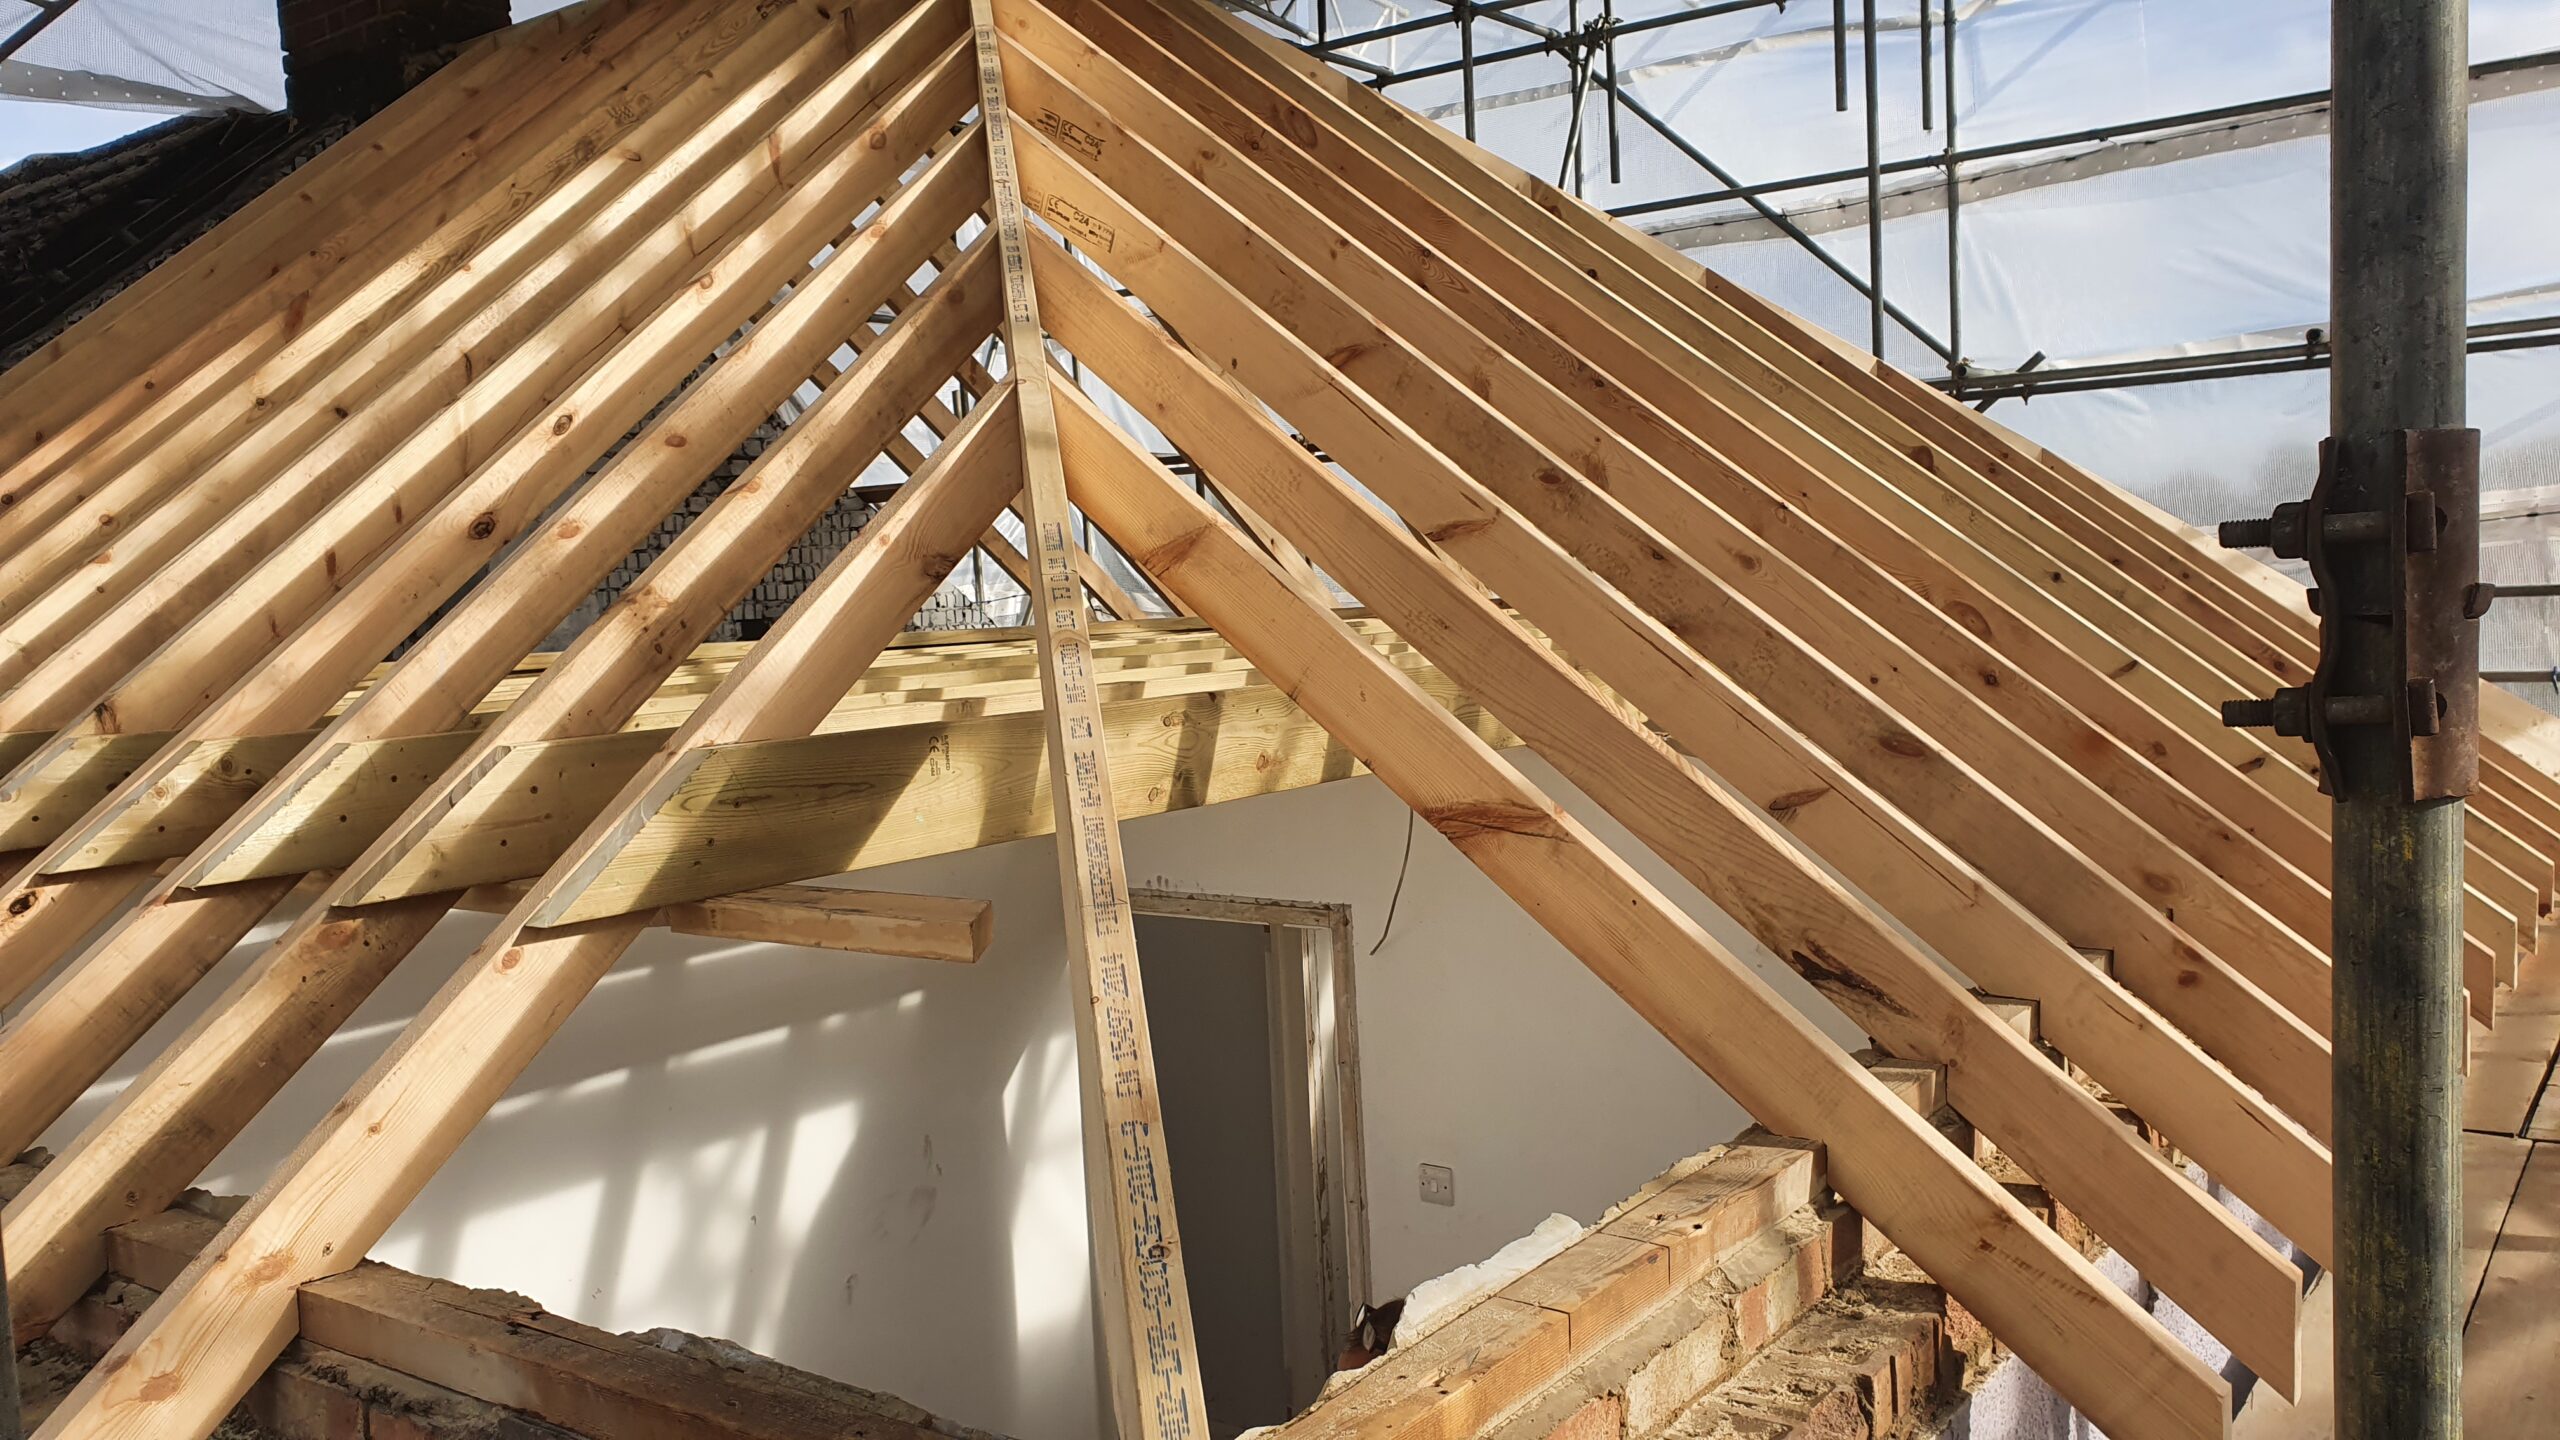
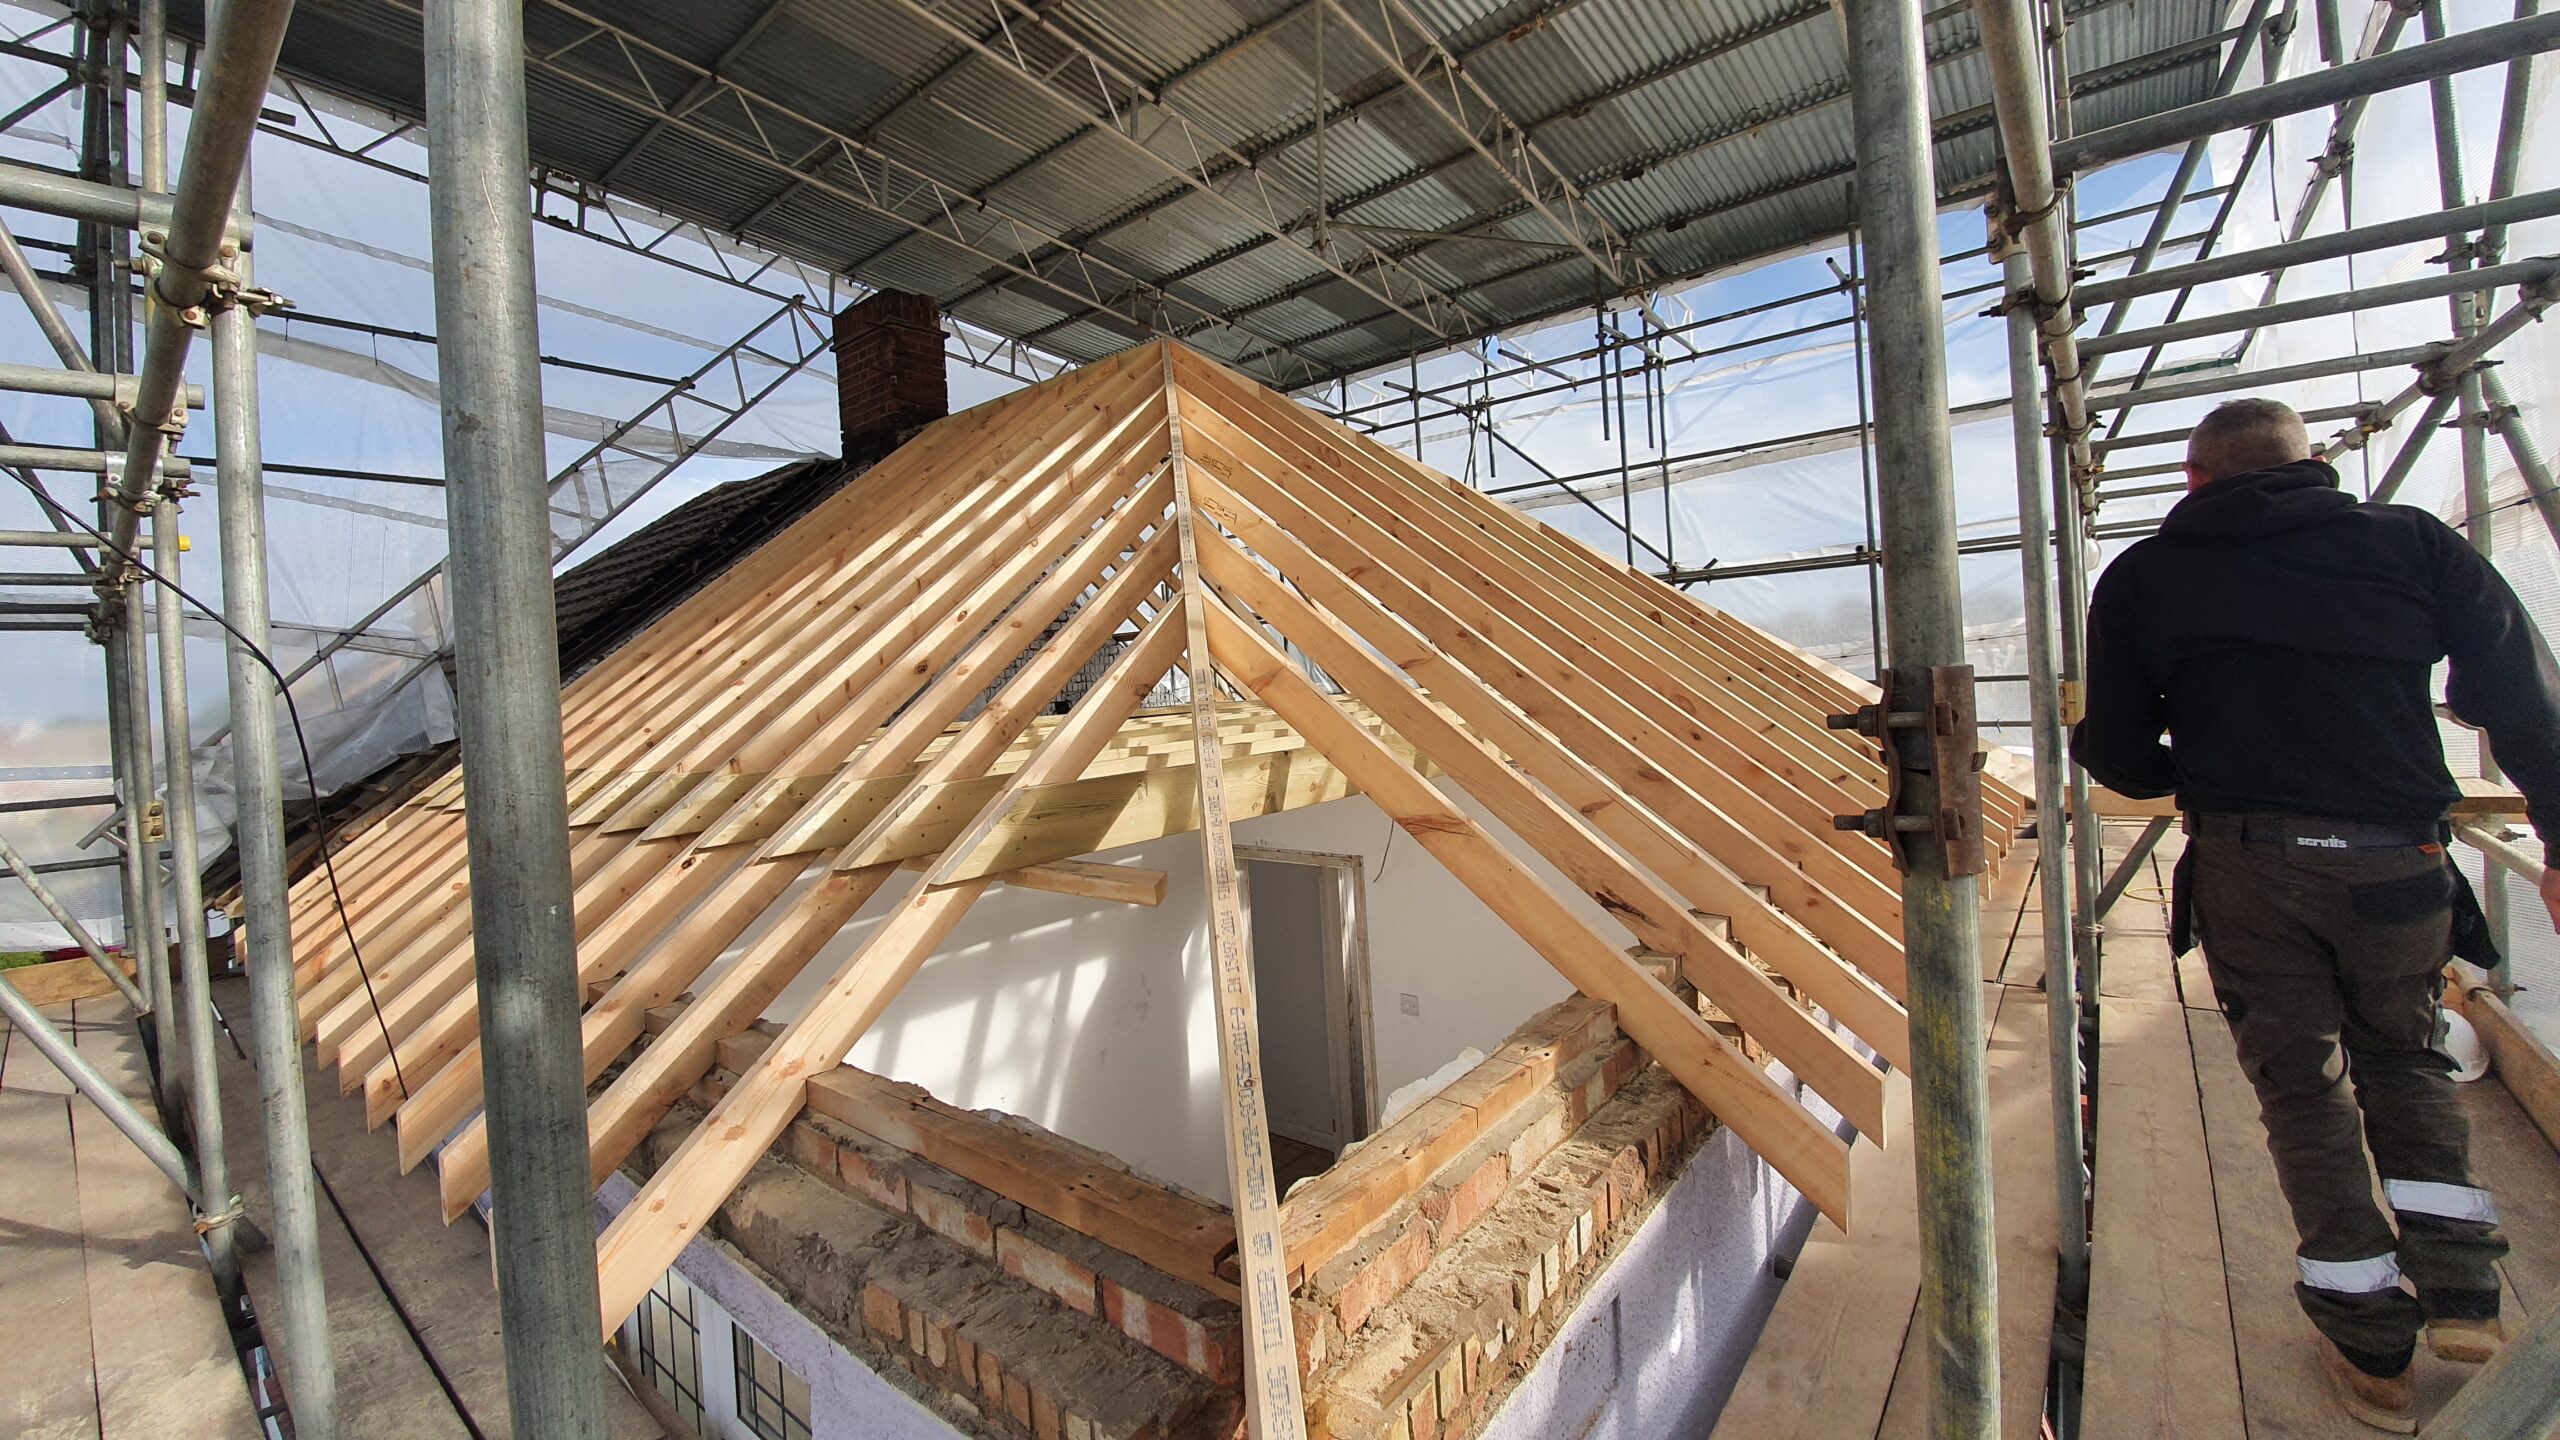
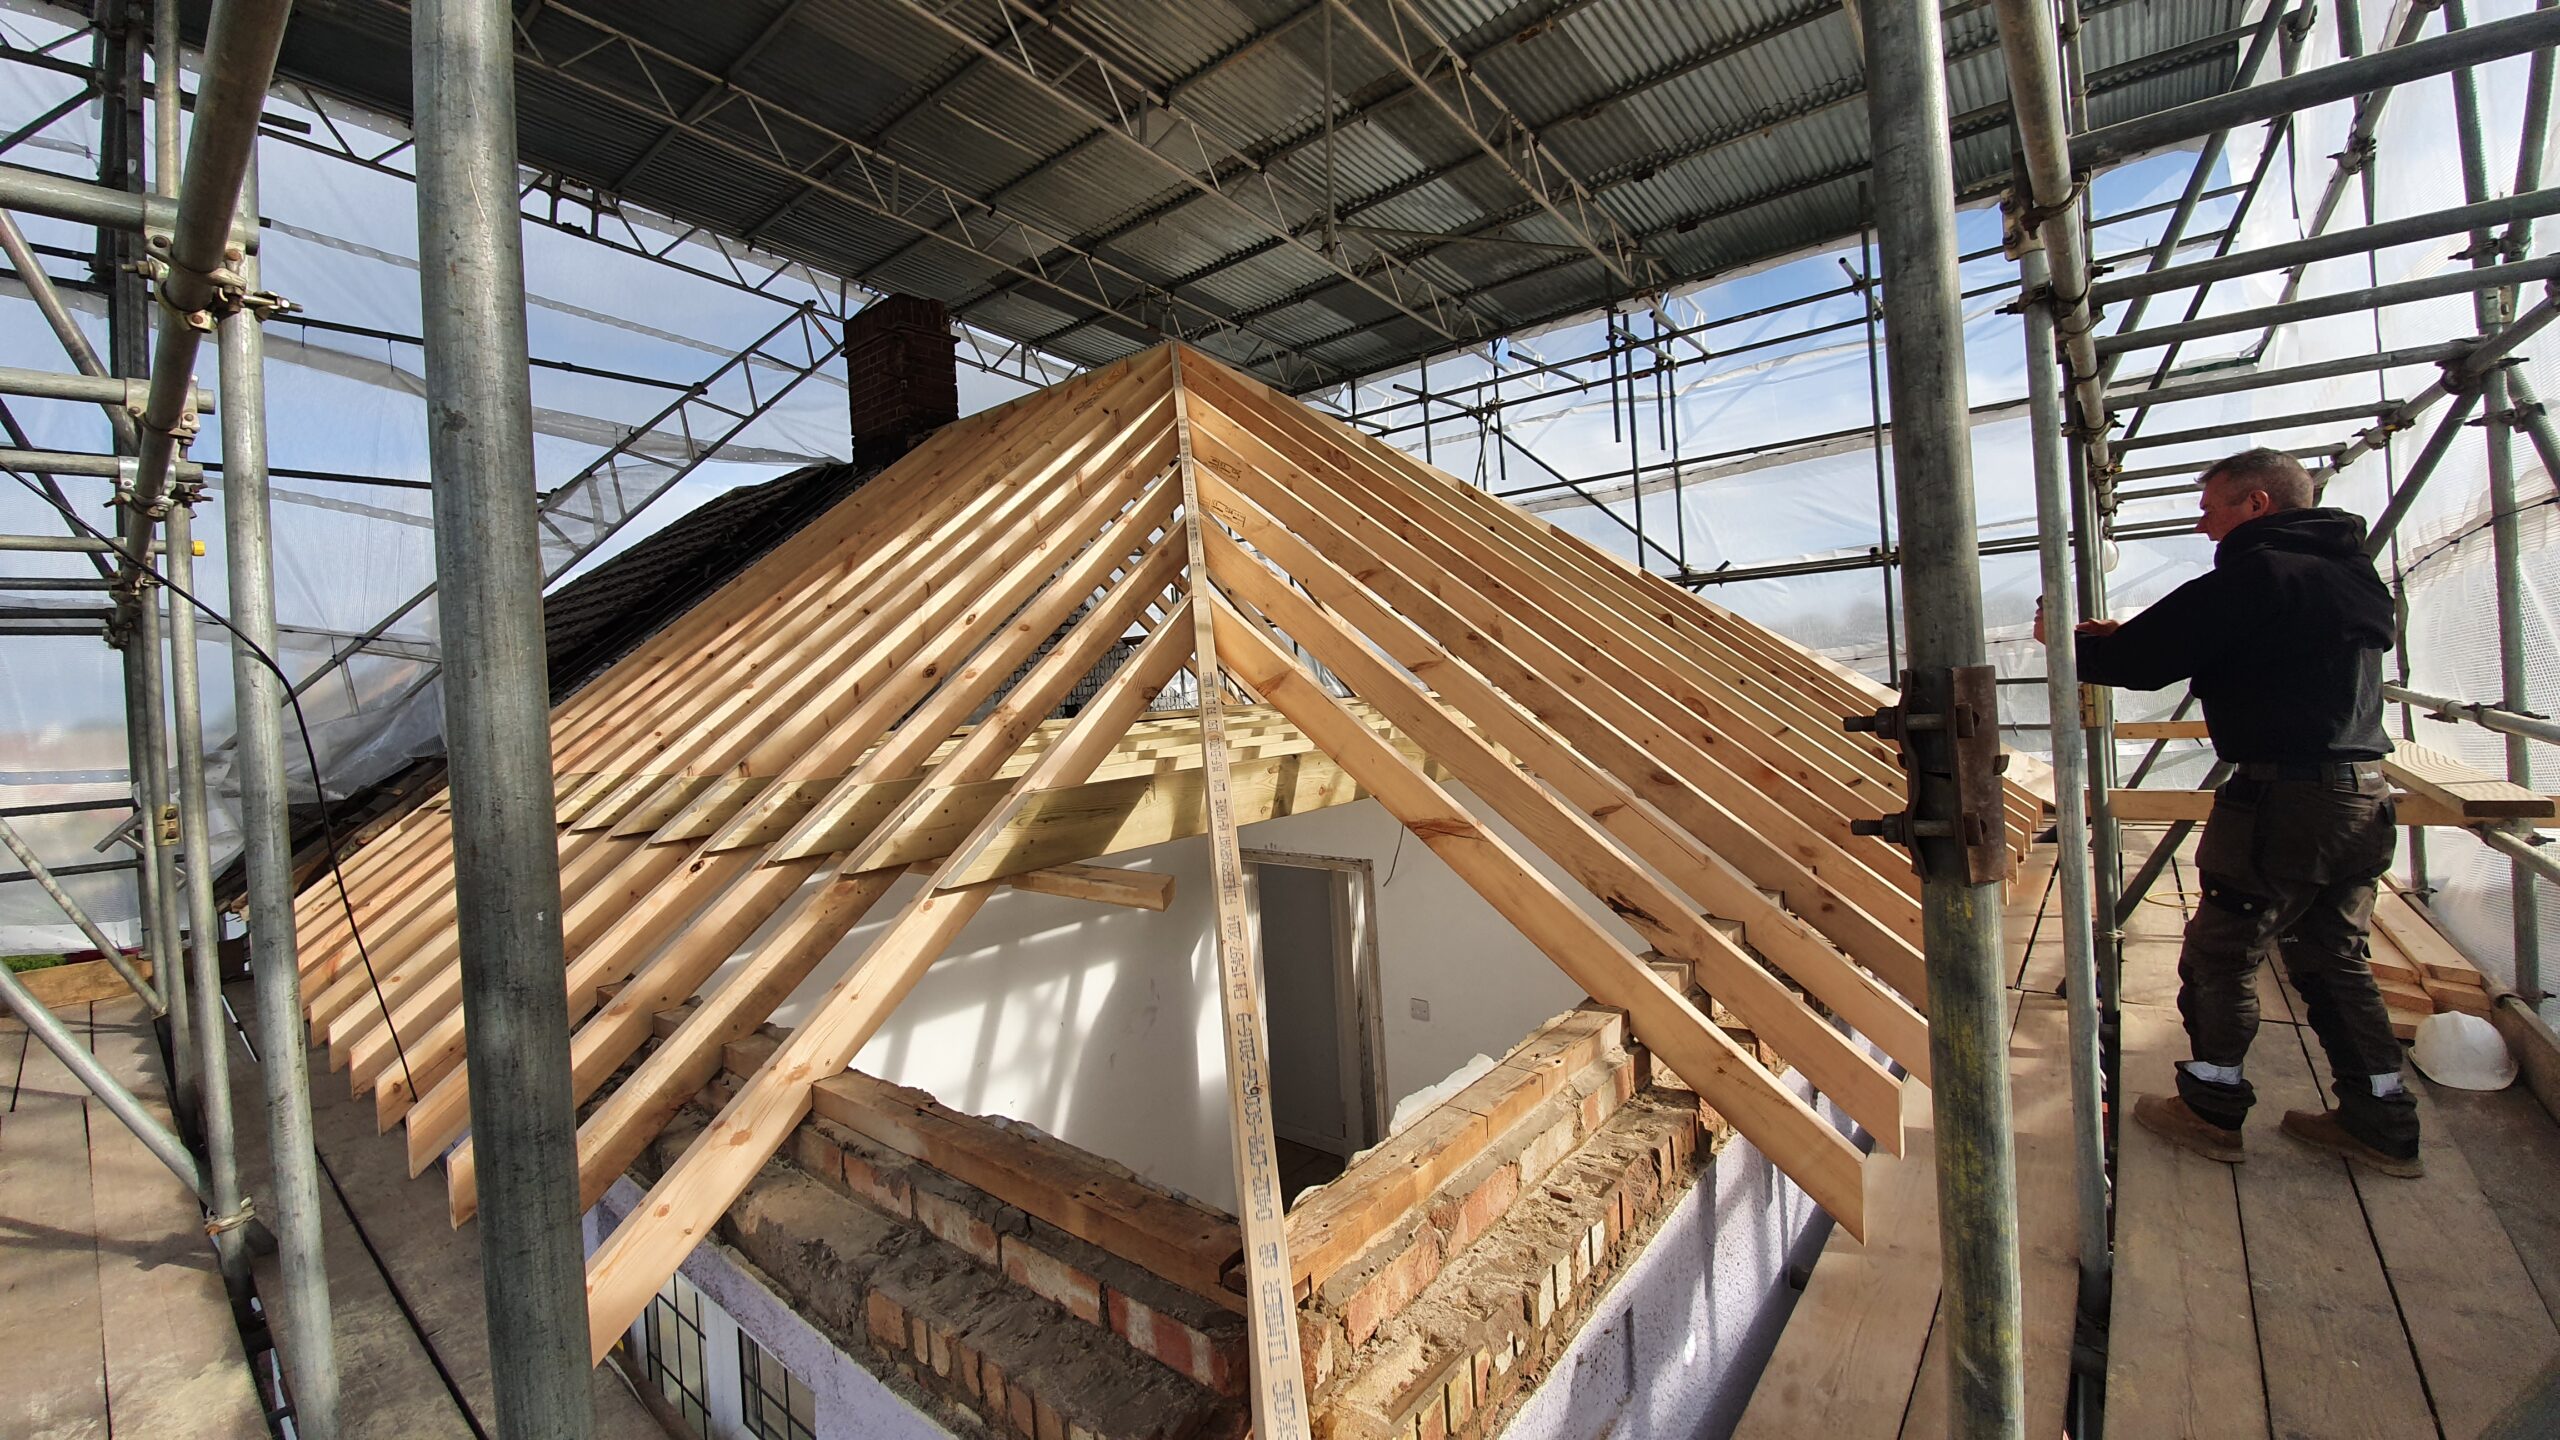
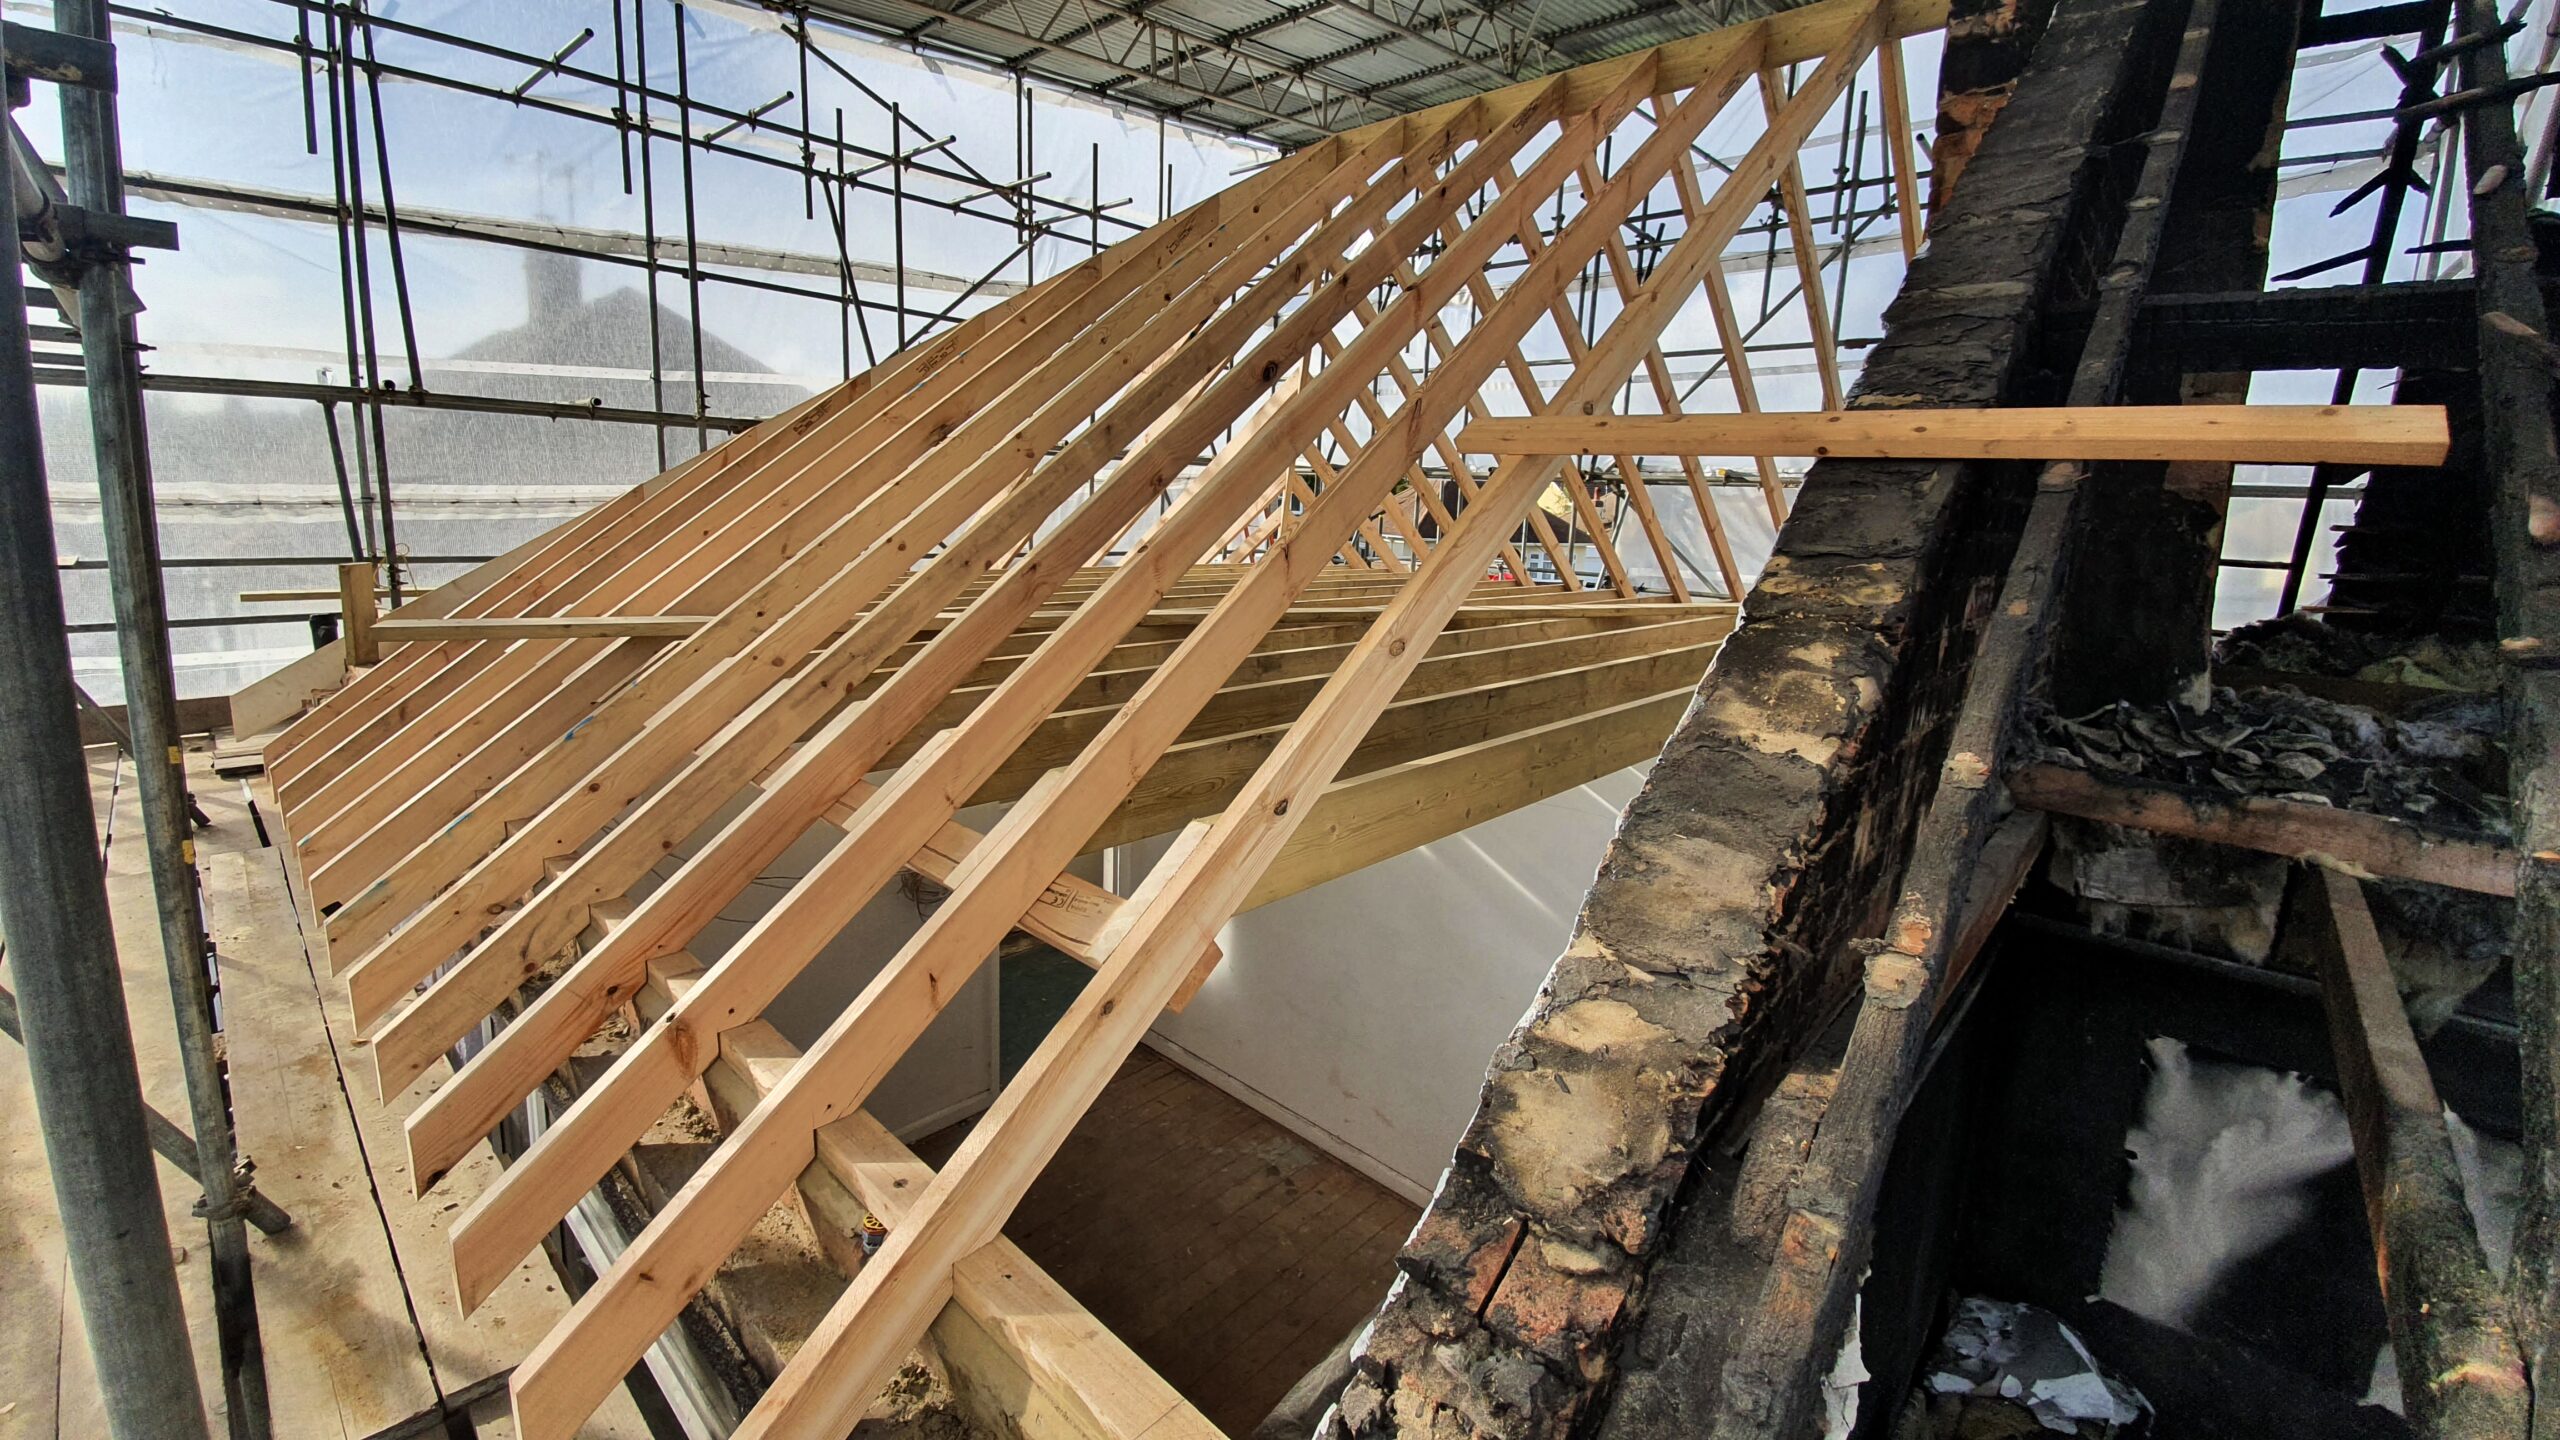
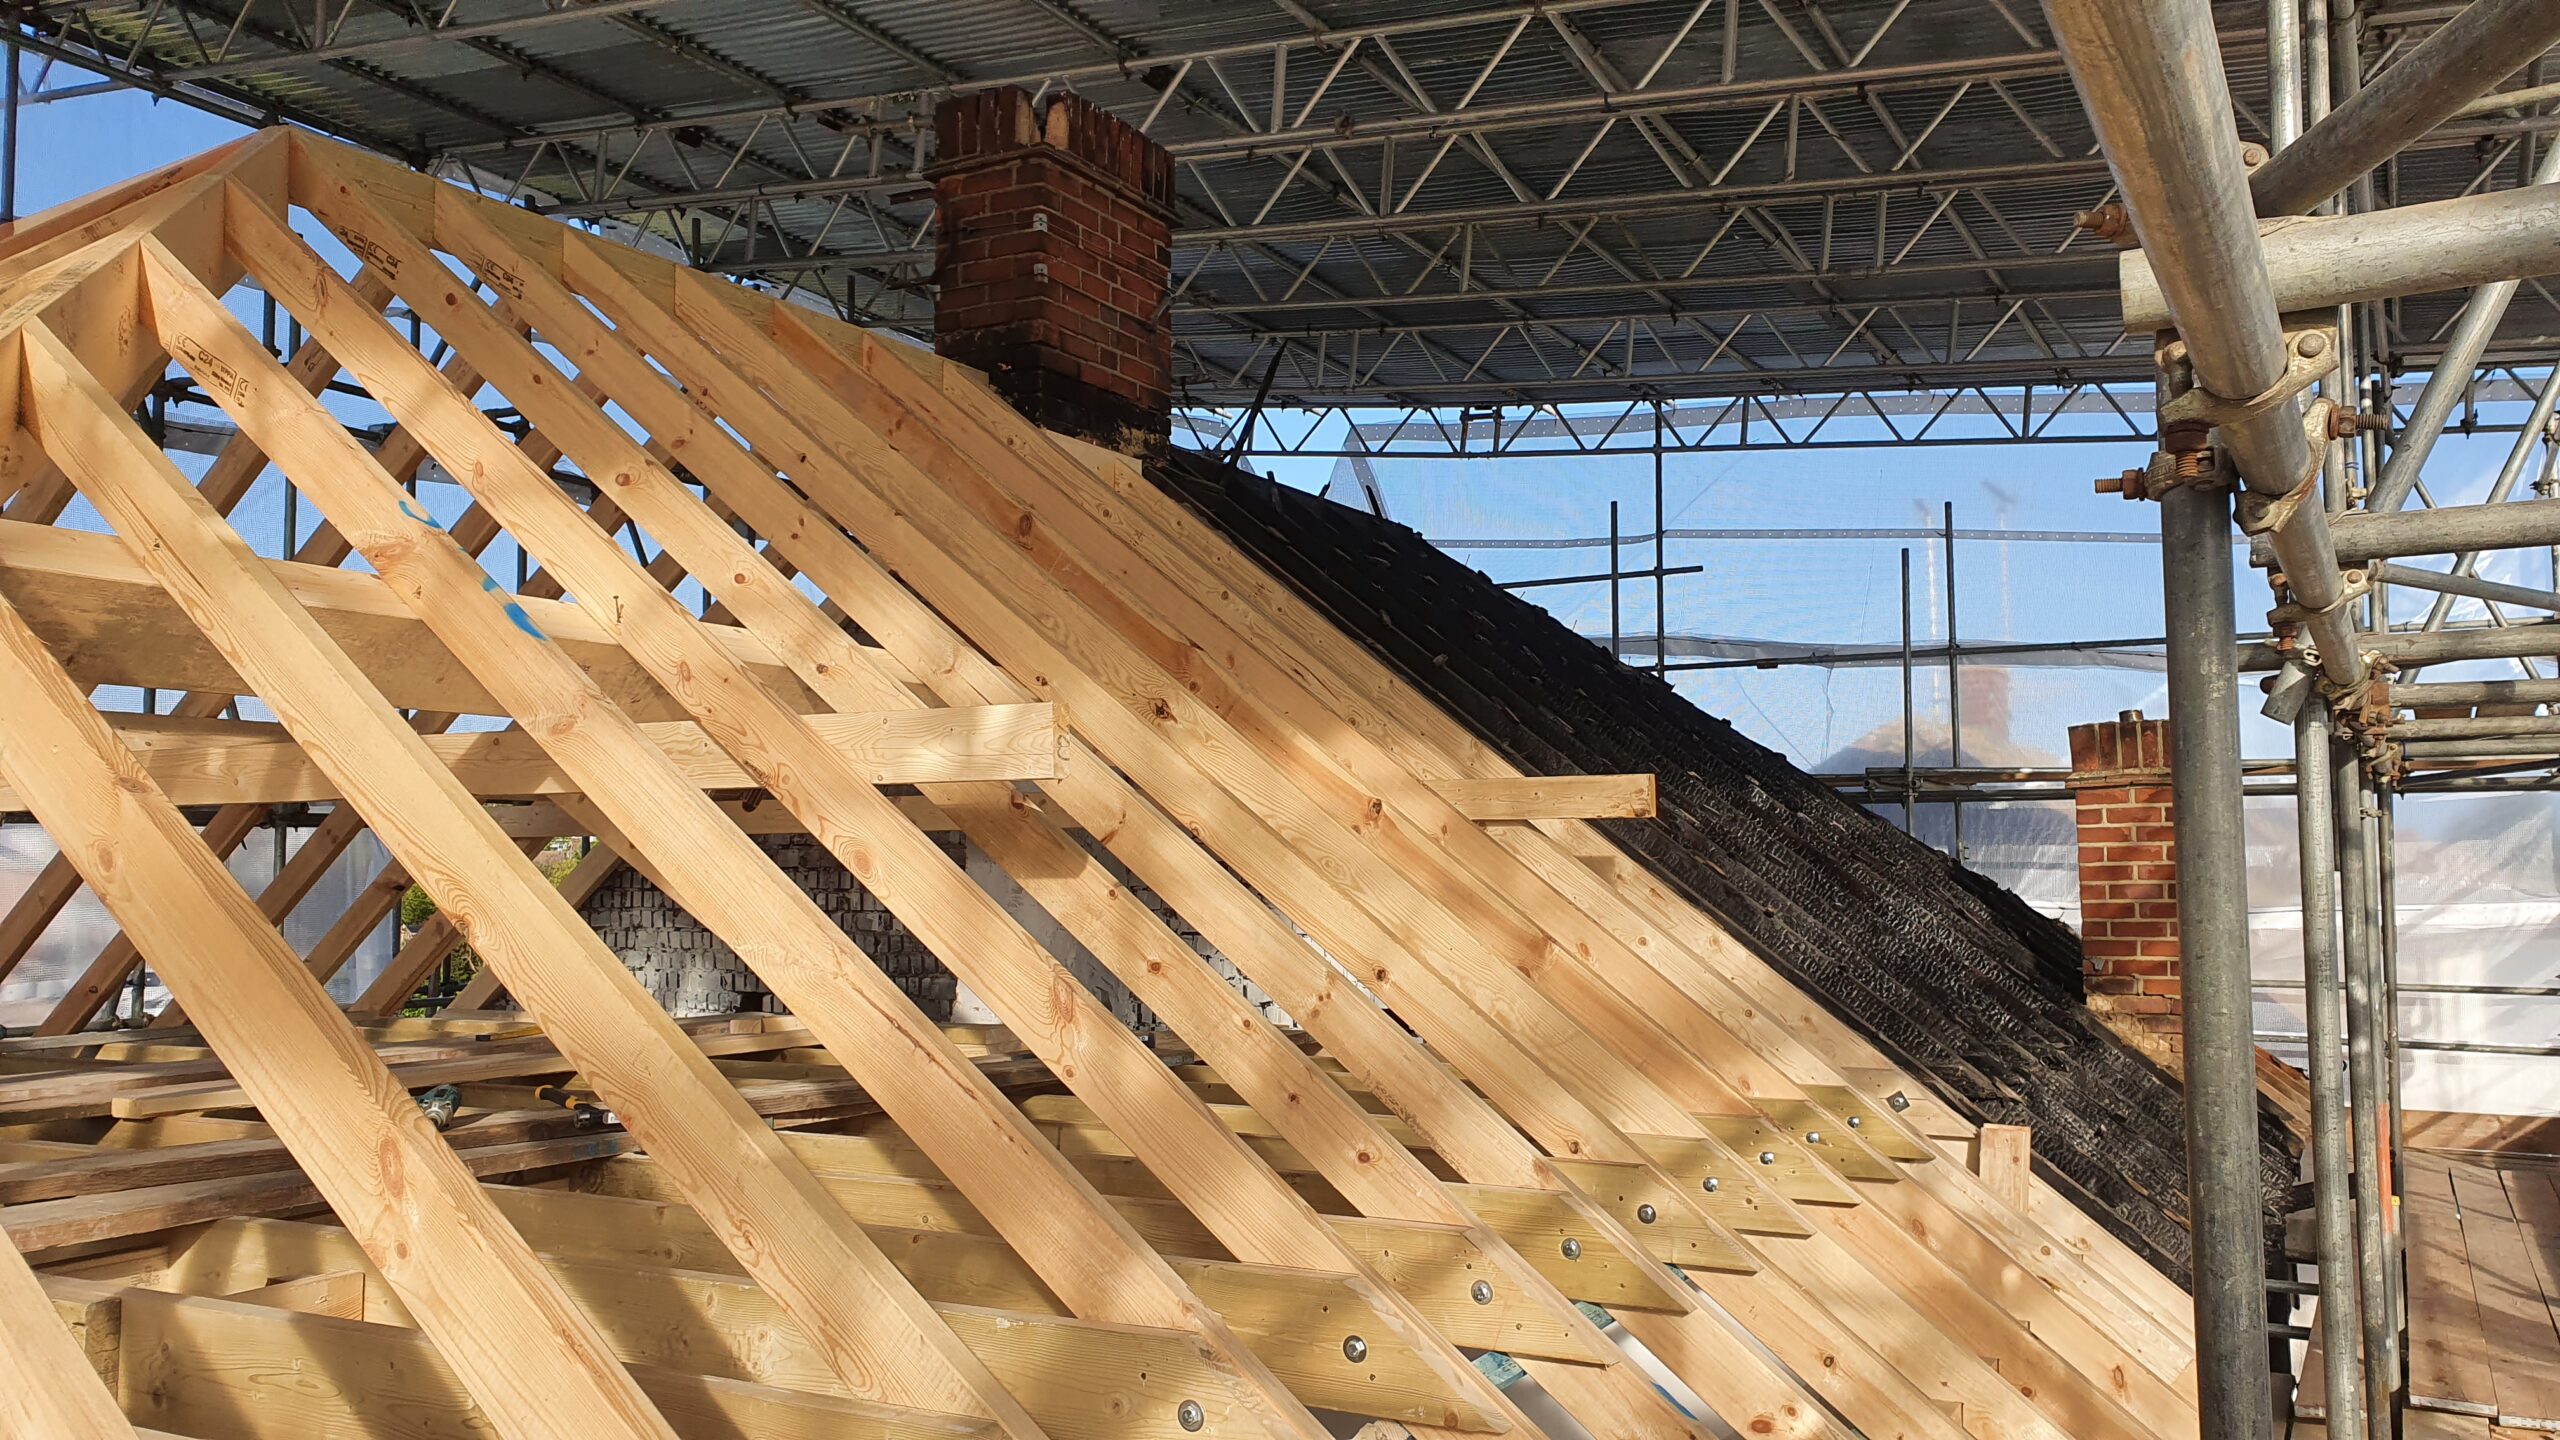
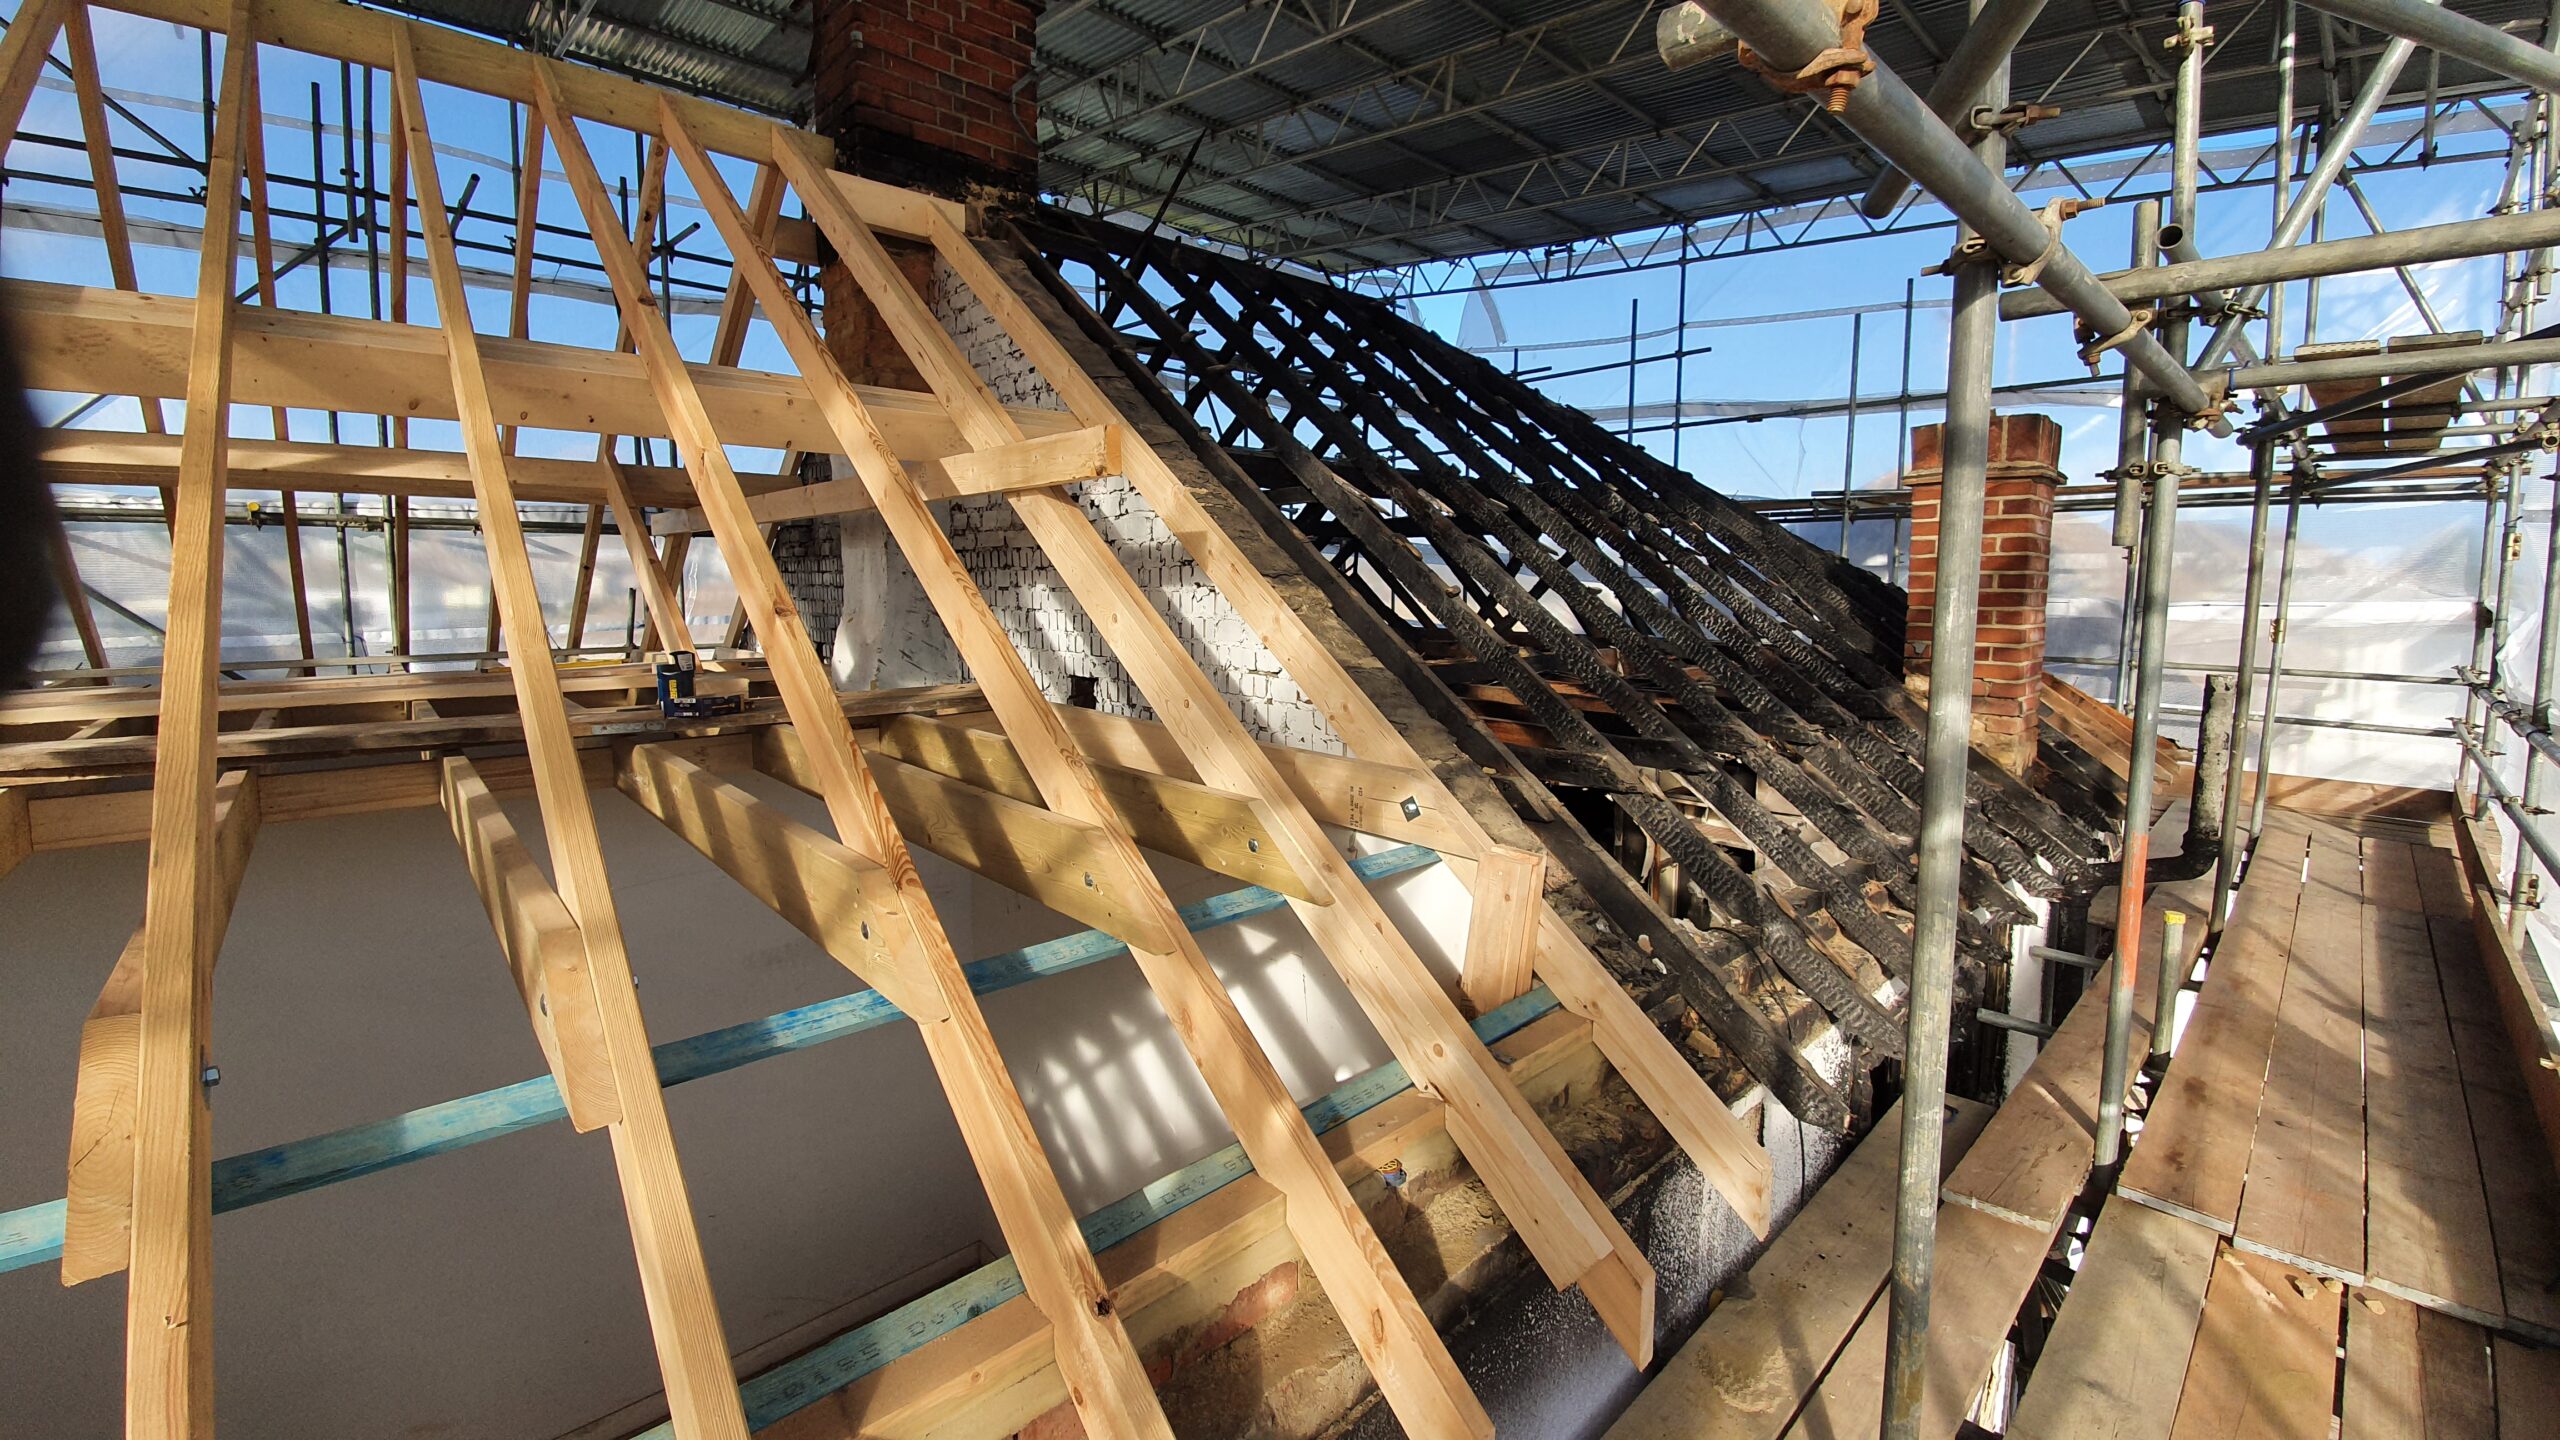
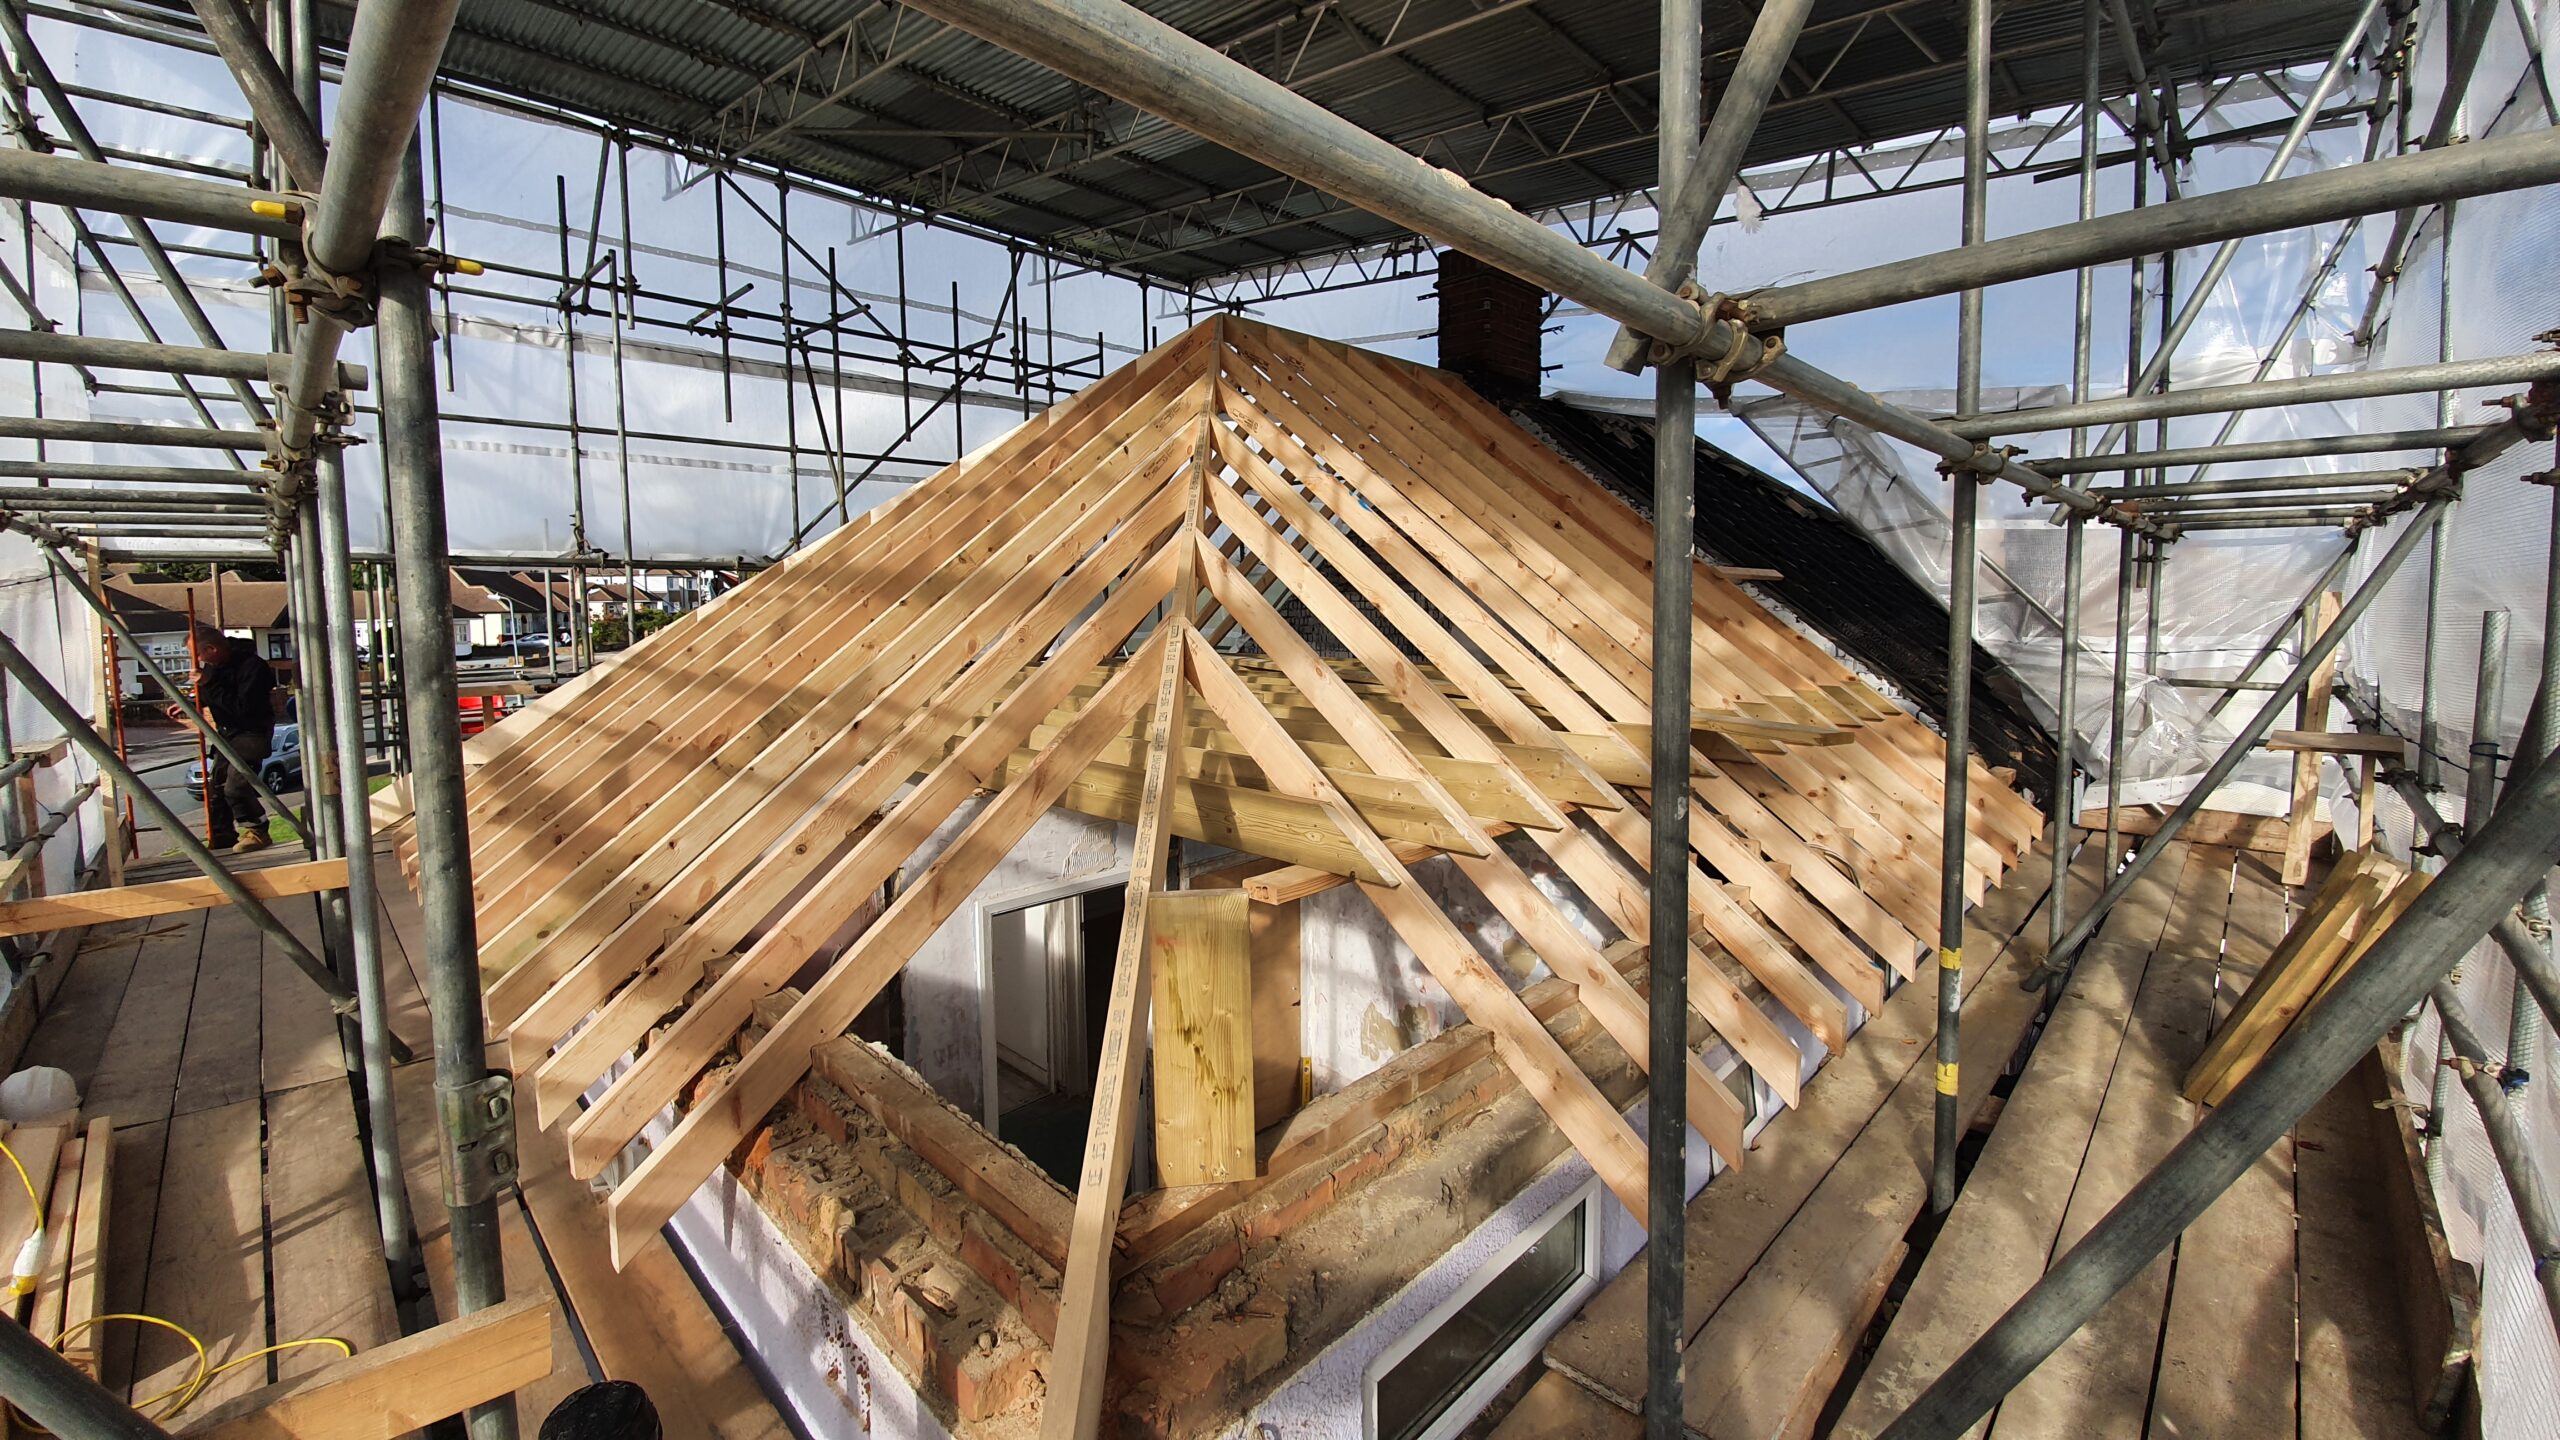
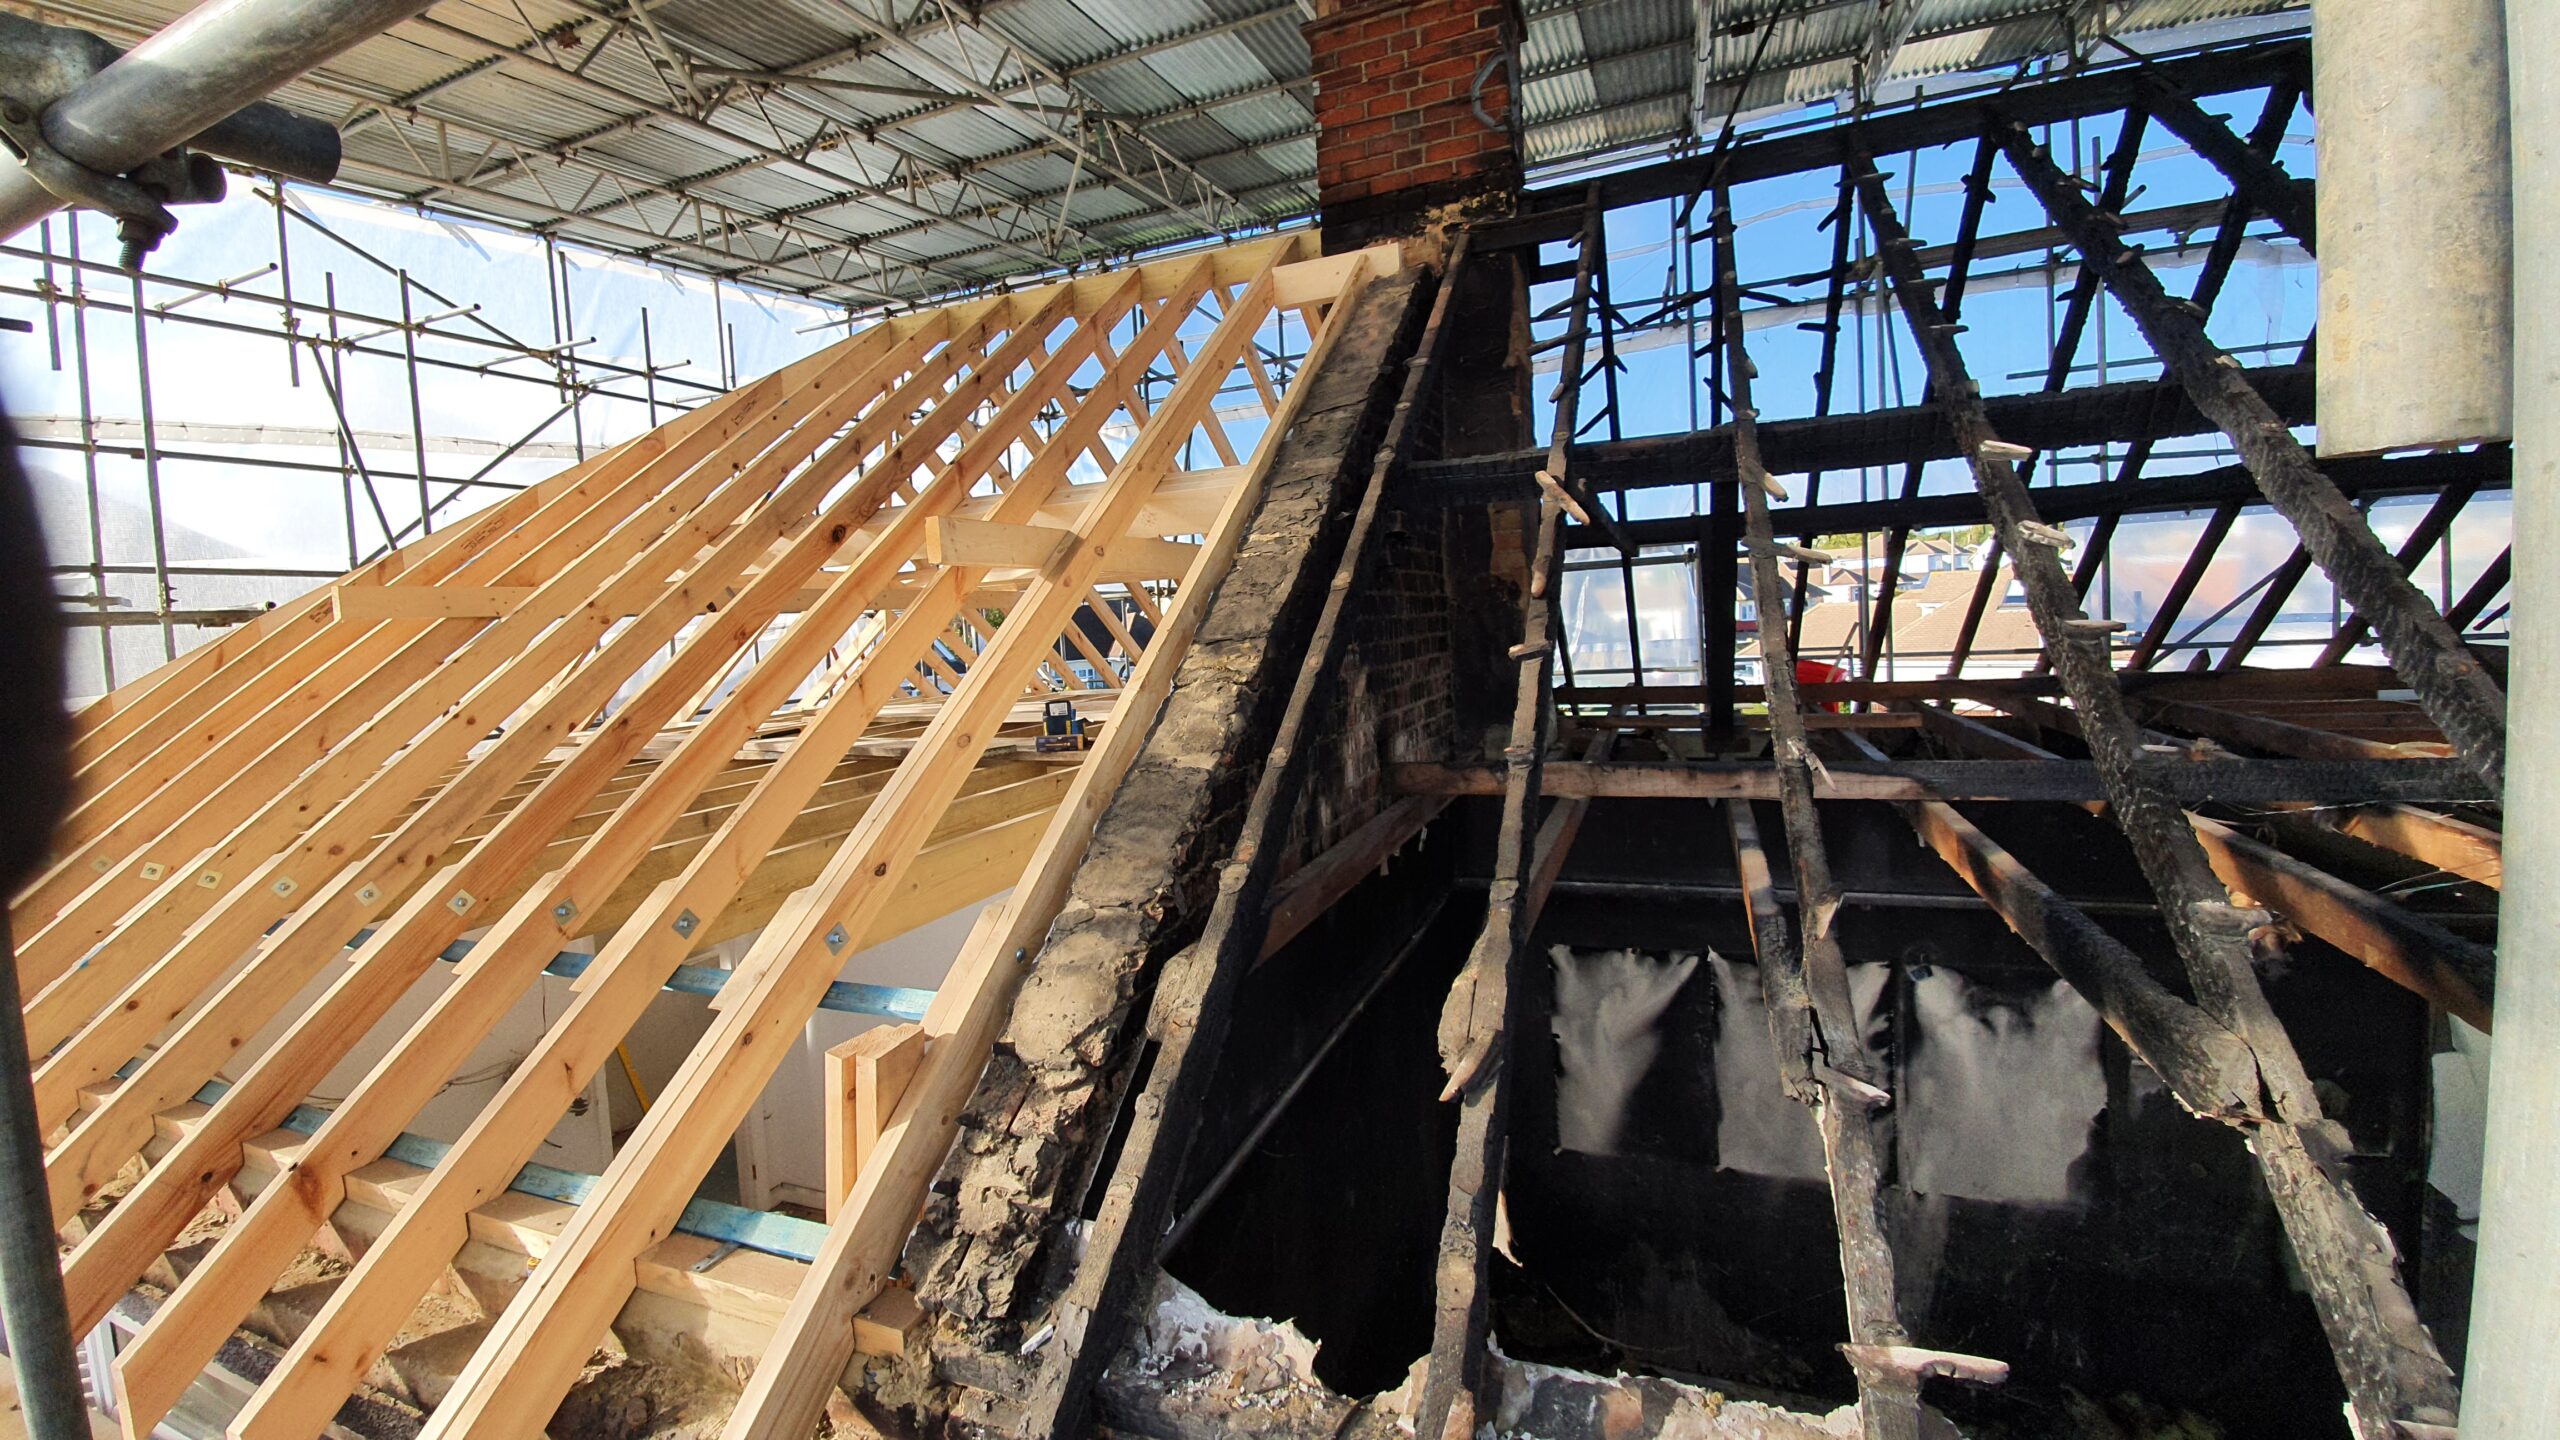
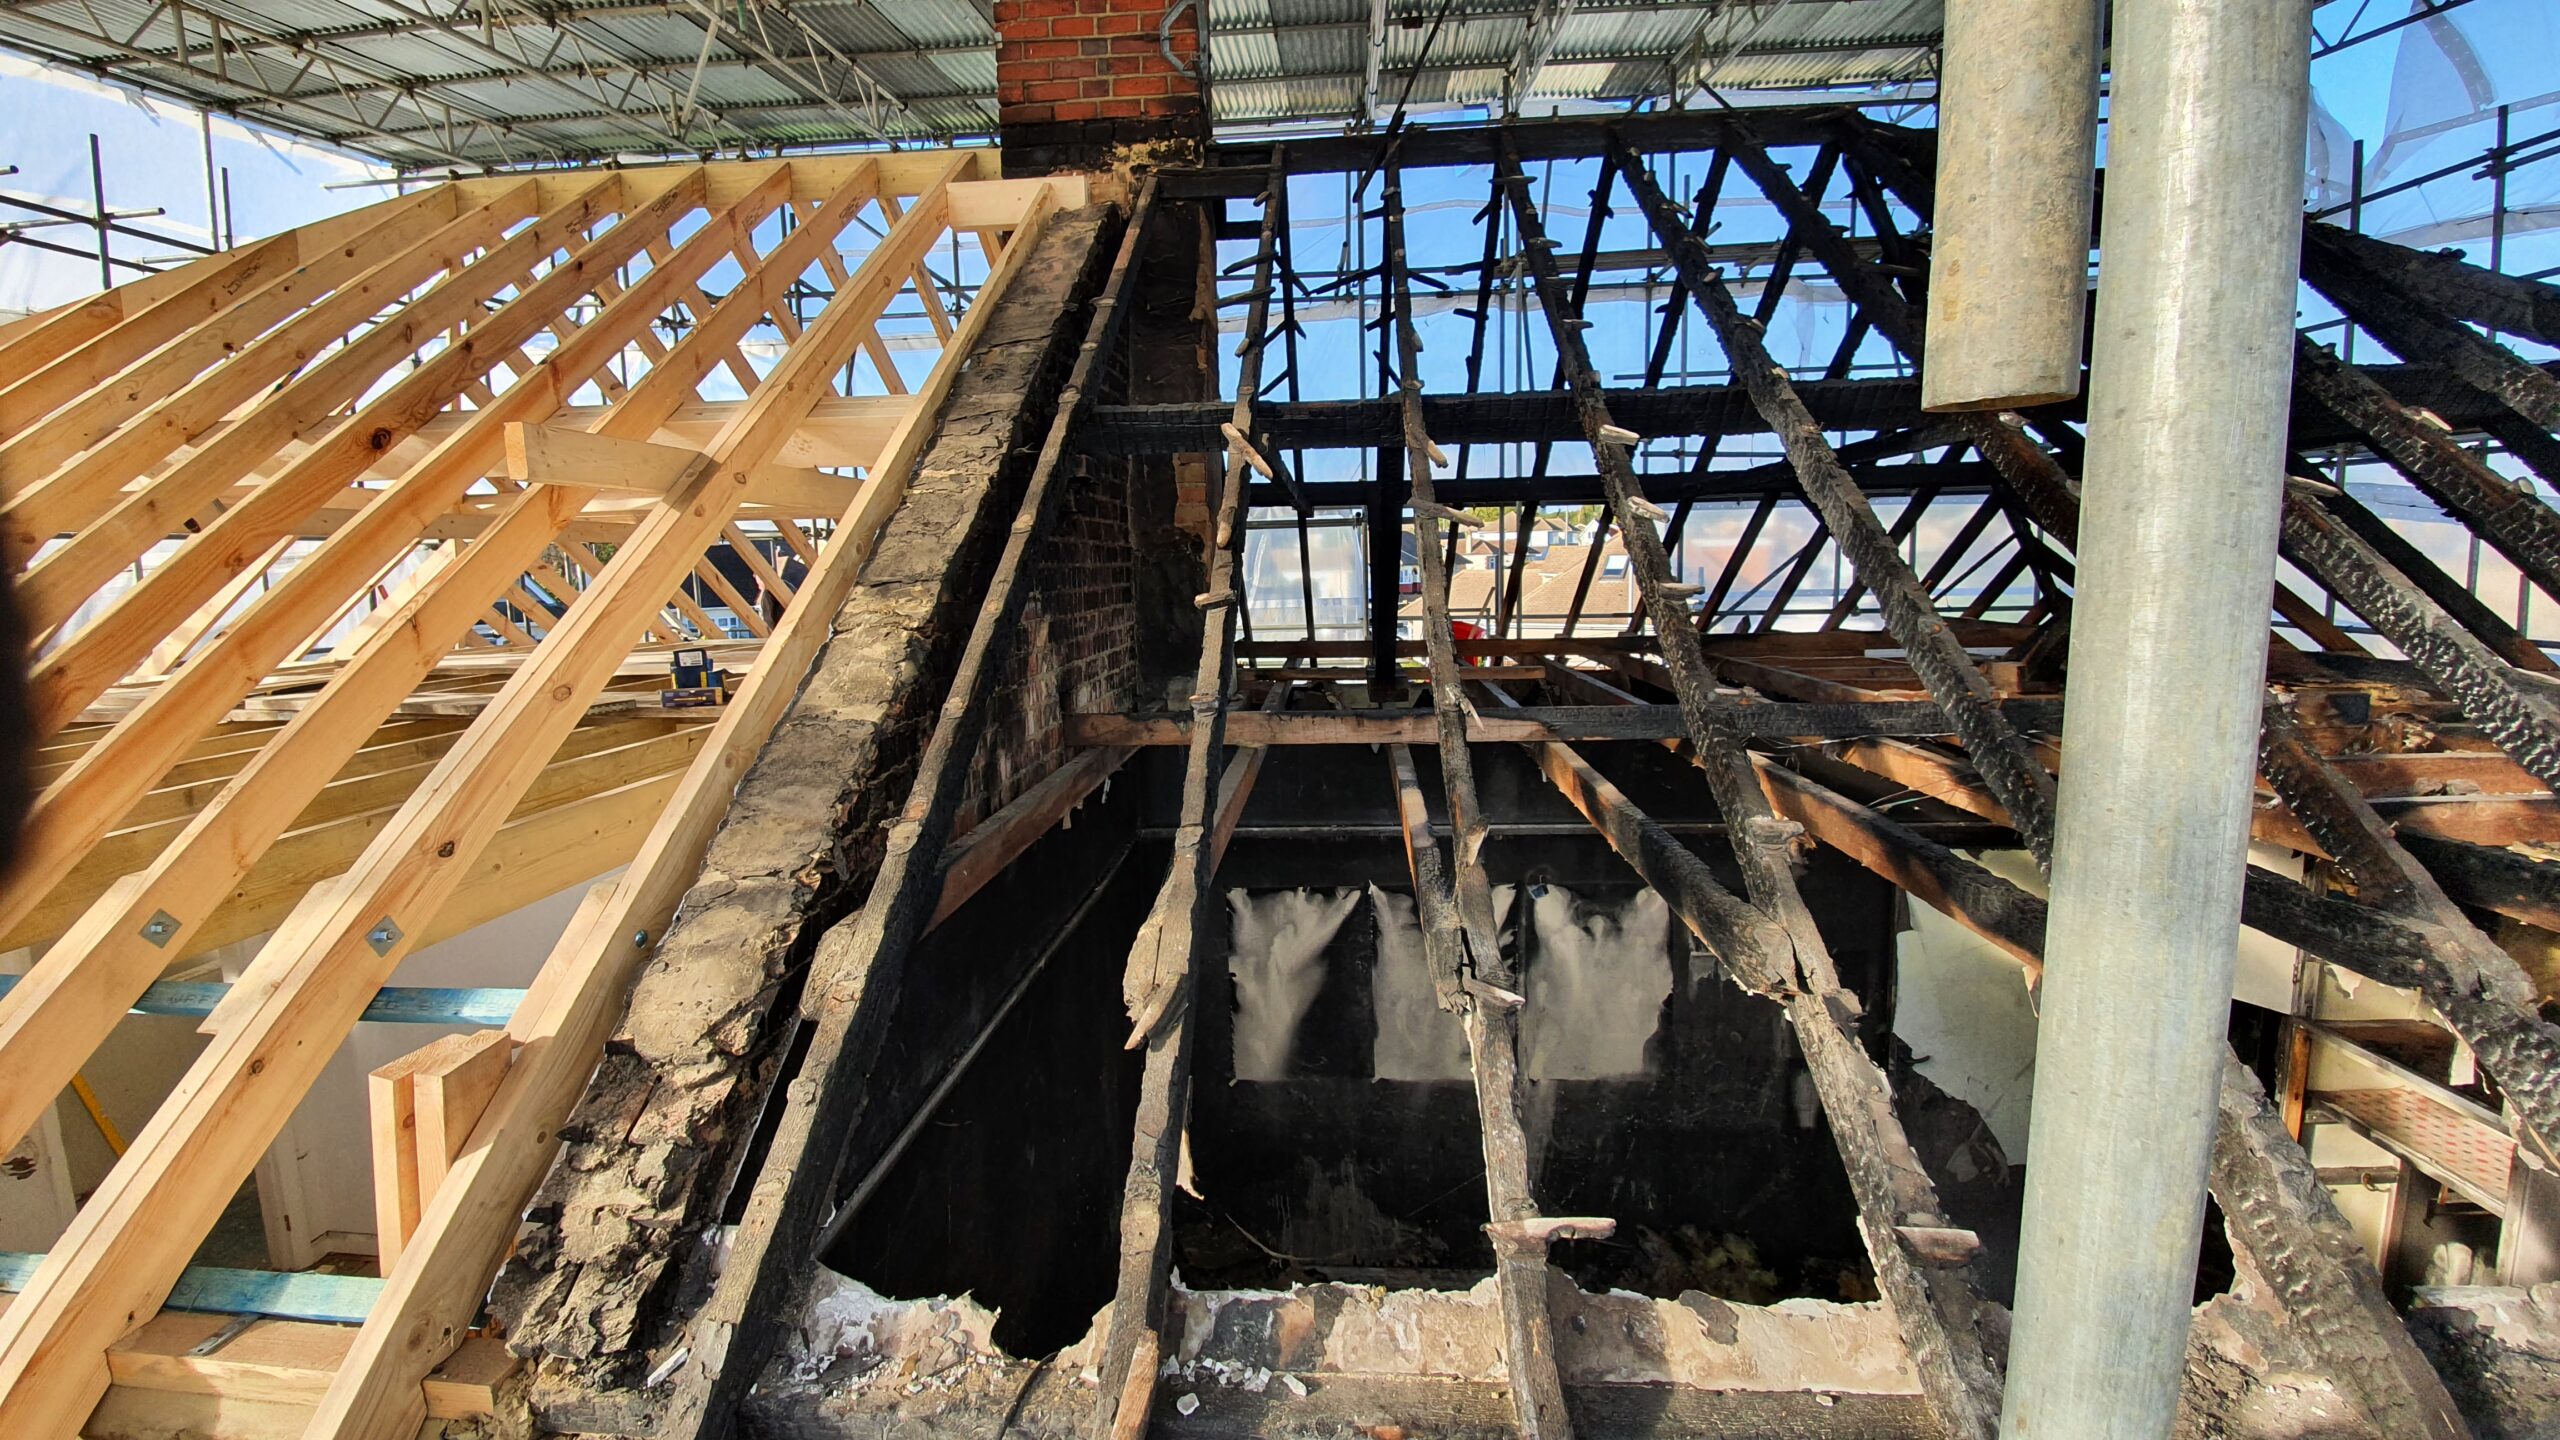
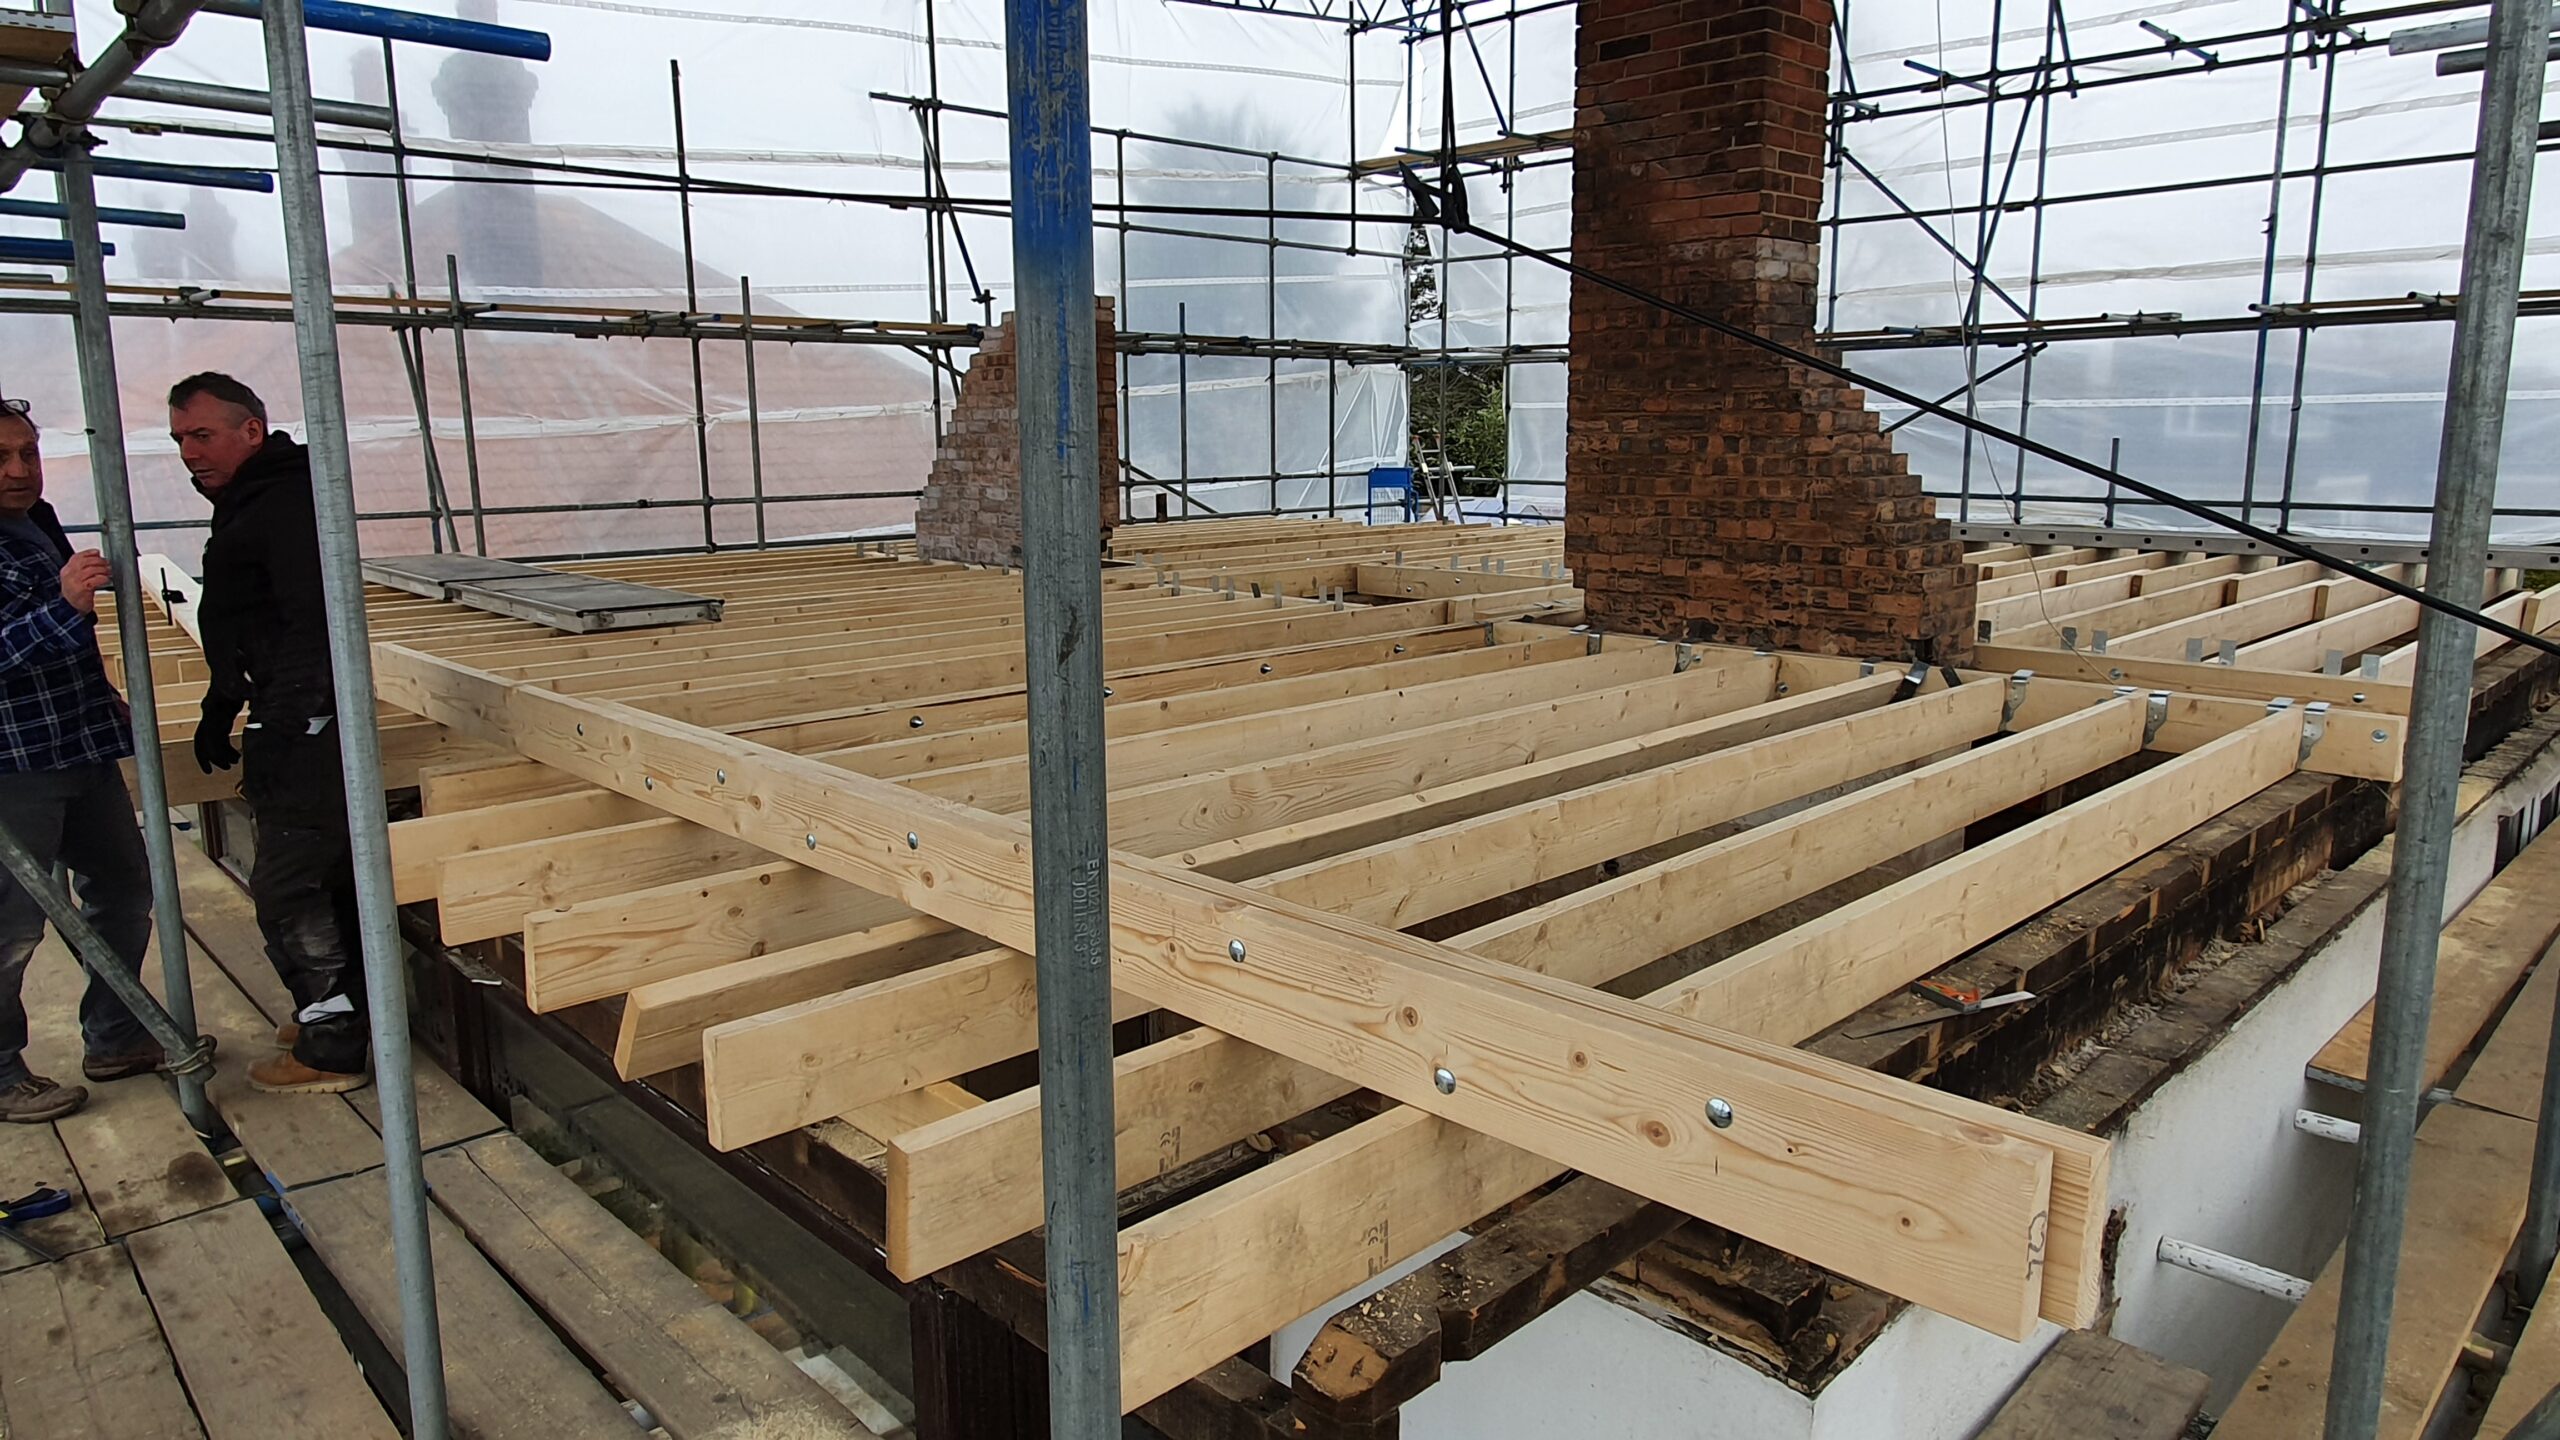
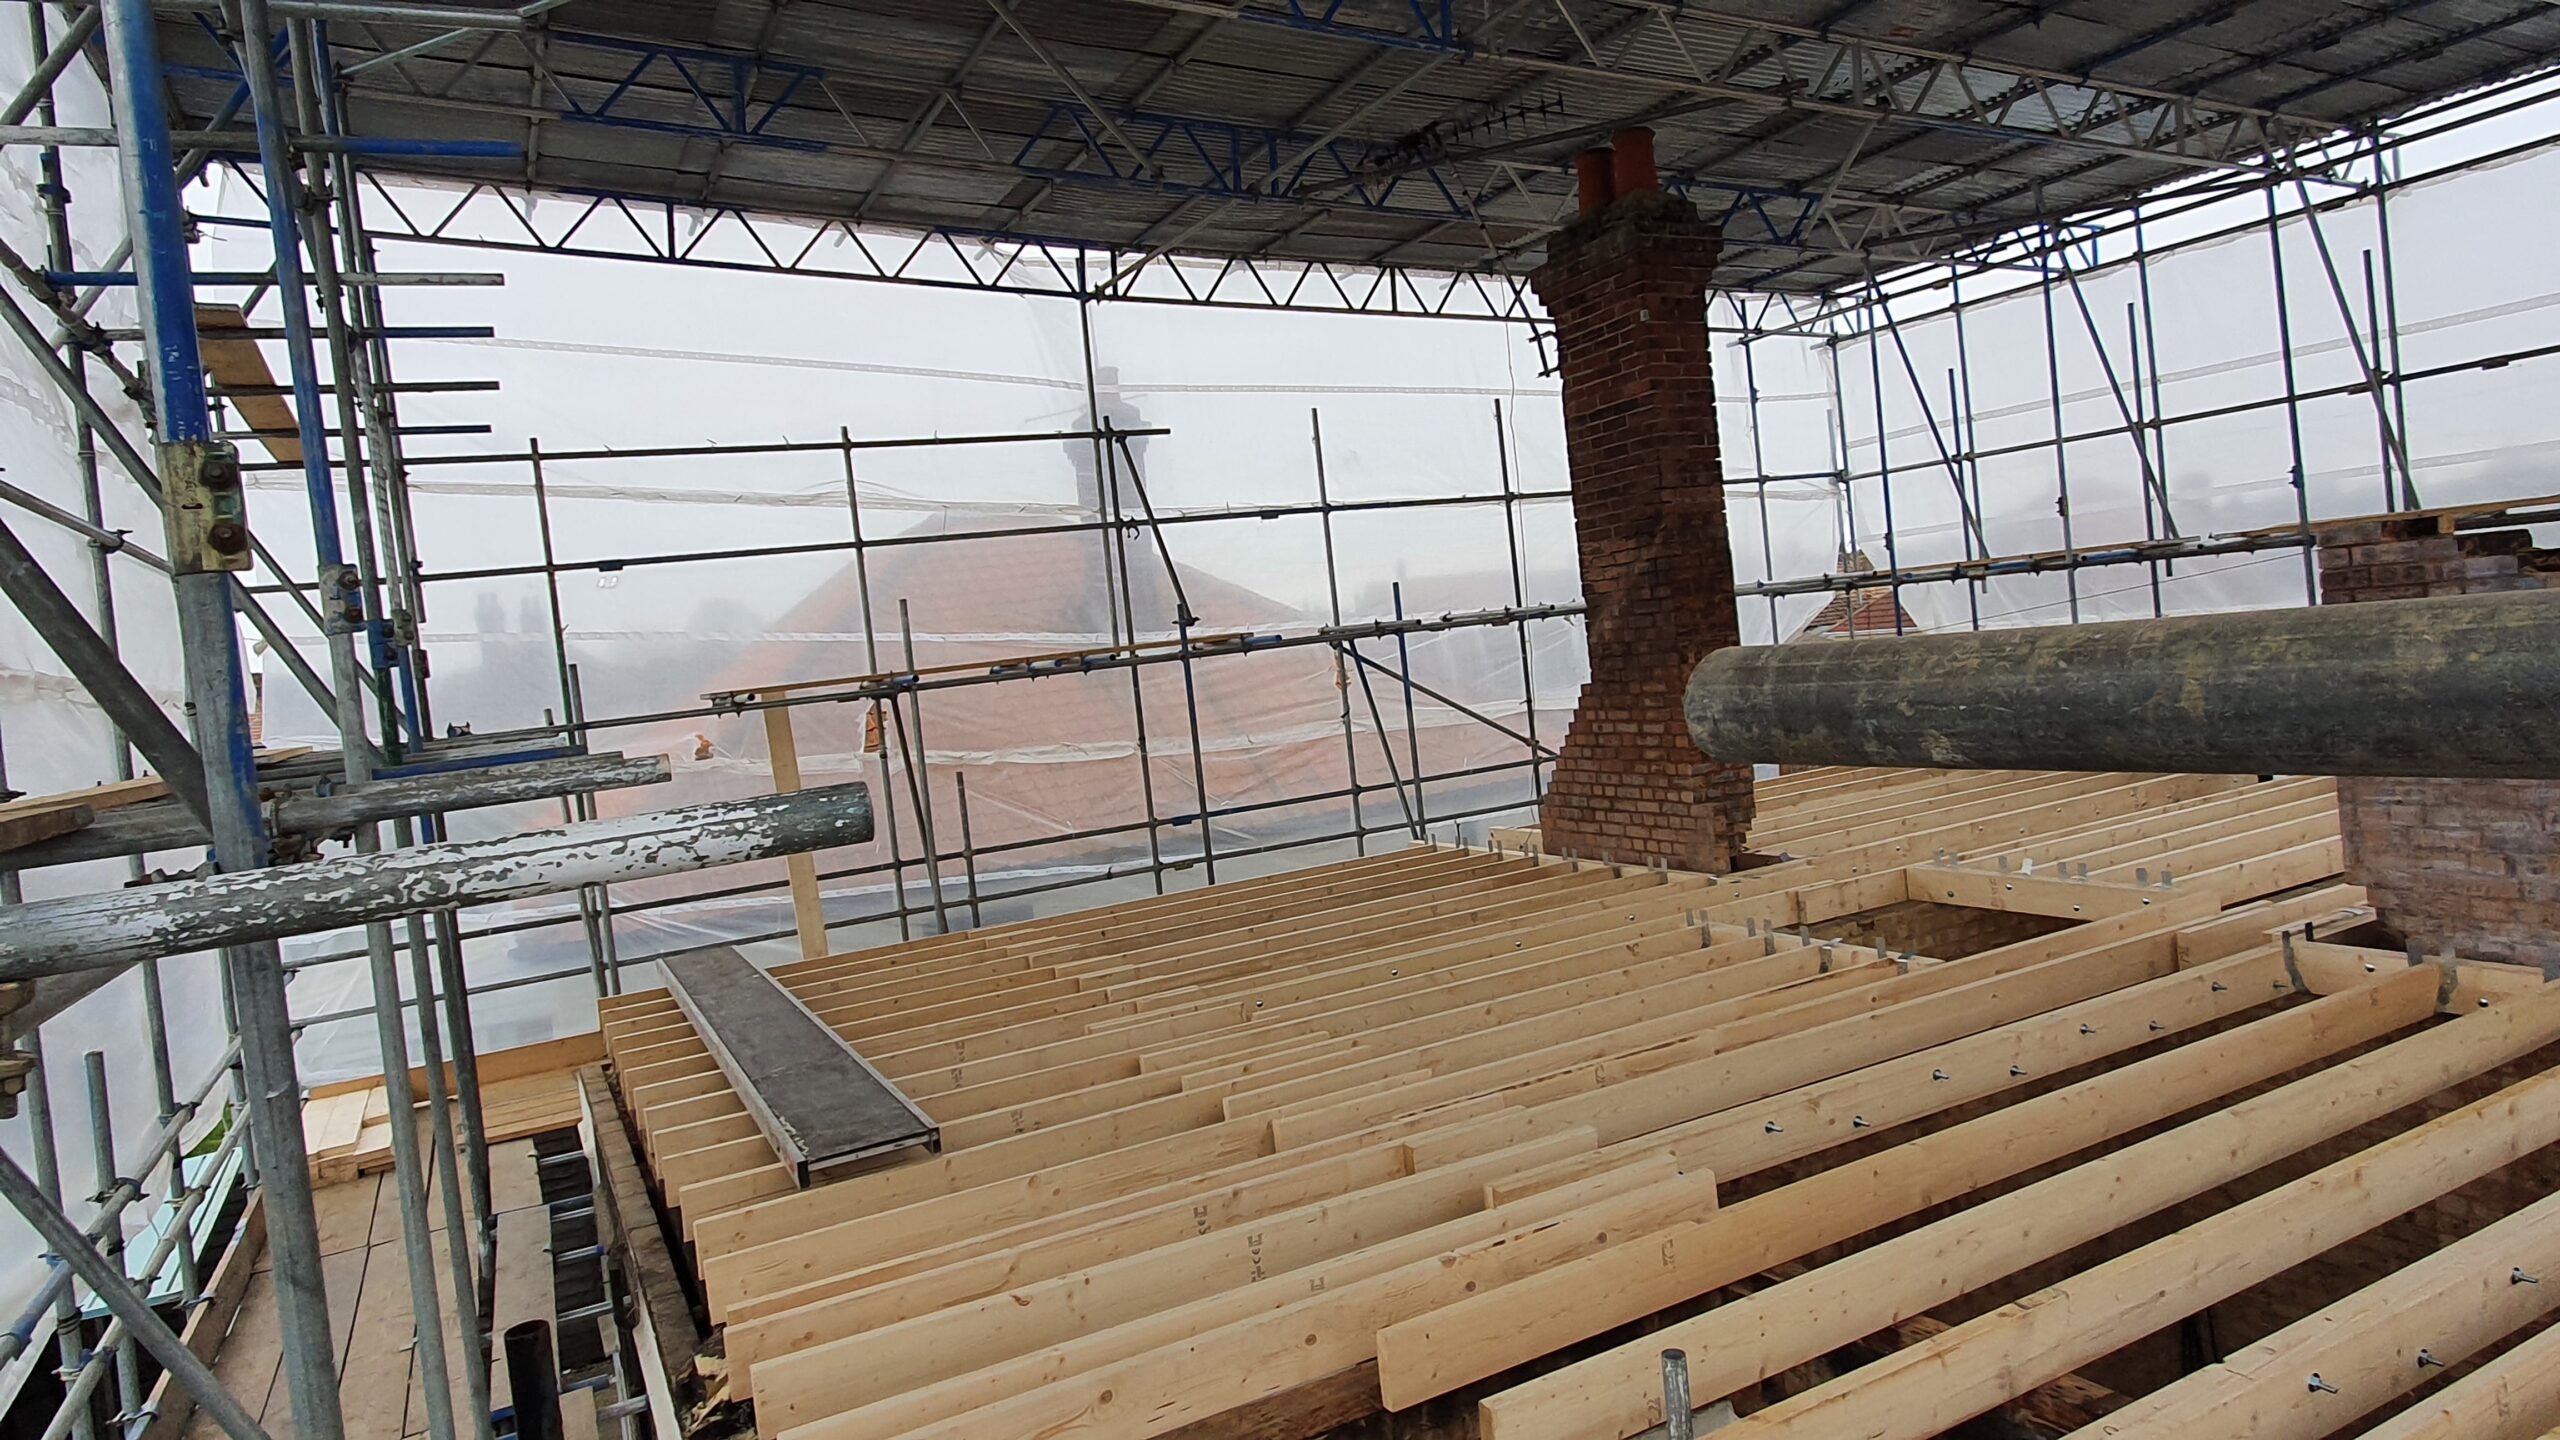
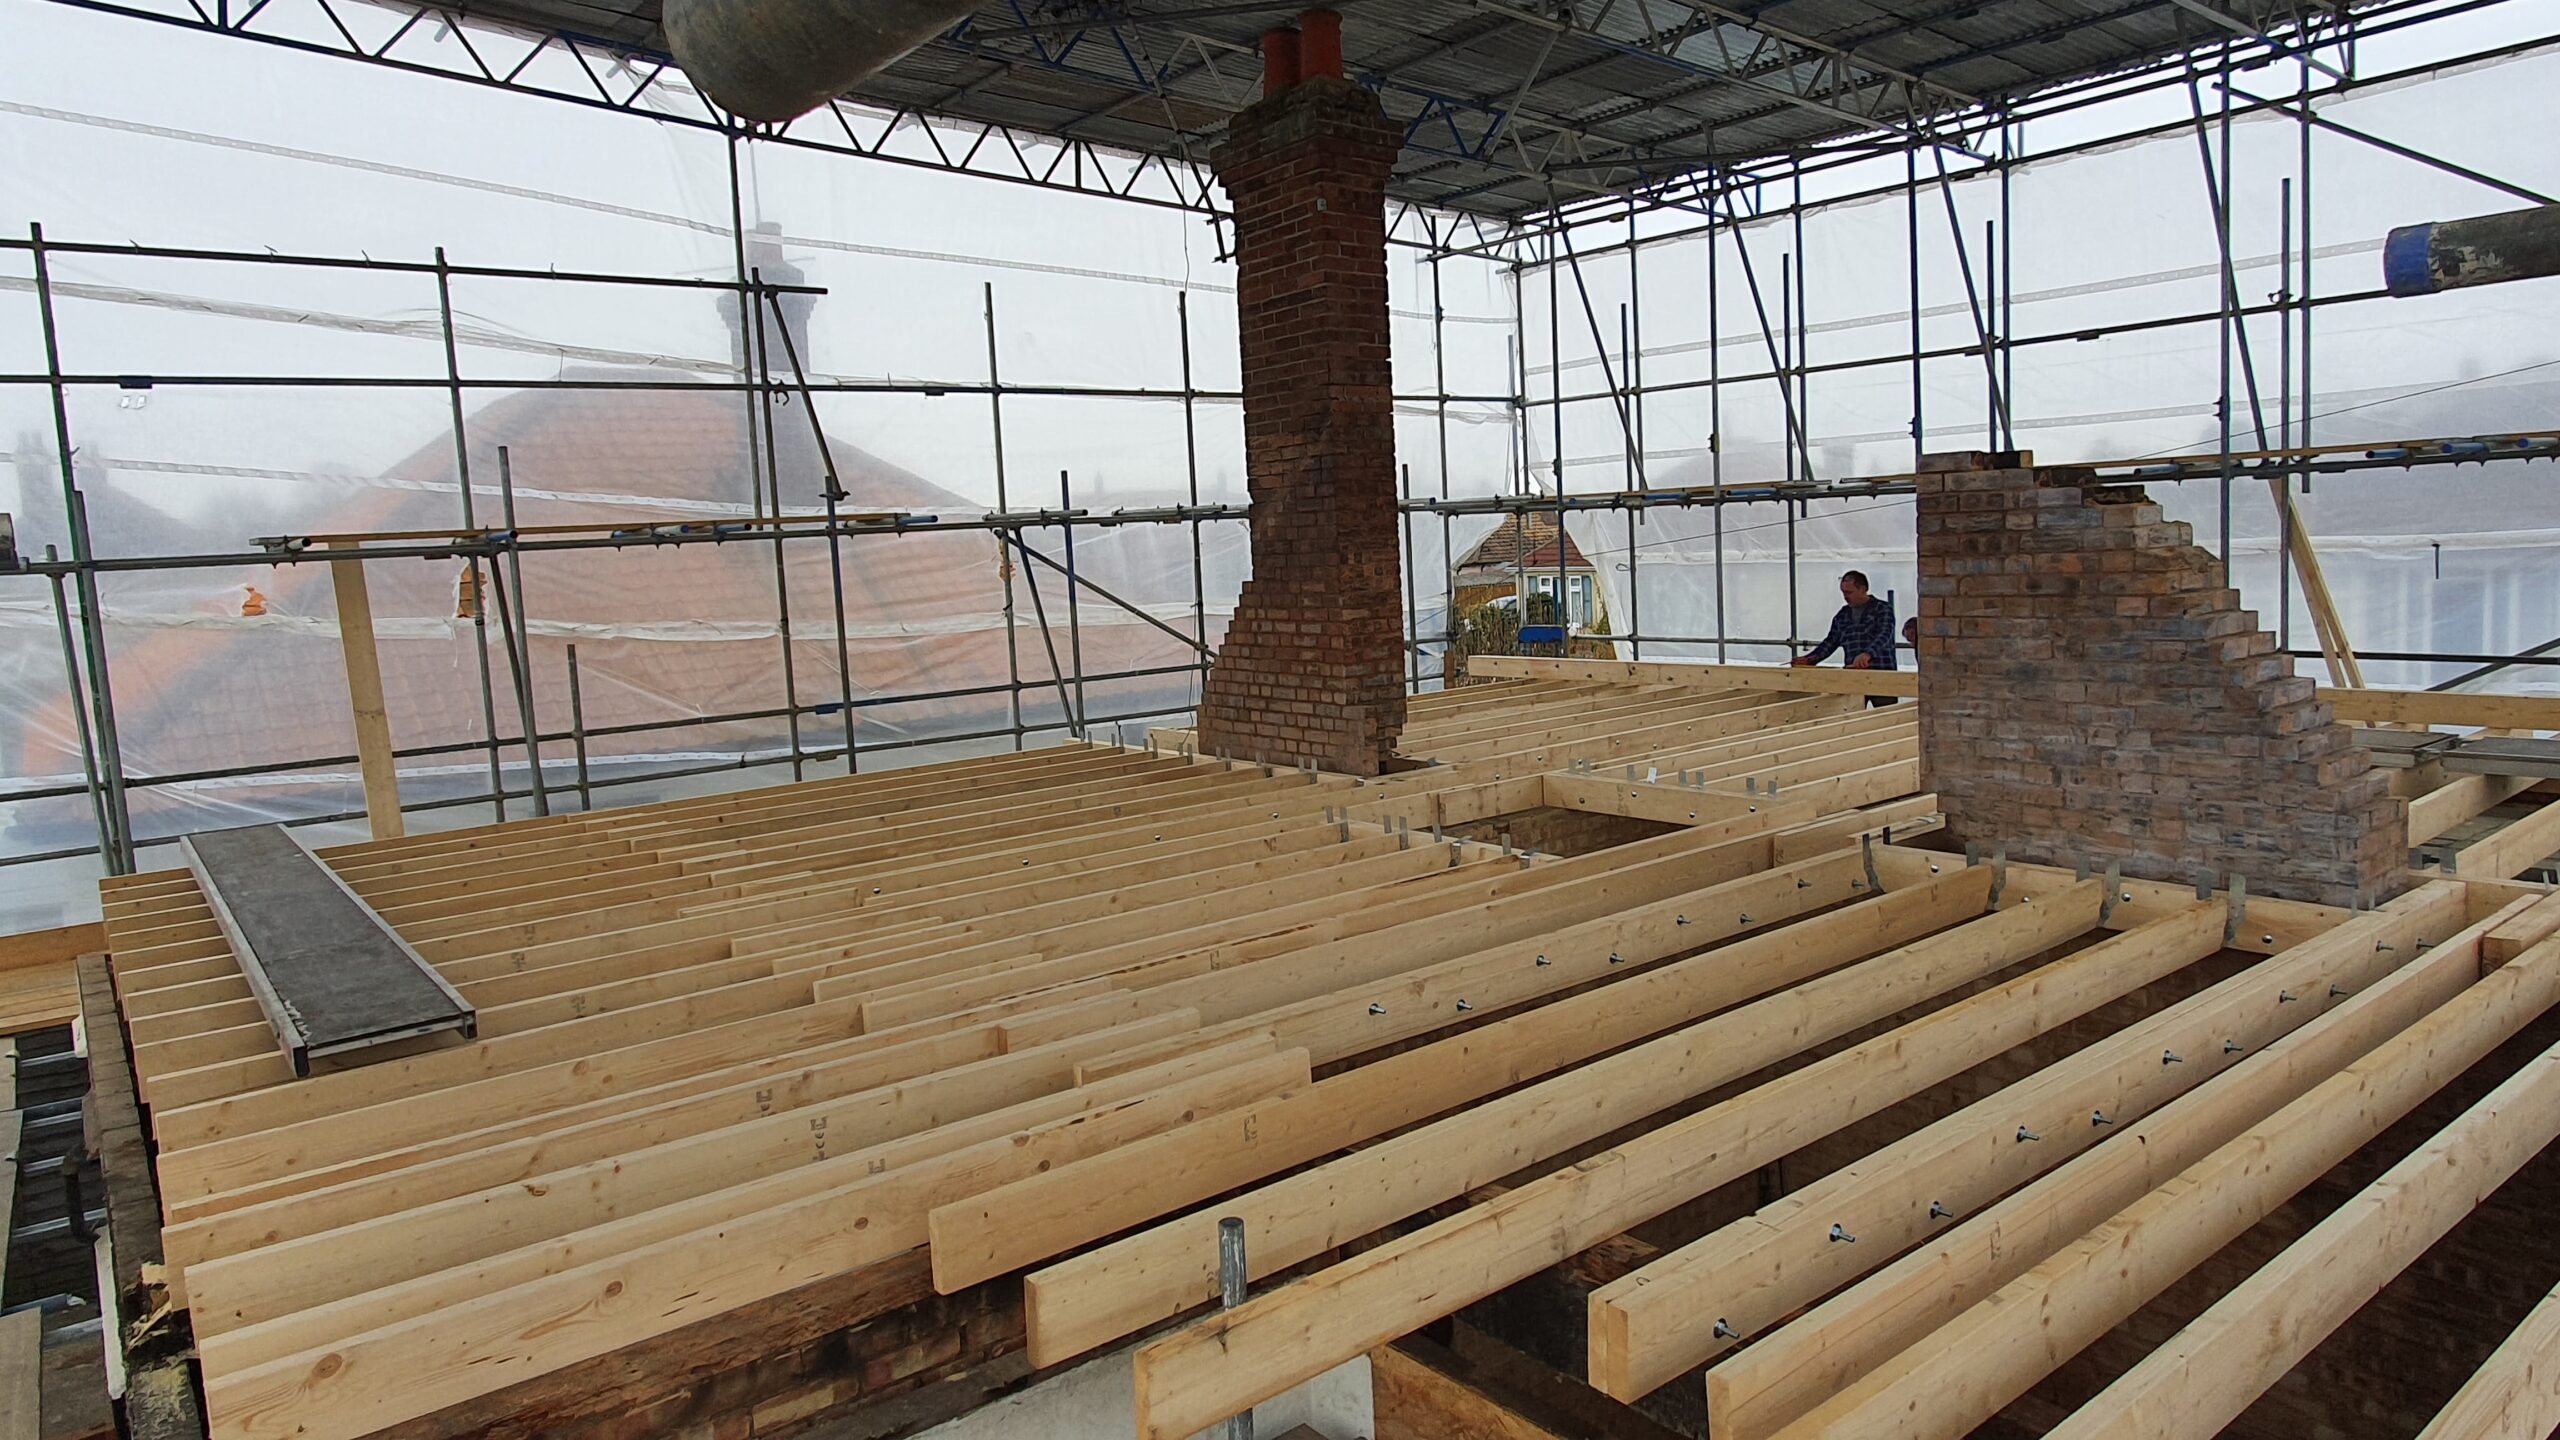
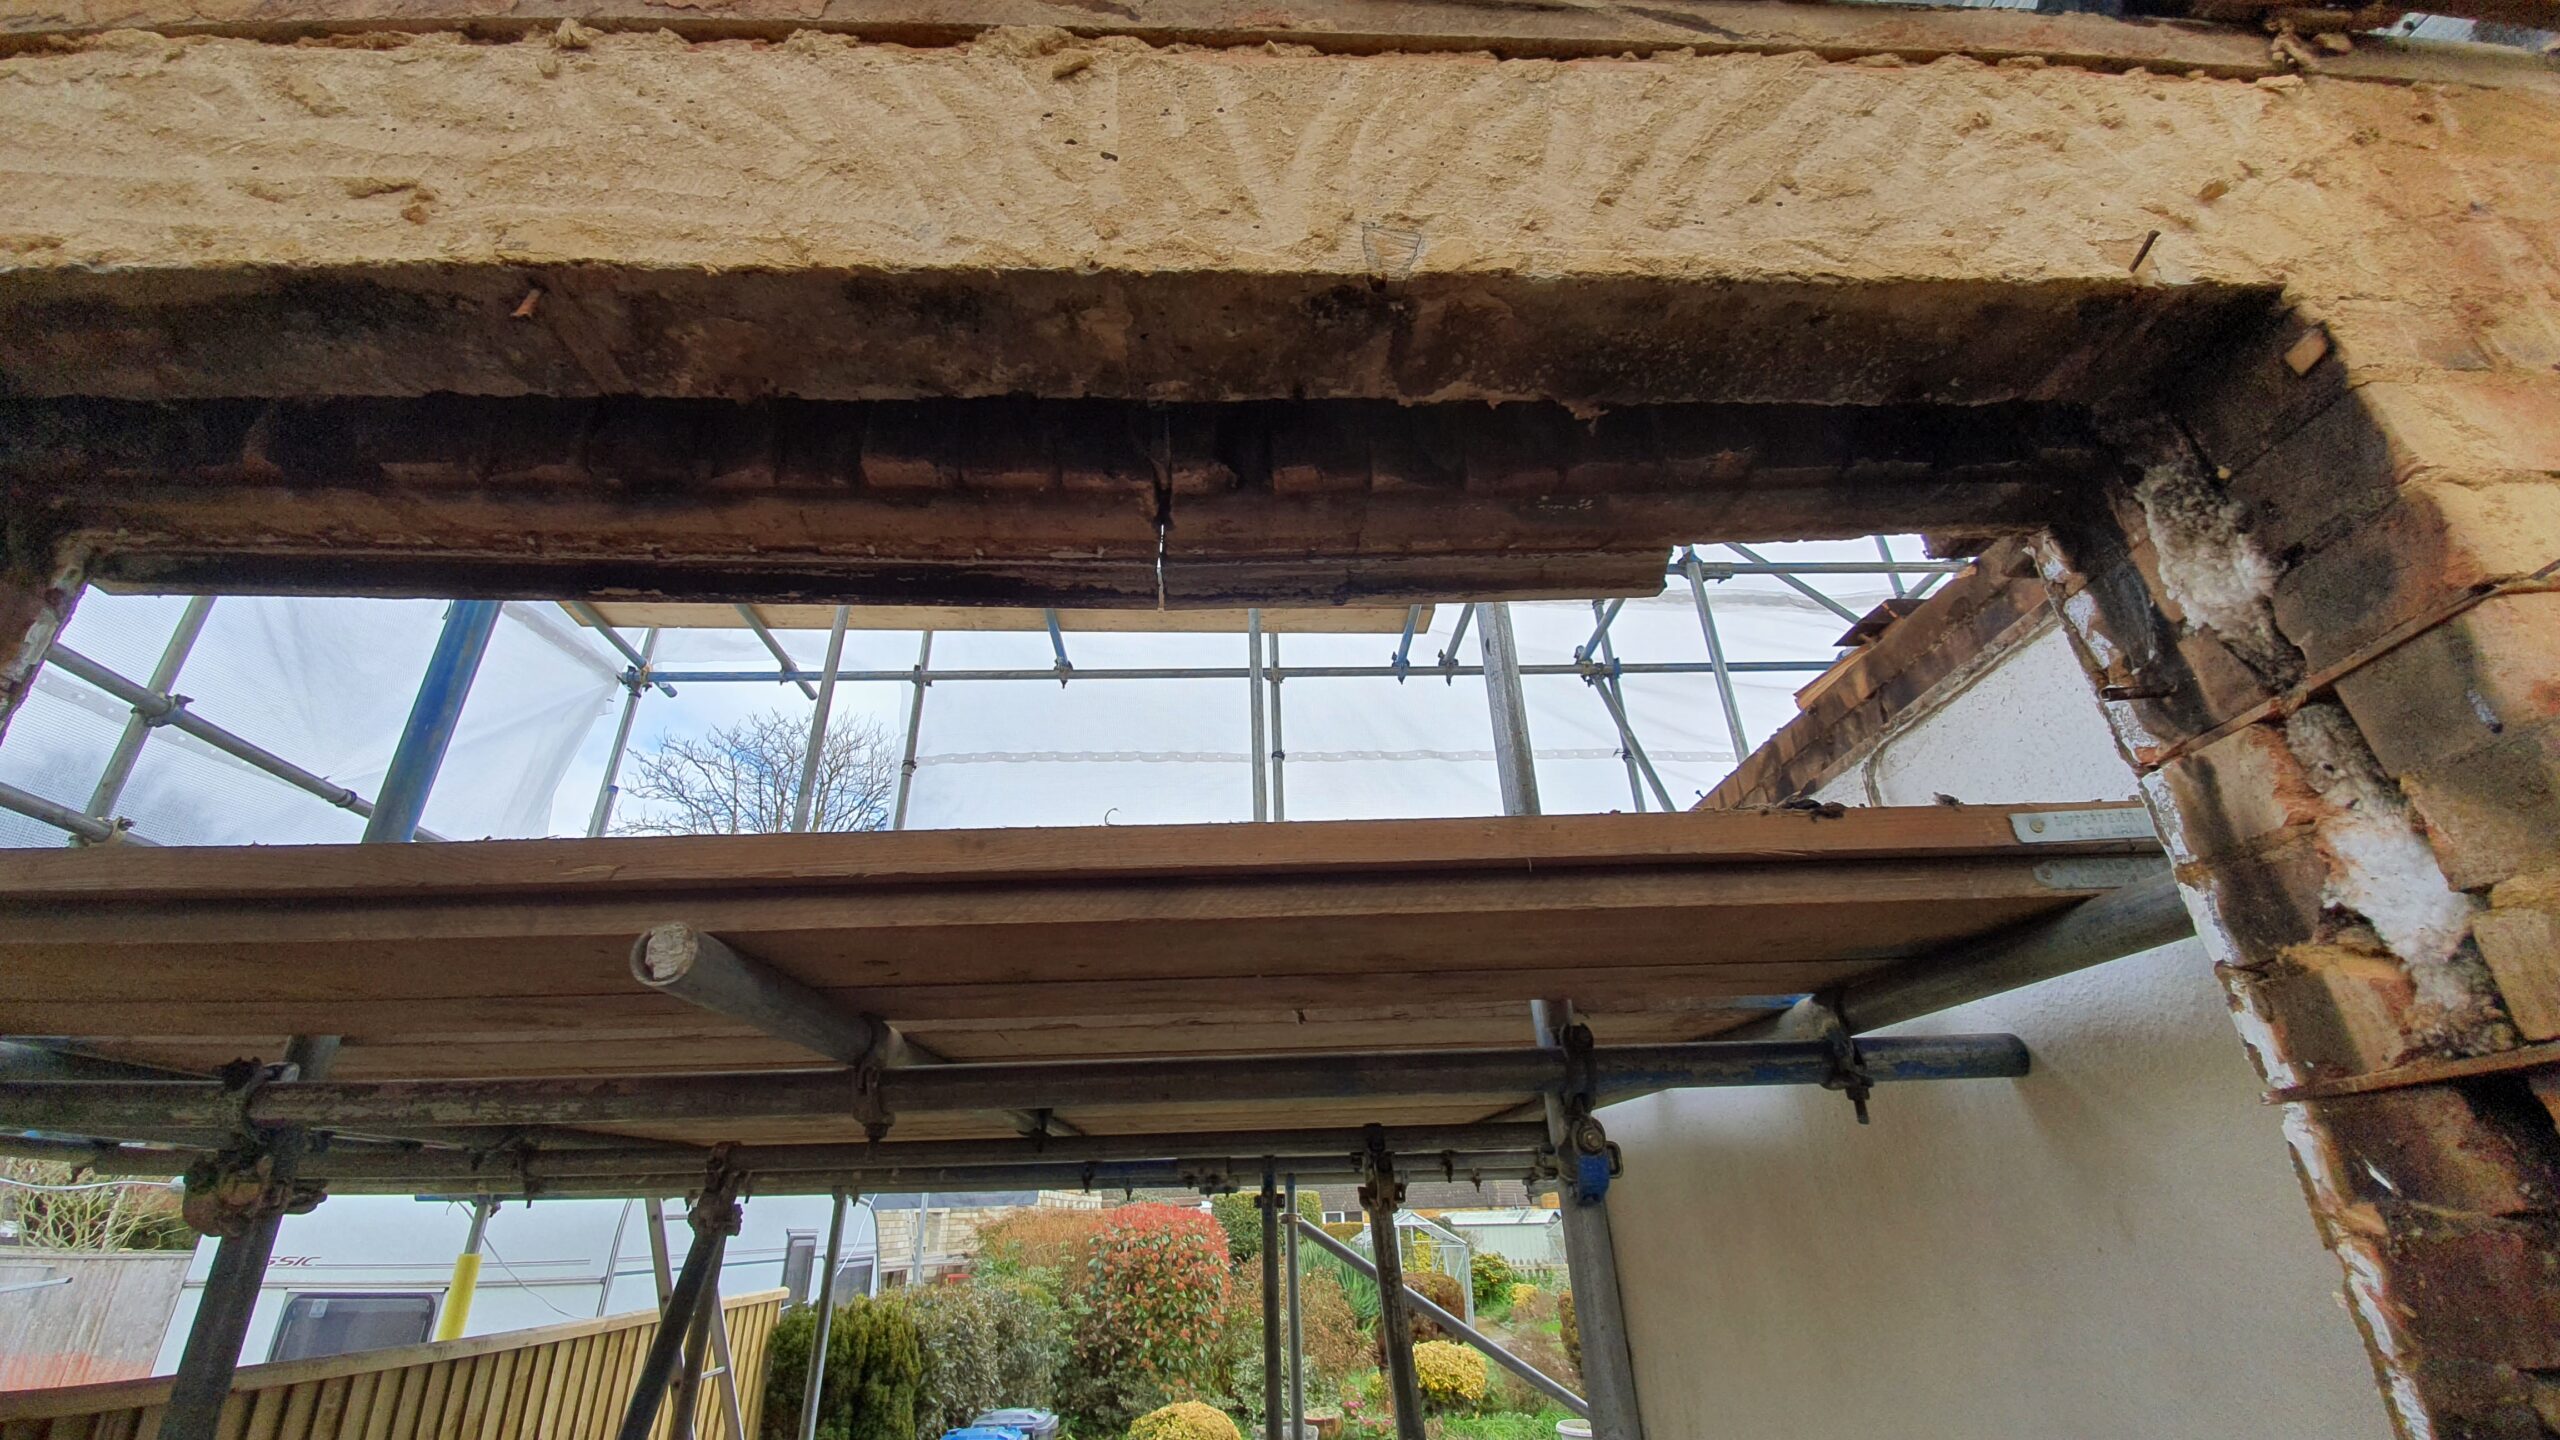
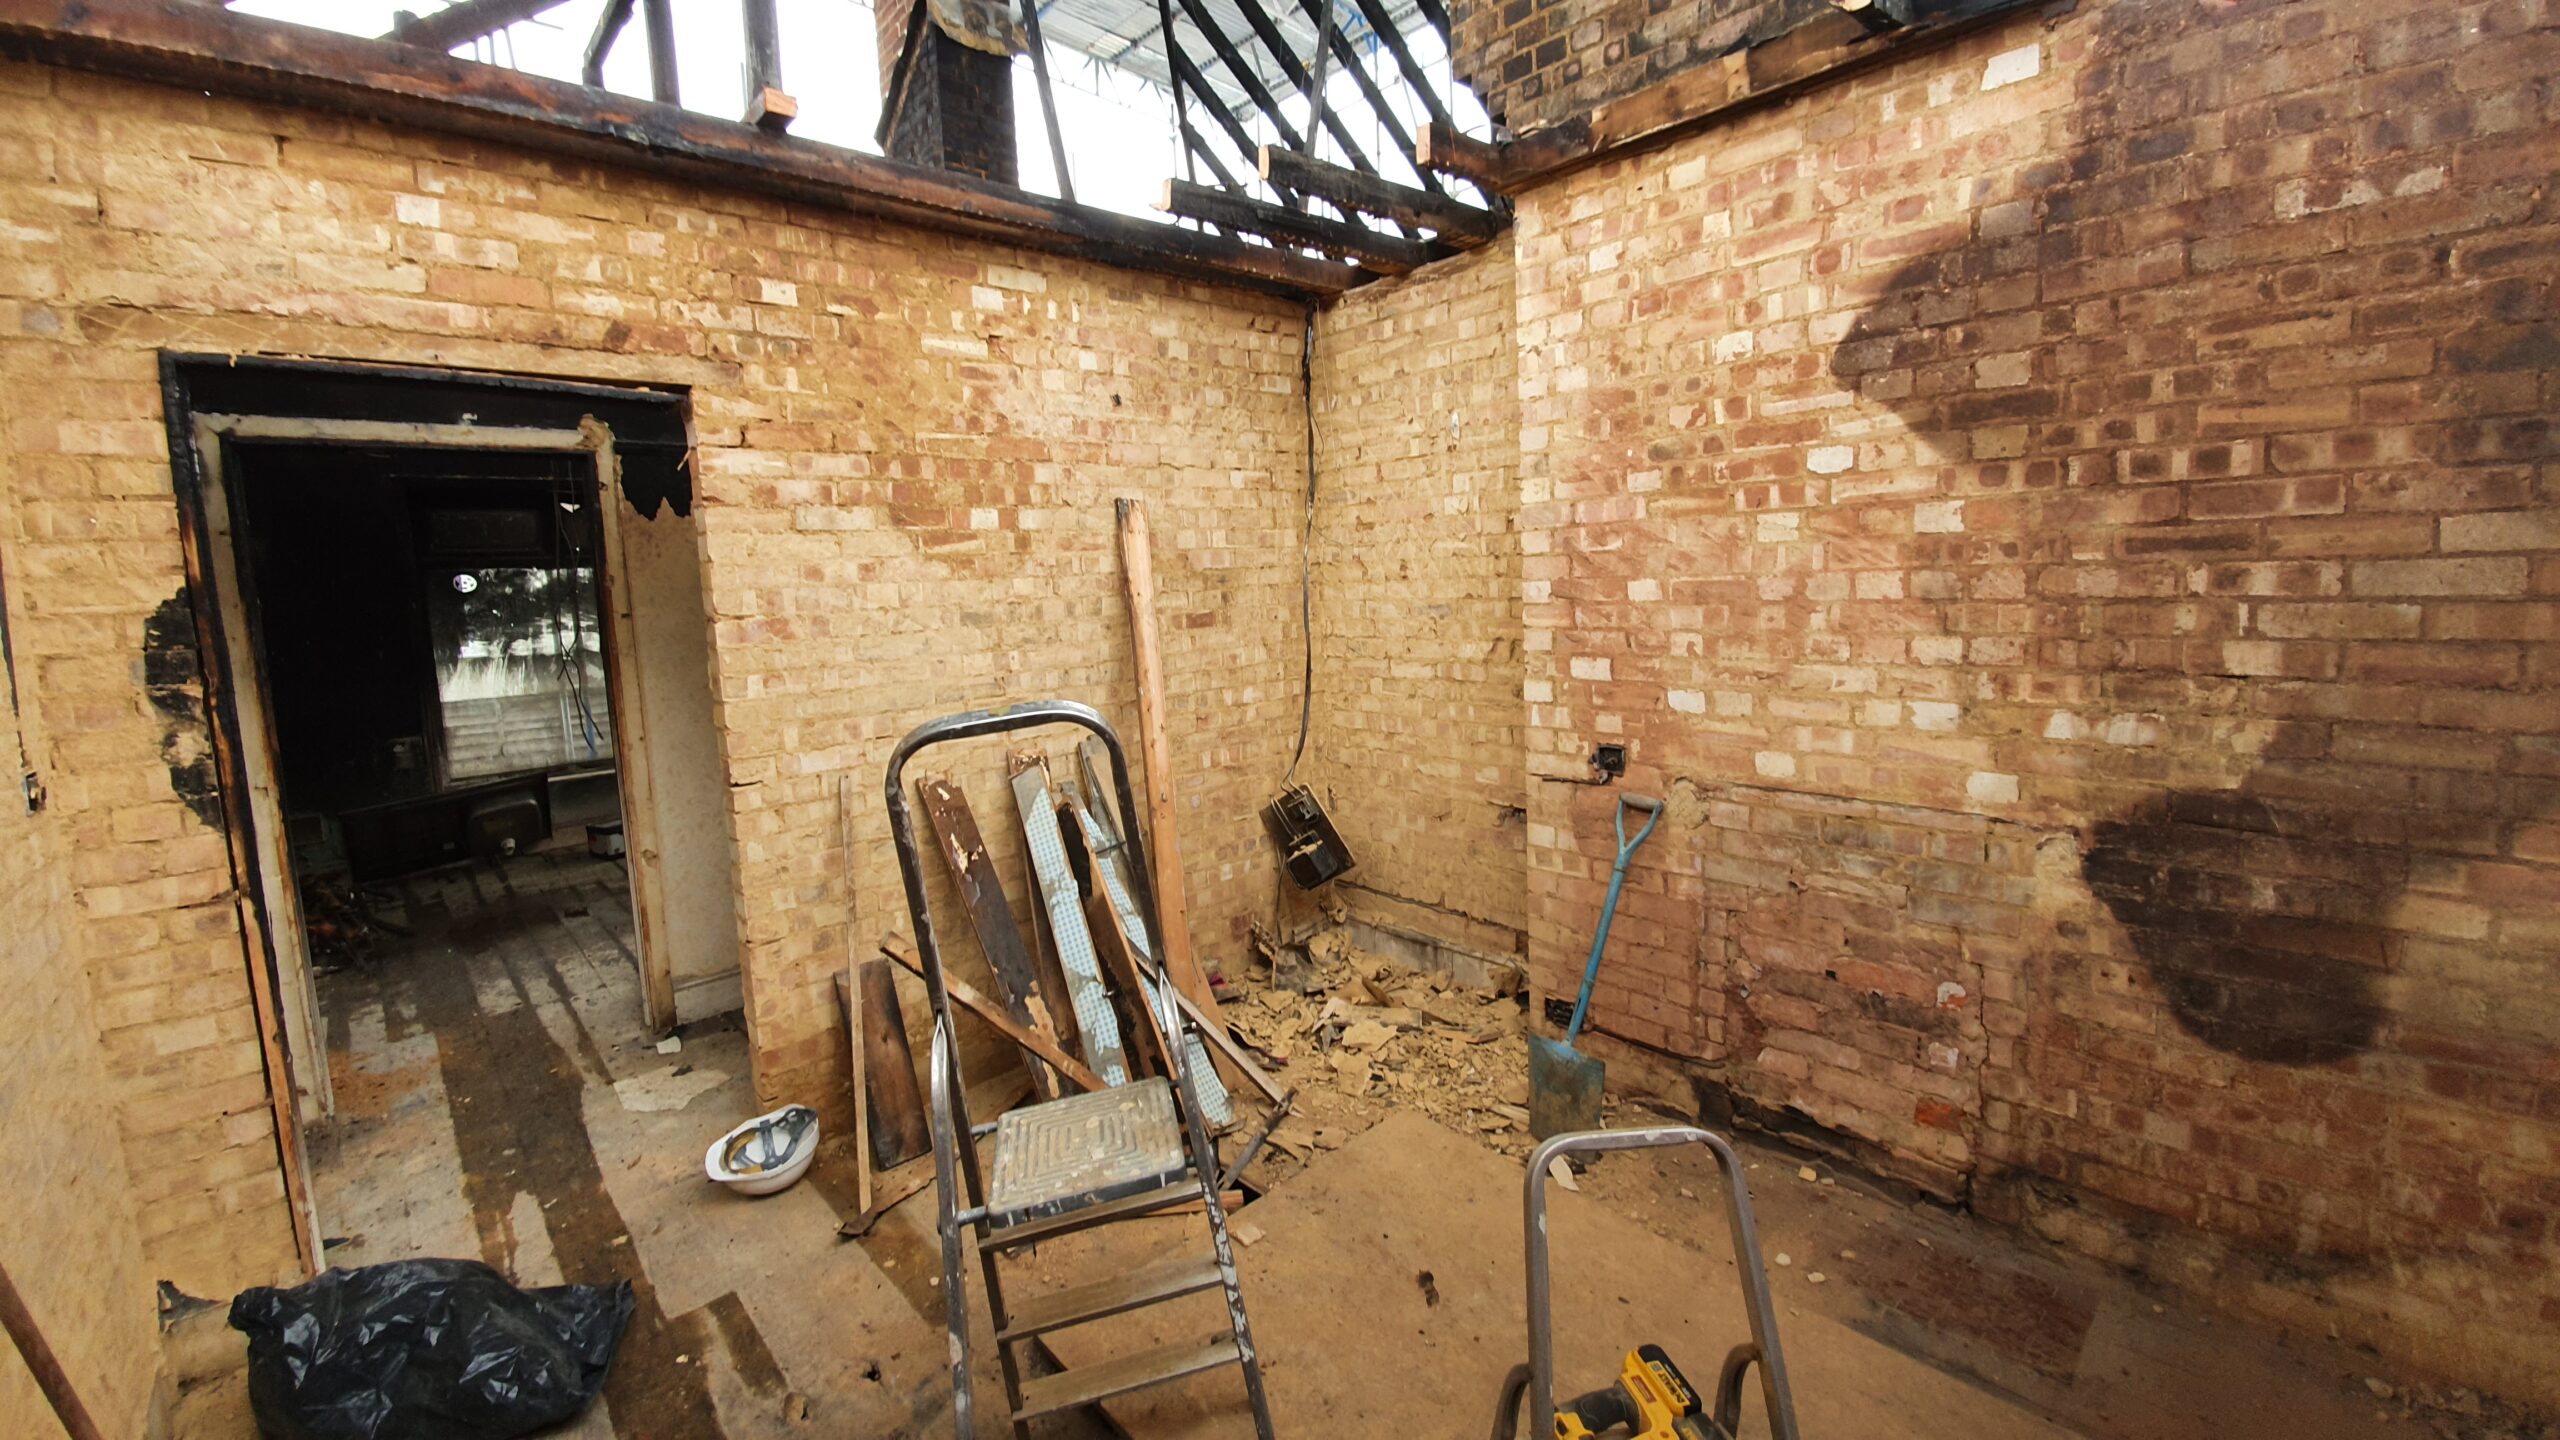
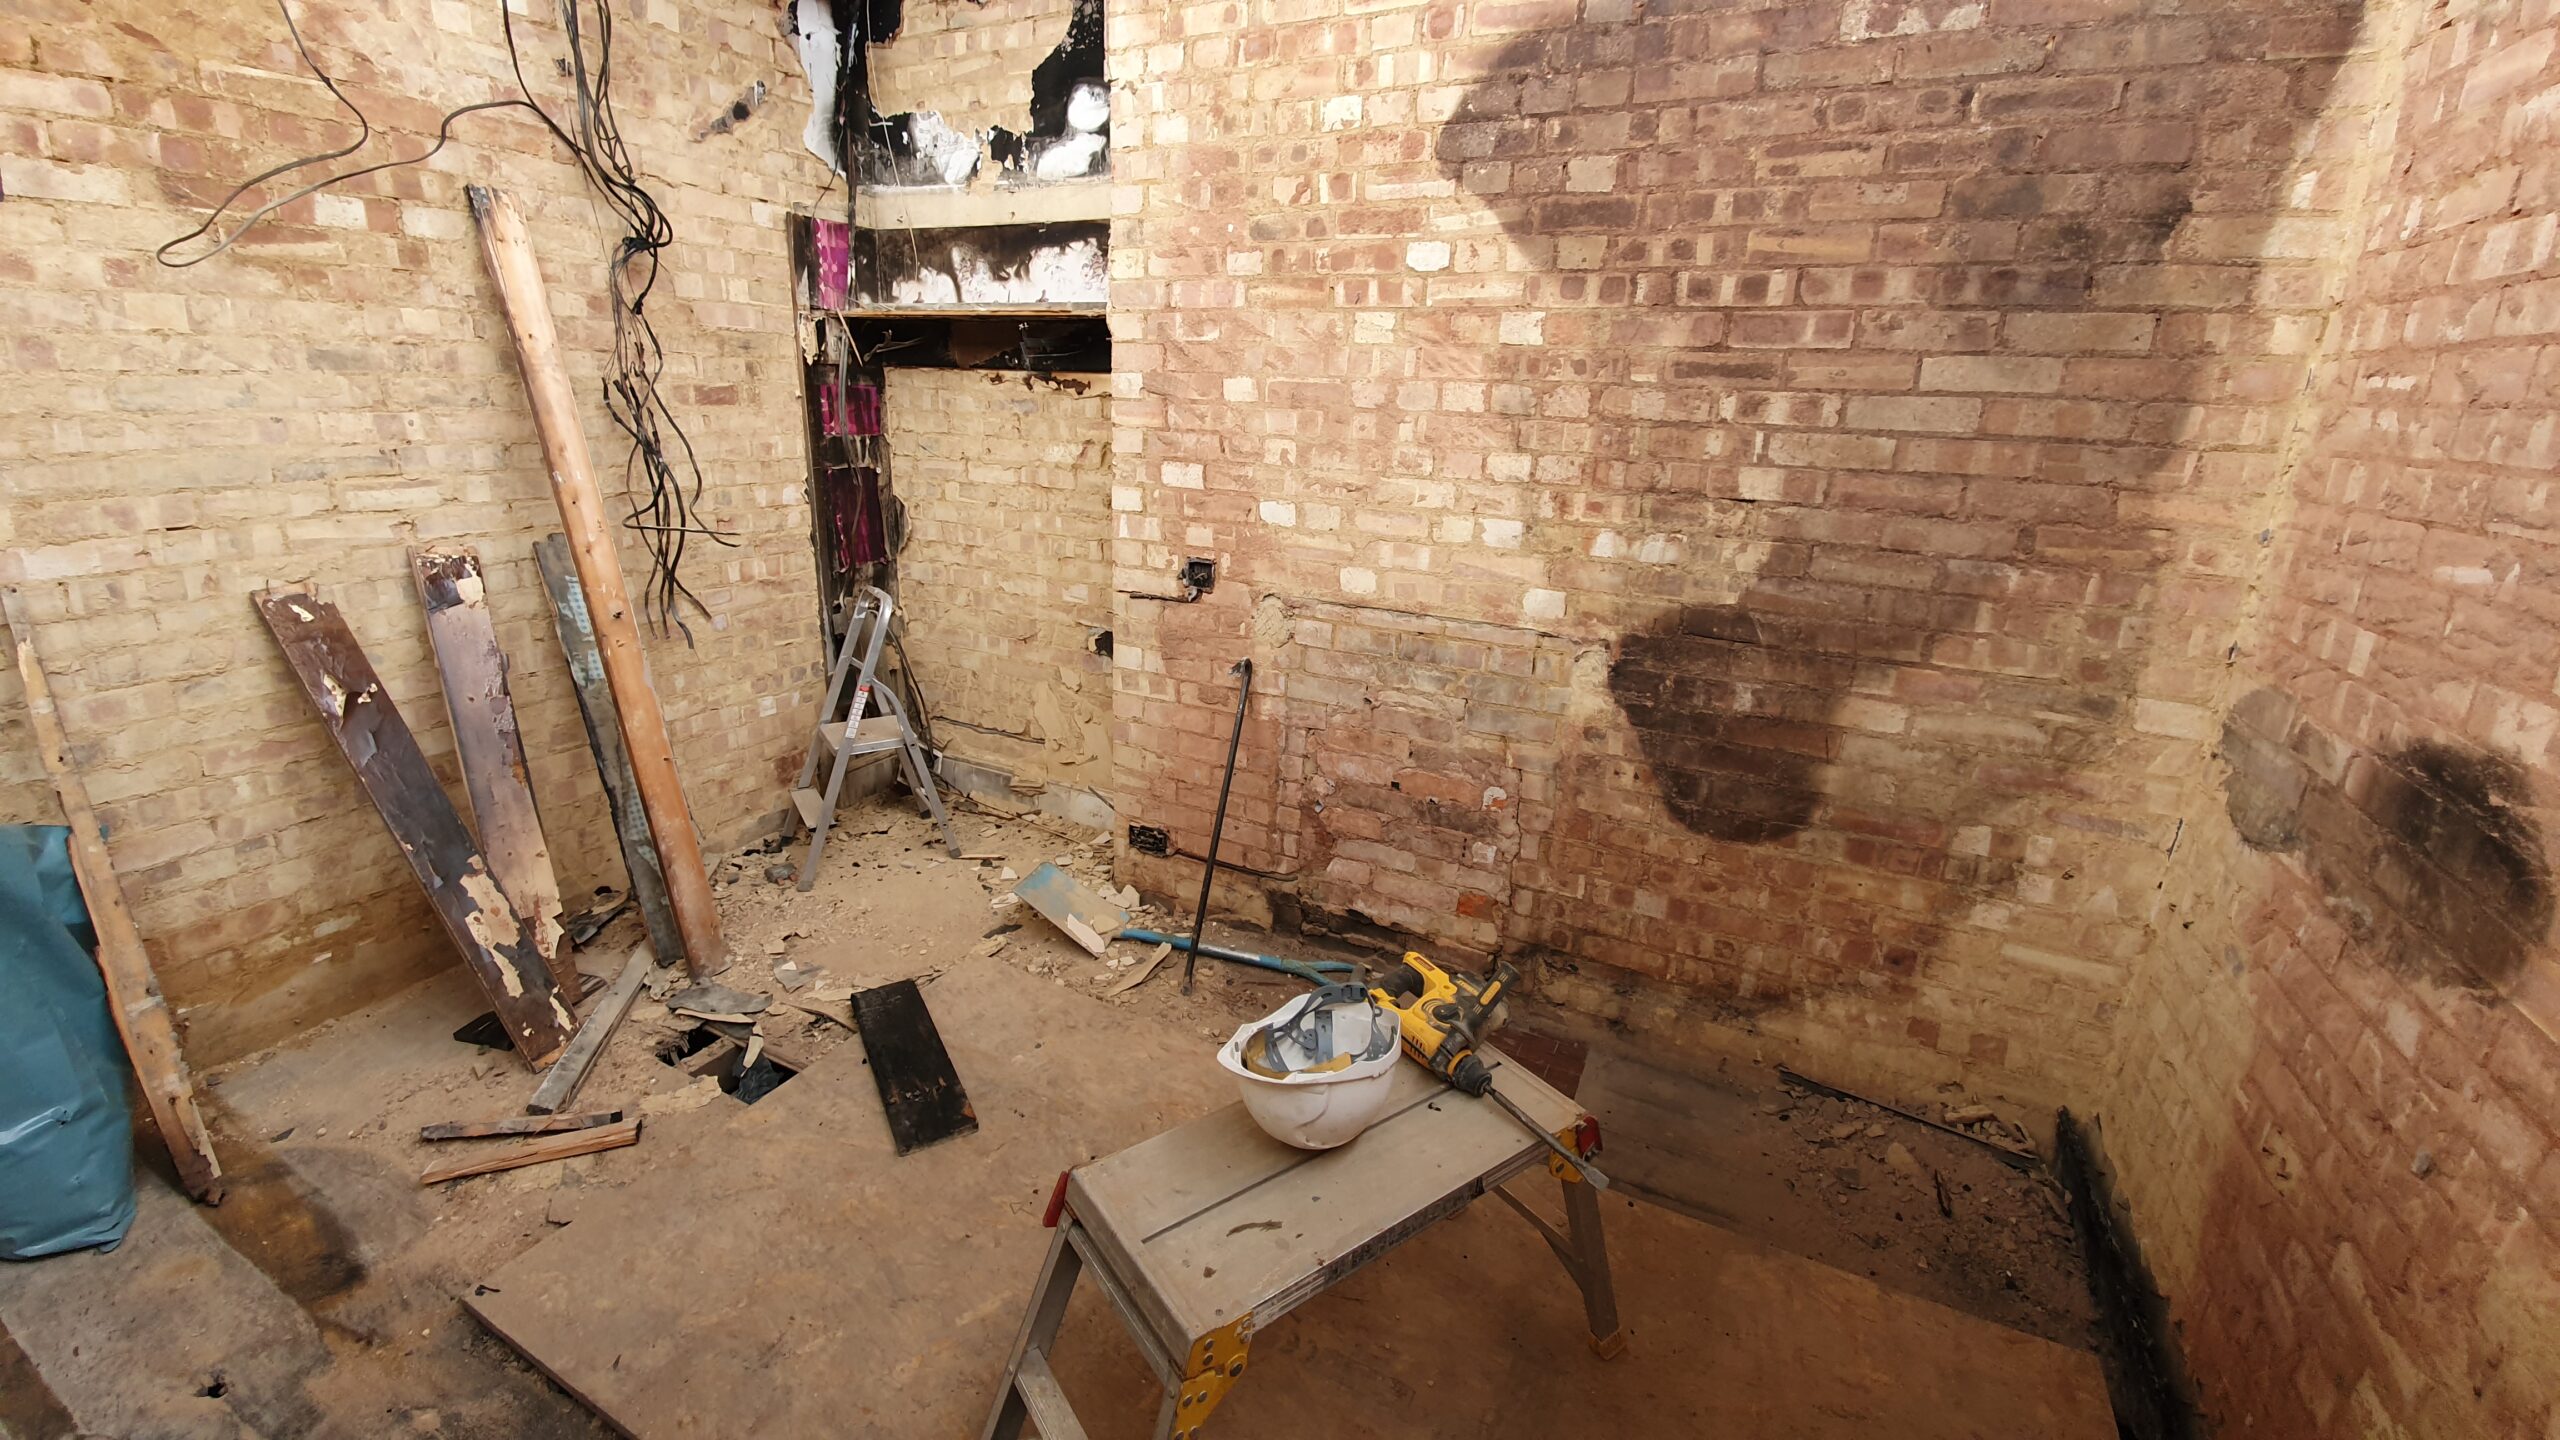
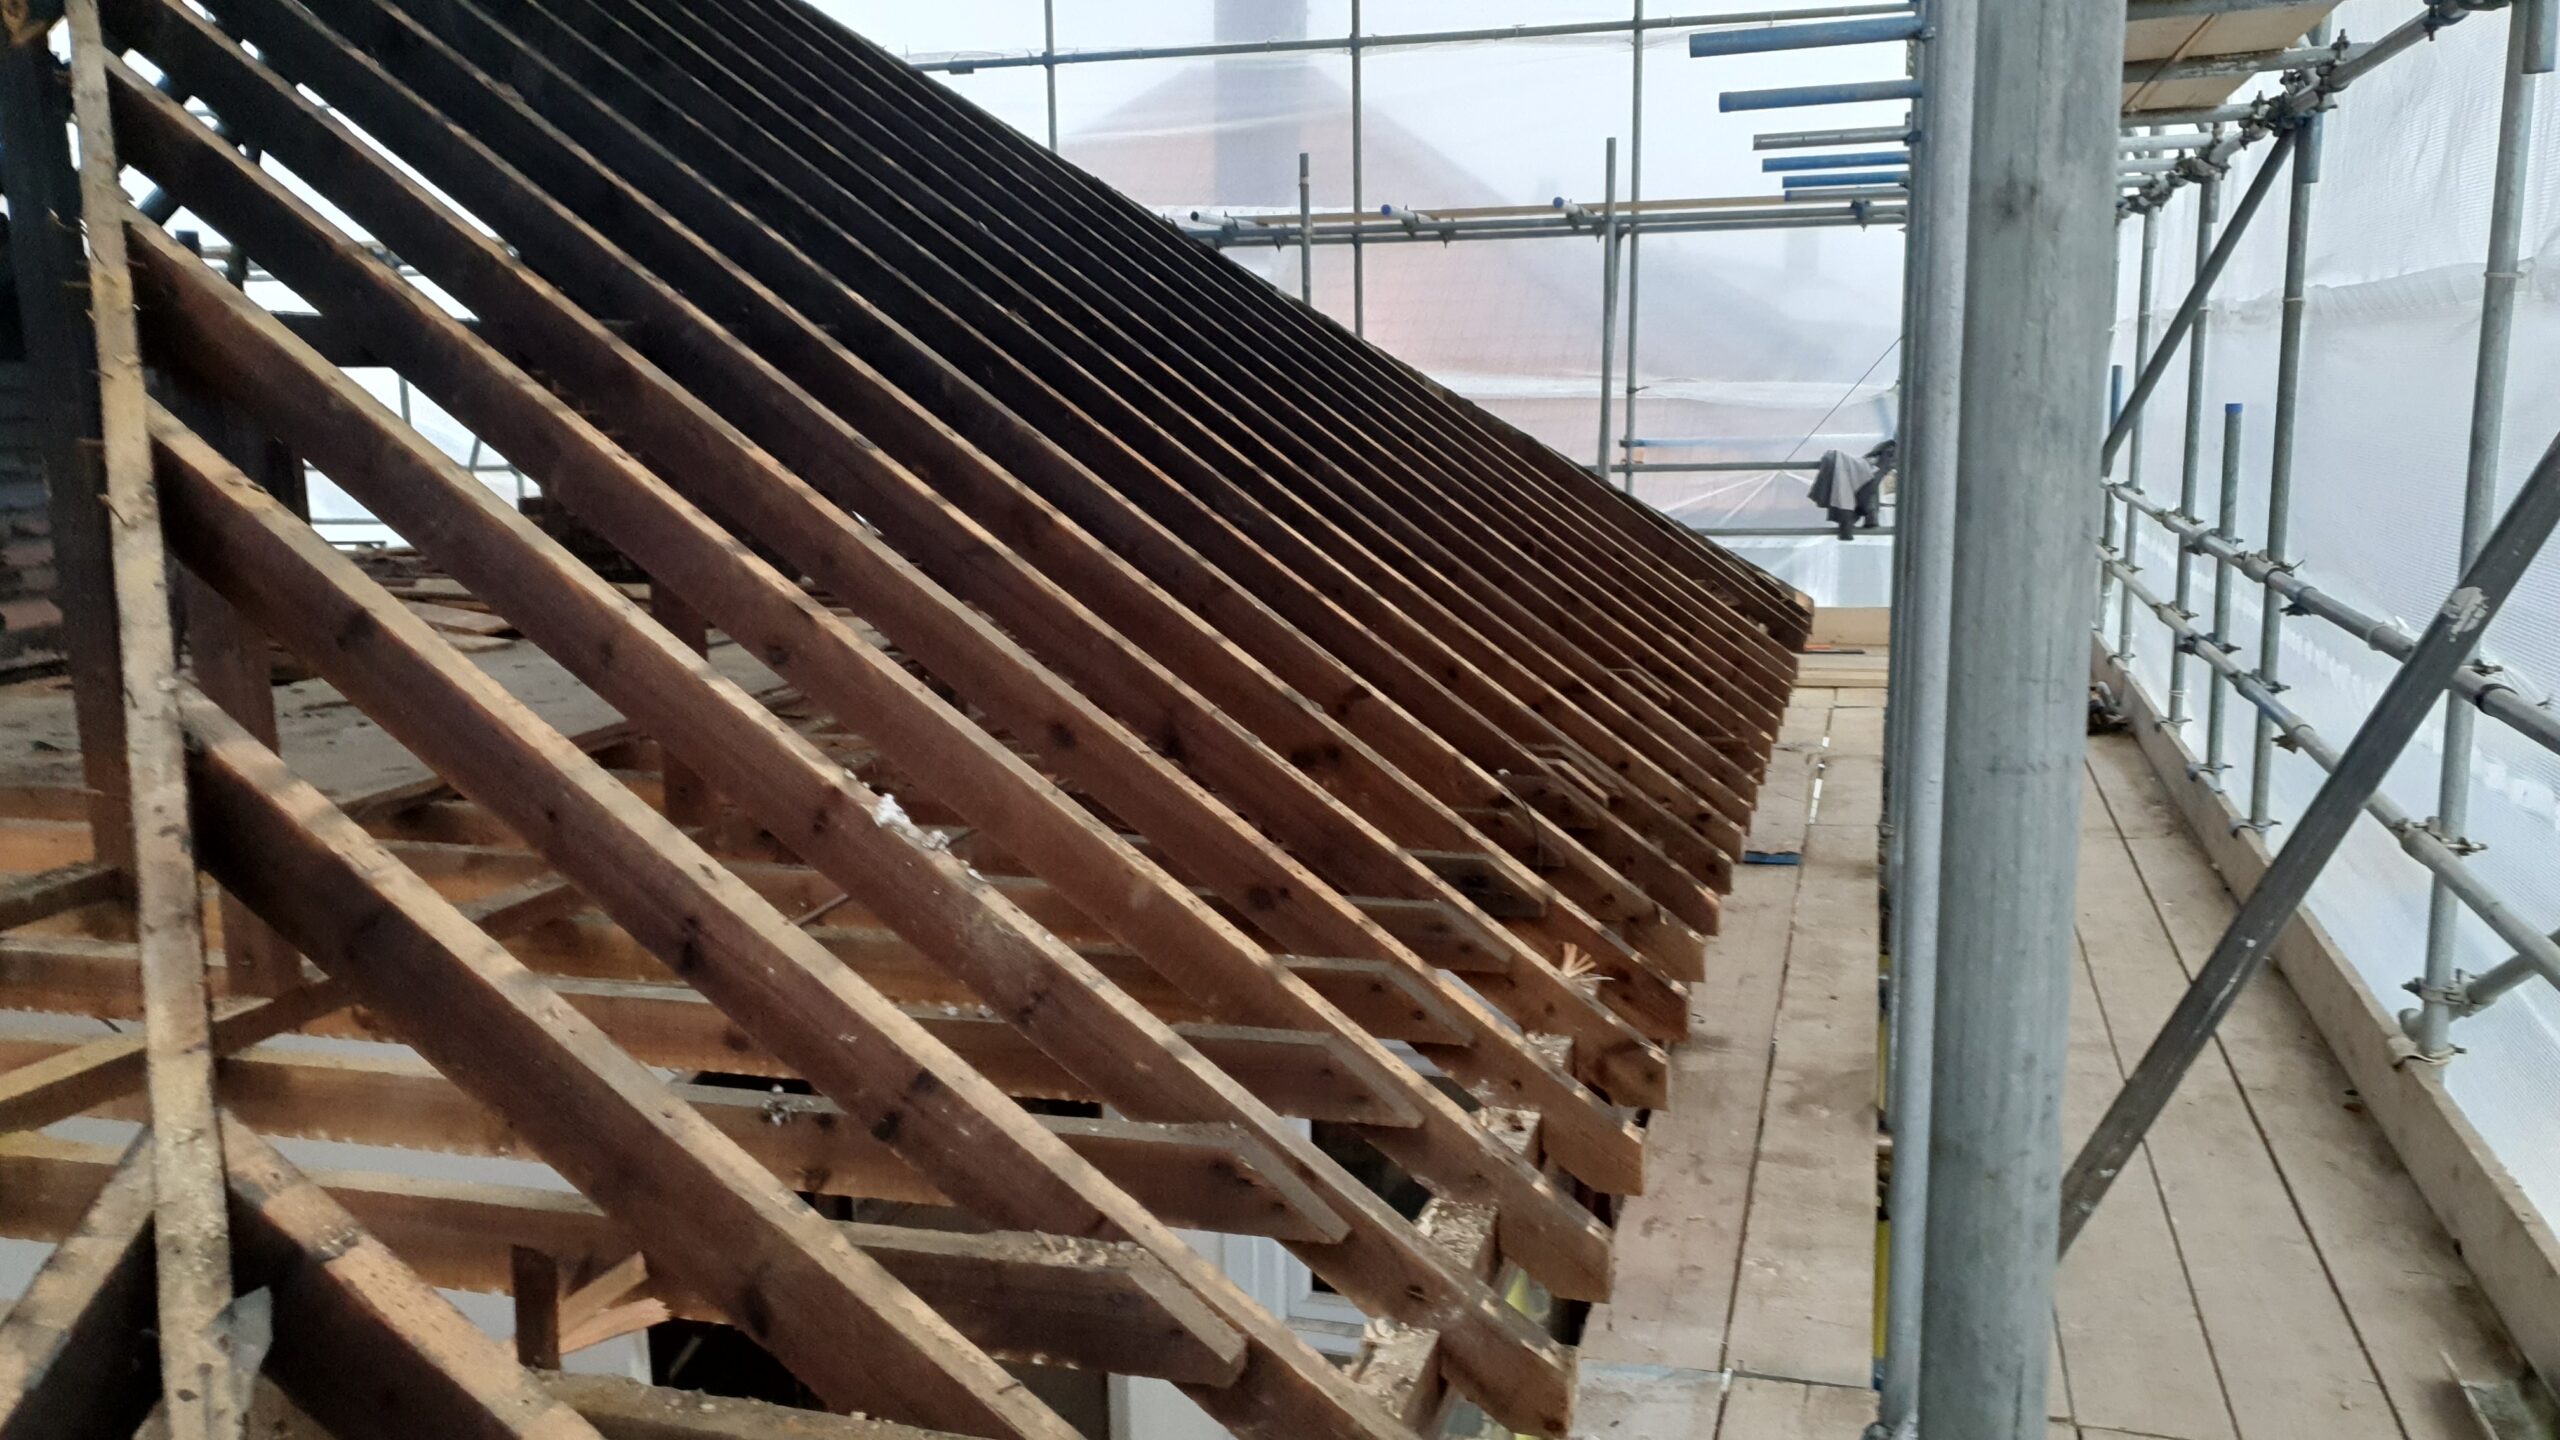
These where two semi-detached houses that had burnt down from a log falling out of a fire, we worked on one house at a time, the first house was clear when we got there but we had to help clear the second house from the leftover rubble.
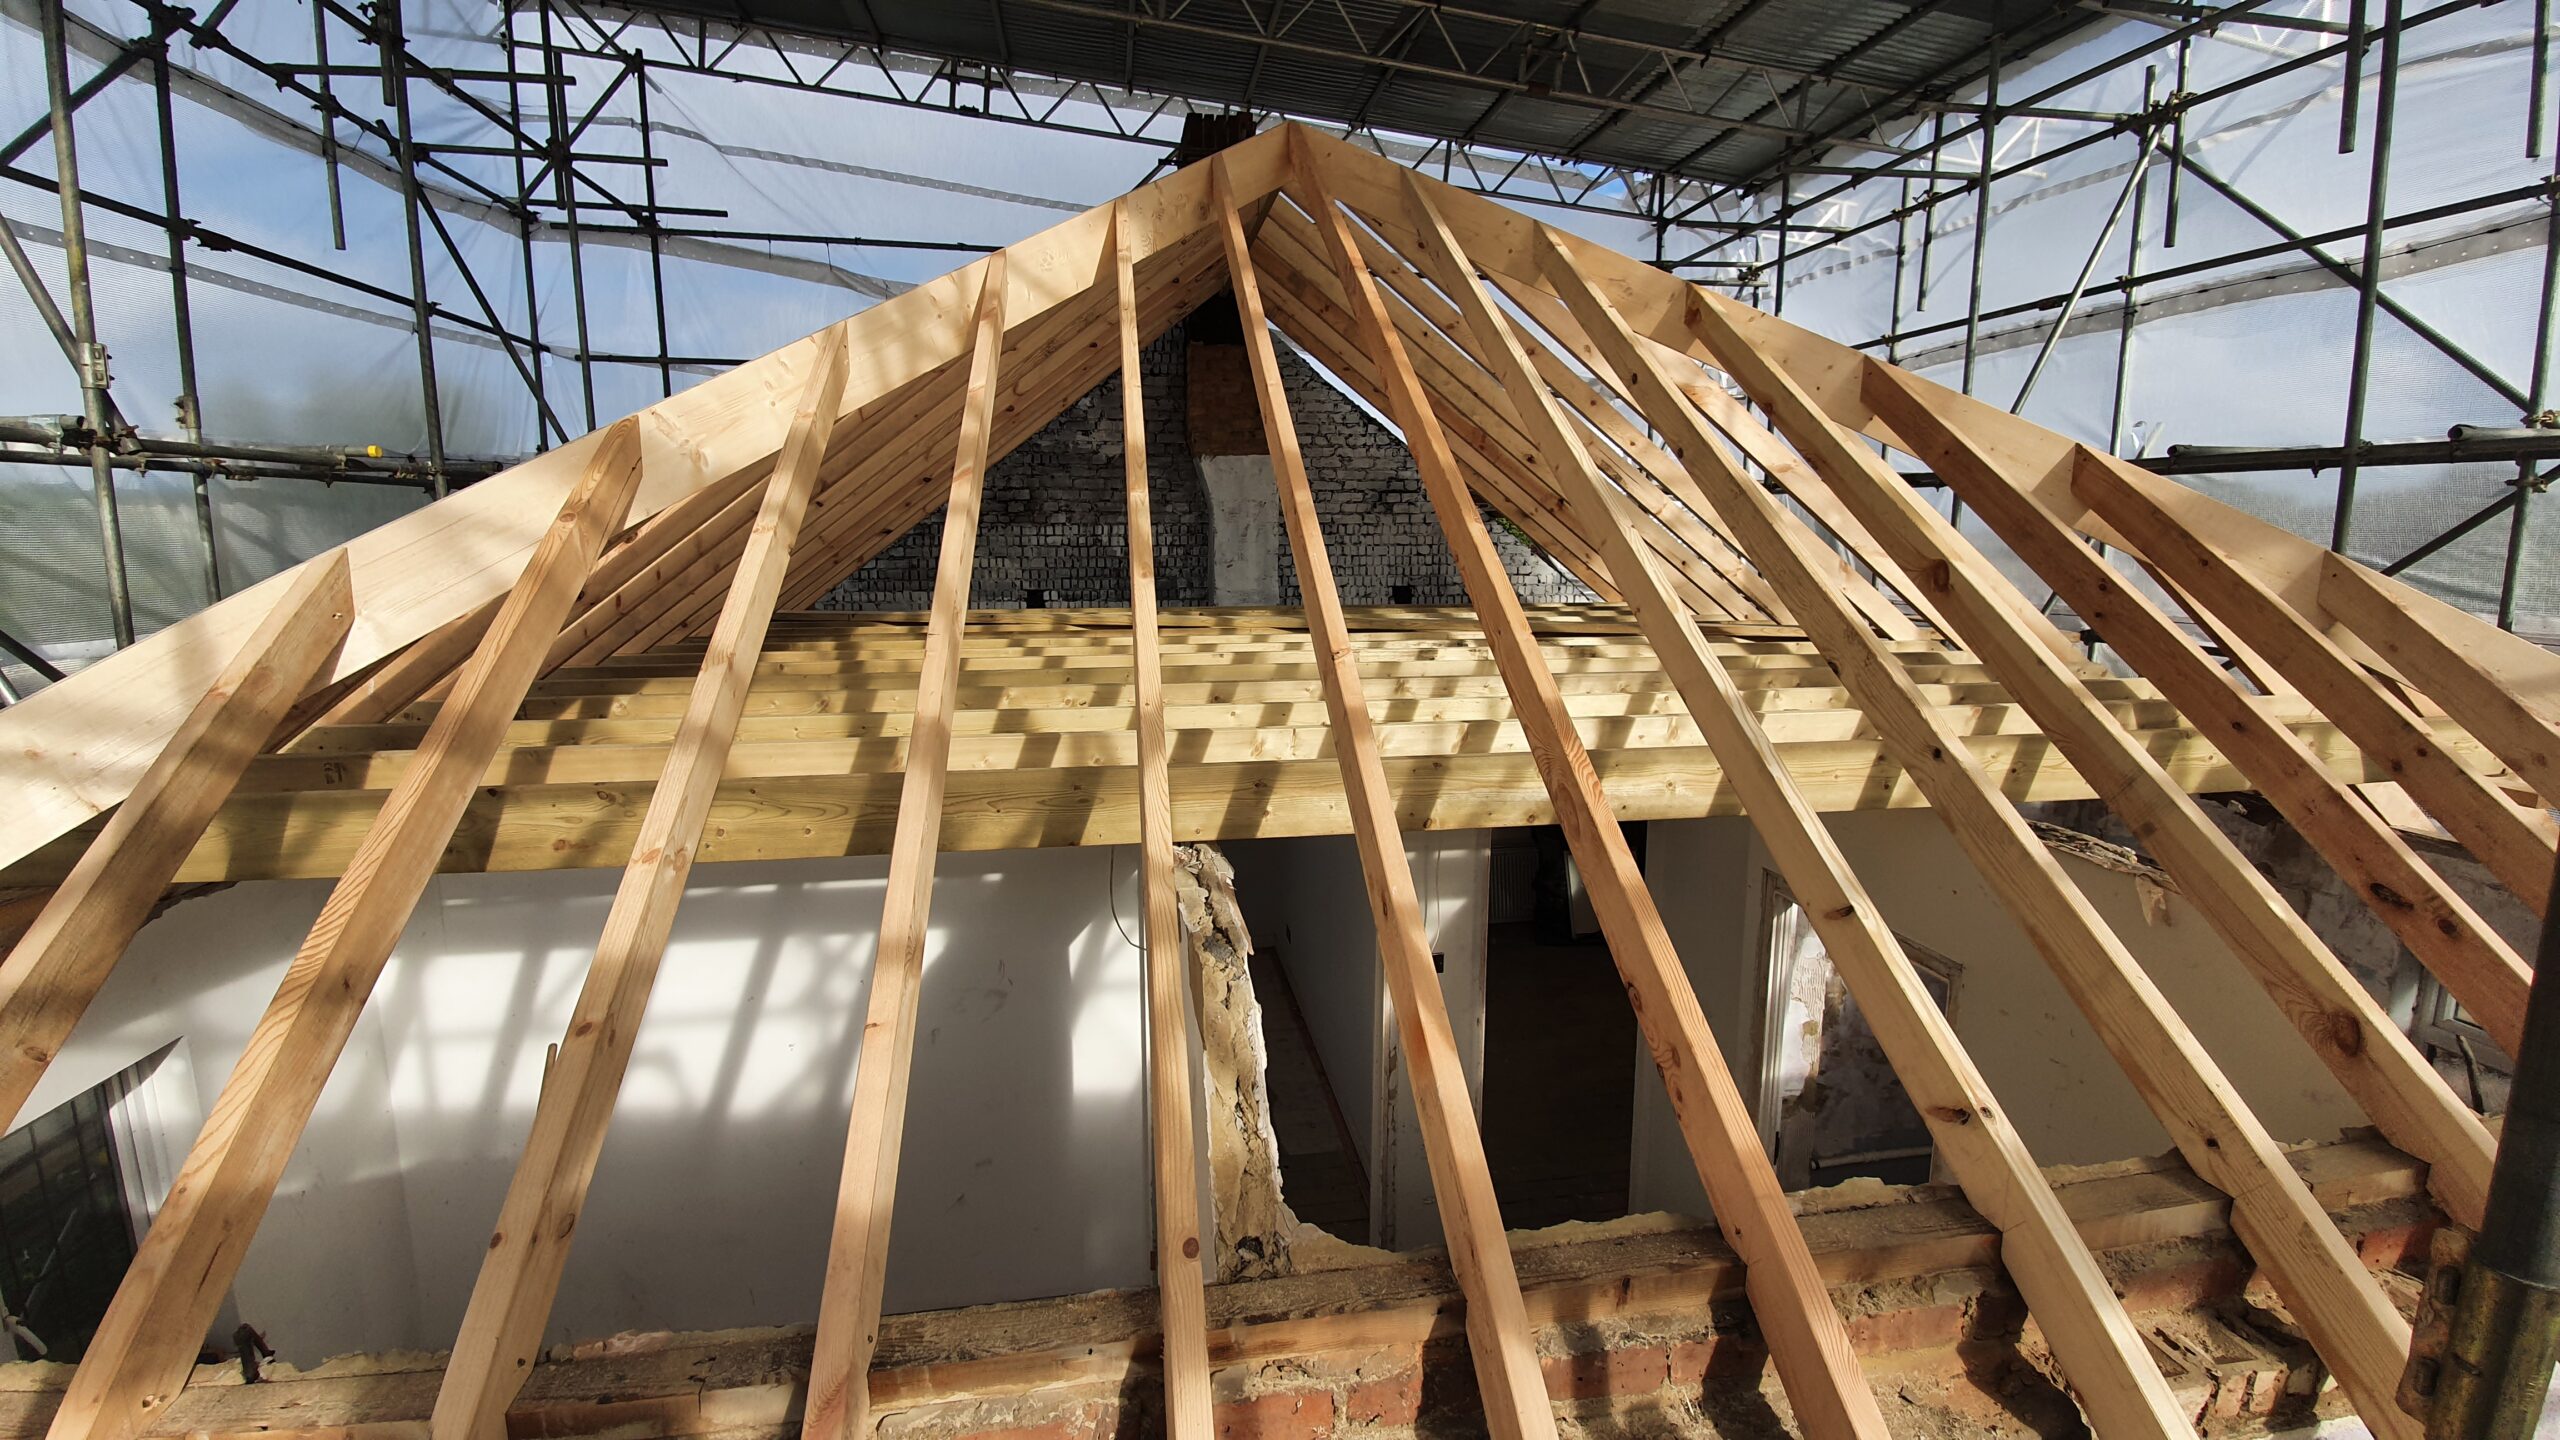
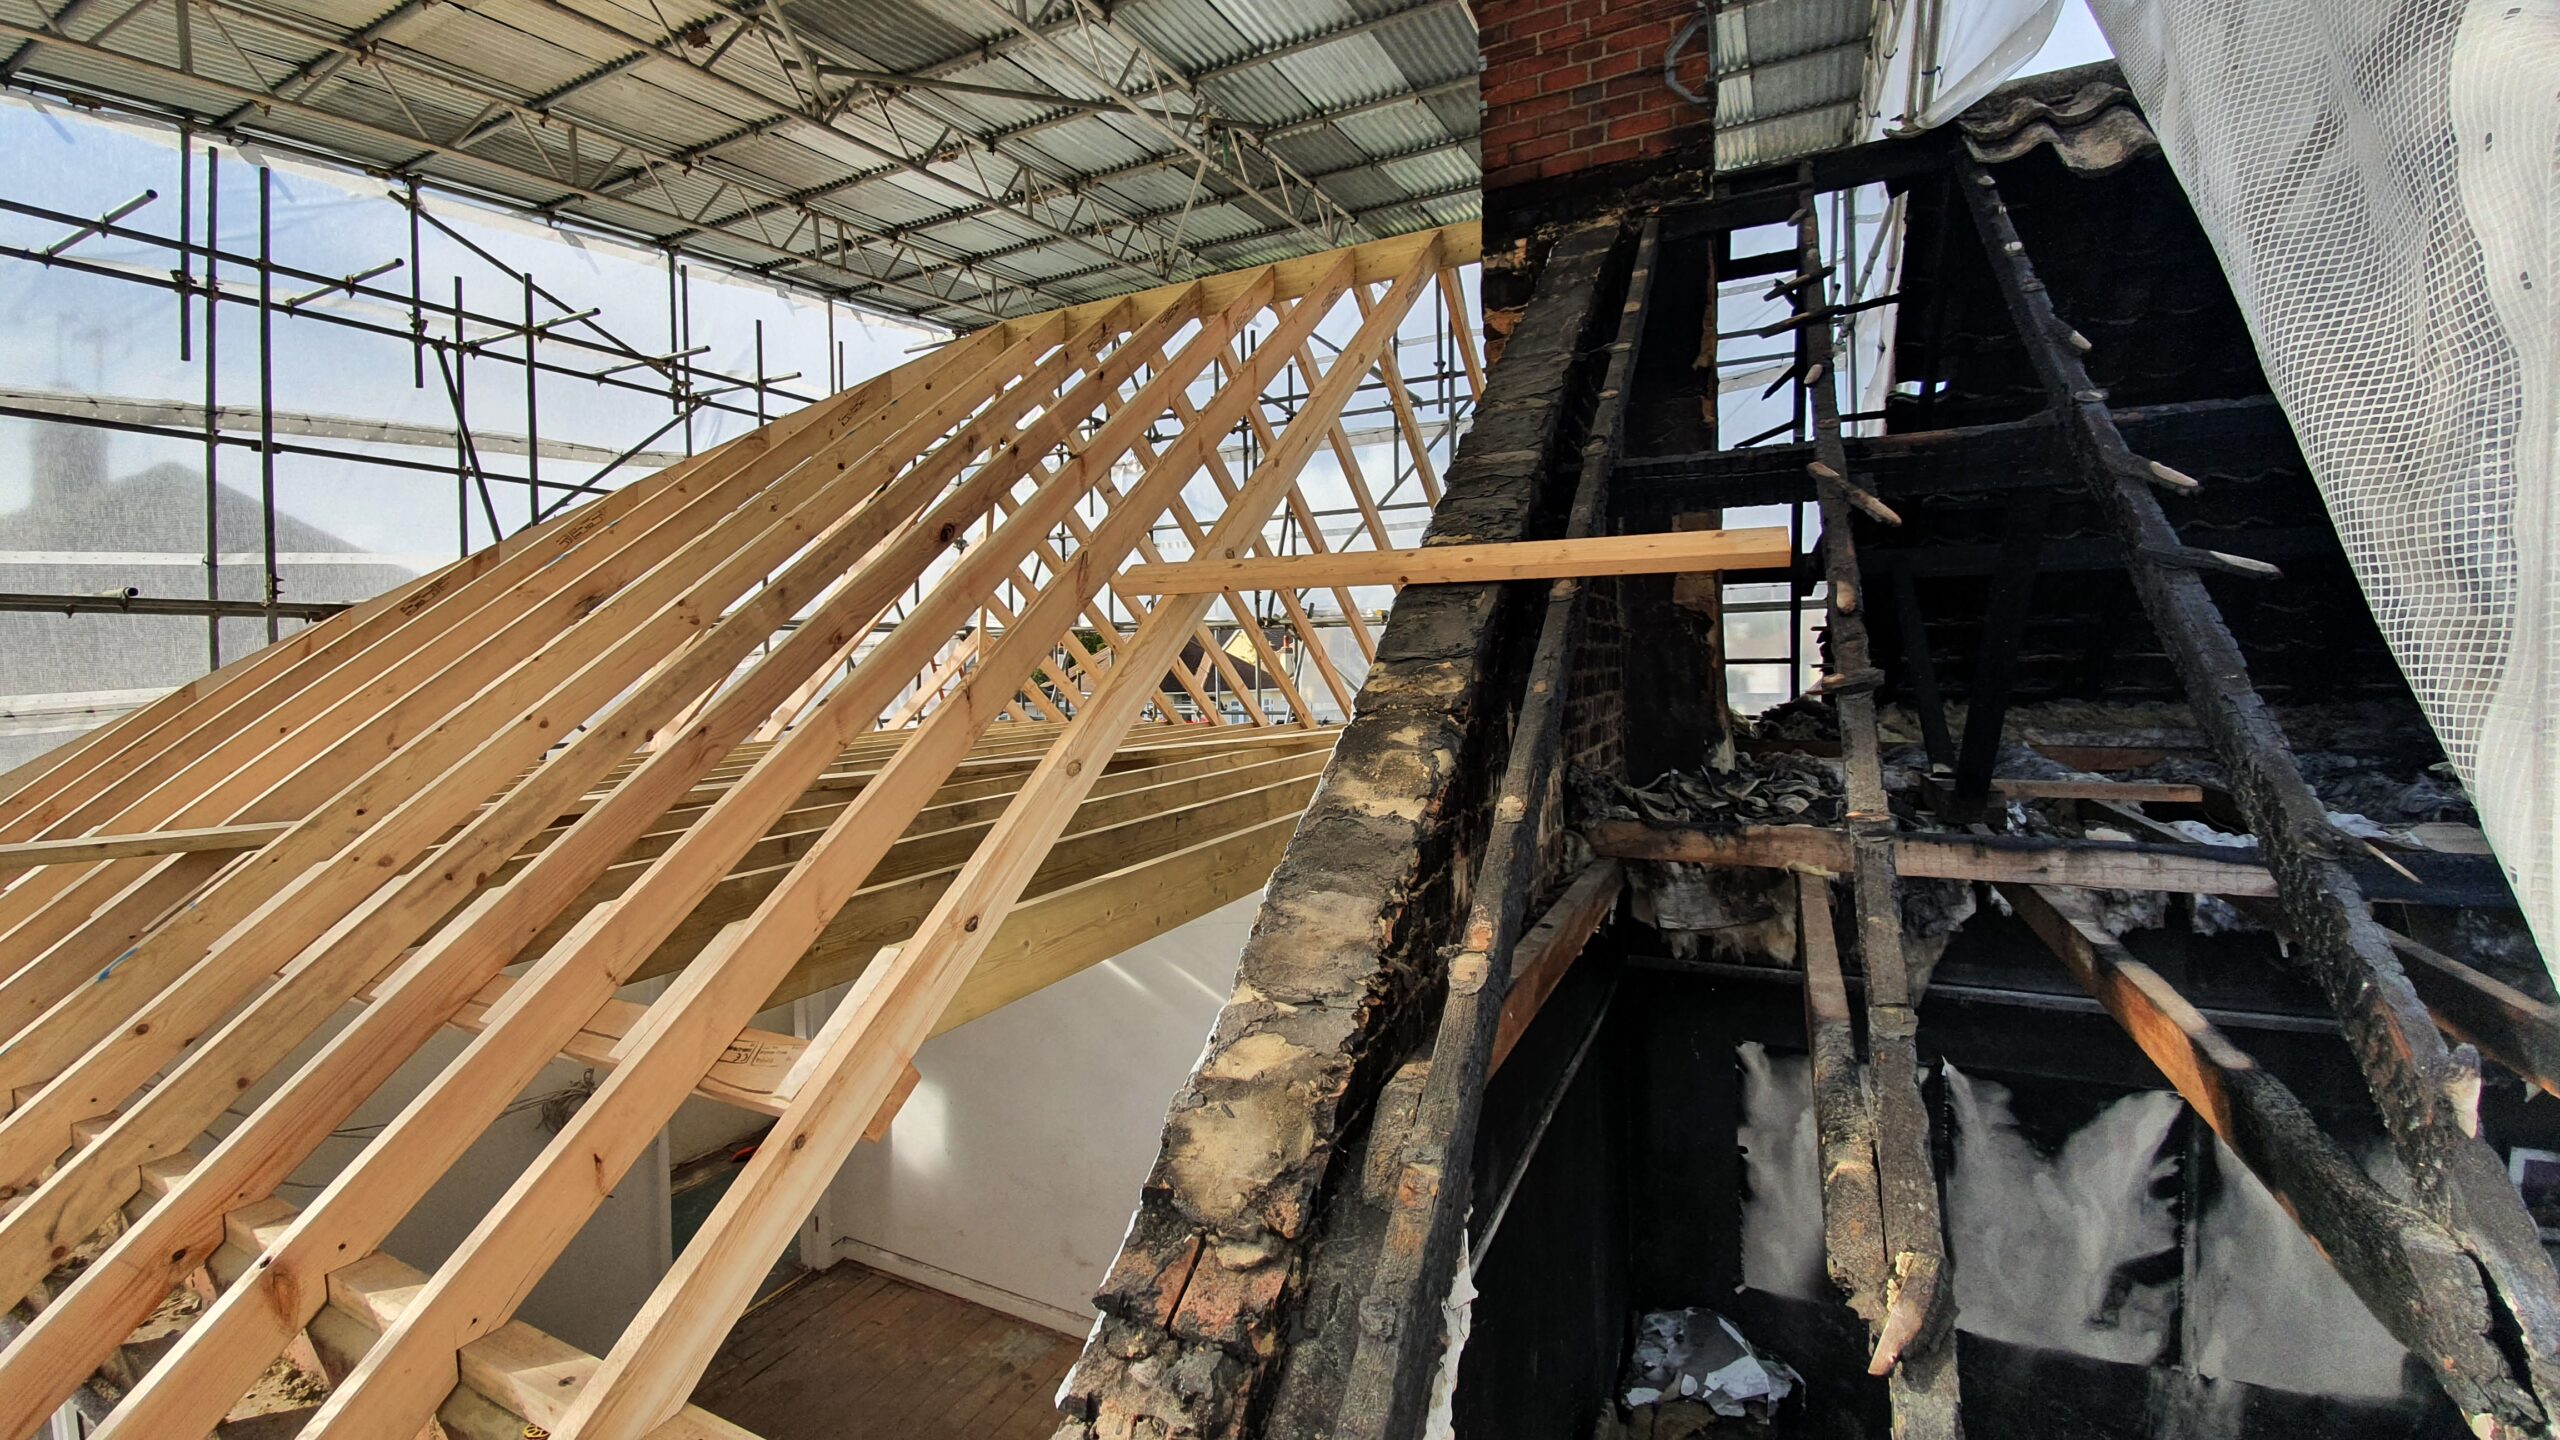
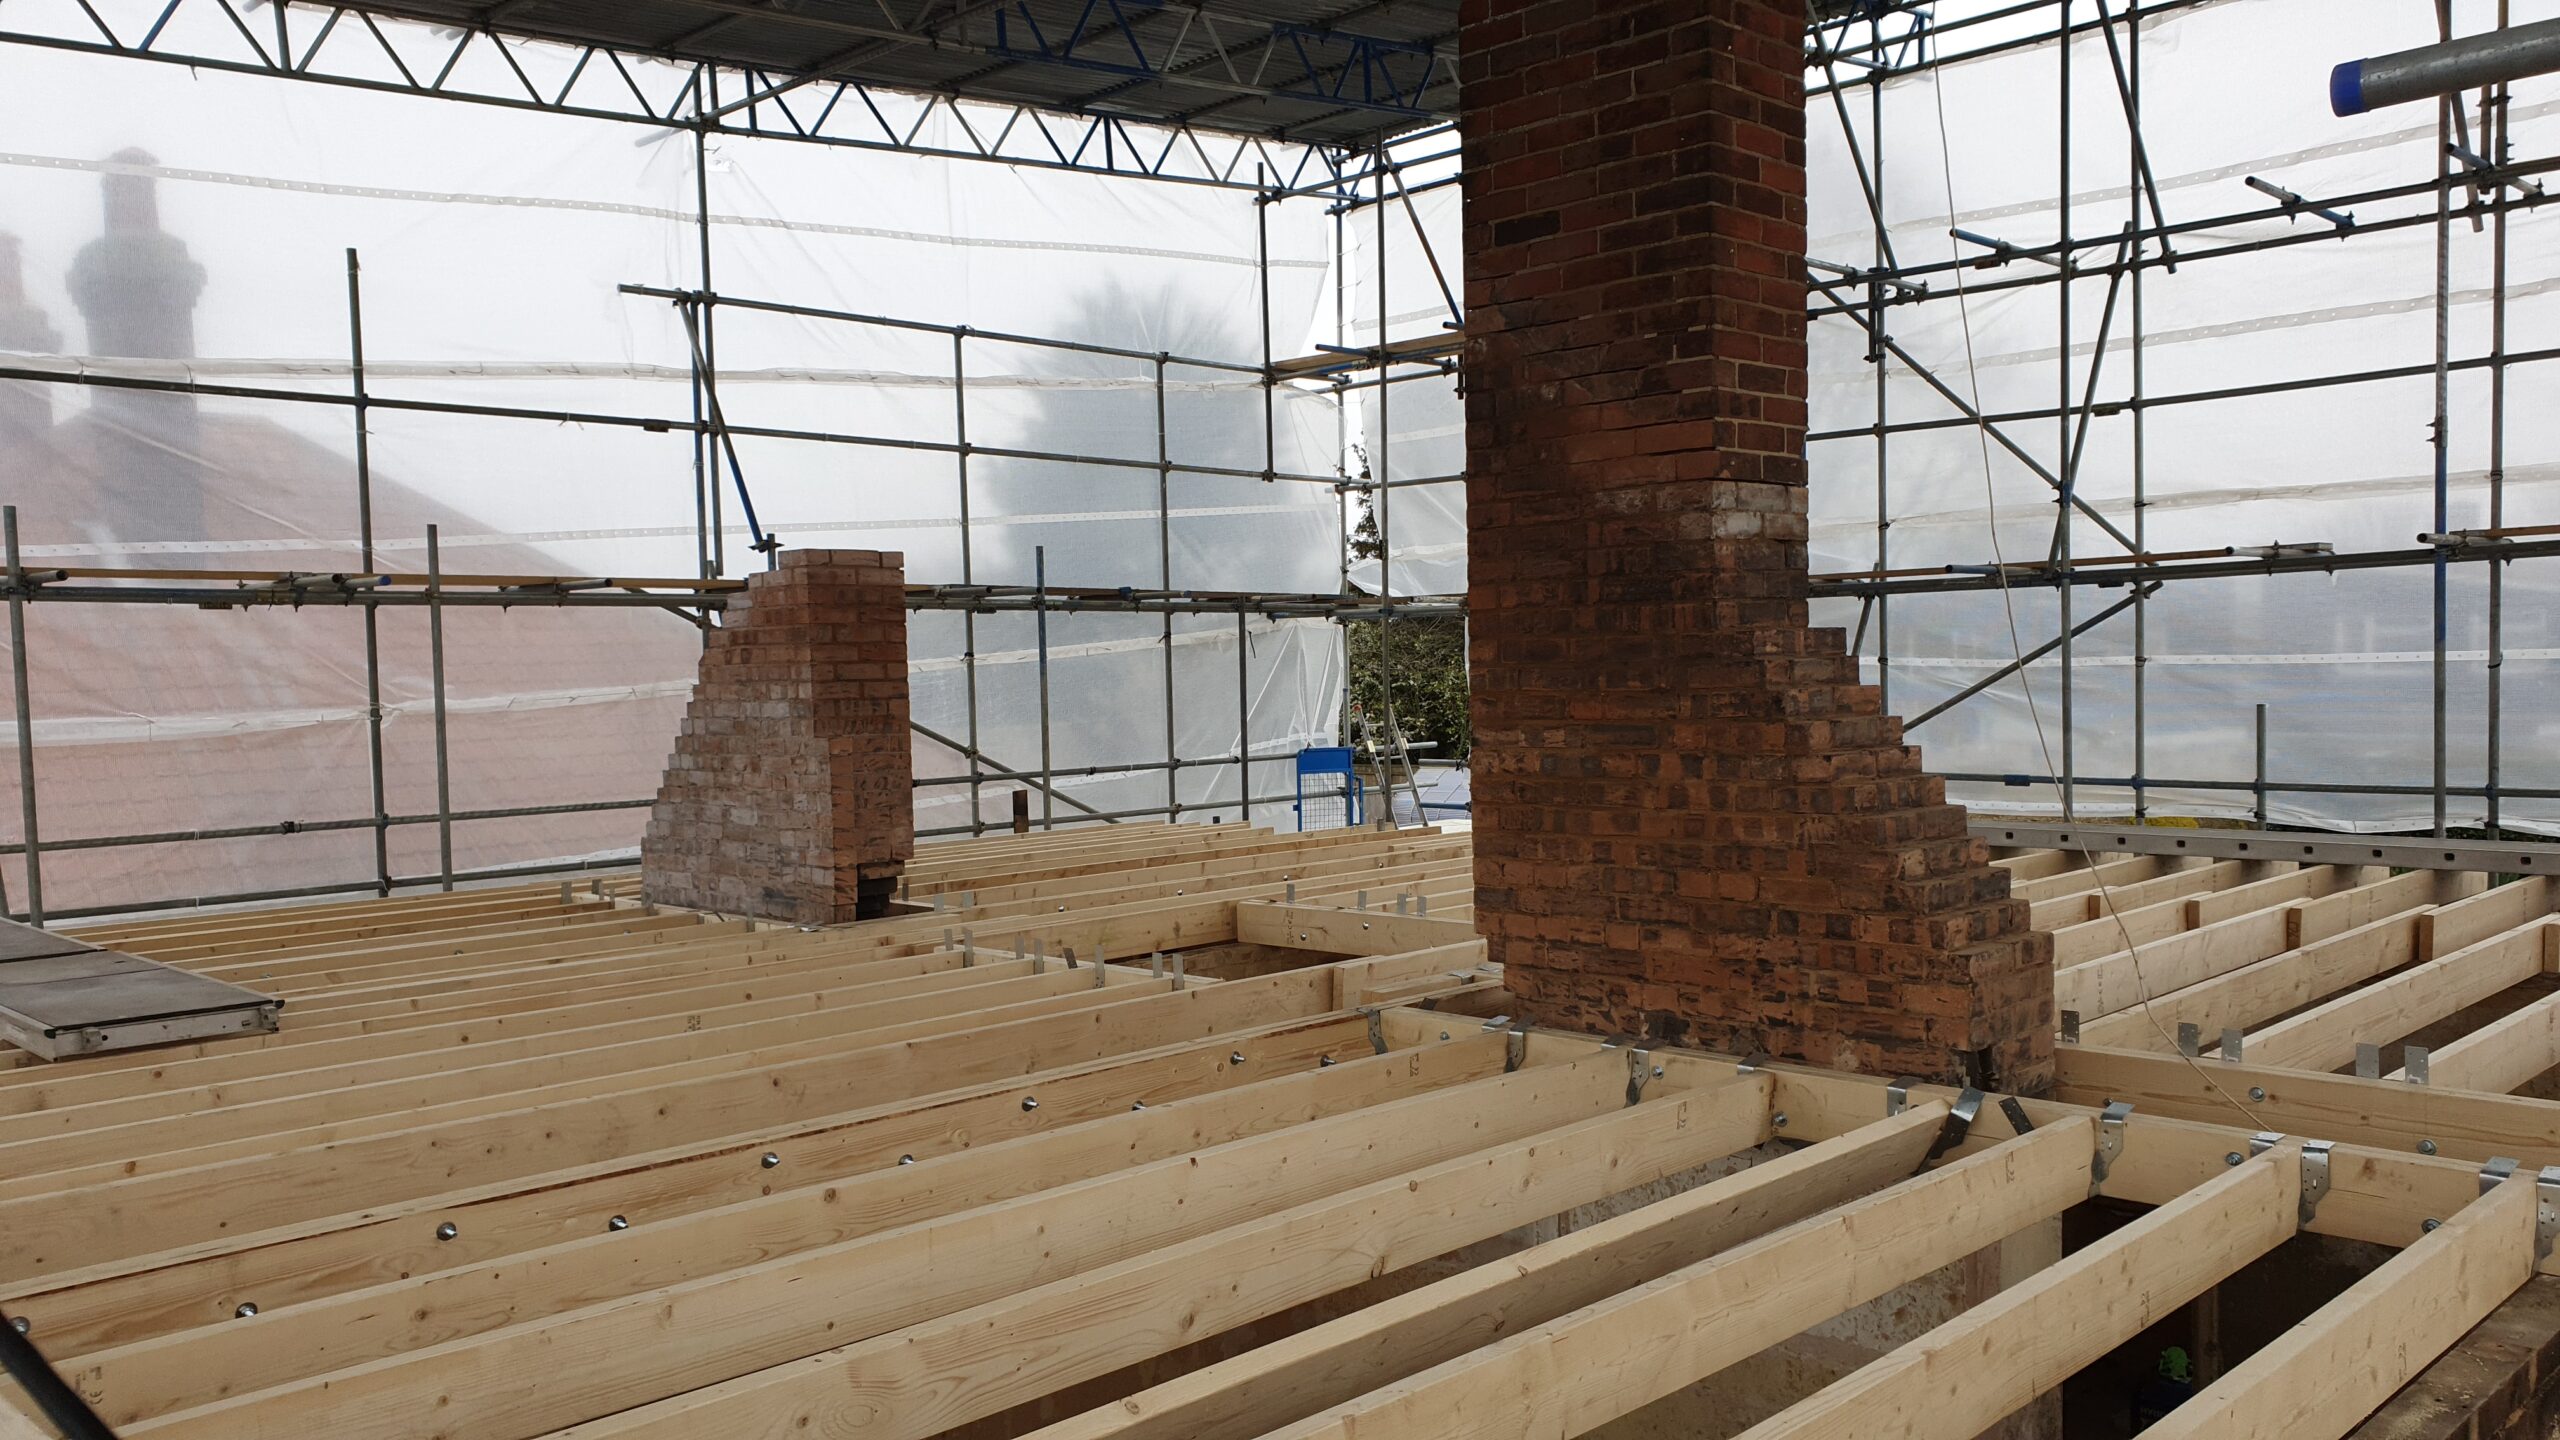
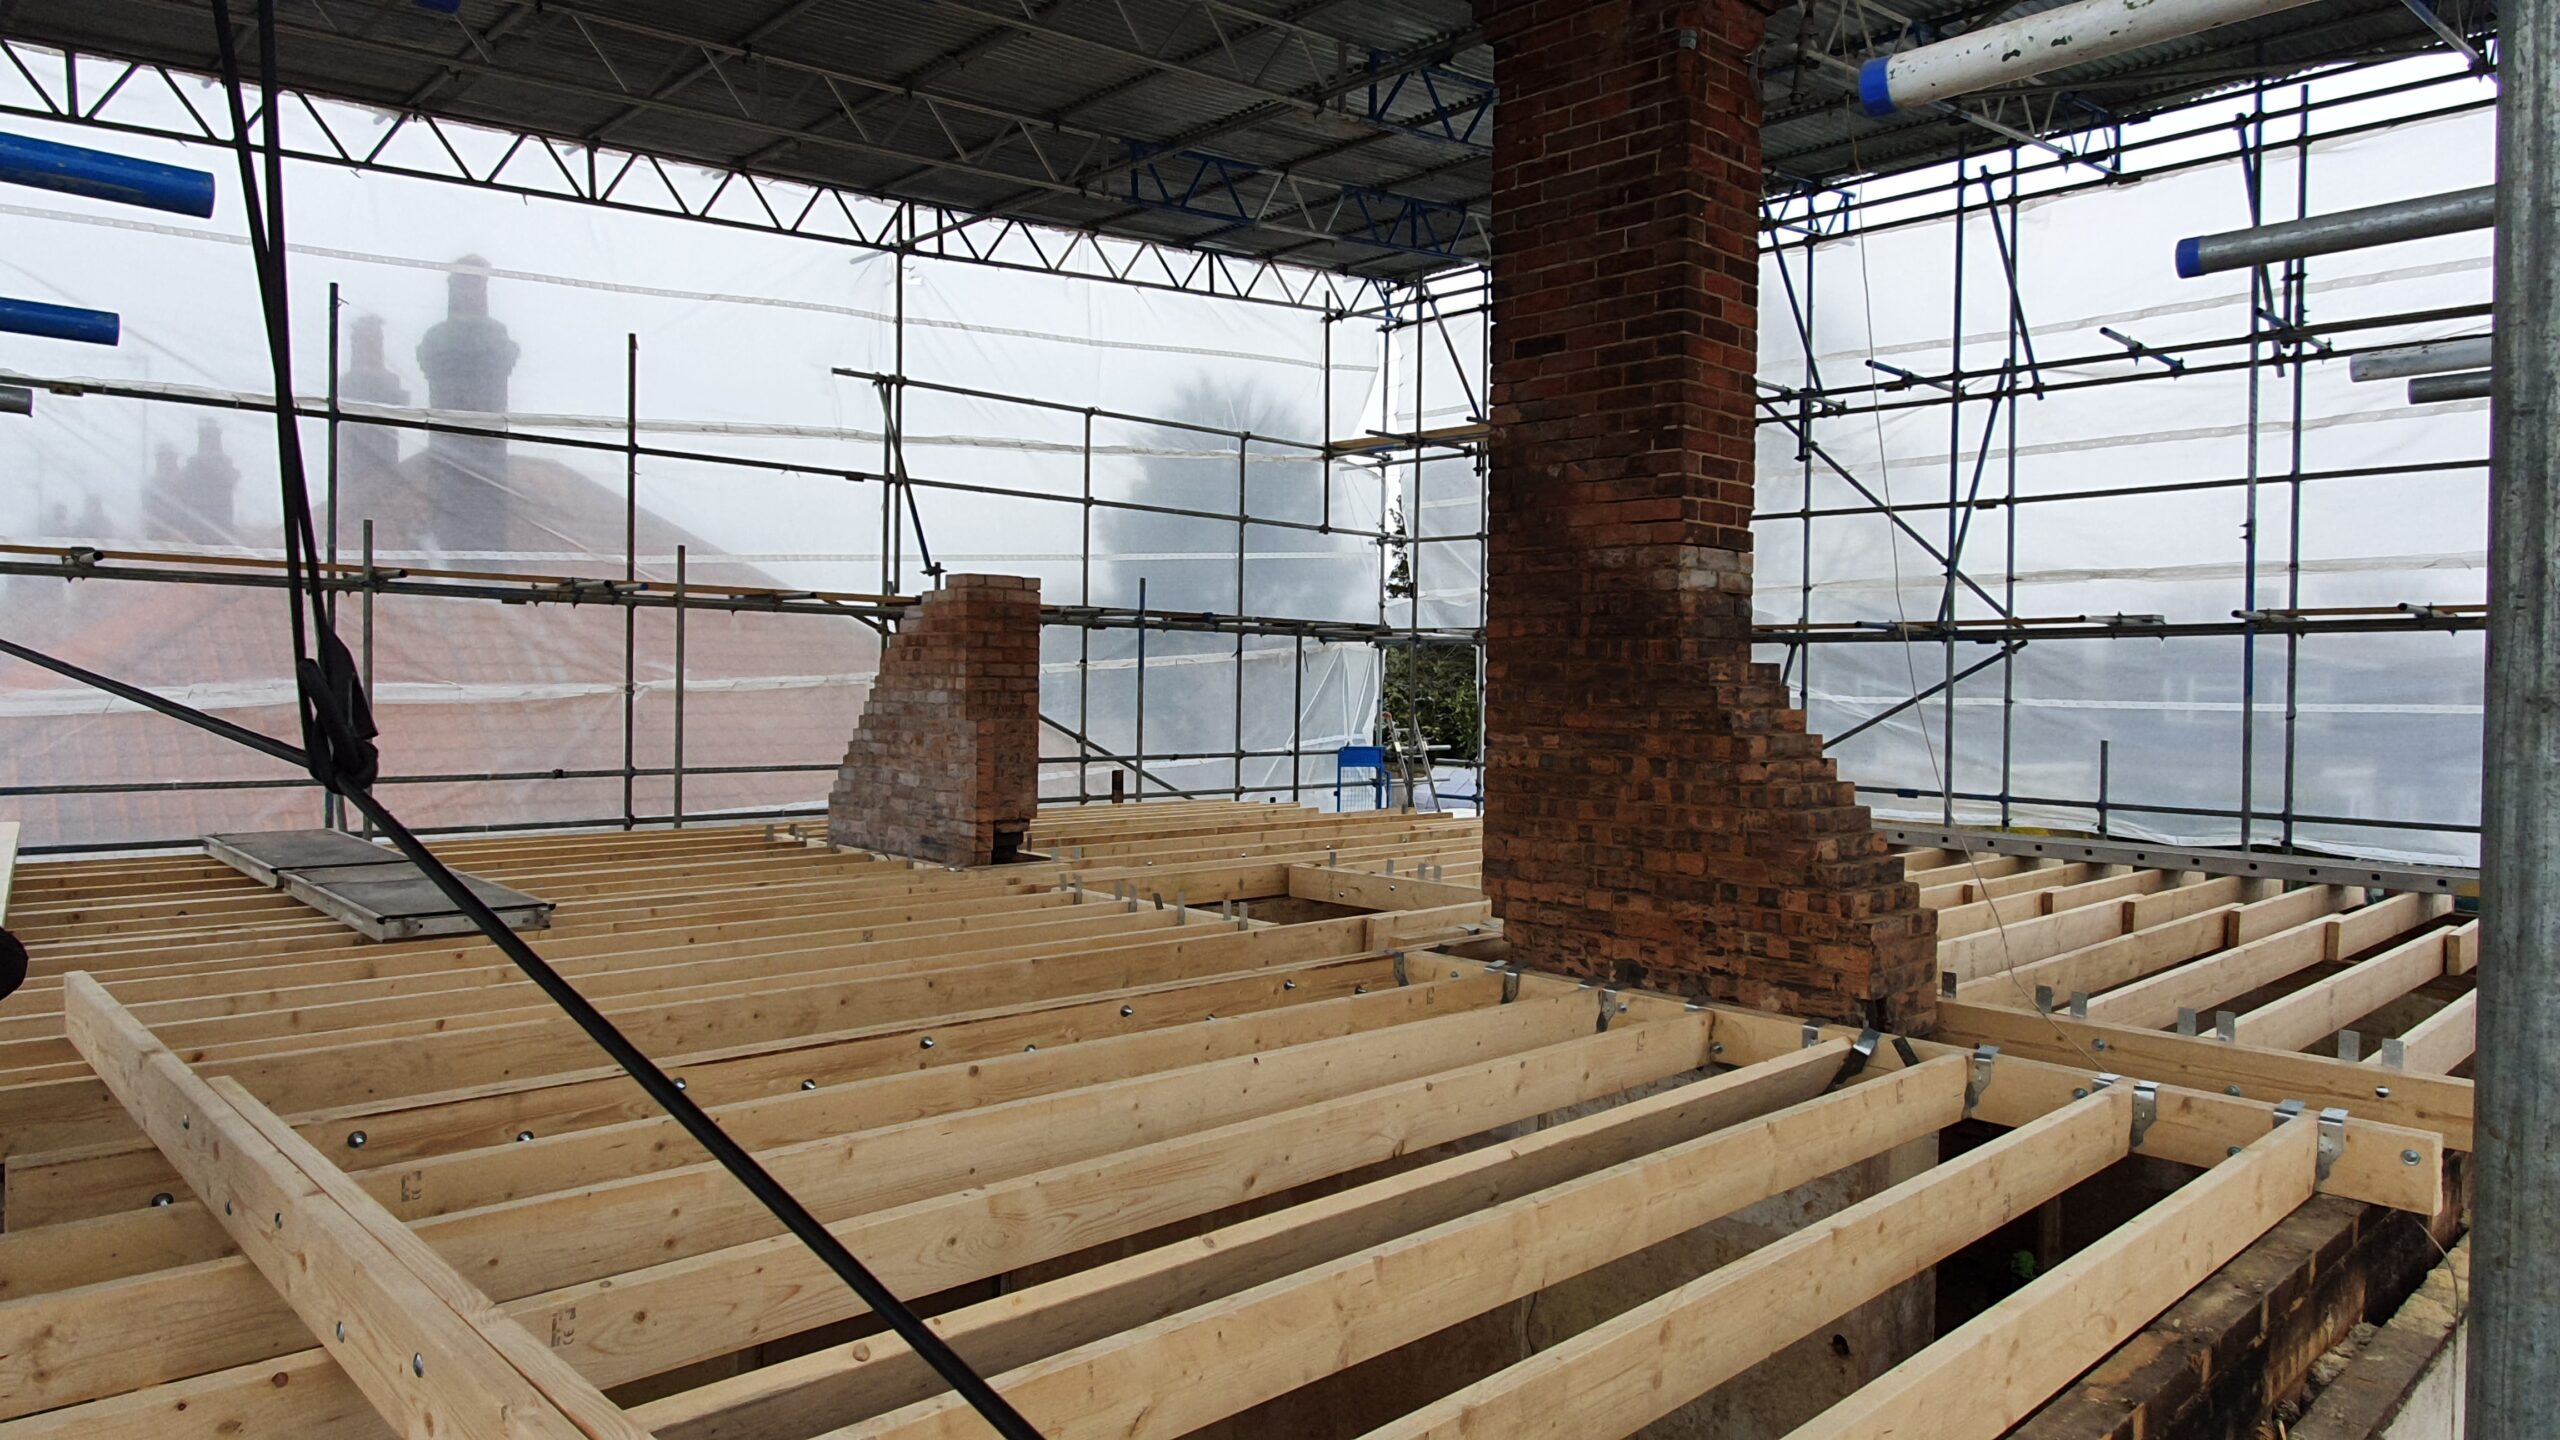
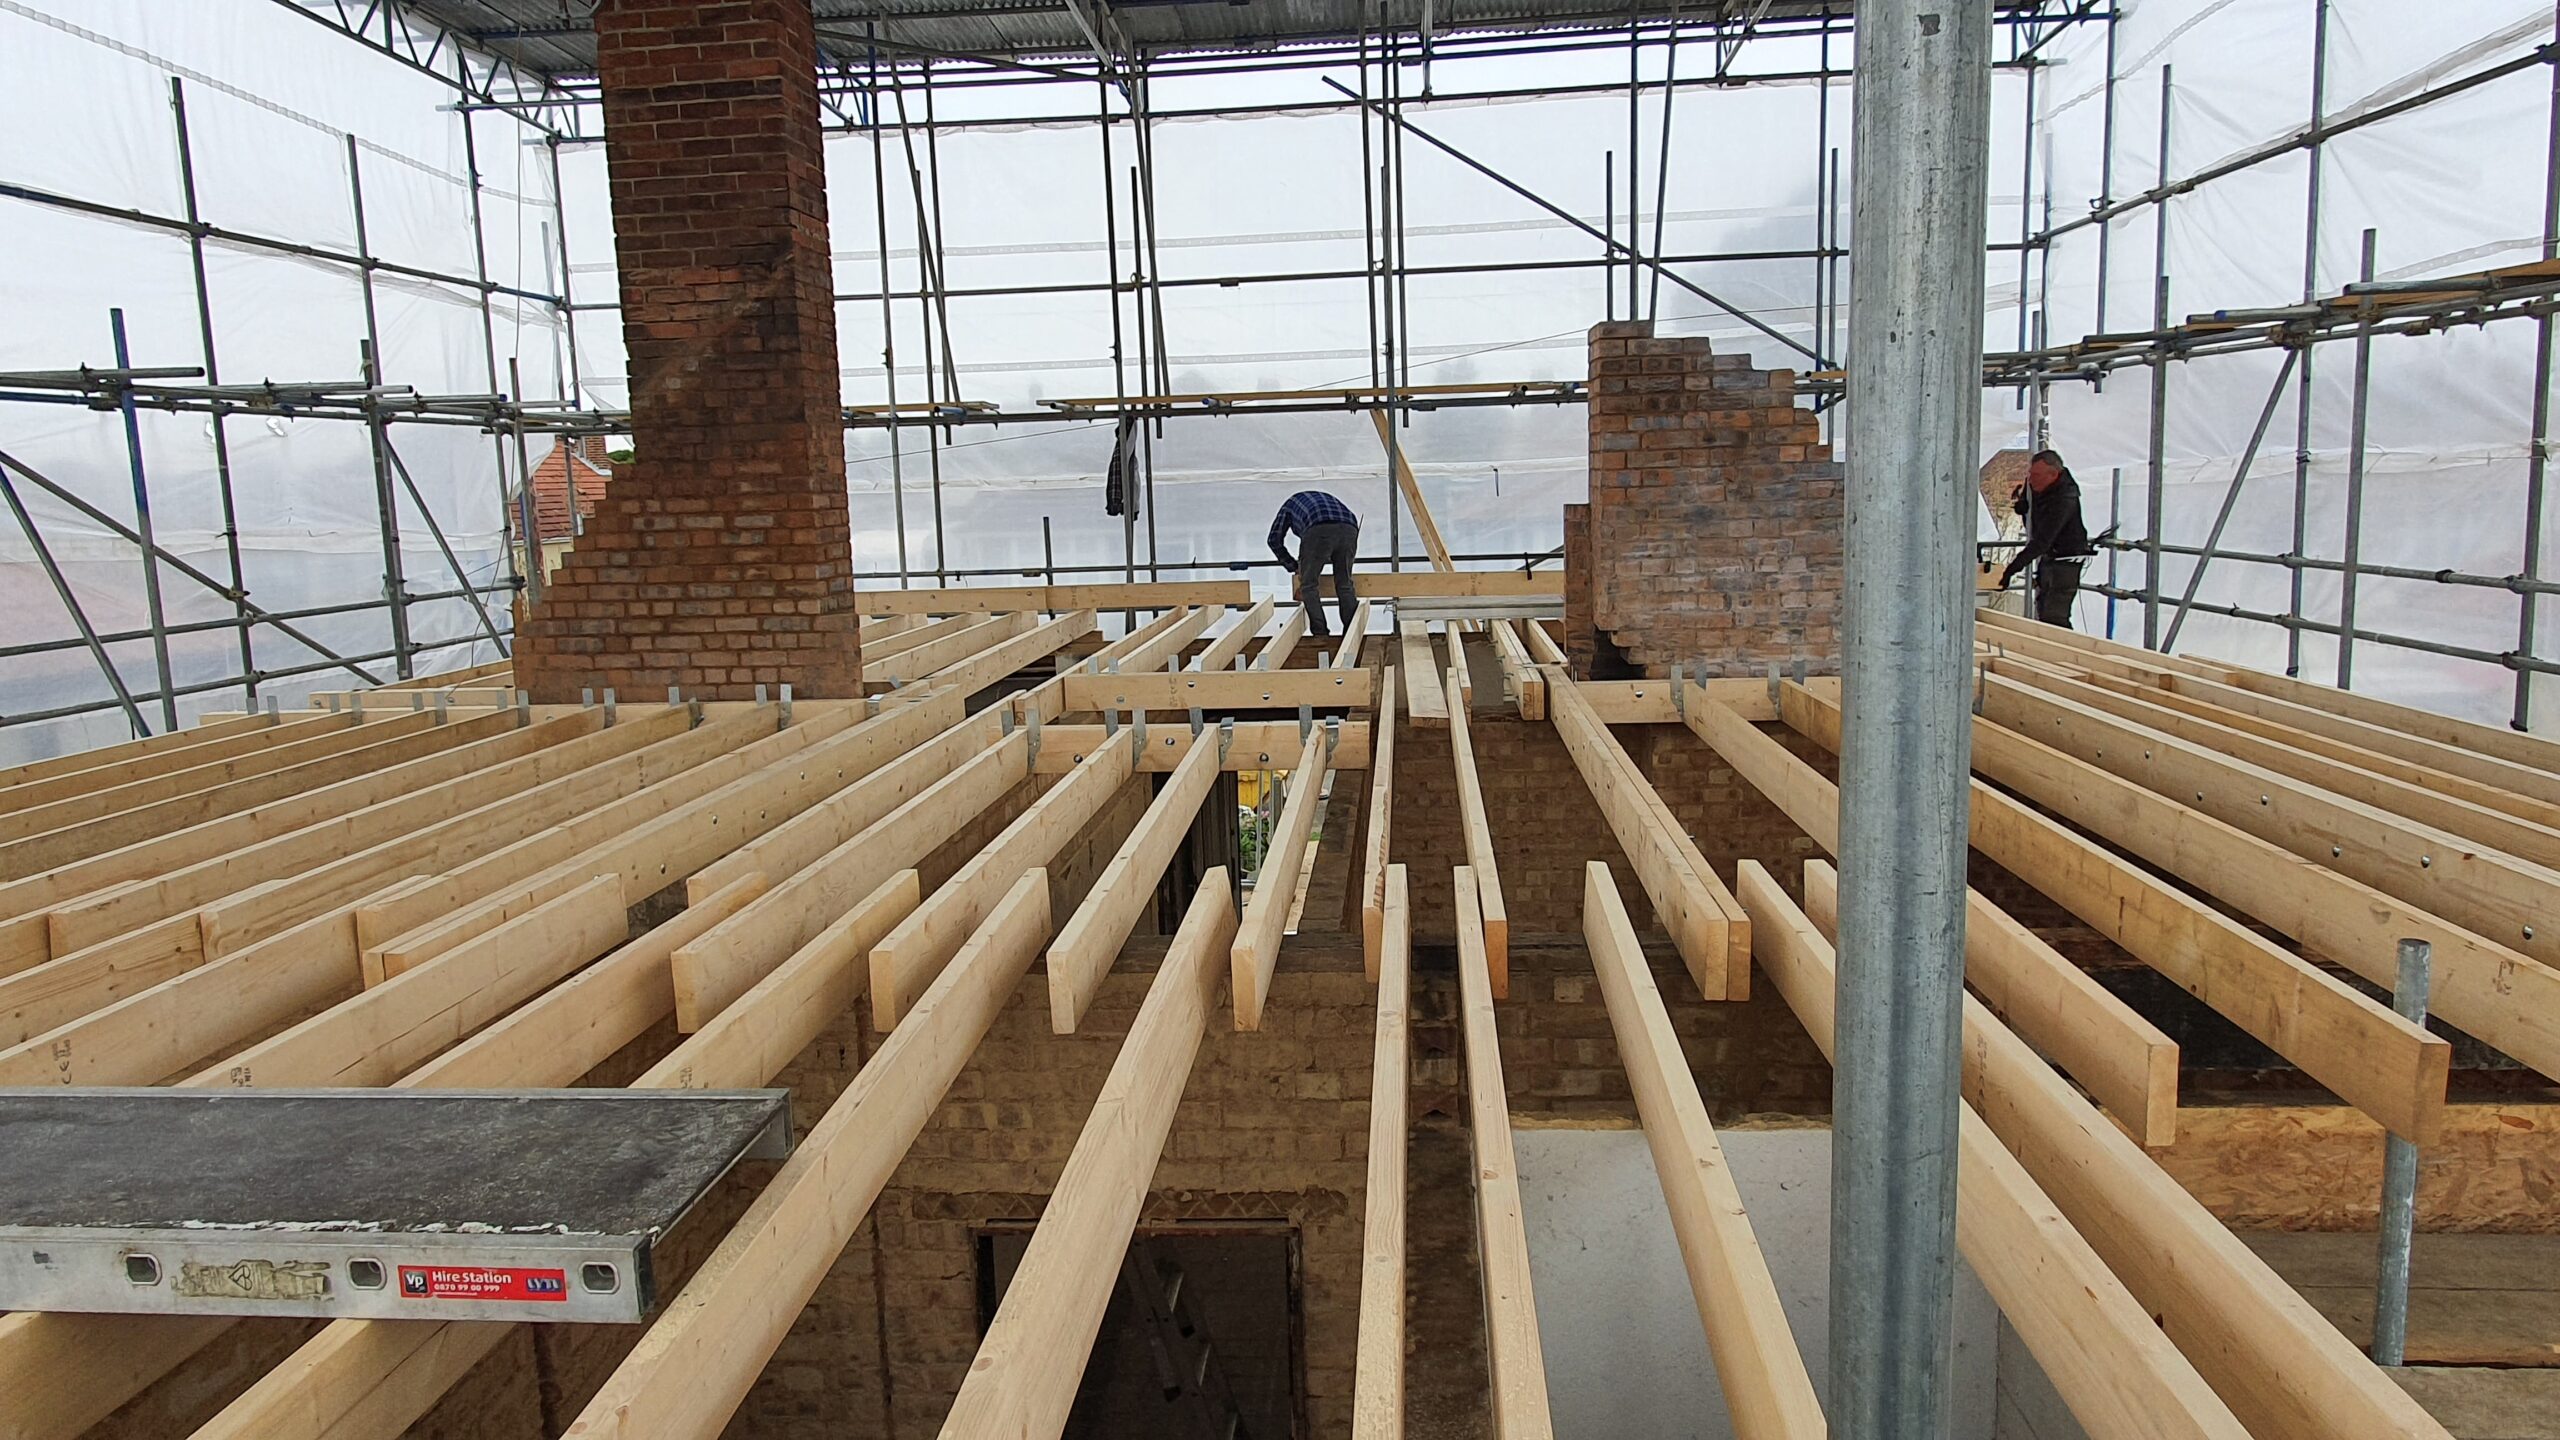
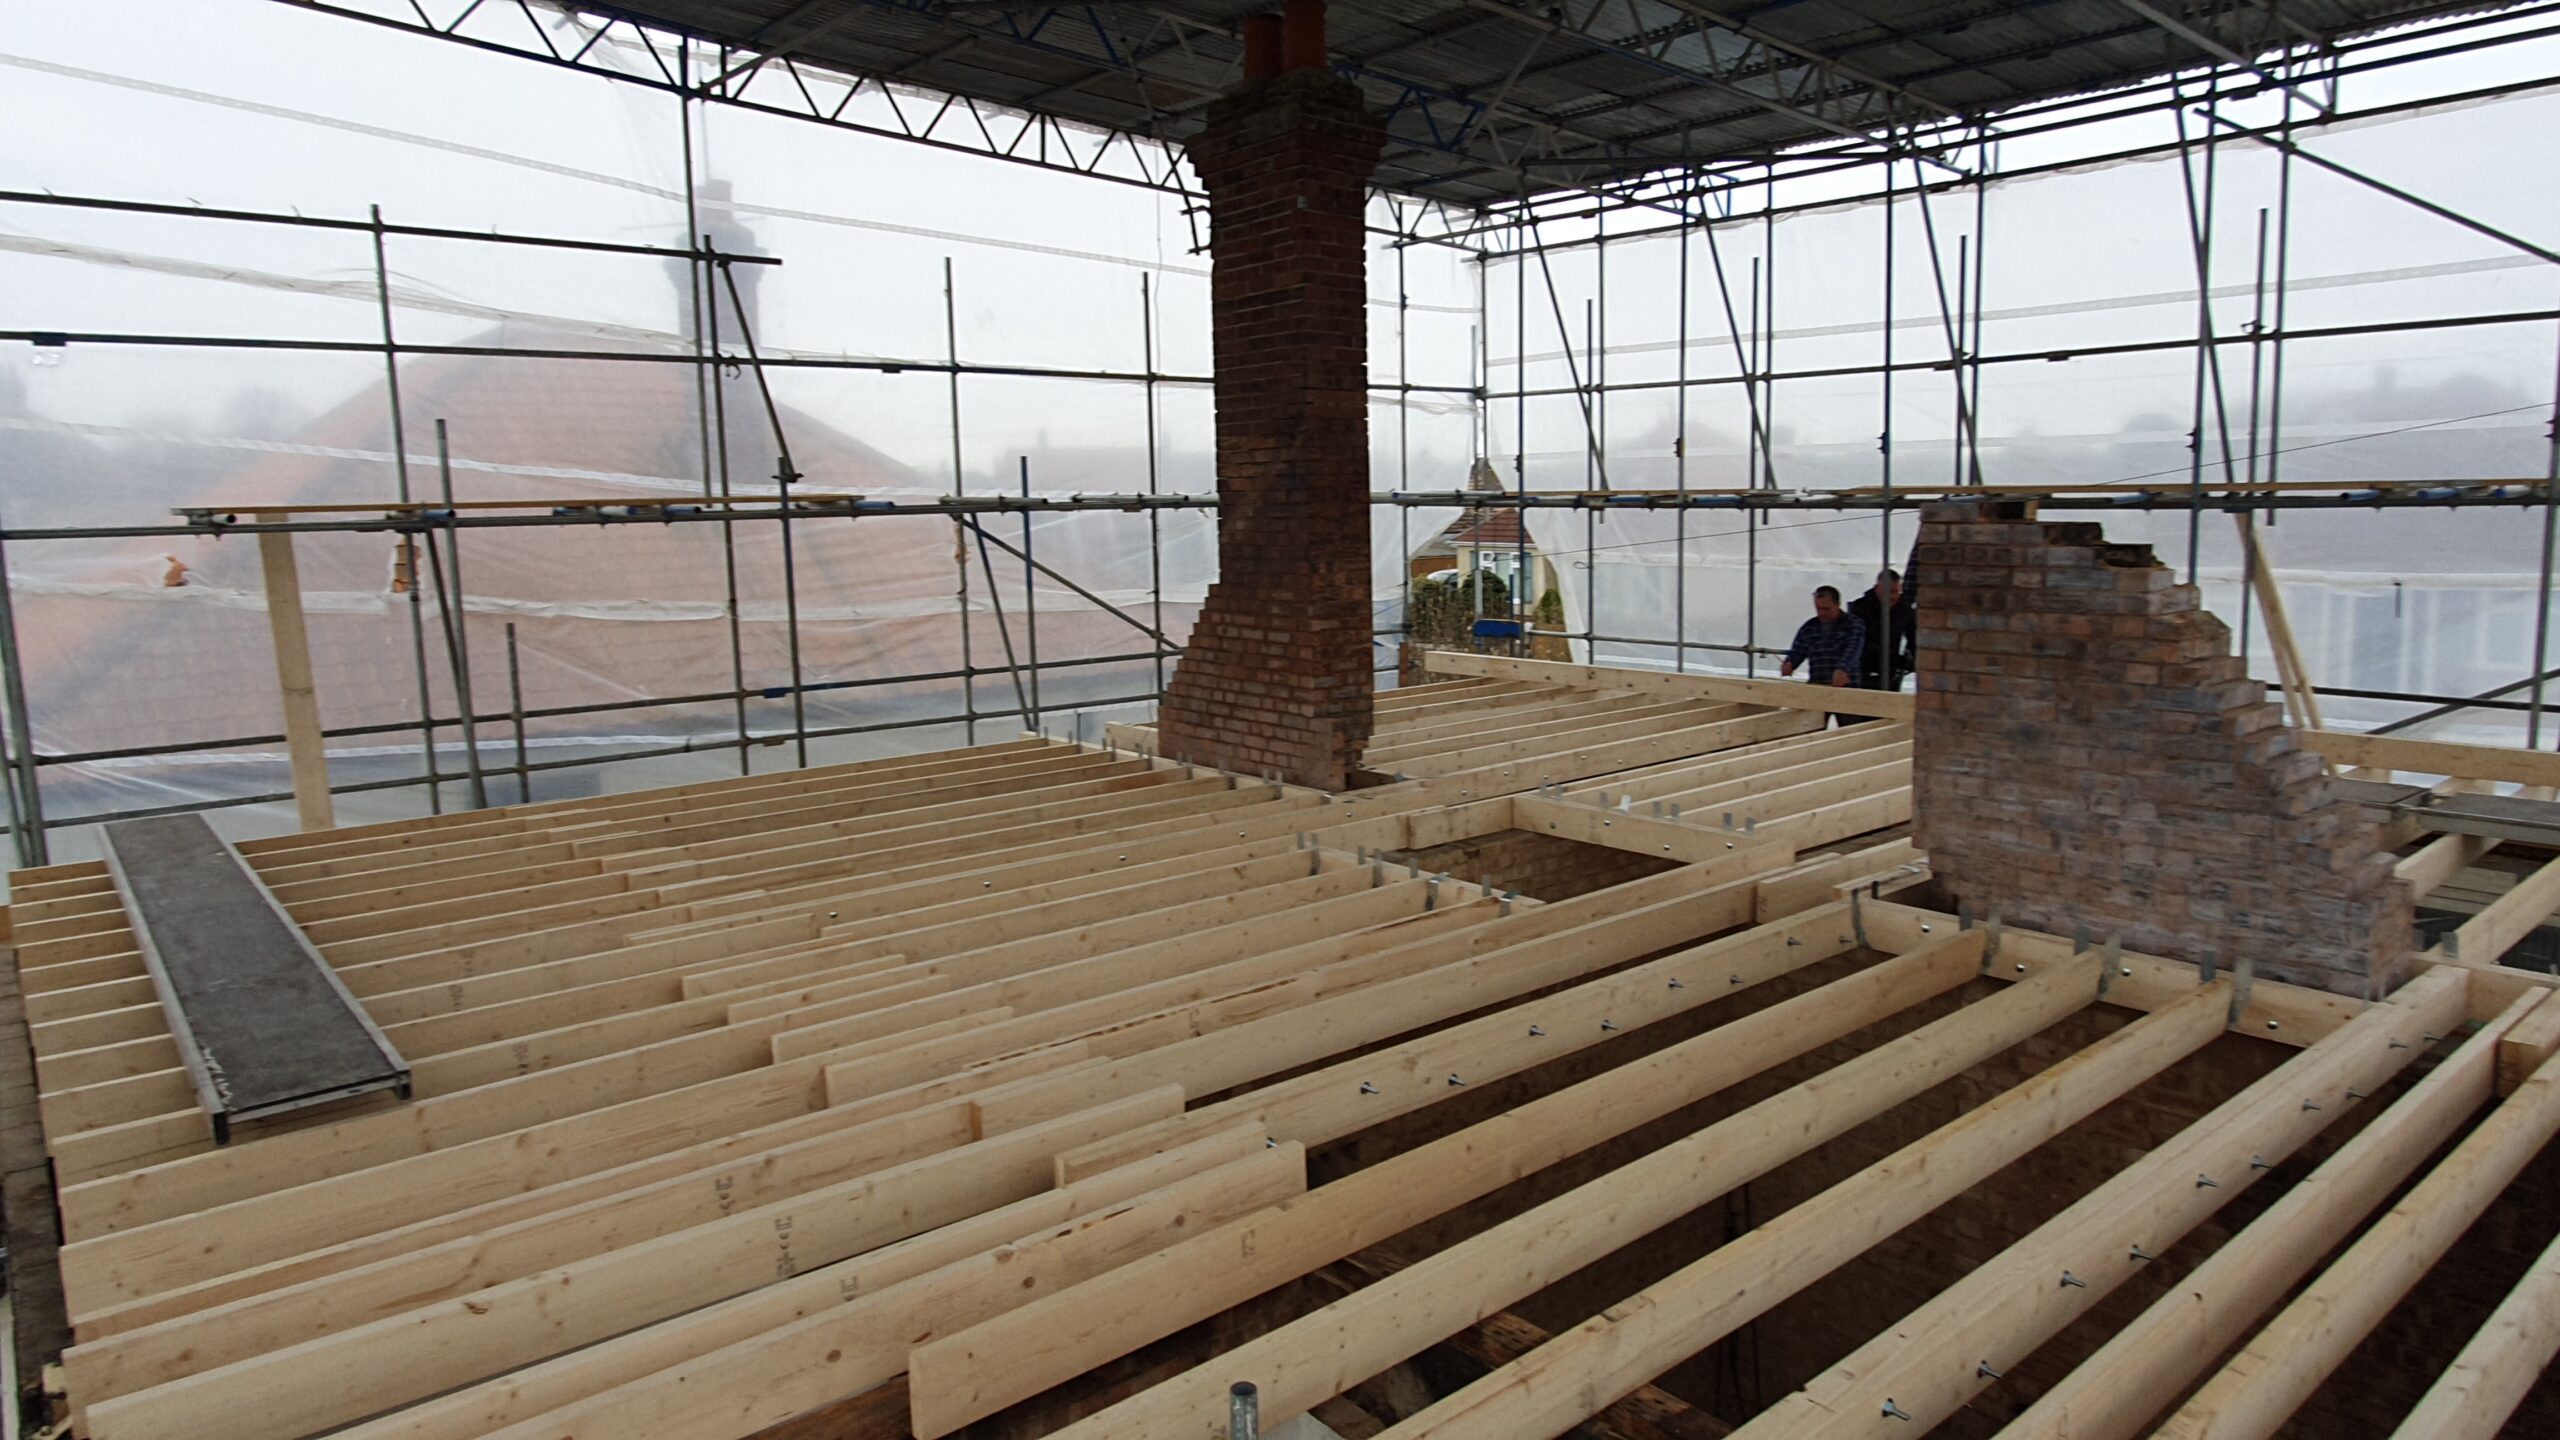
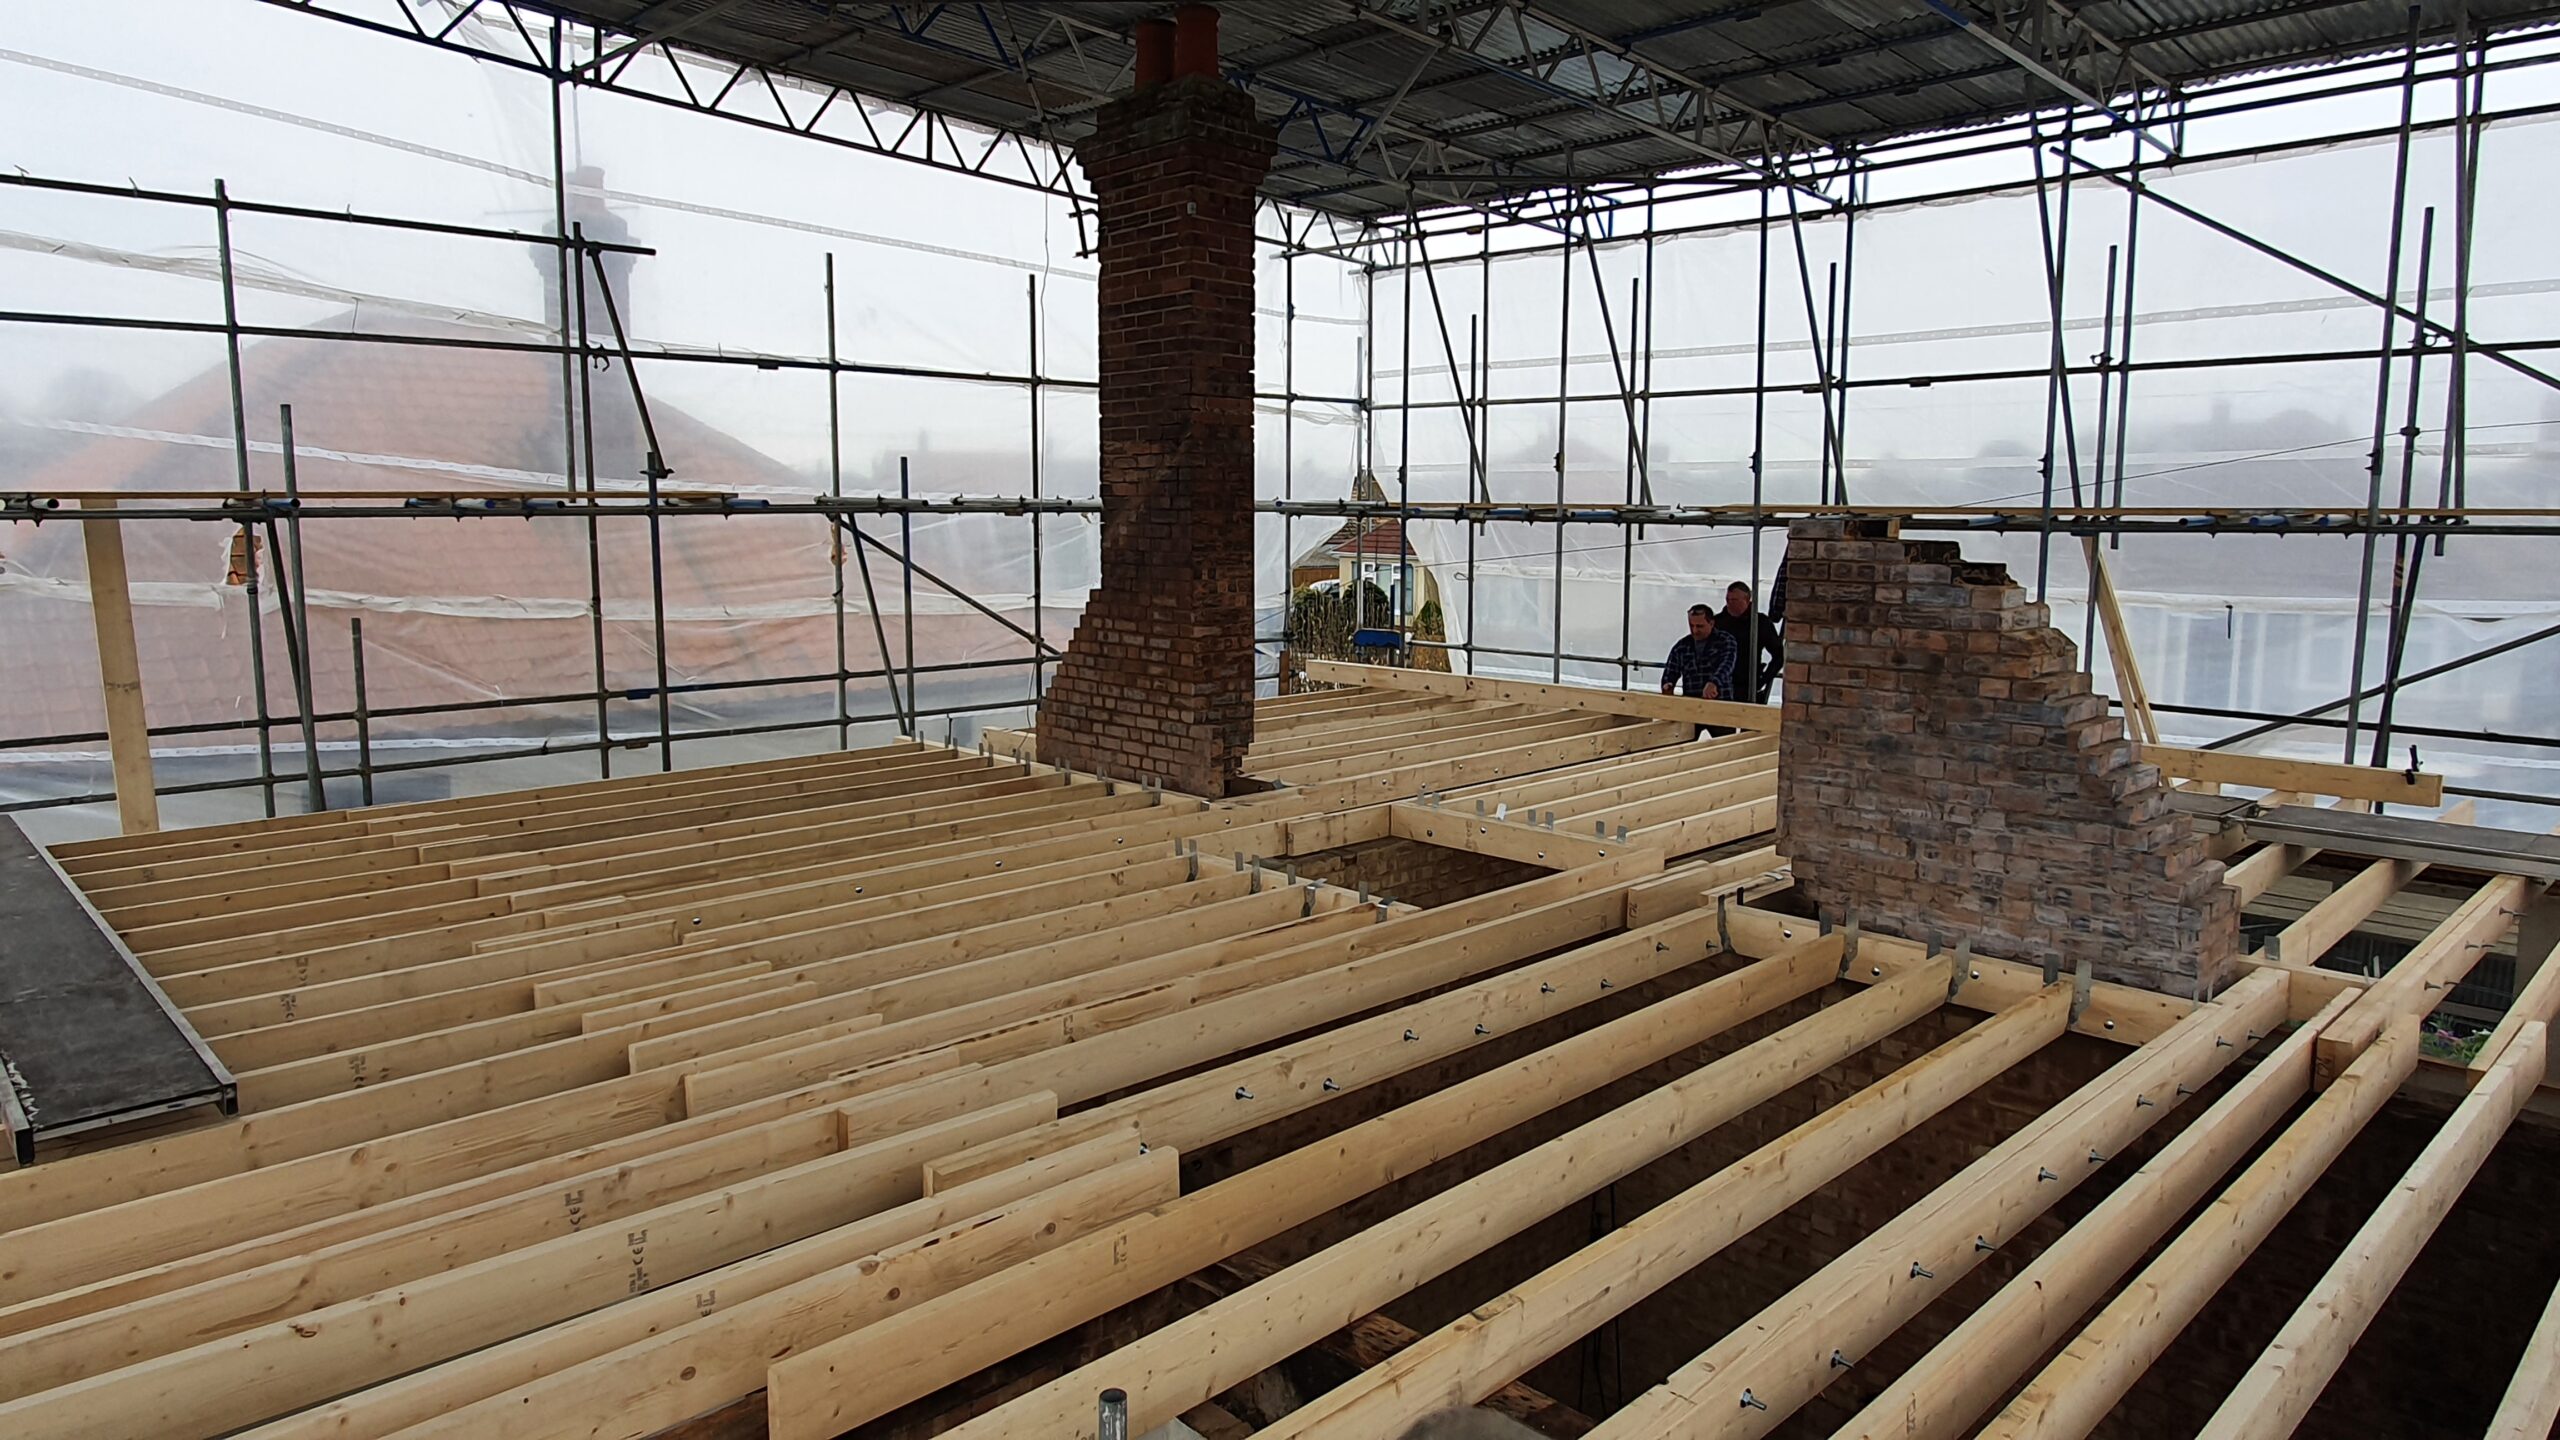
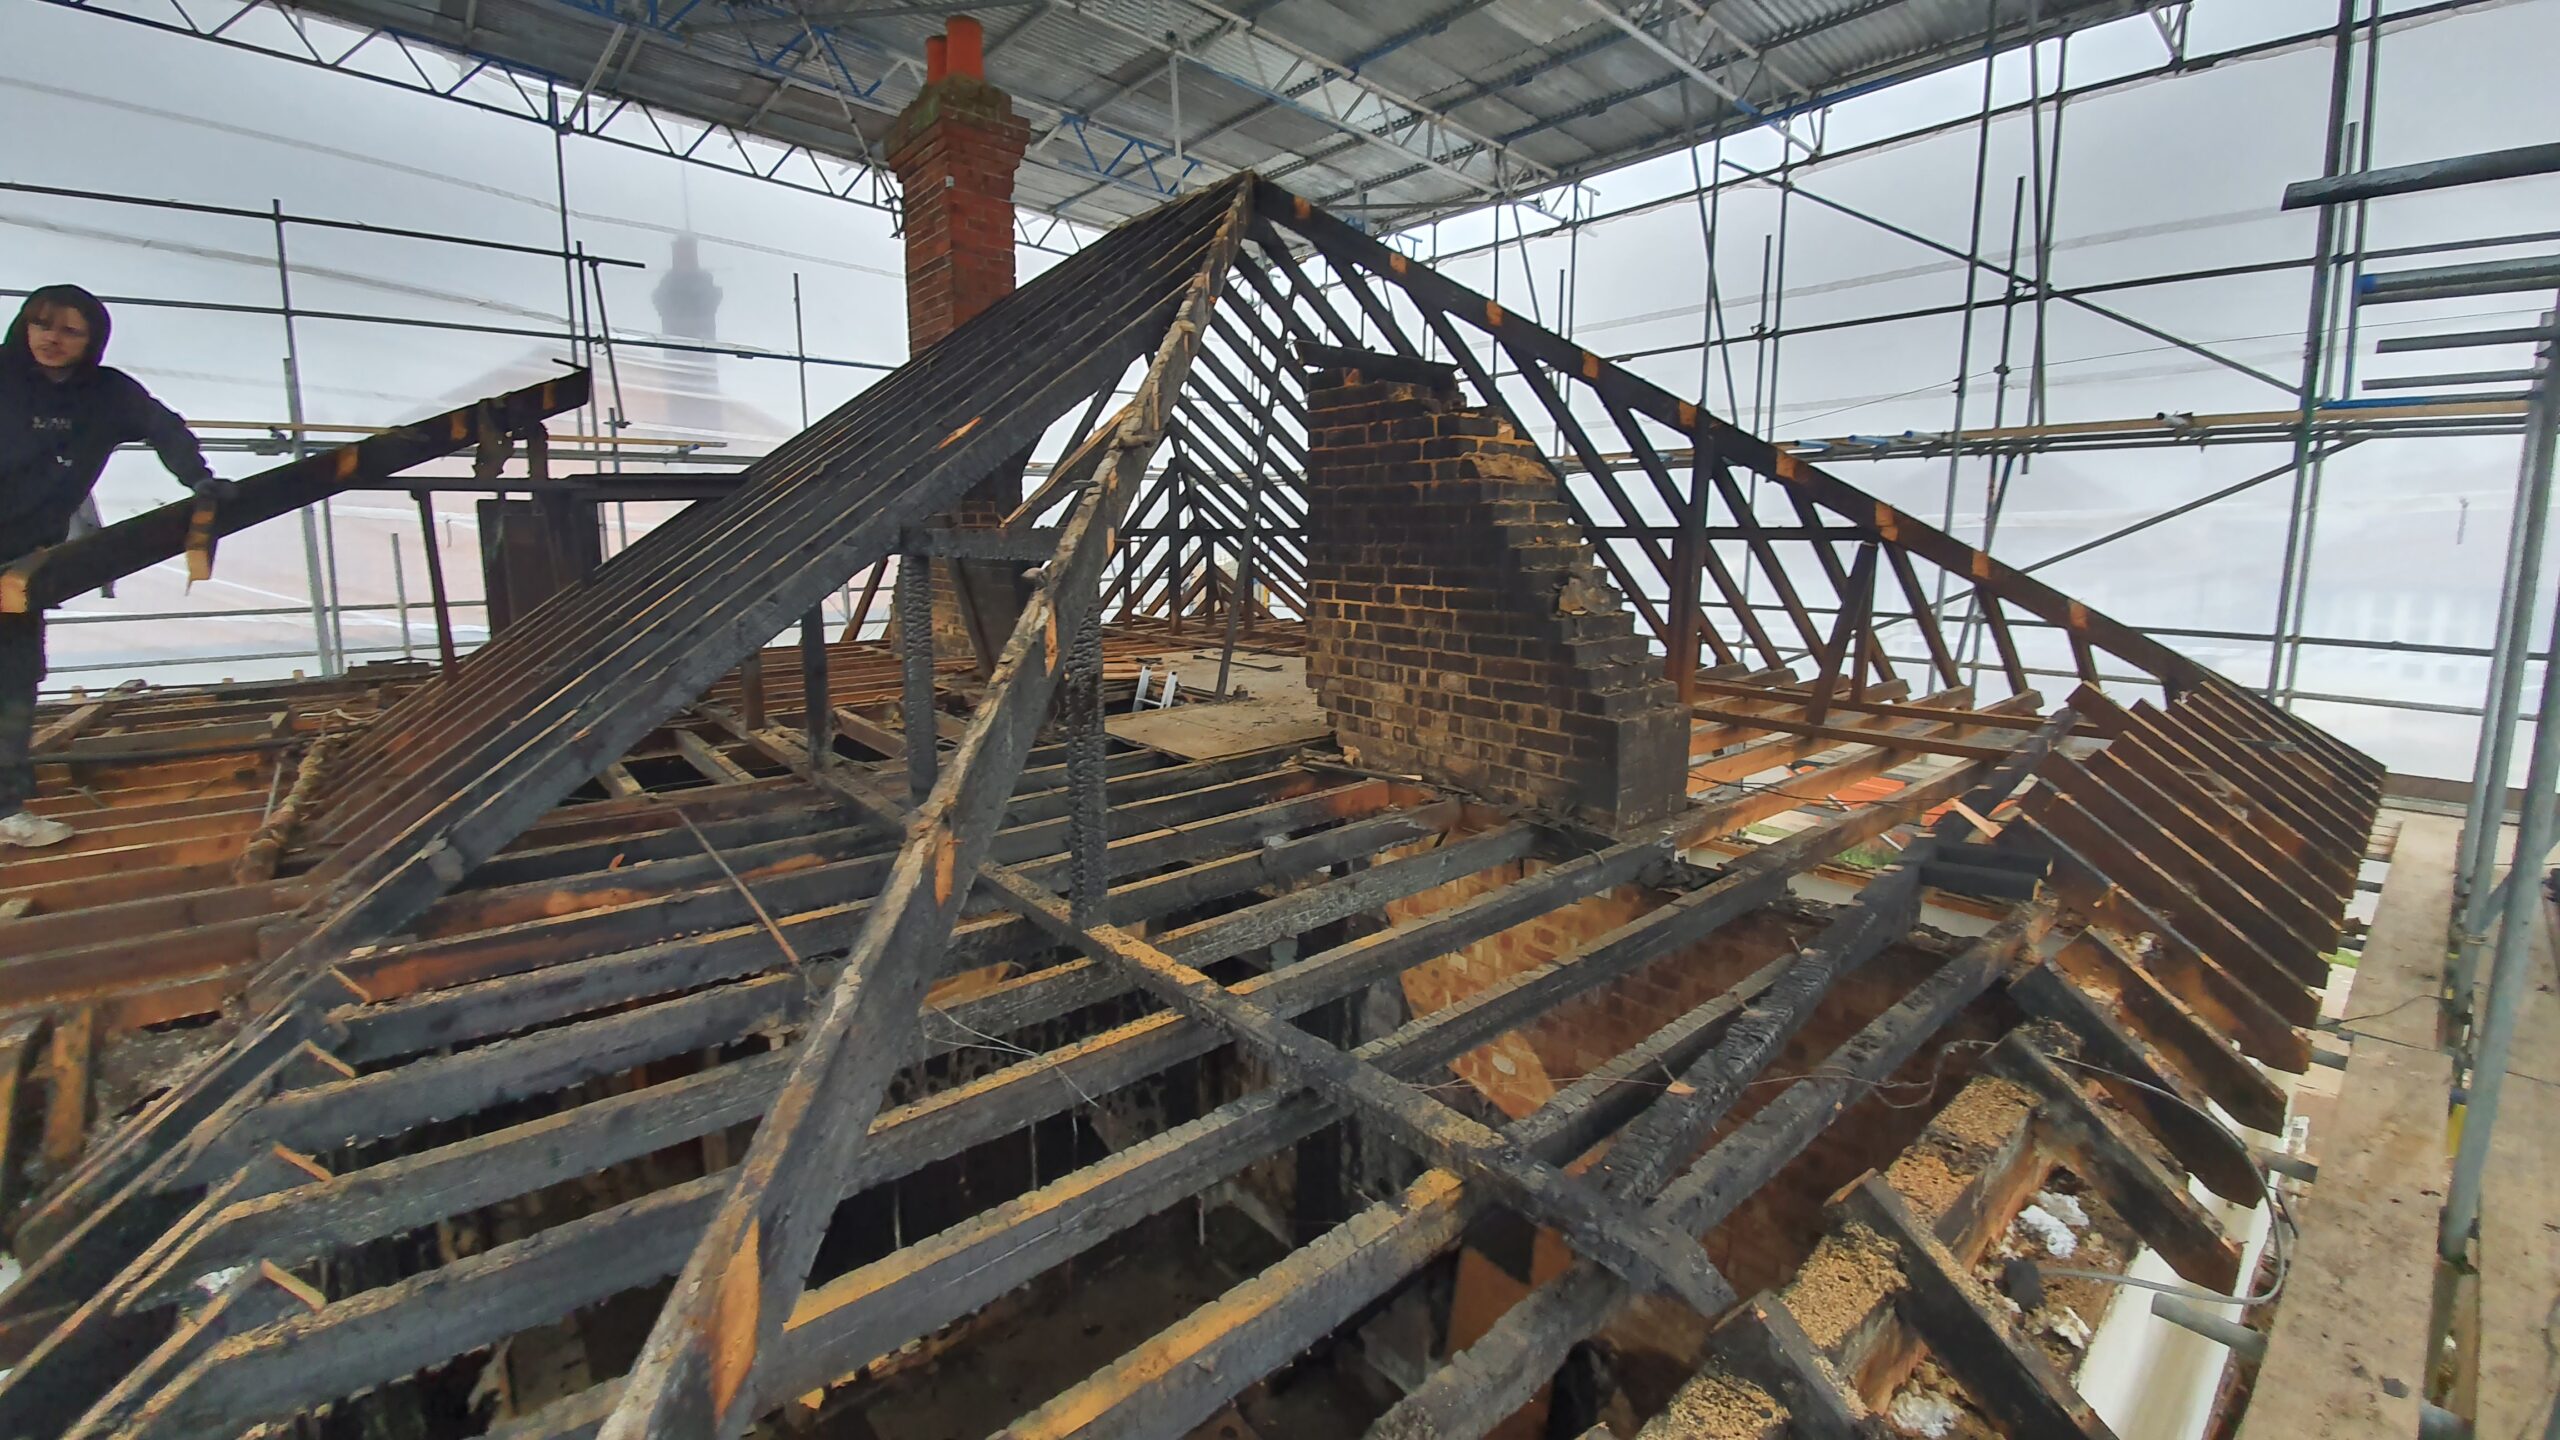
We started the first house by laying the ceiling joints and pinning them to the wall plate, we would then just these later once the rafters were in position. We had to leave a fire gap so that any future fire couldn’t spread as easily between the two houses, we believe the rafters ran straight through and were touching previously.
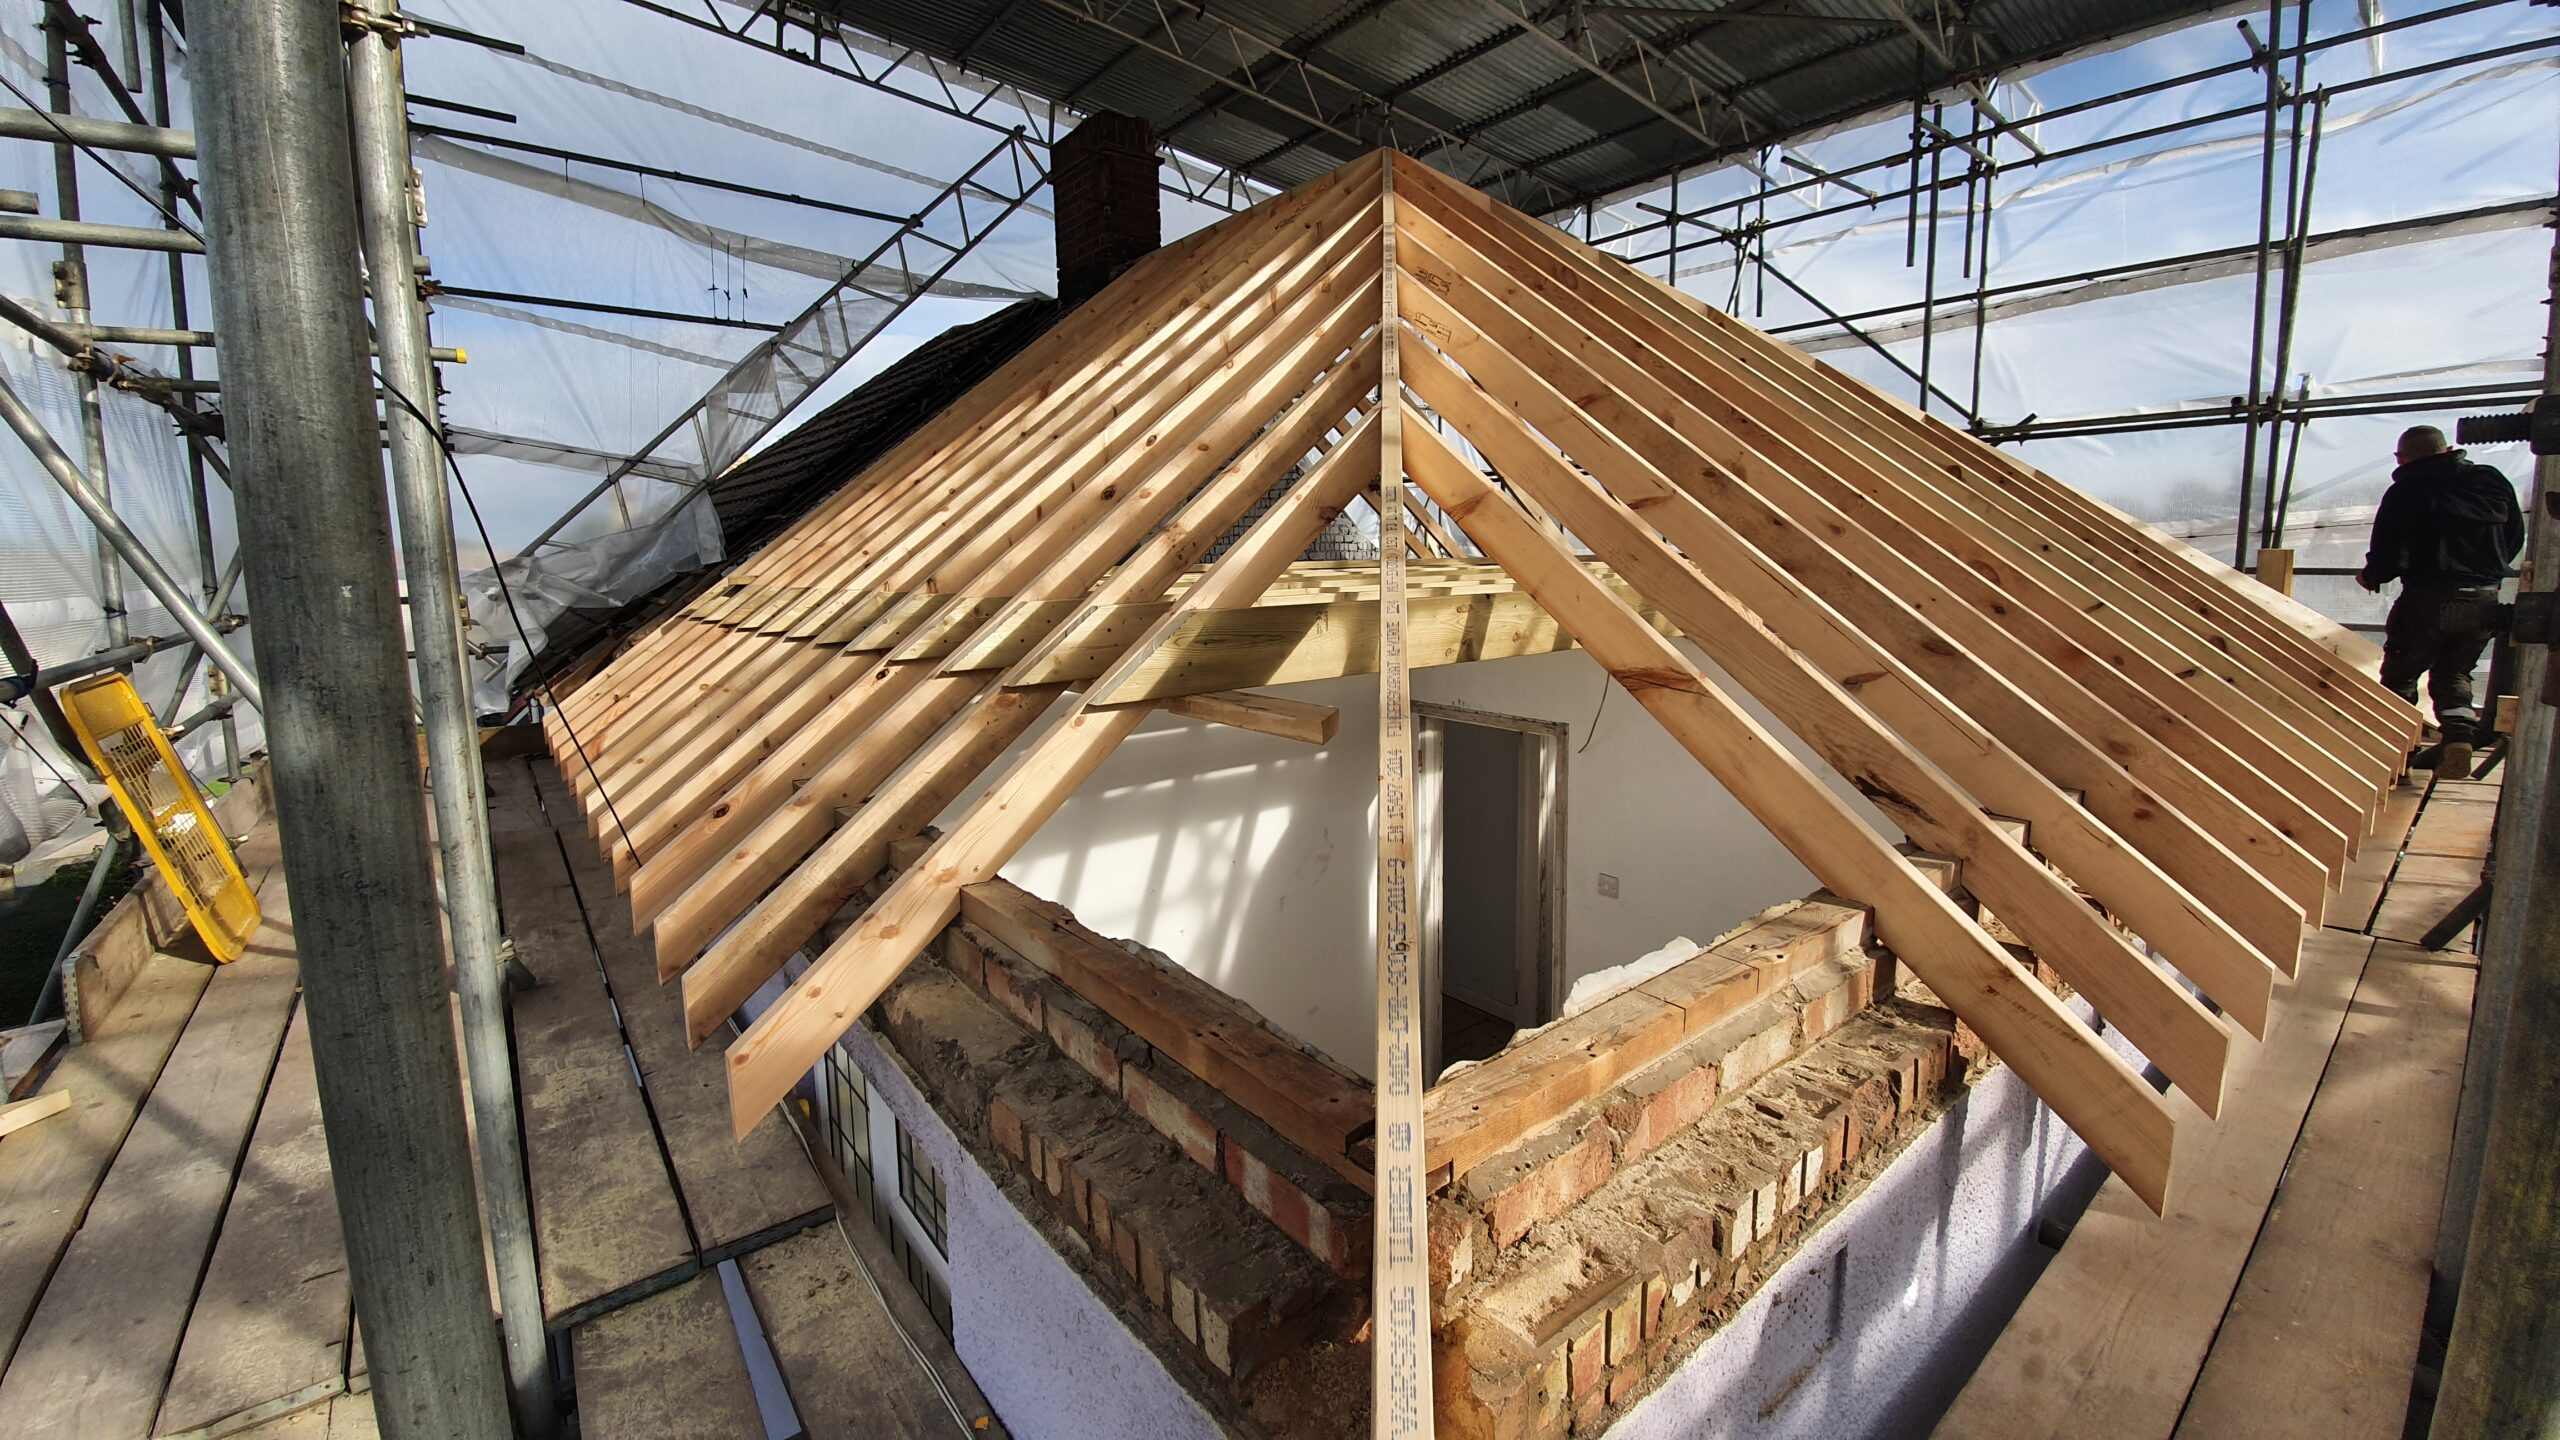
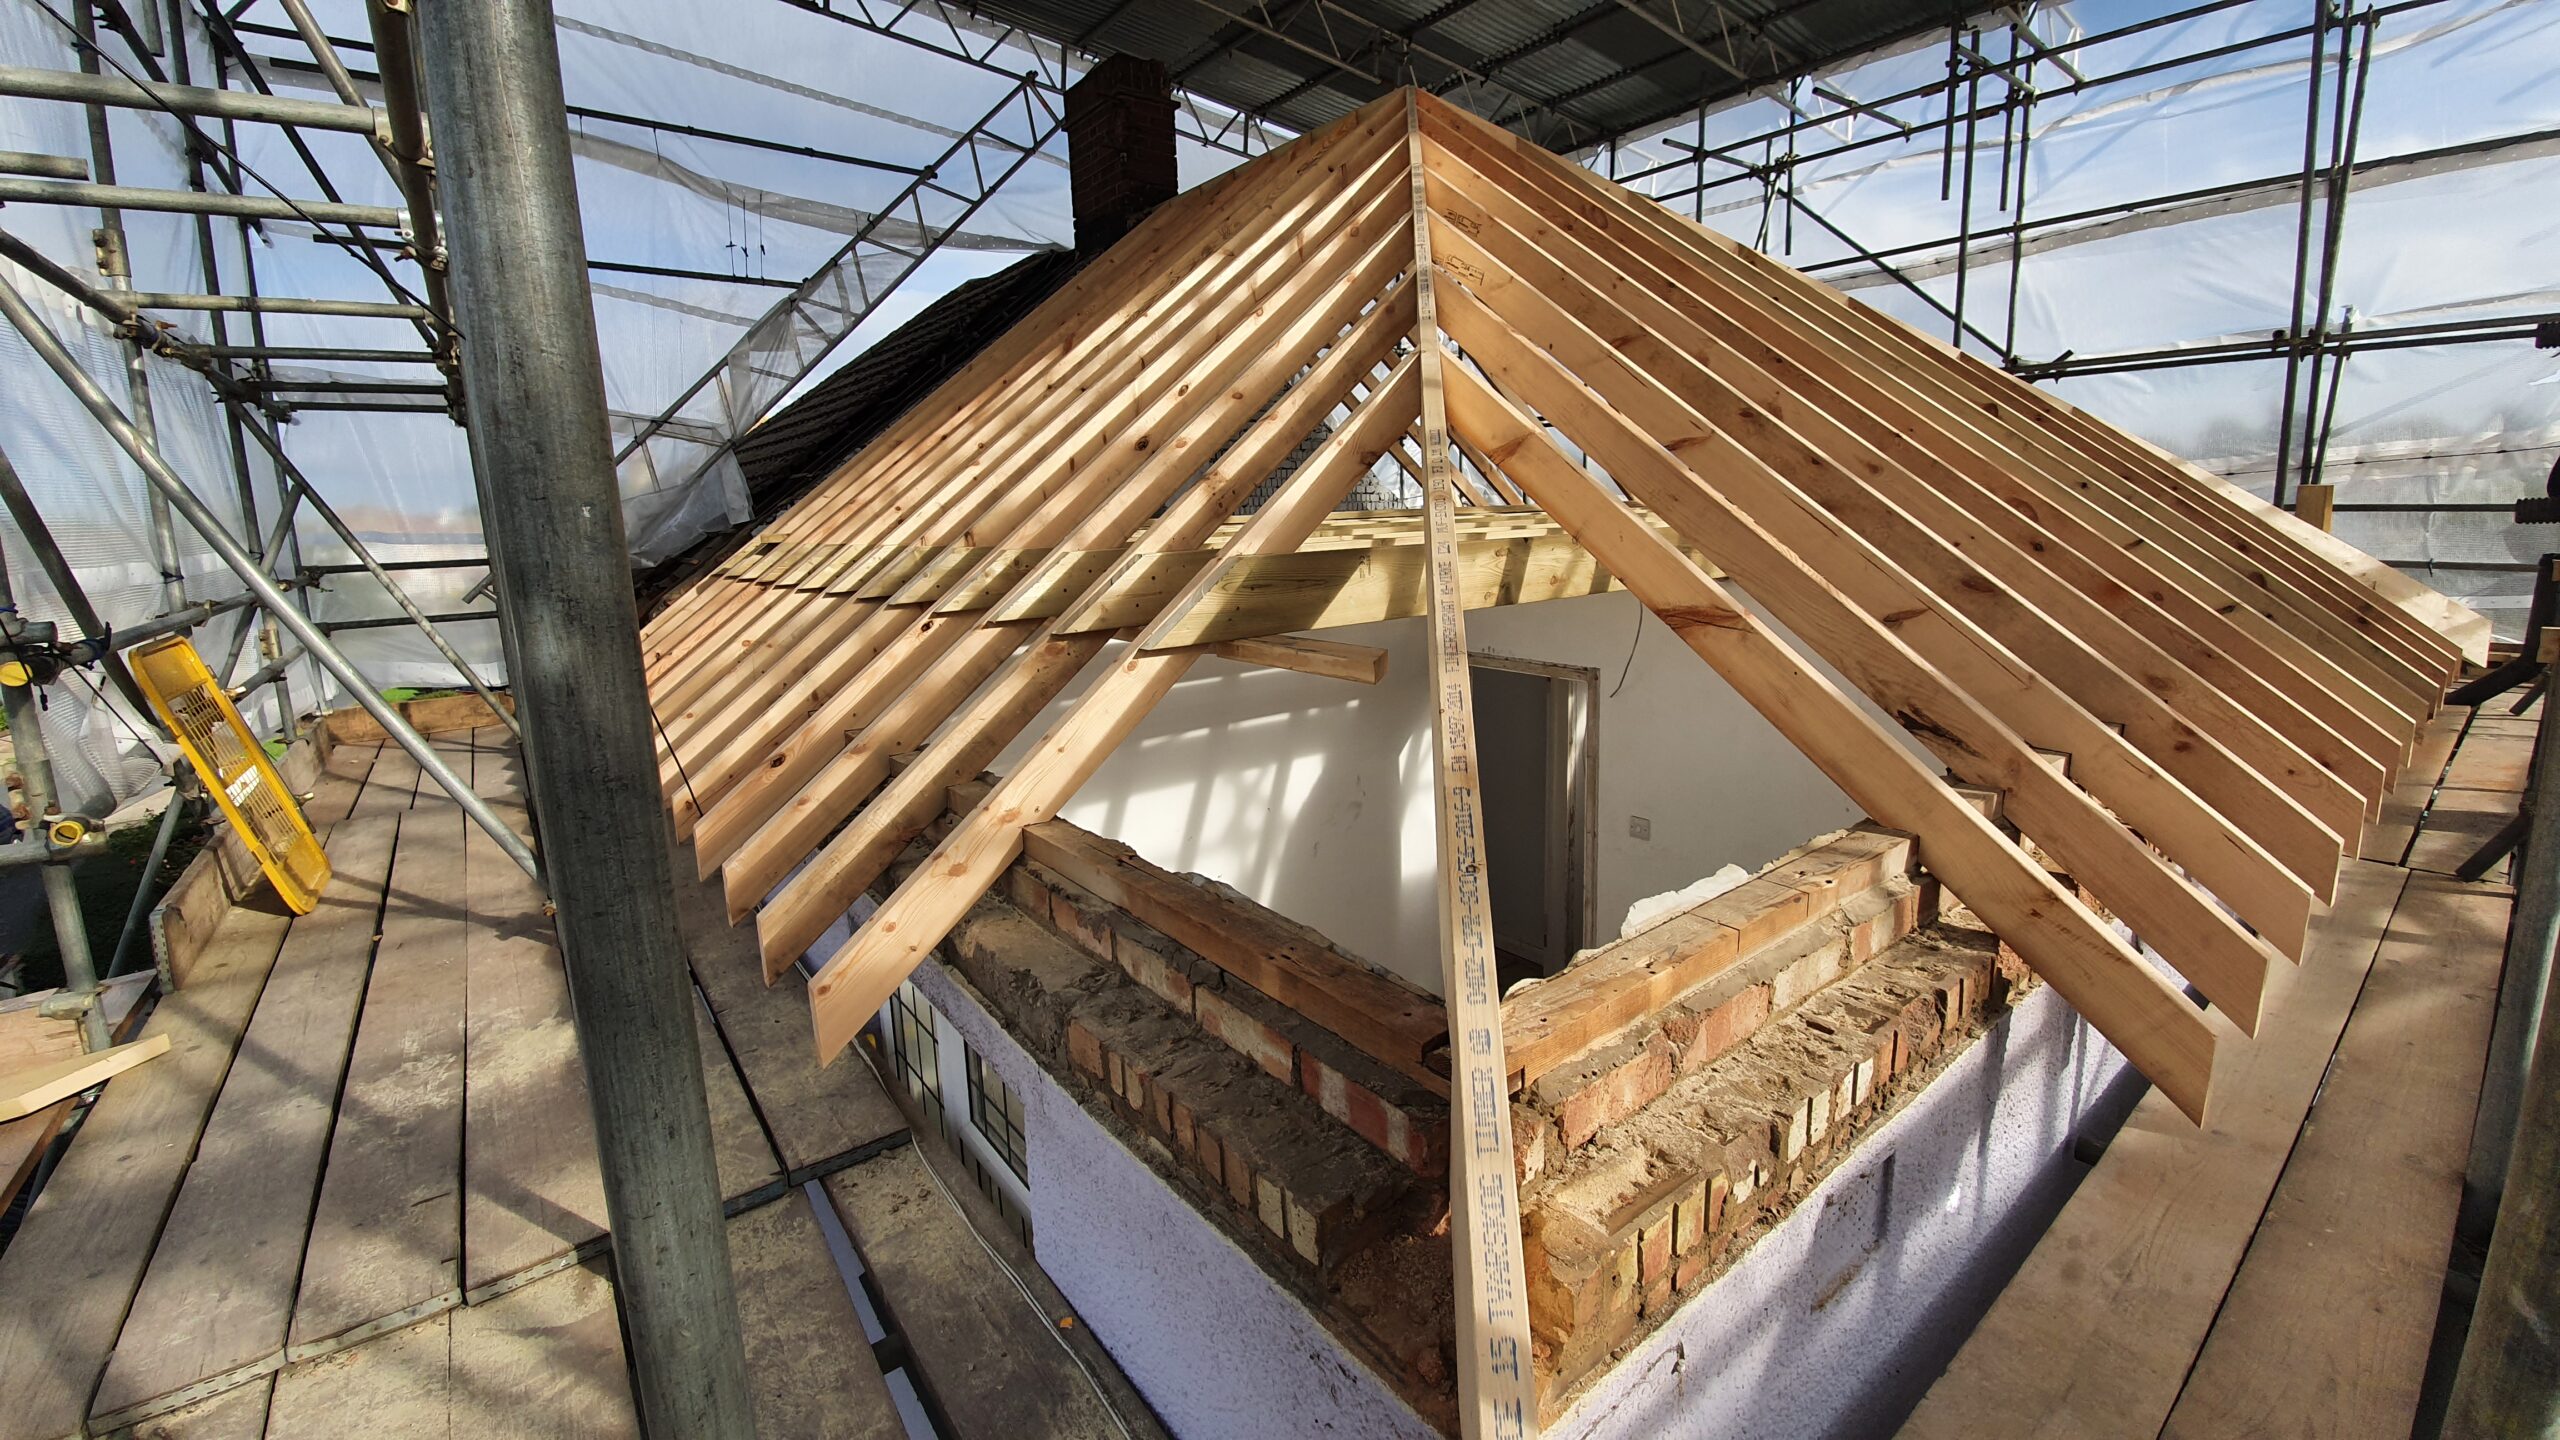
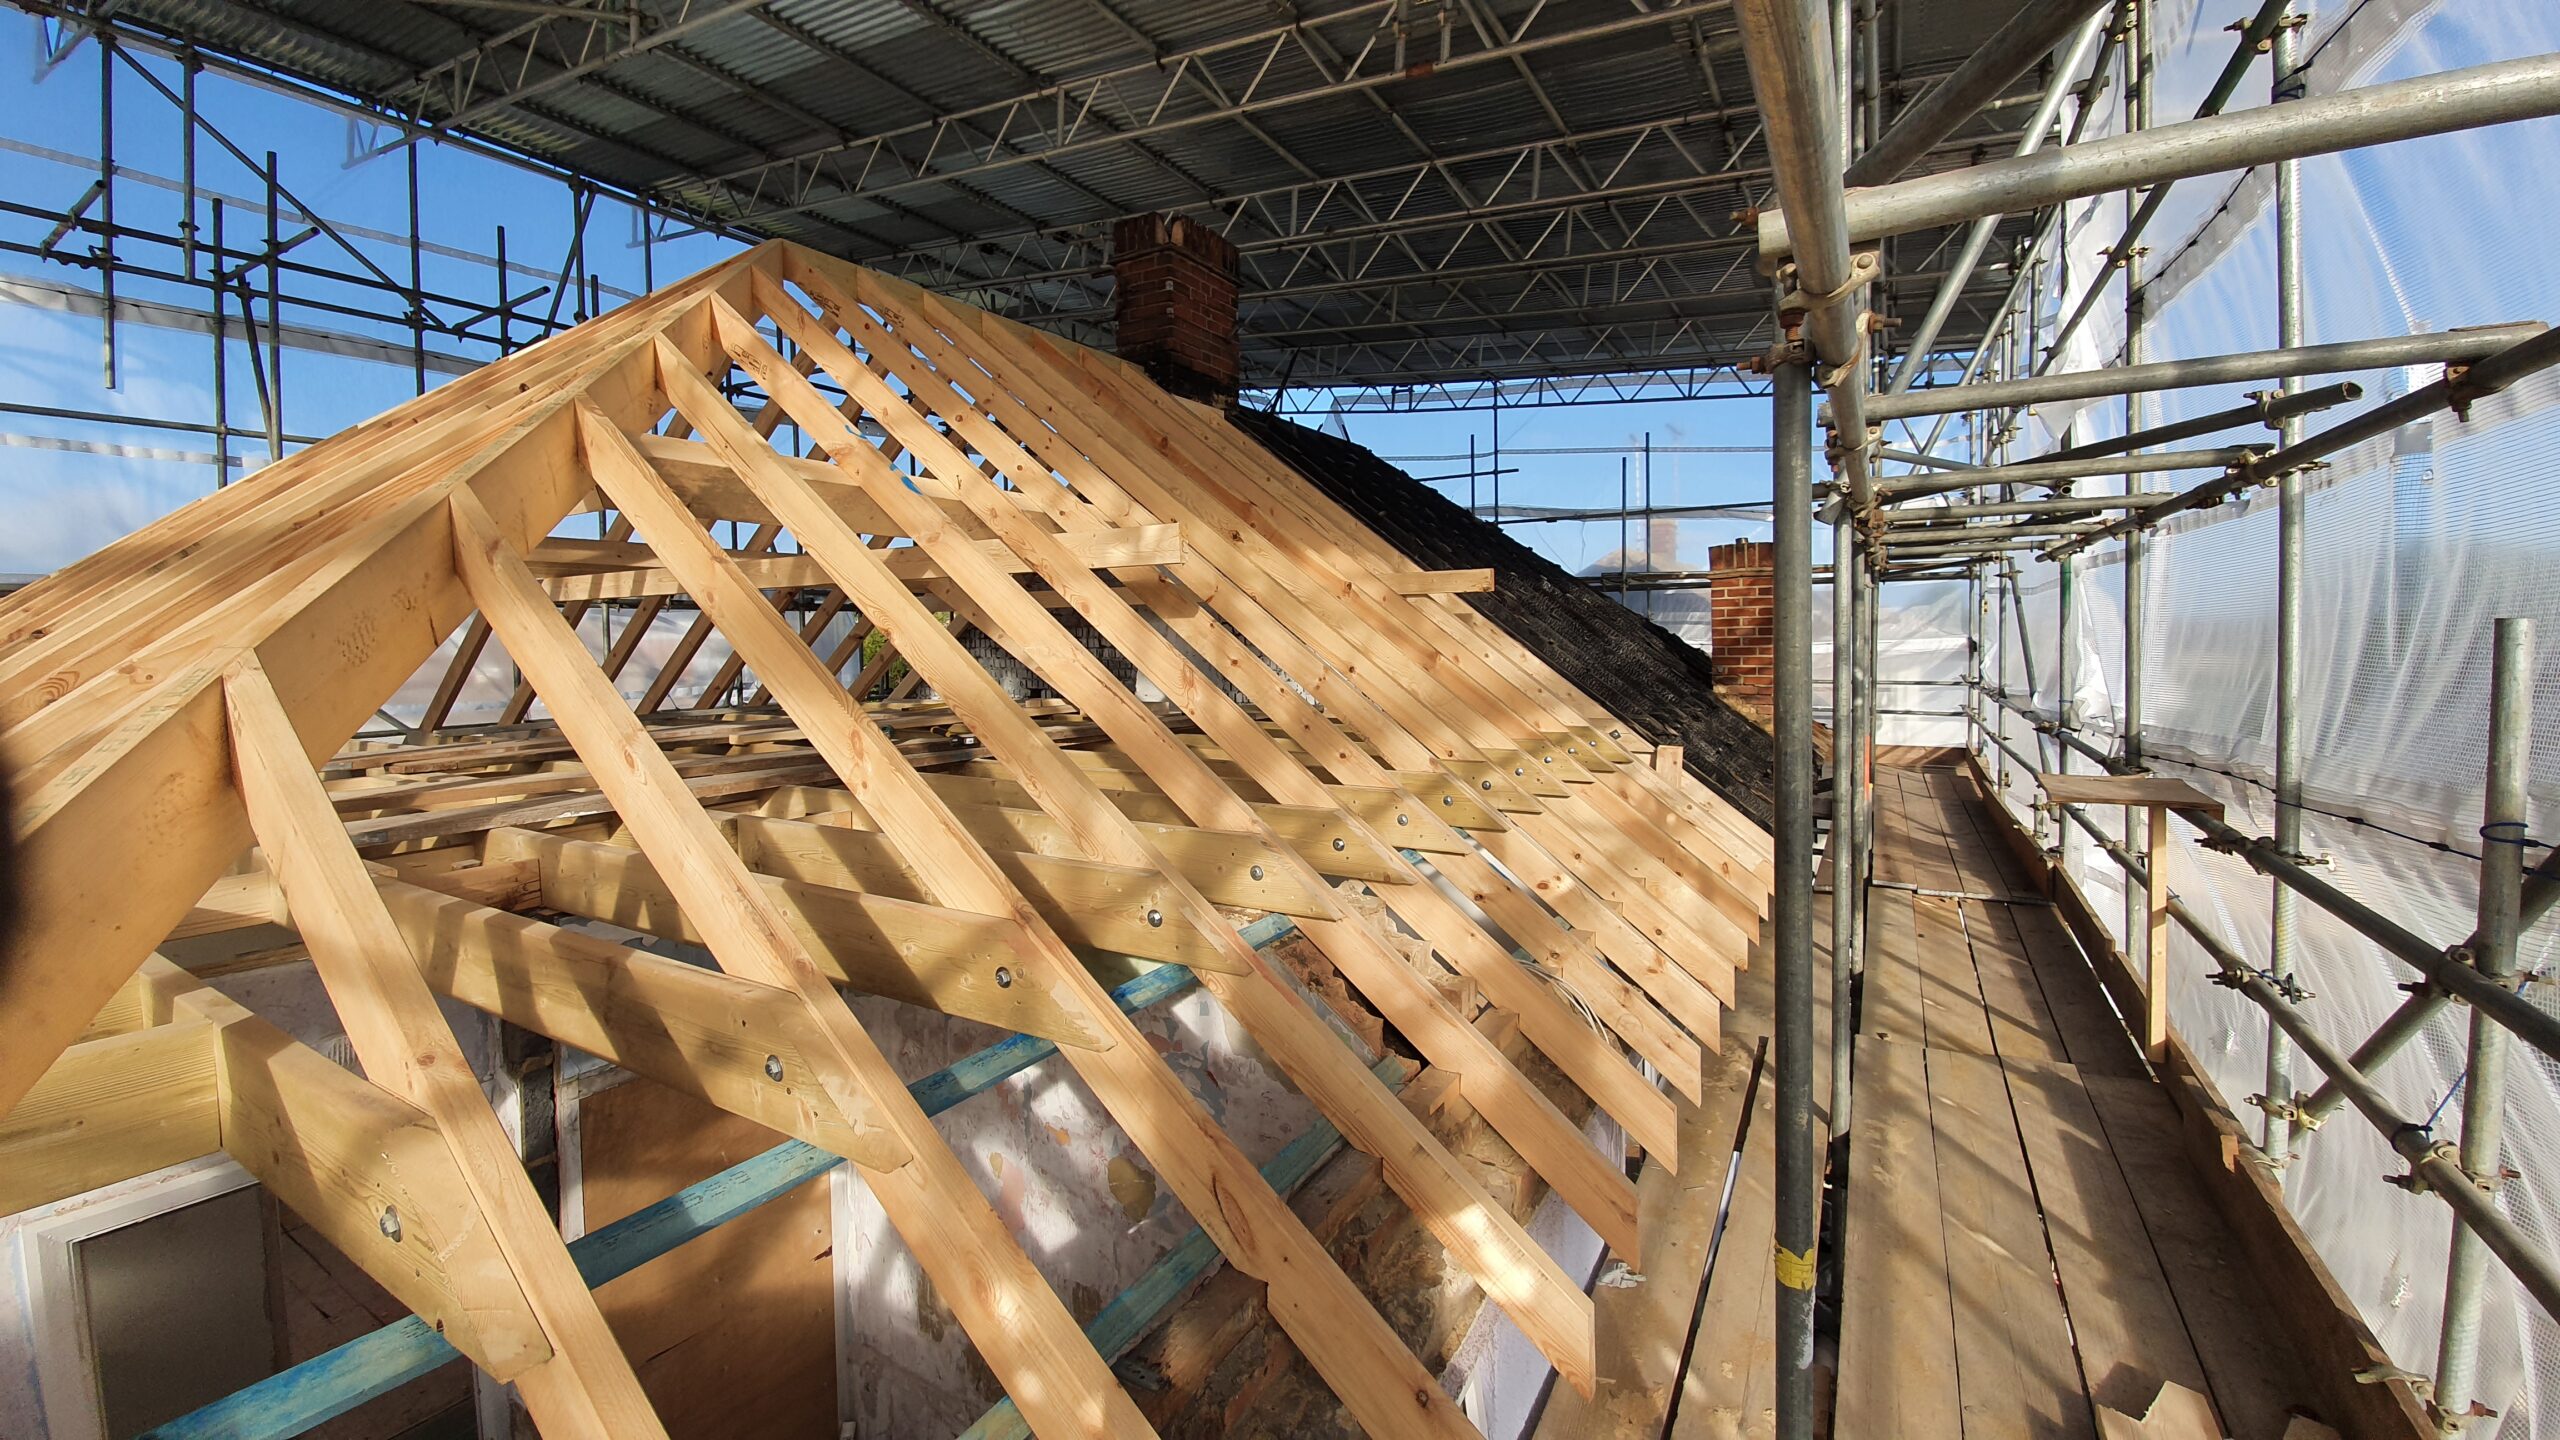
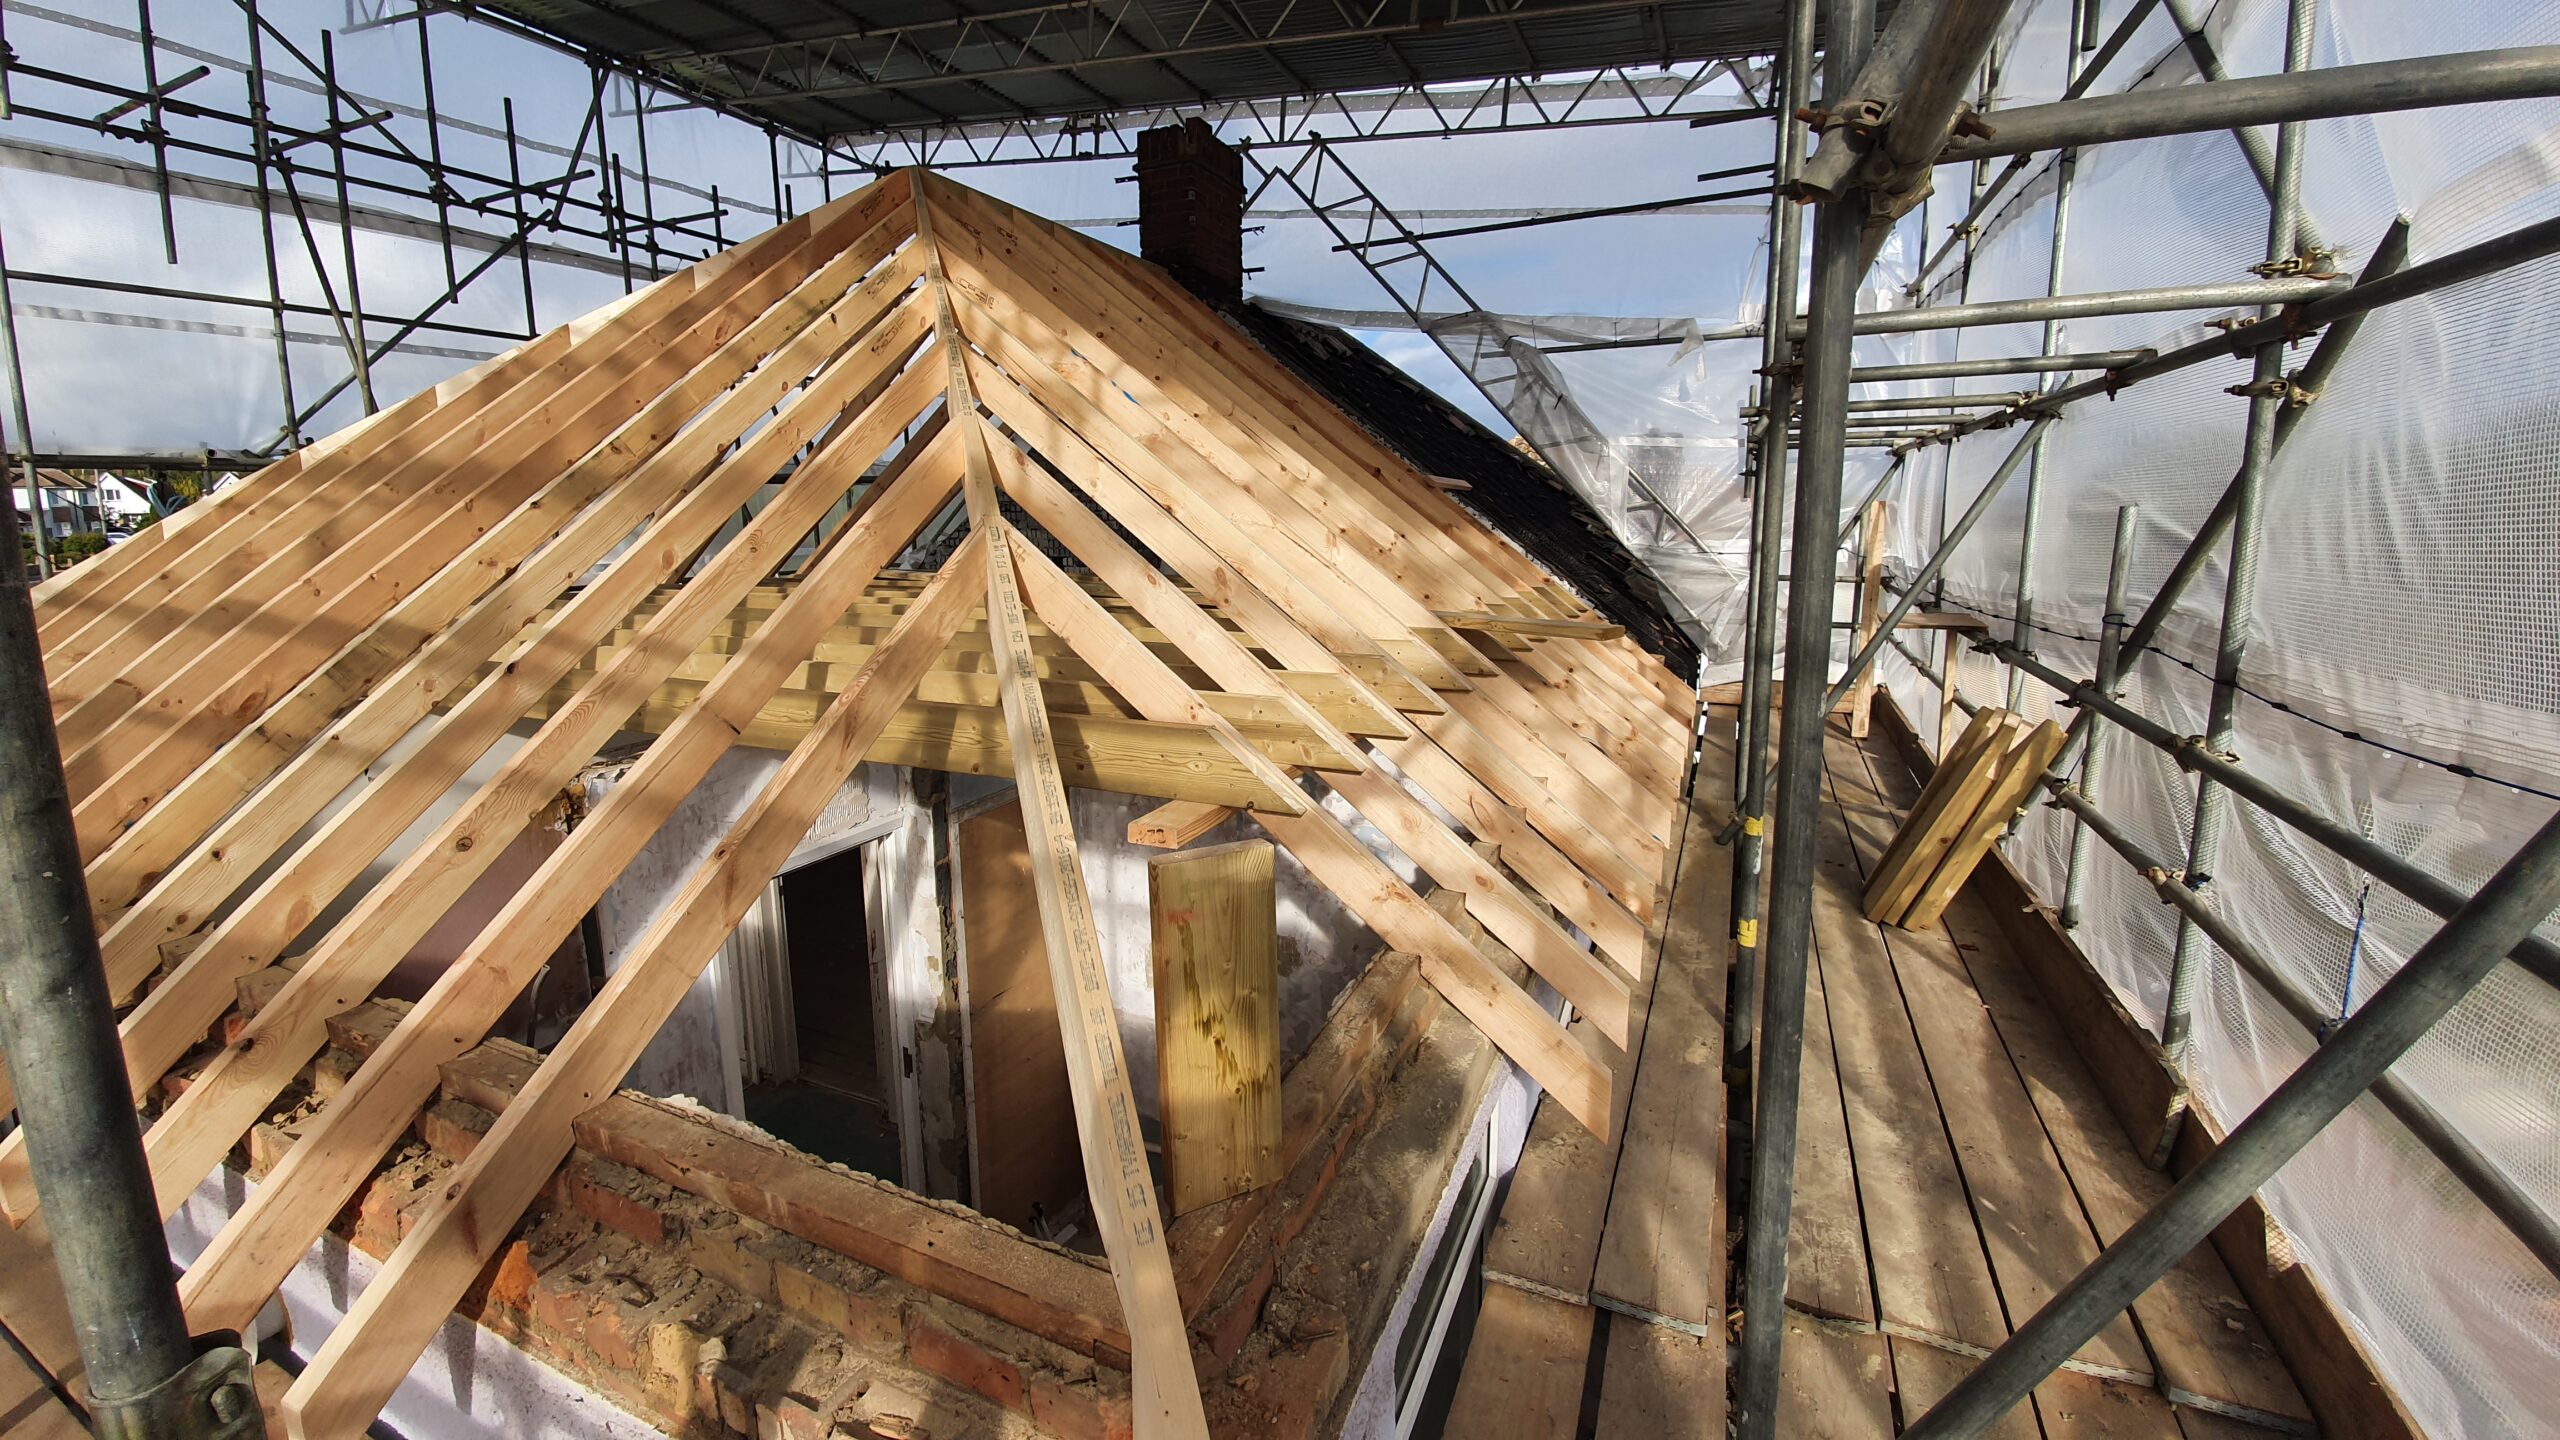
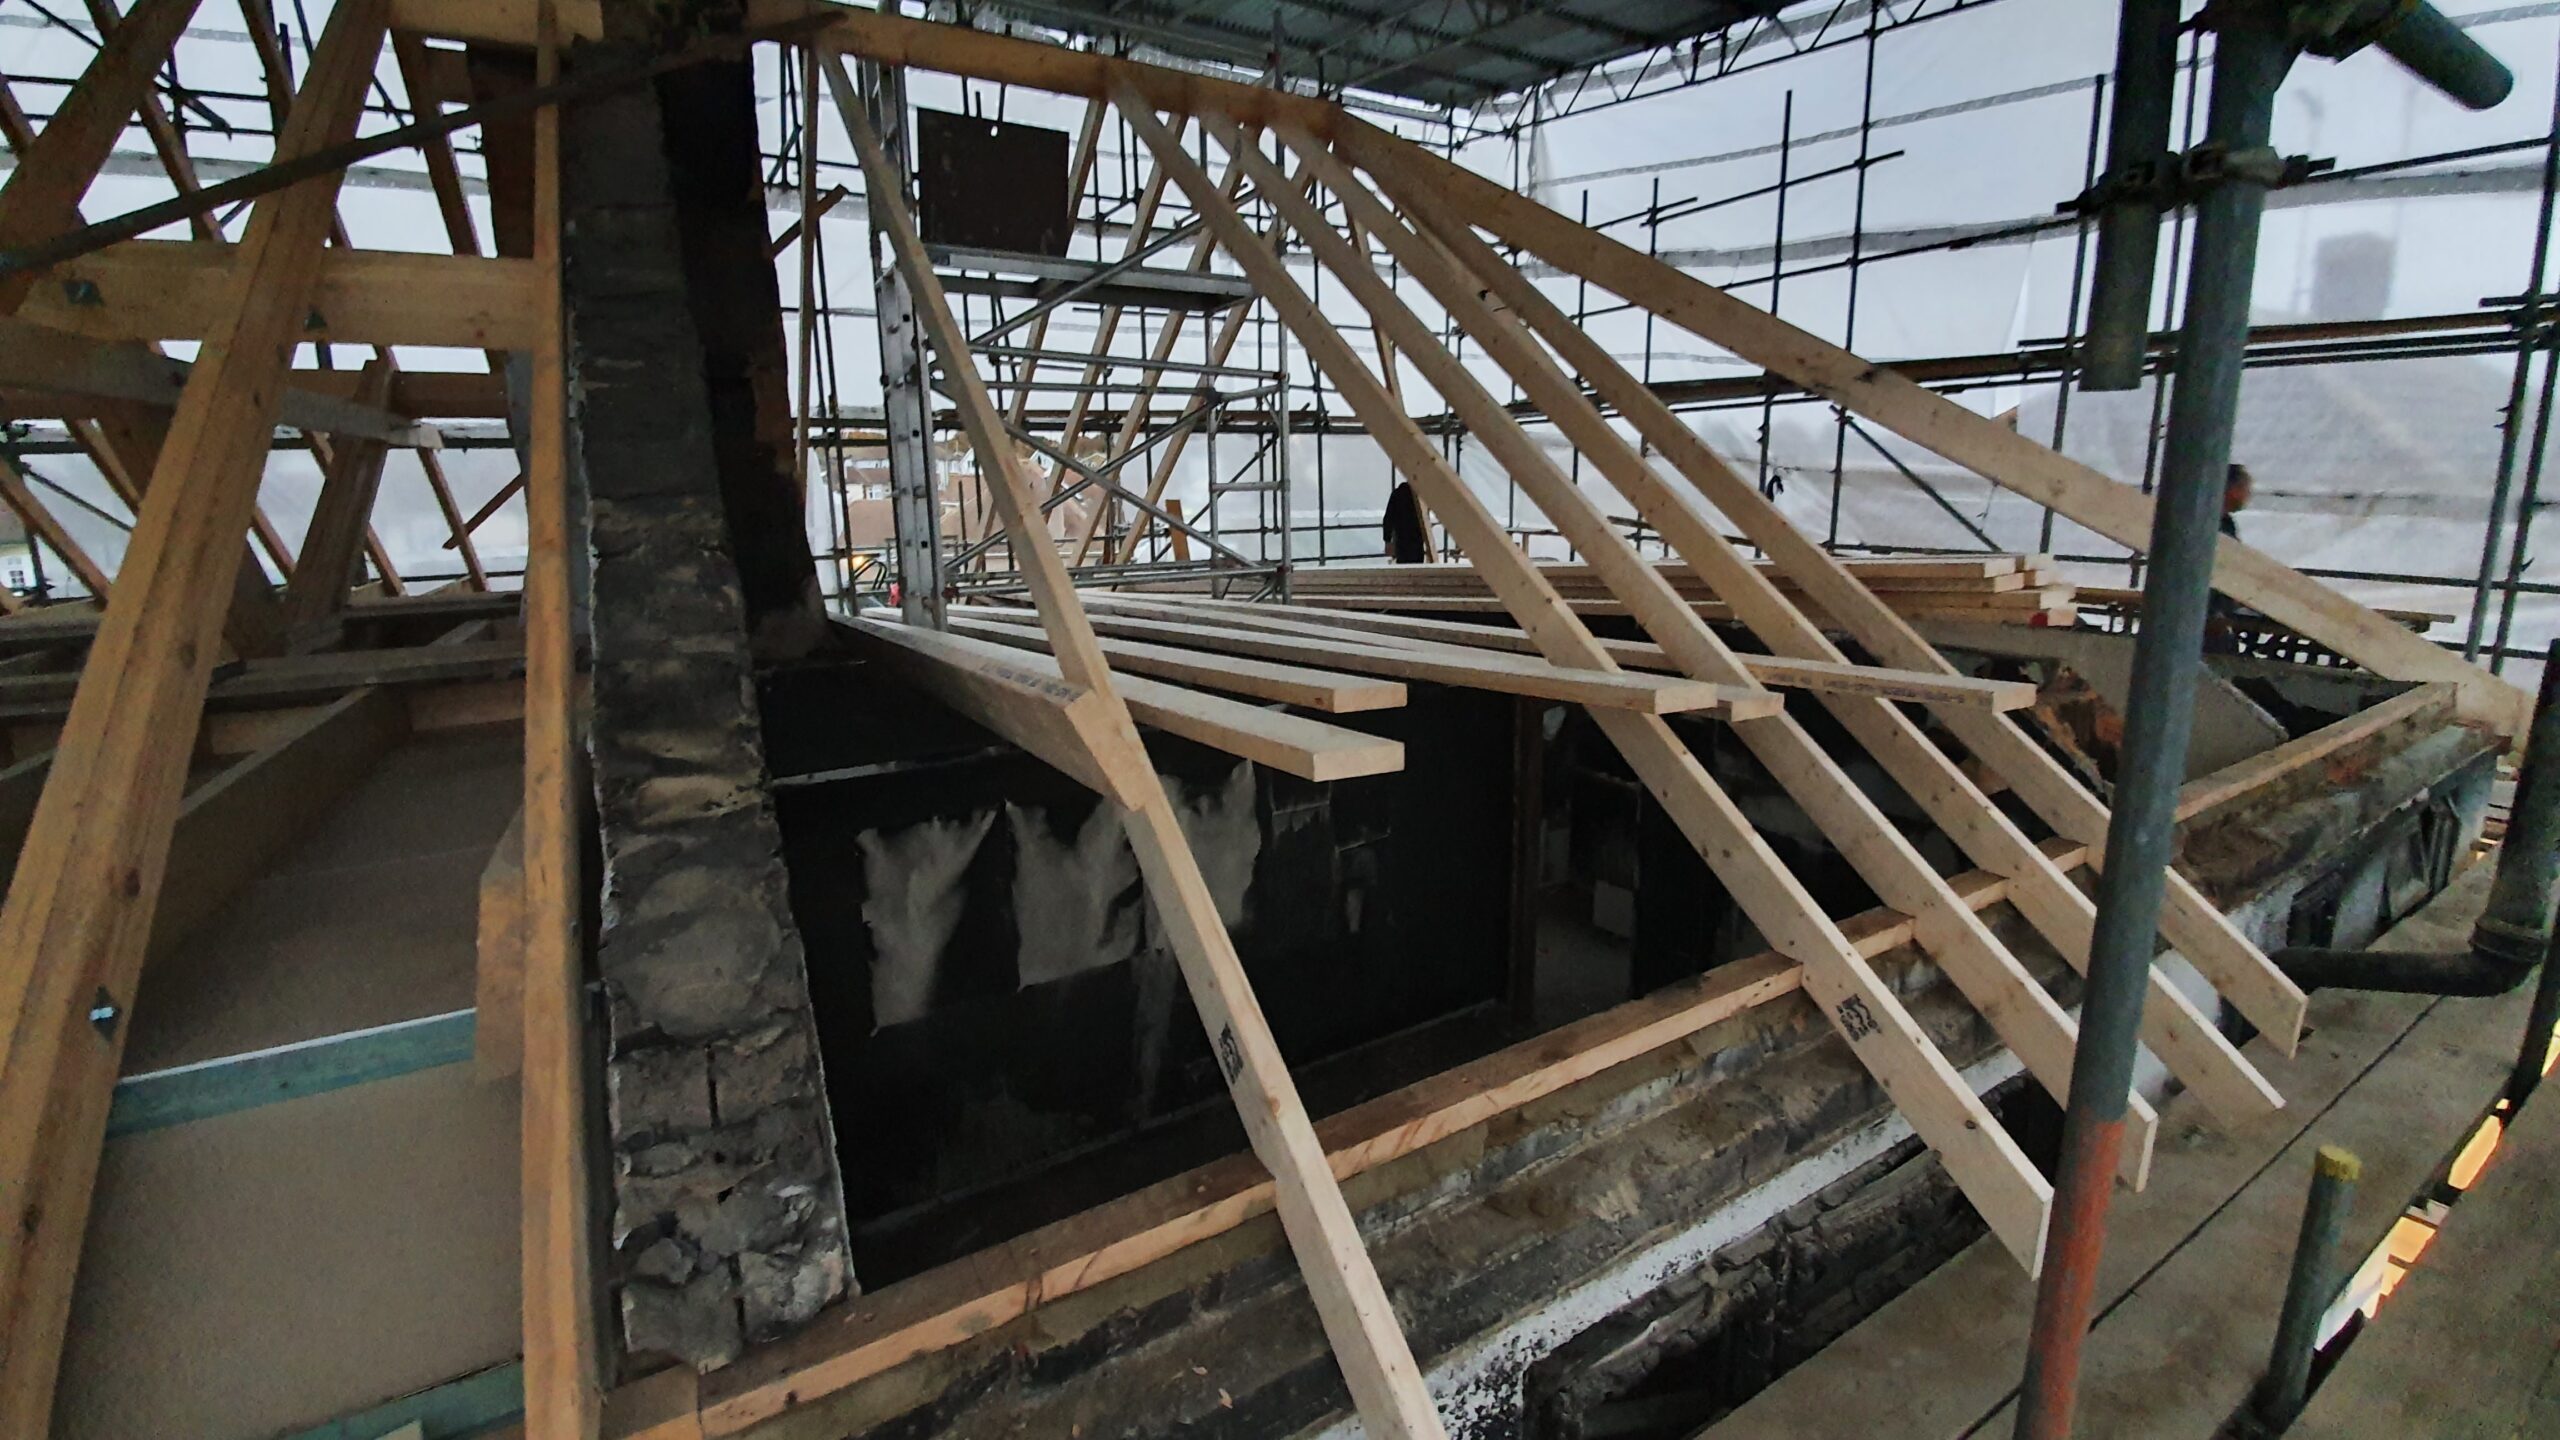
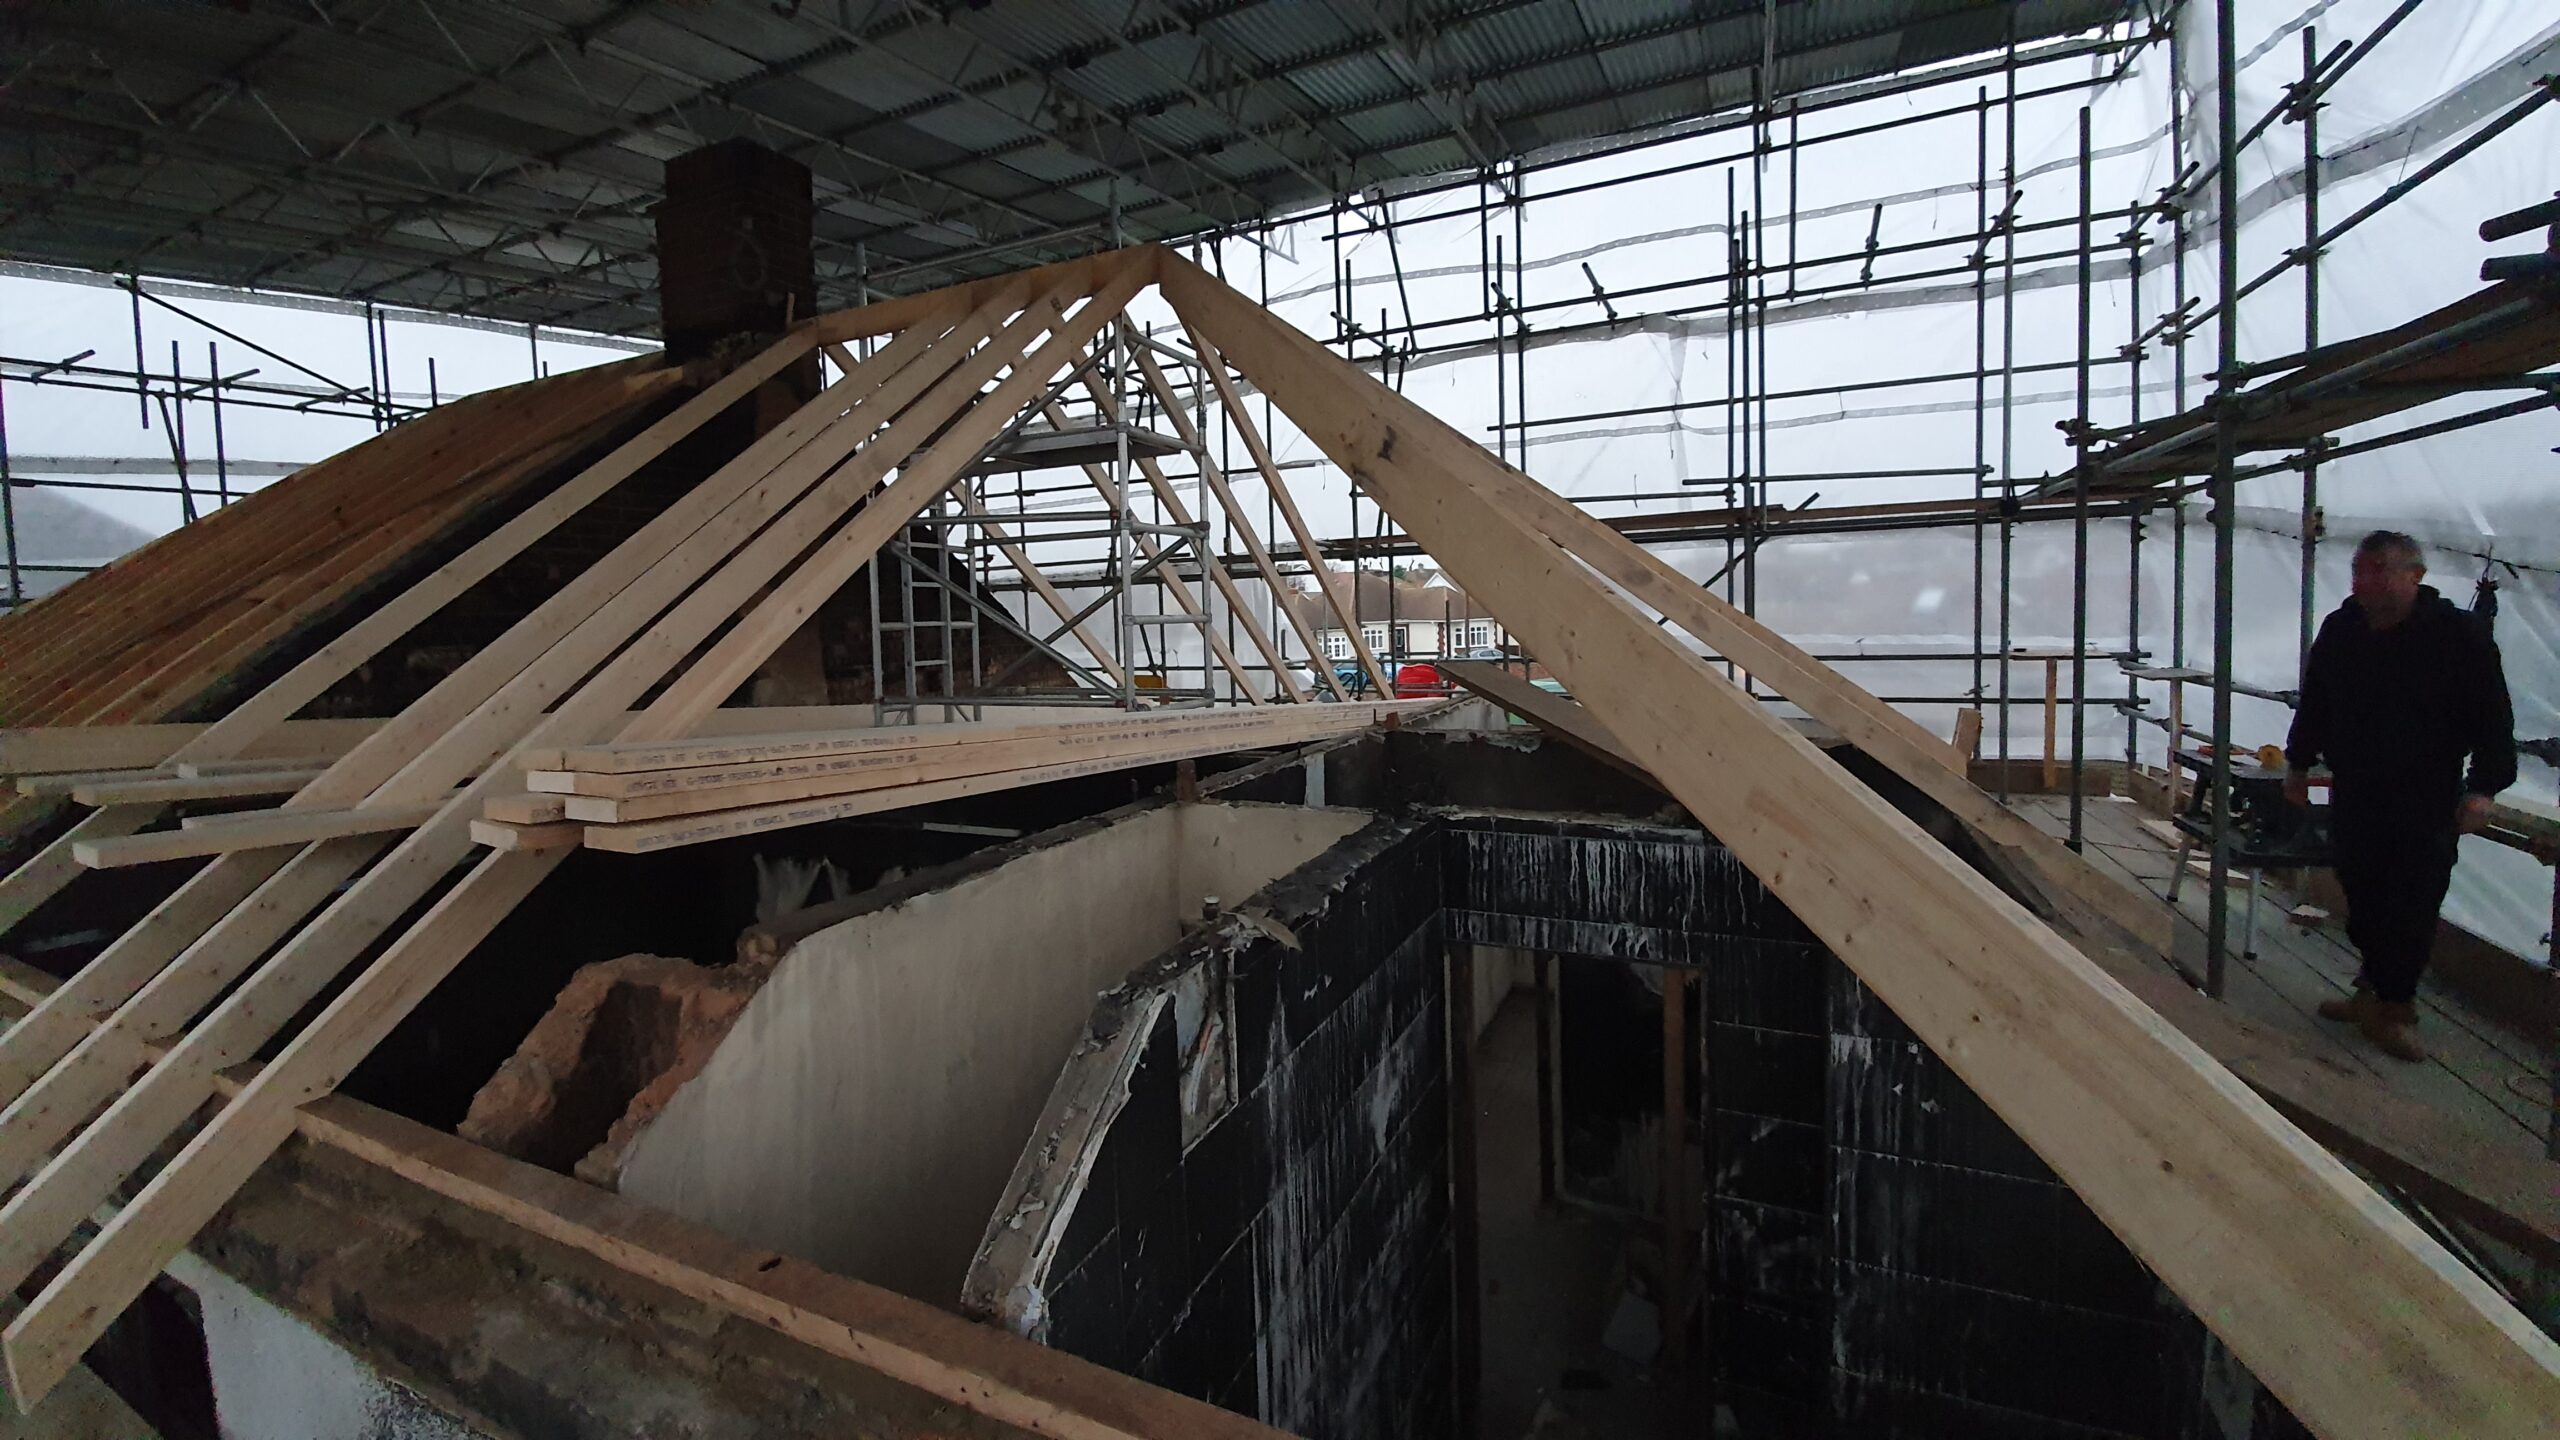
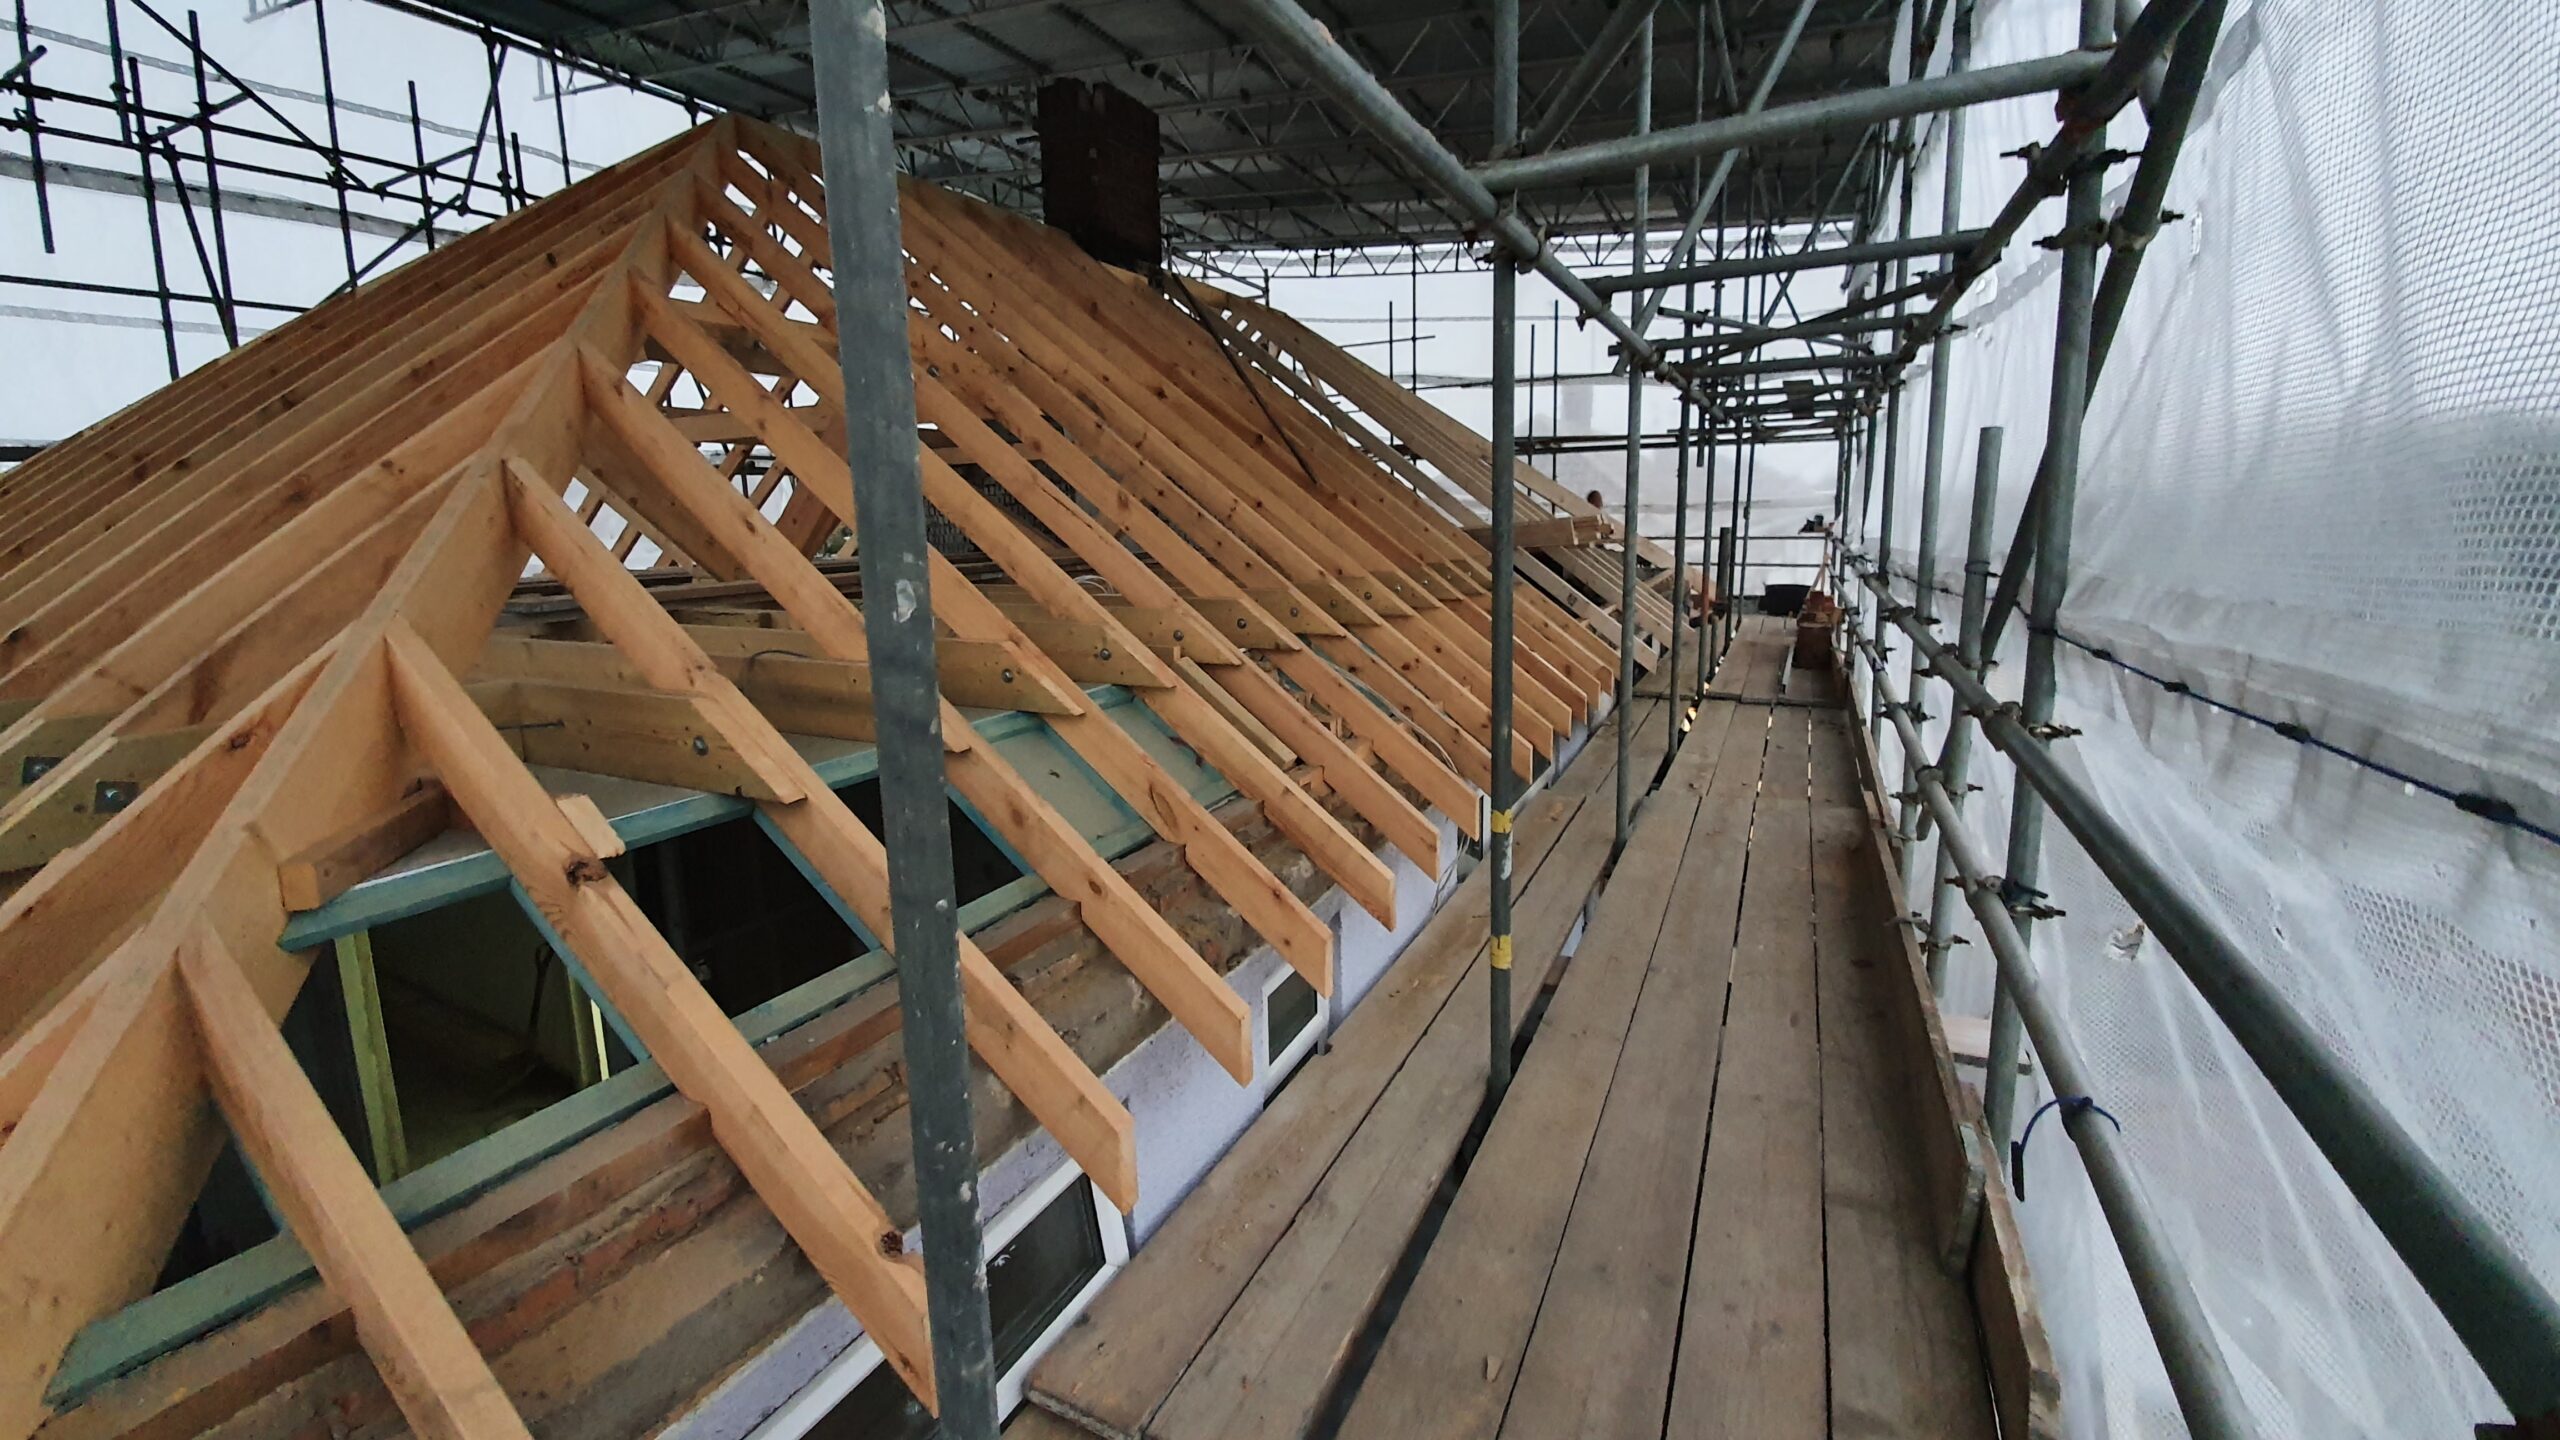
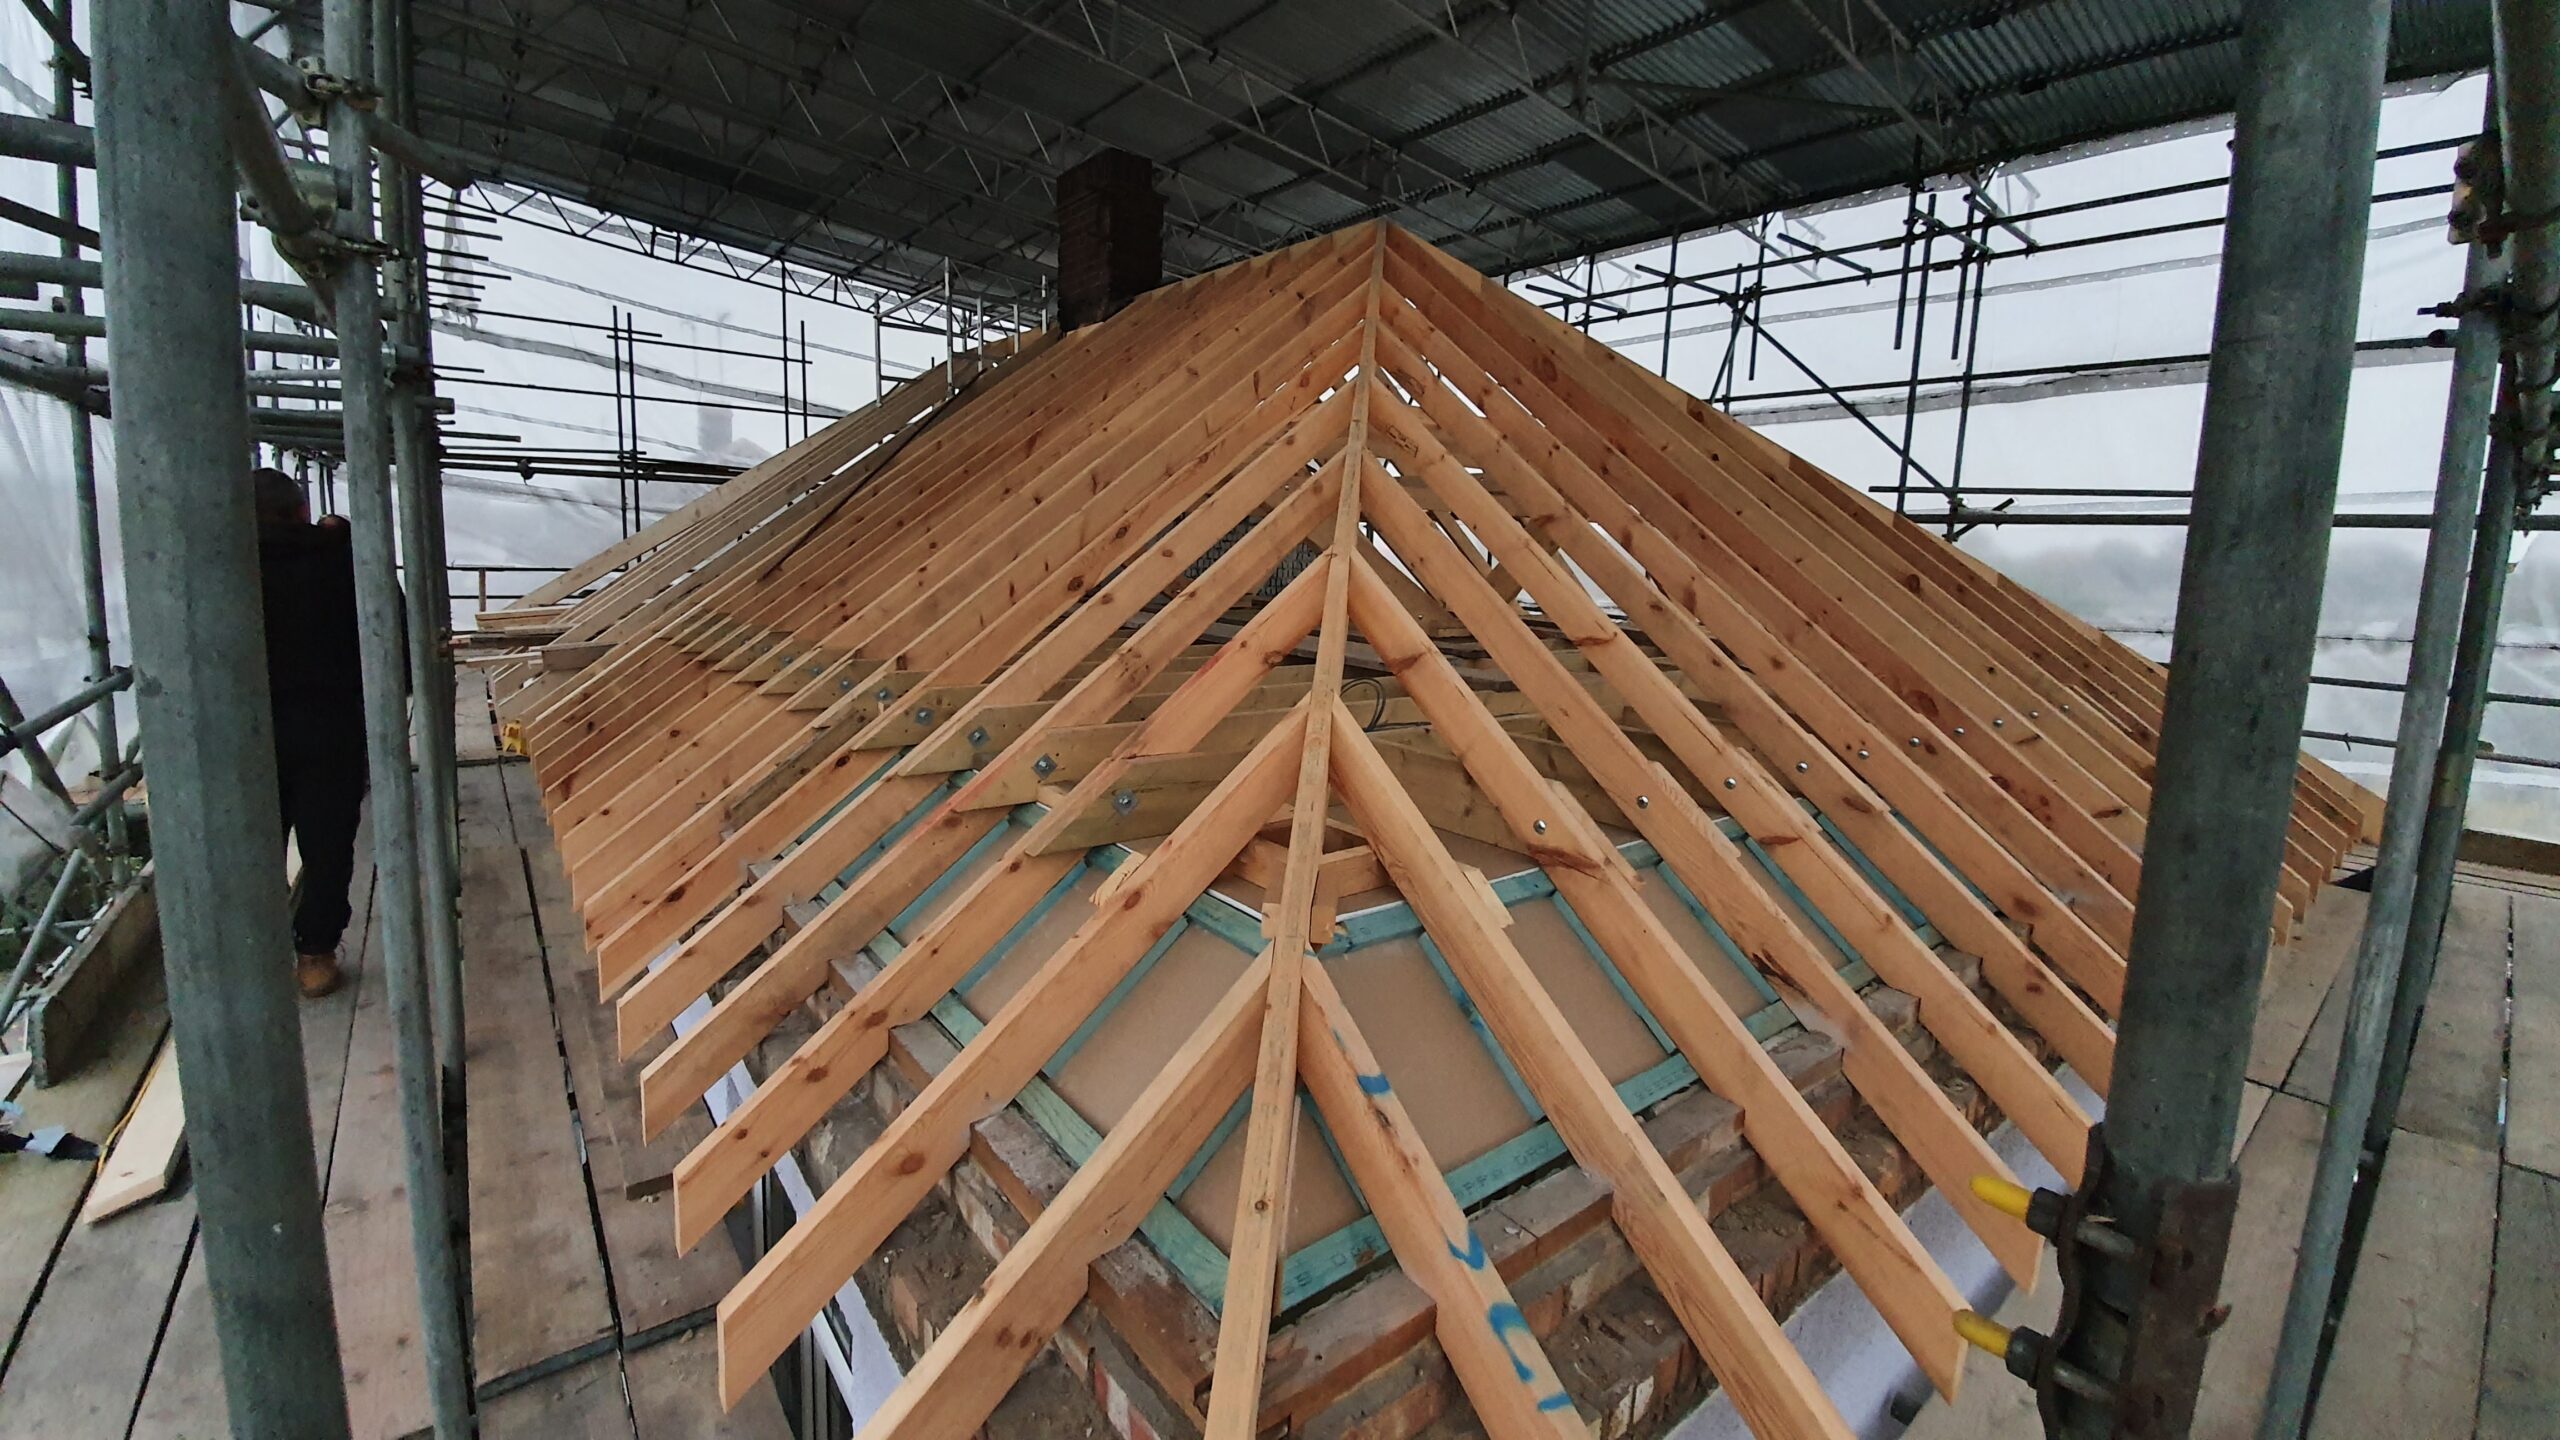
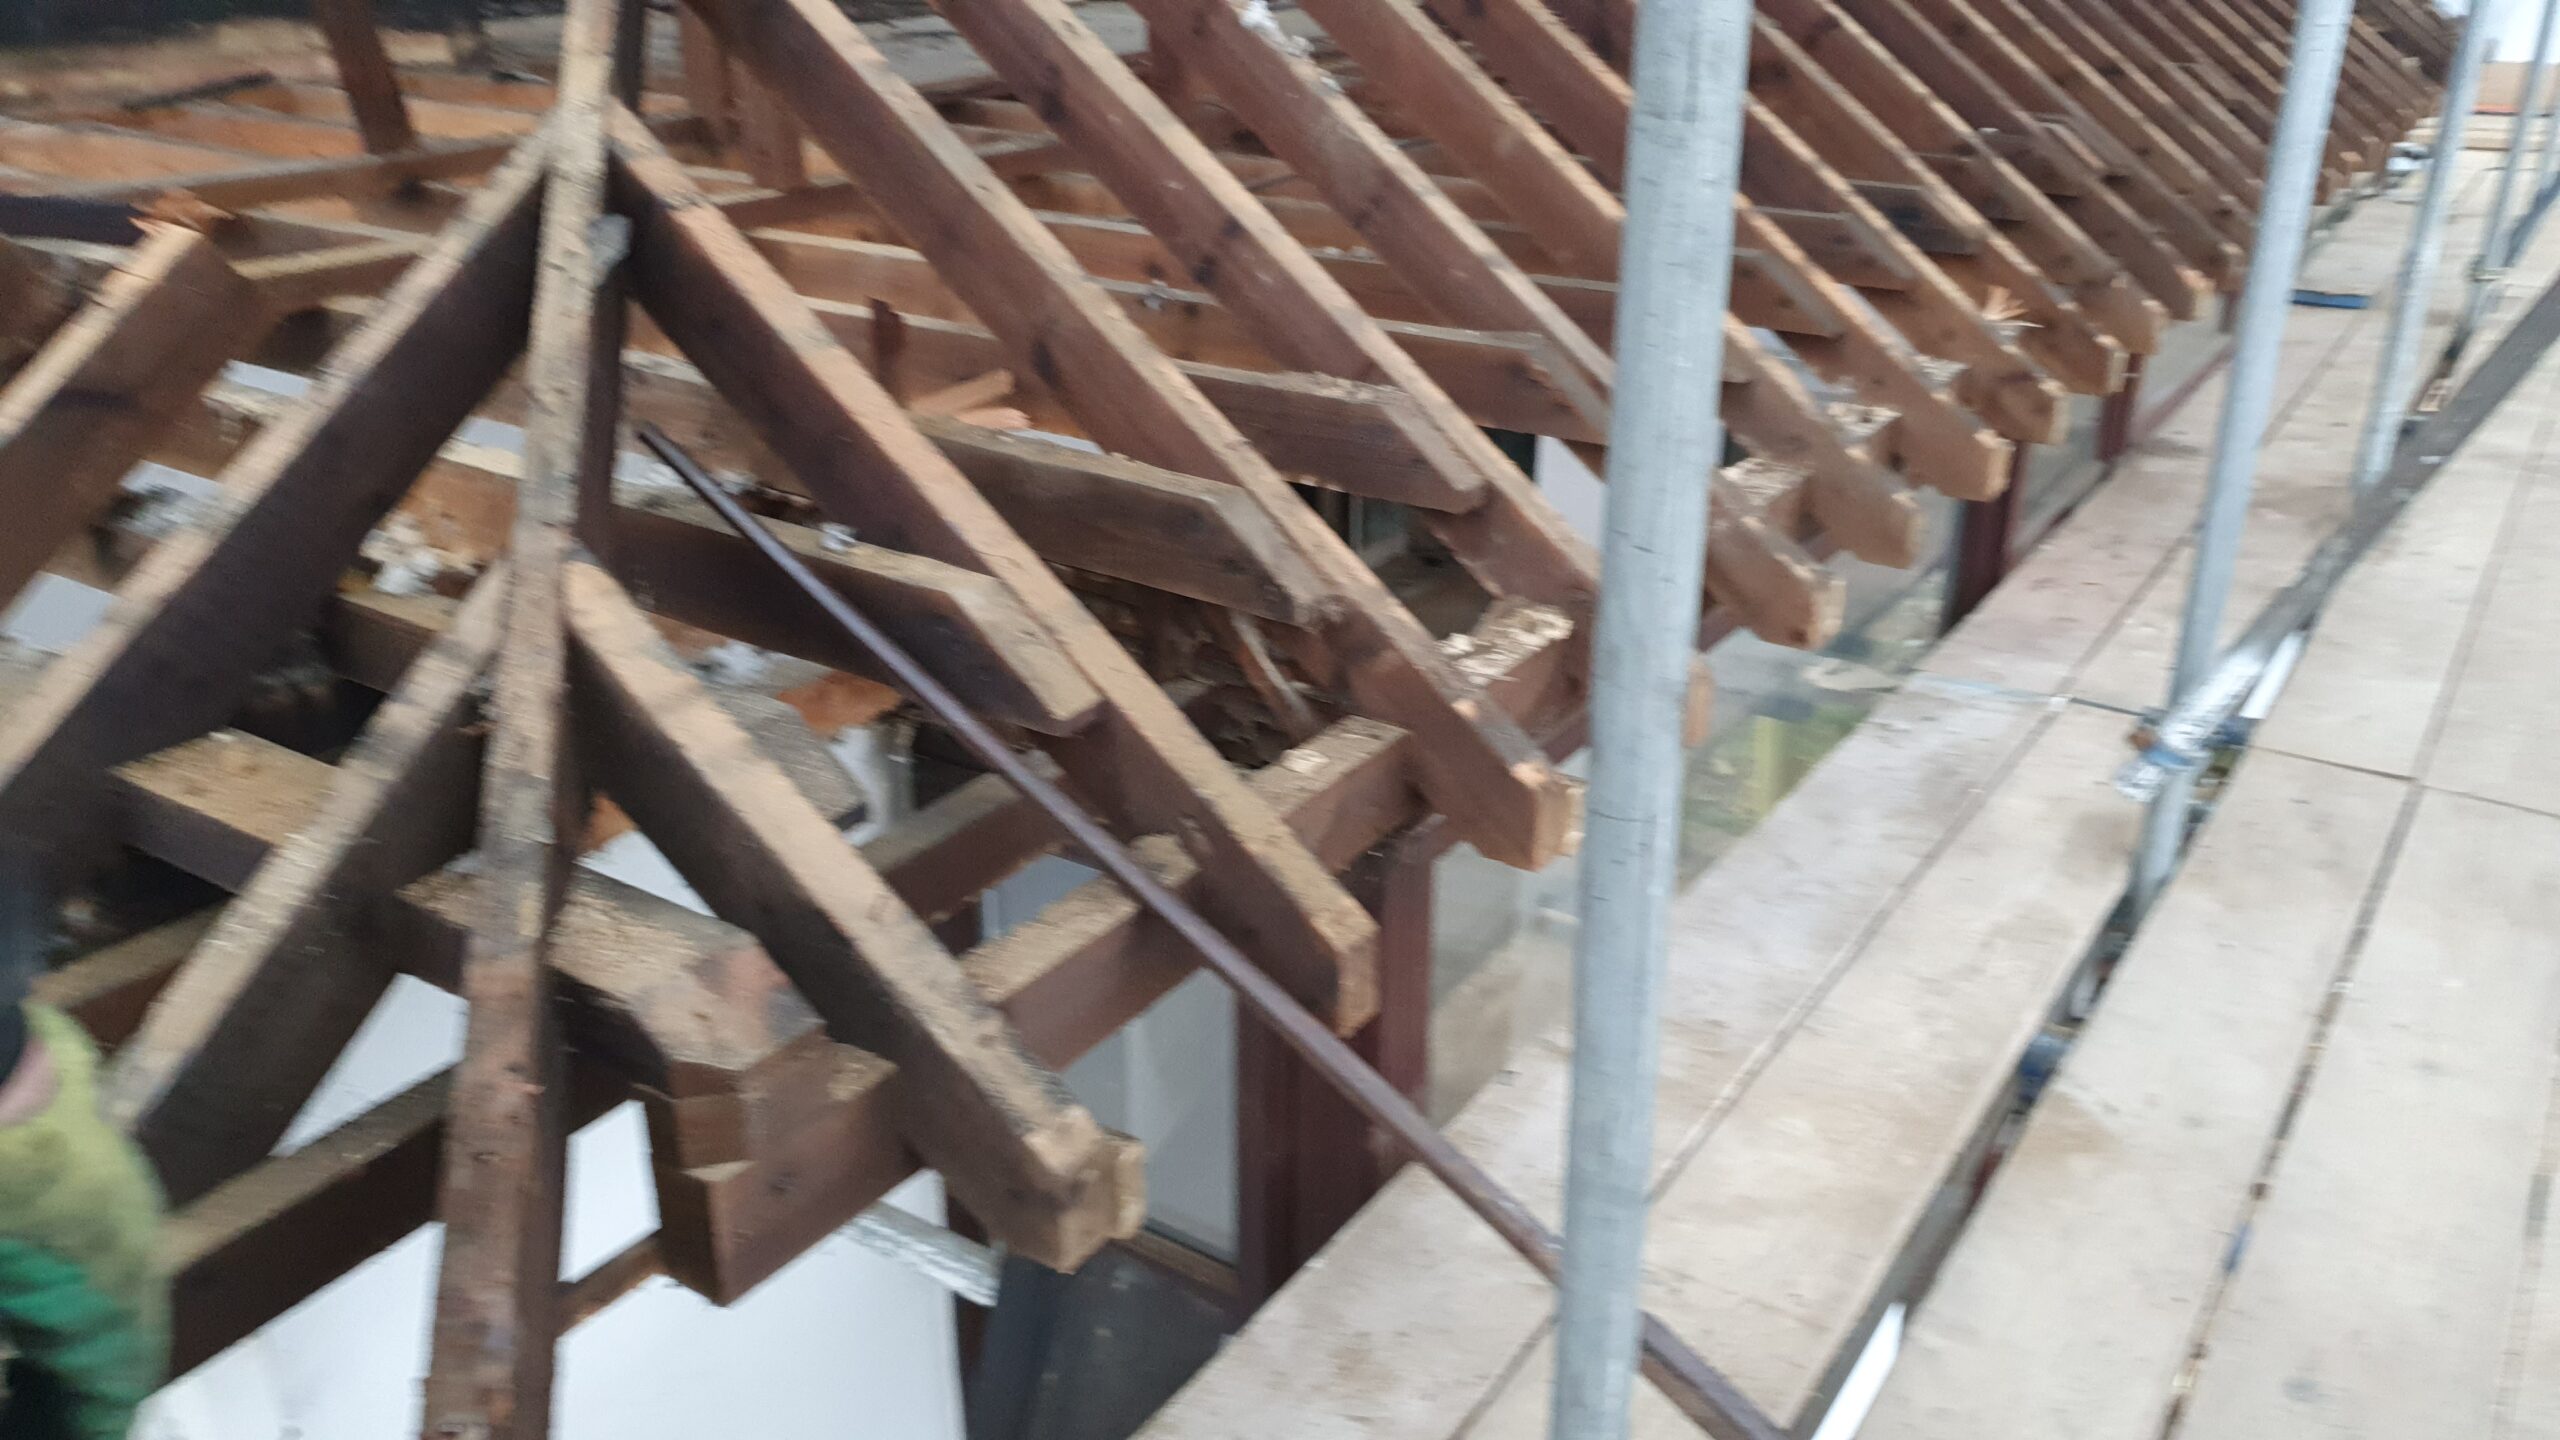
To get the roof started we were able to rest the ridge on the wall and make two rafter legs on the opposite side, we filled in the king and hip rafters to hold the structure tight against the wall. once we had the ridge in the exact position we started laying in rafters from the wall. After everything was bolted down we started filling in the jack rafters along the final sides.
The blueprints required us to use super purlins, overkill, three ginormous timbers bolted together to create a 3 thick beam.
We finished by adding buttons to the inside of the ceiling for the plasterboard to be screwed to and repeated on the second house.
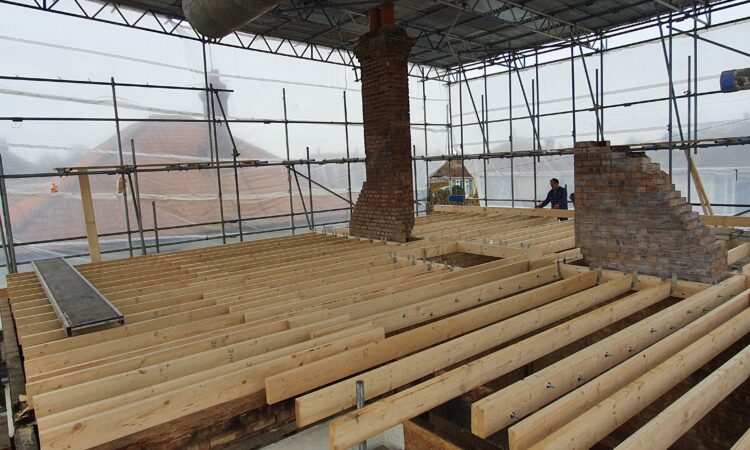
We were tasked with getting as much done as we can with this roof before we head home, the main carpenter hired us because he didn’t have enough time. We managed to get all the ceiling joists in then the roof was finished by the other carpenters.
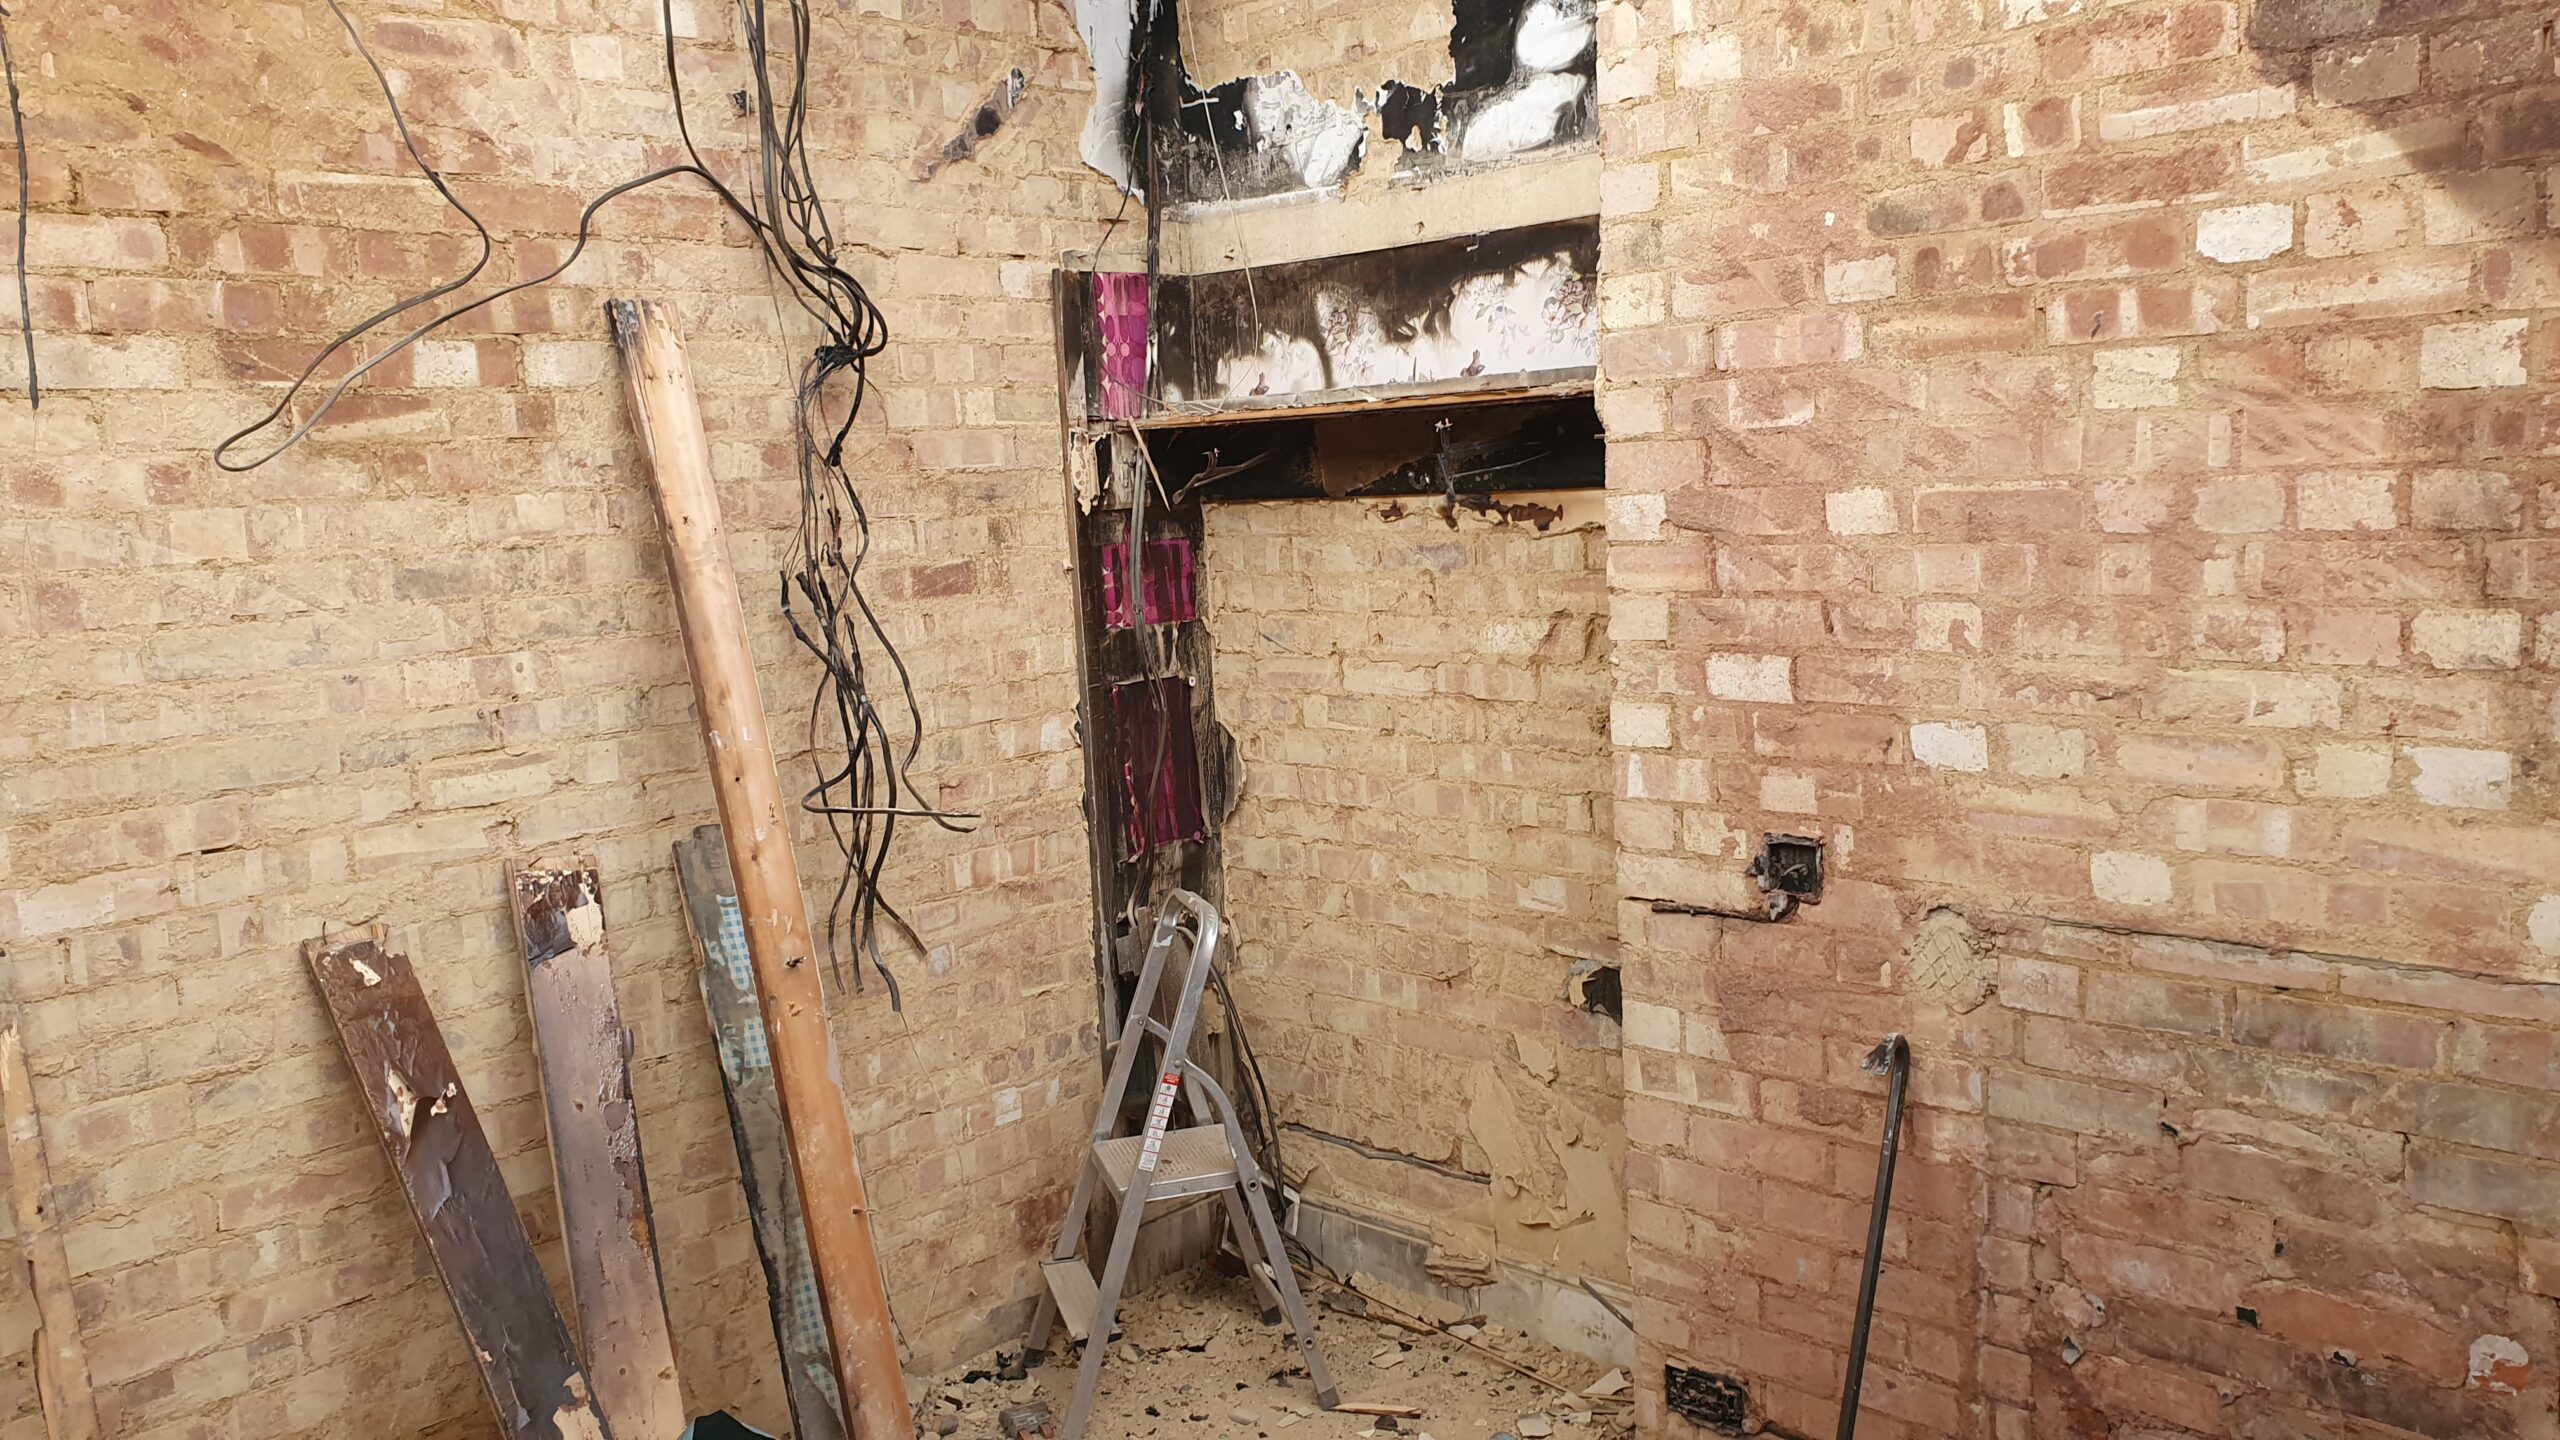
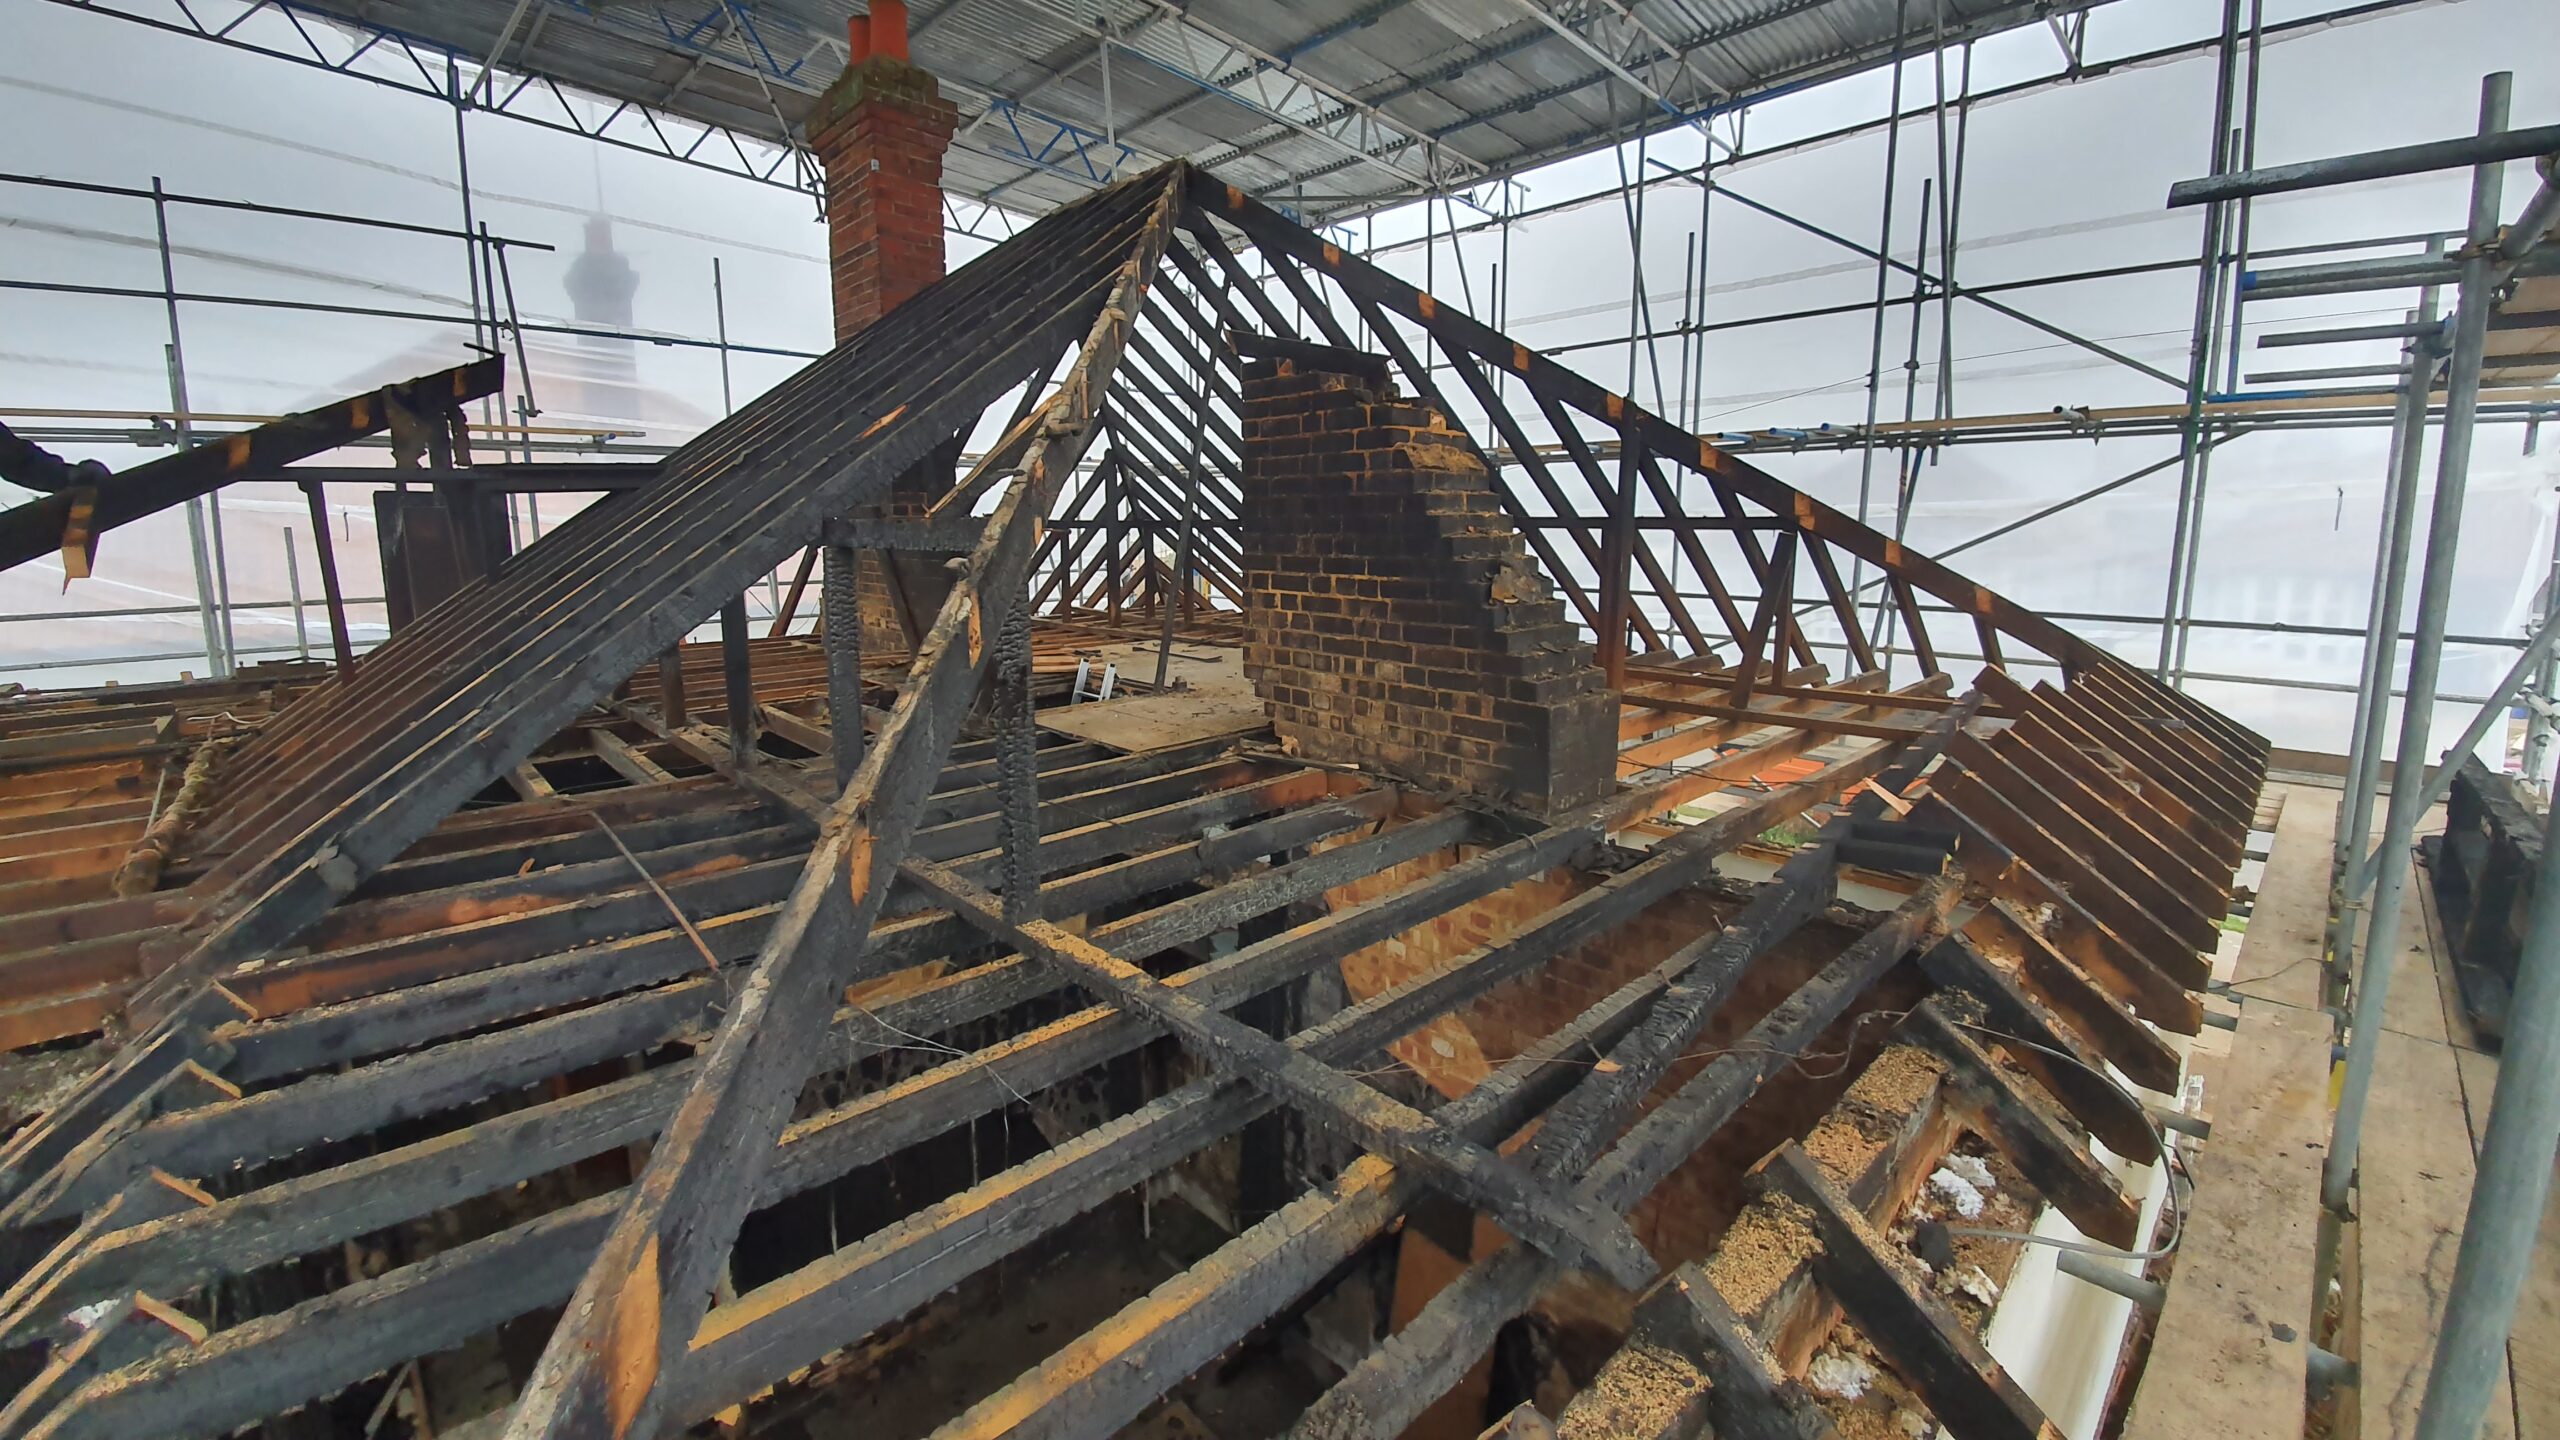
The bungalow had burnt down due to a fire from a heated blanket, we had to pull out all the remaining burnt material such as the existing roof, door frames, damaged floor boards and replace the wallplates and get rid of the sutt so that there isn’t a burnt smell left when were finished.
We cut the timbers to cover each room and then bolted them together so that they don’t shift, we also tied them into the wallplates with brackets.

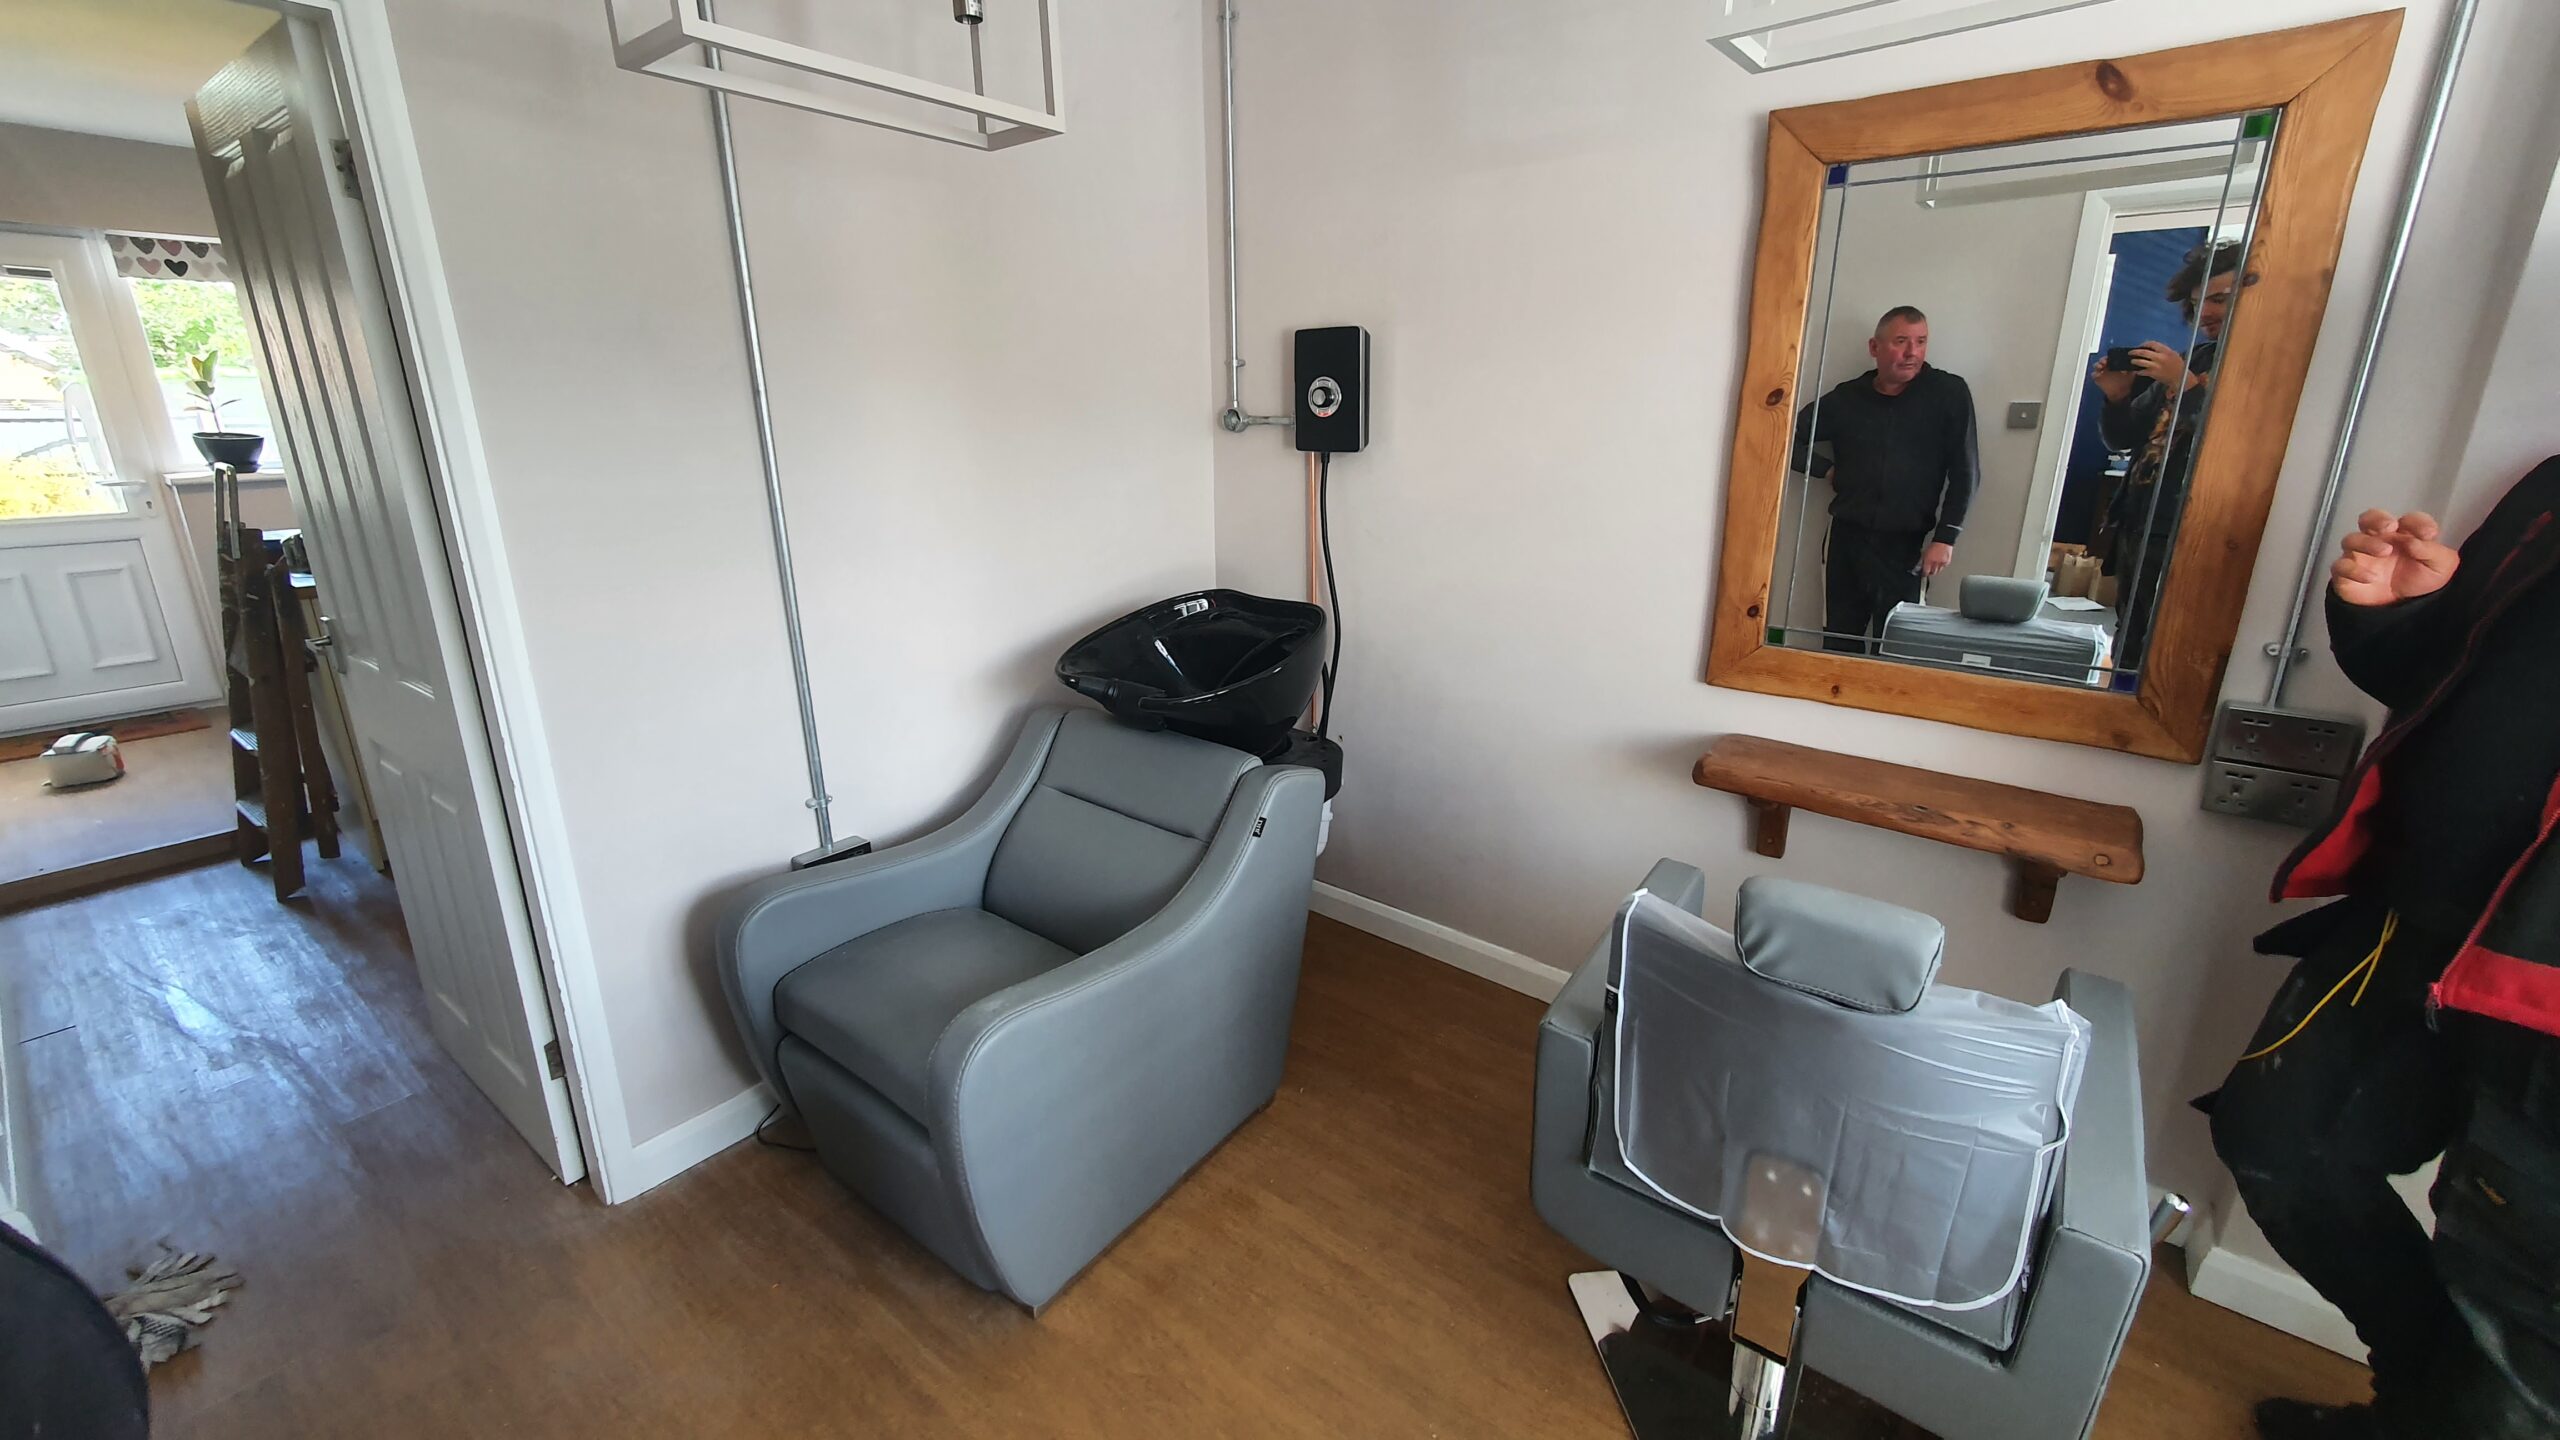
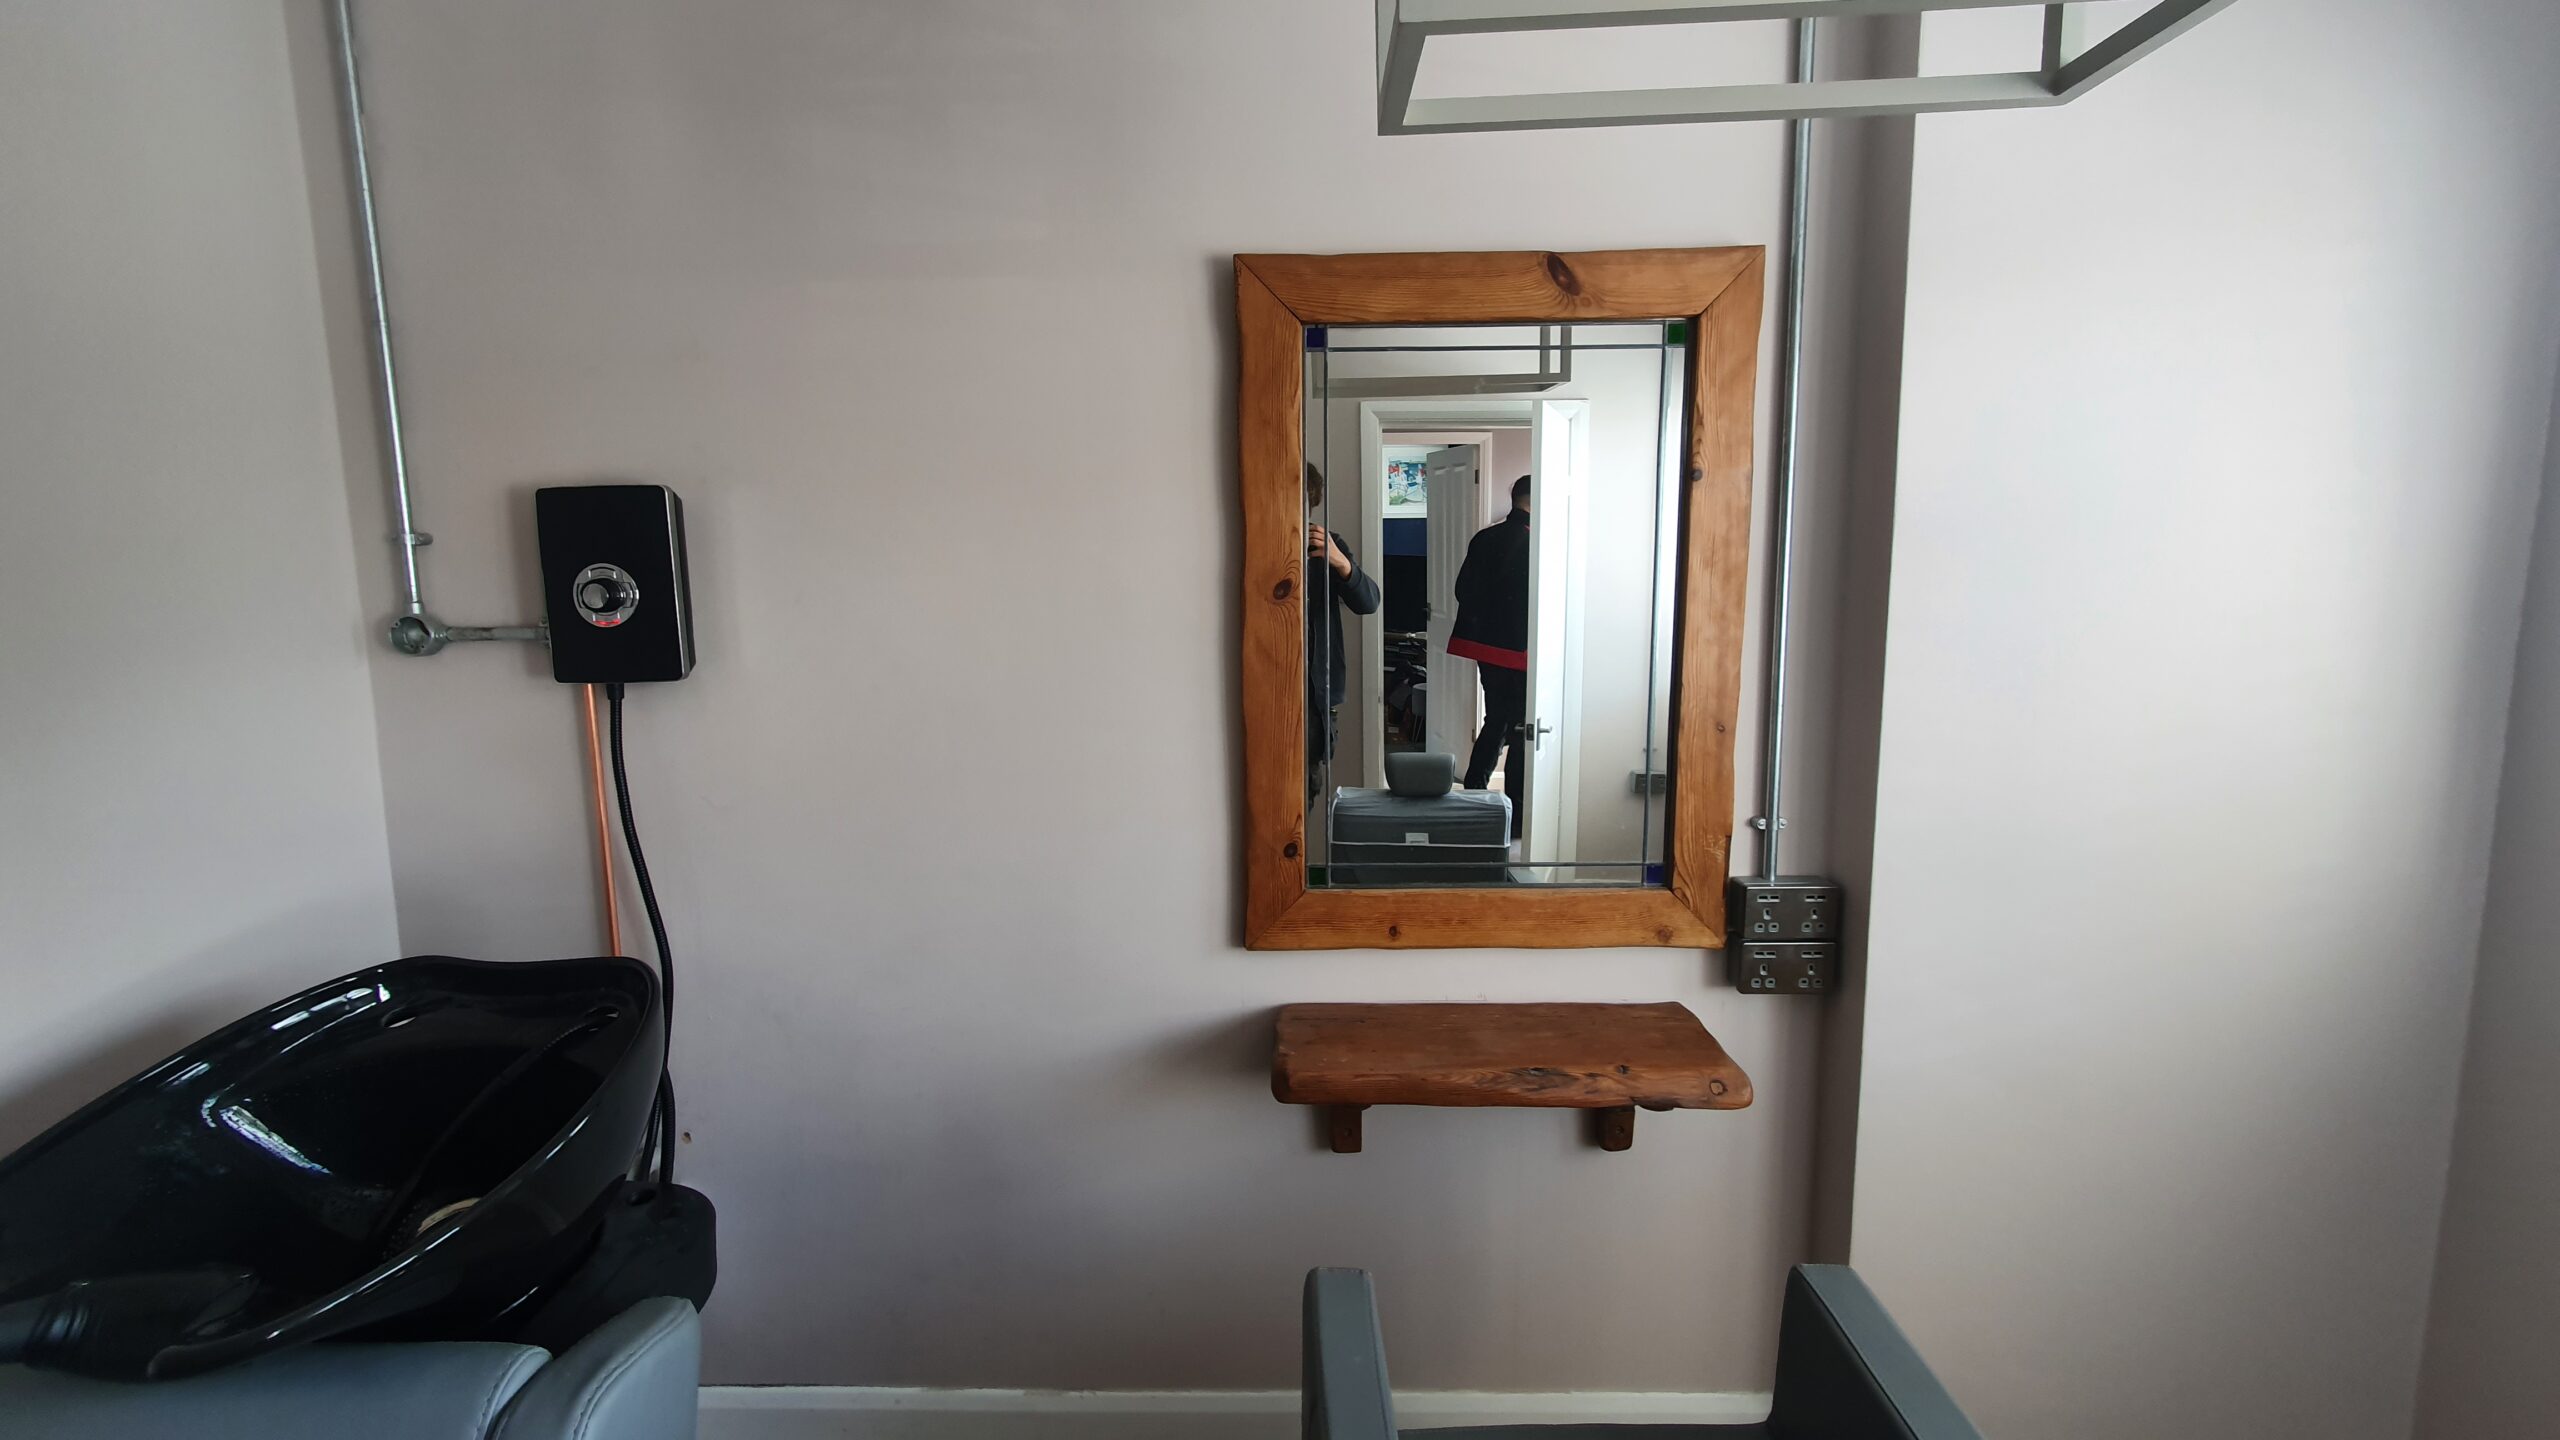
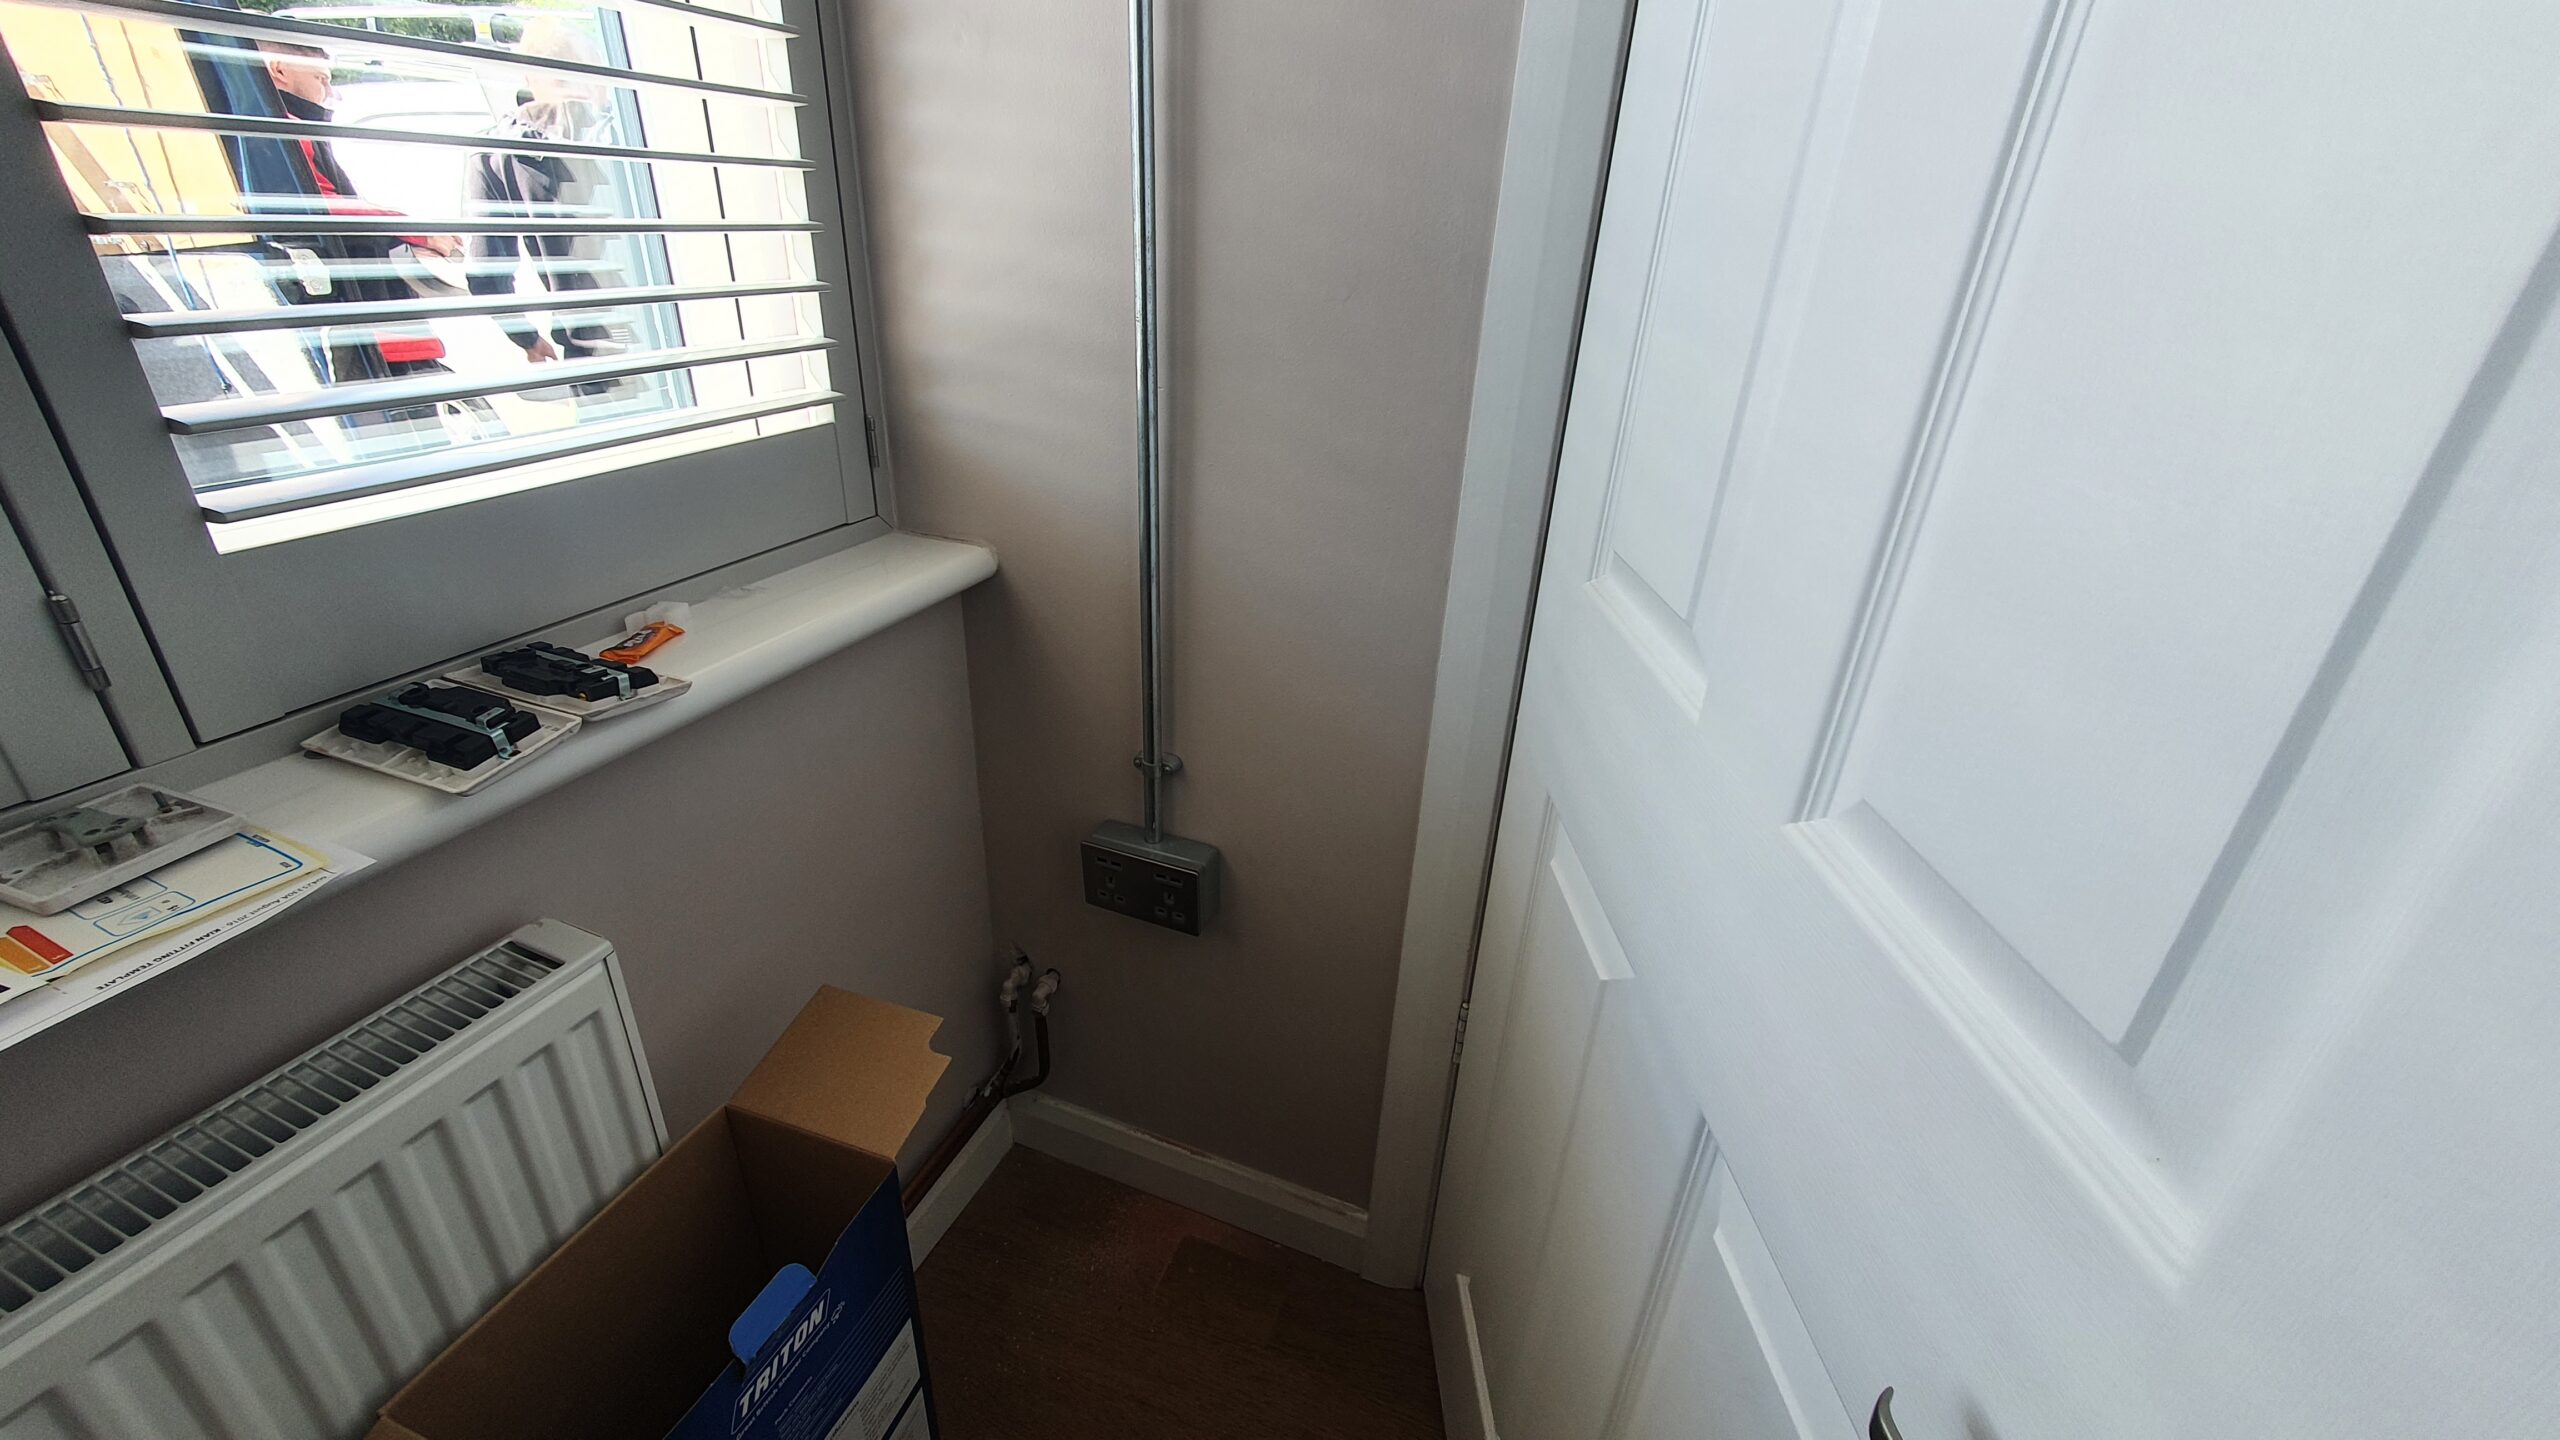
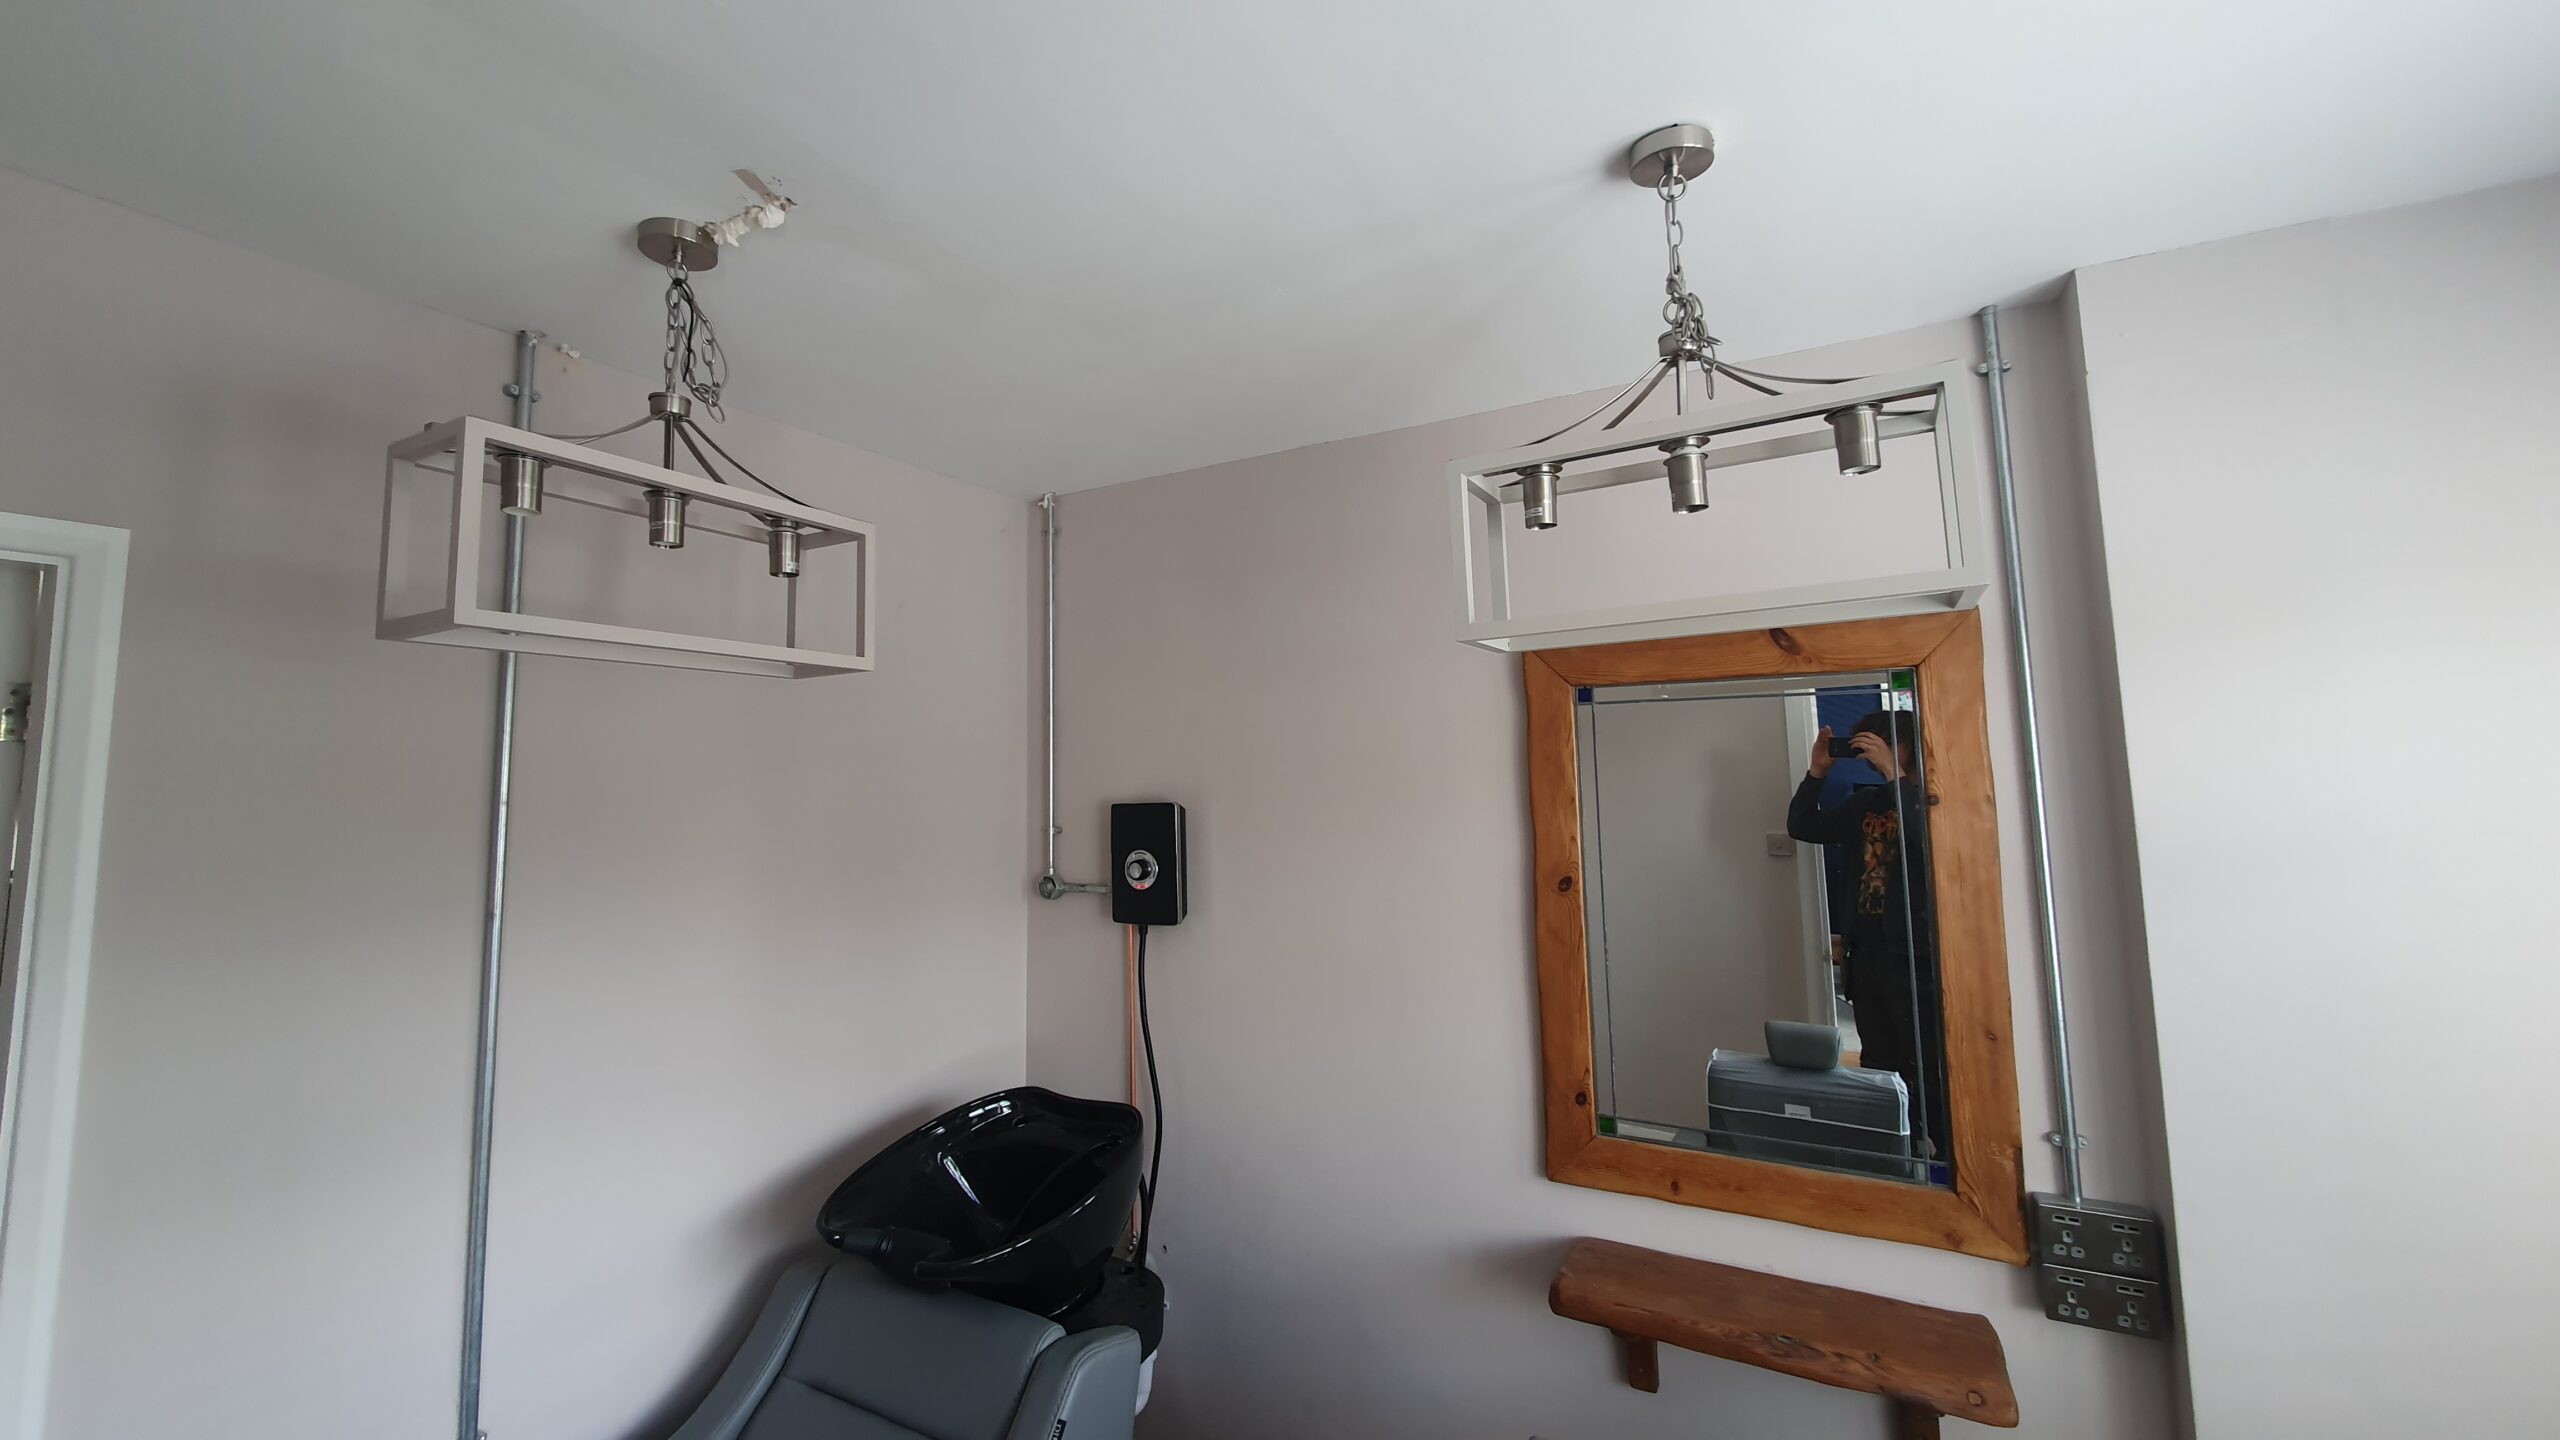
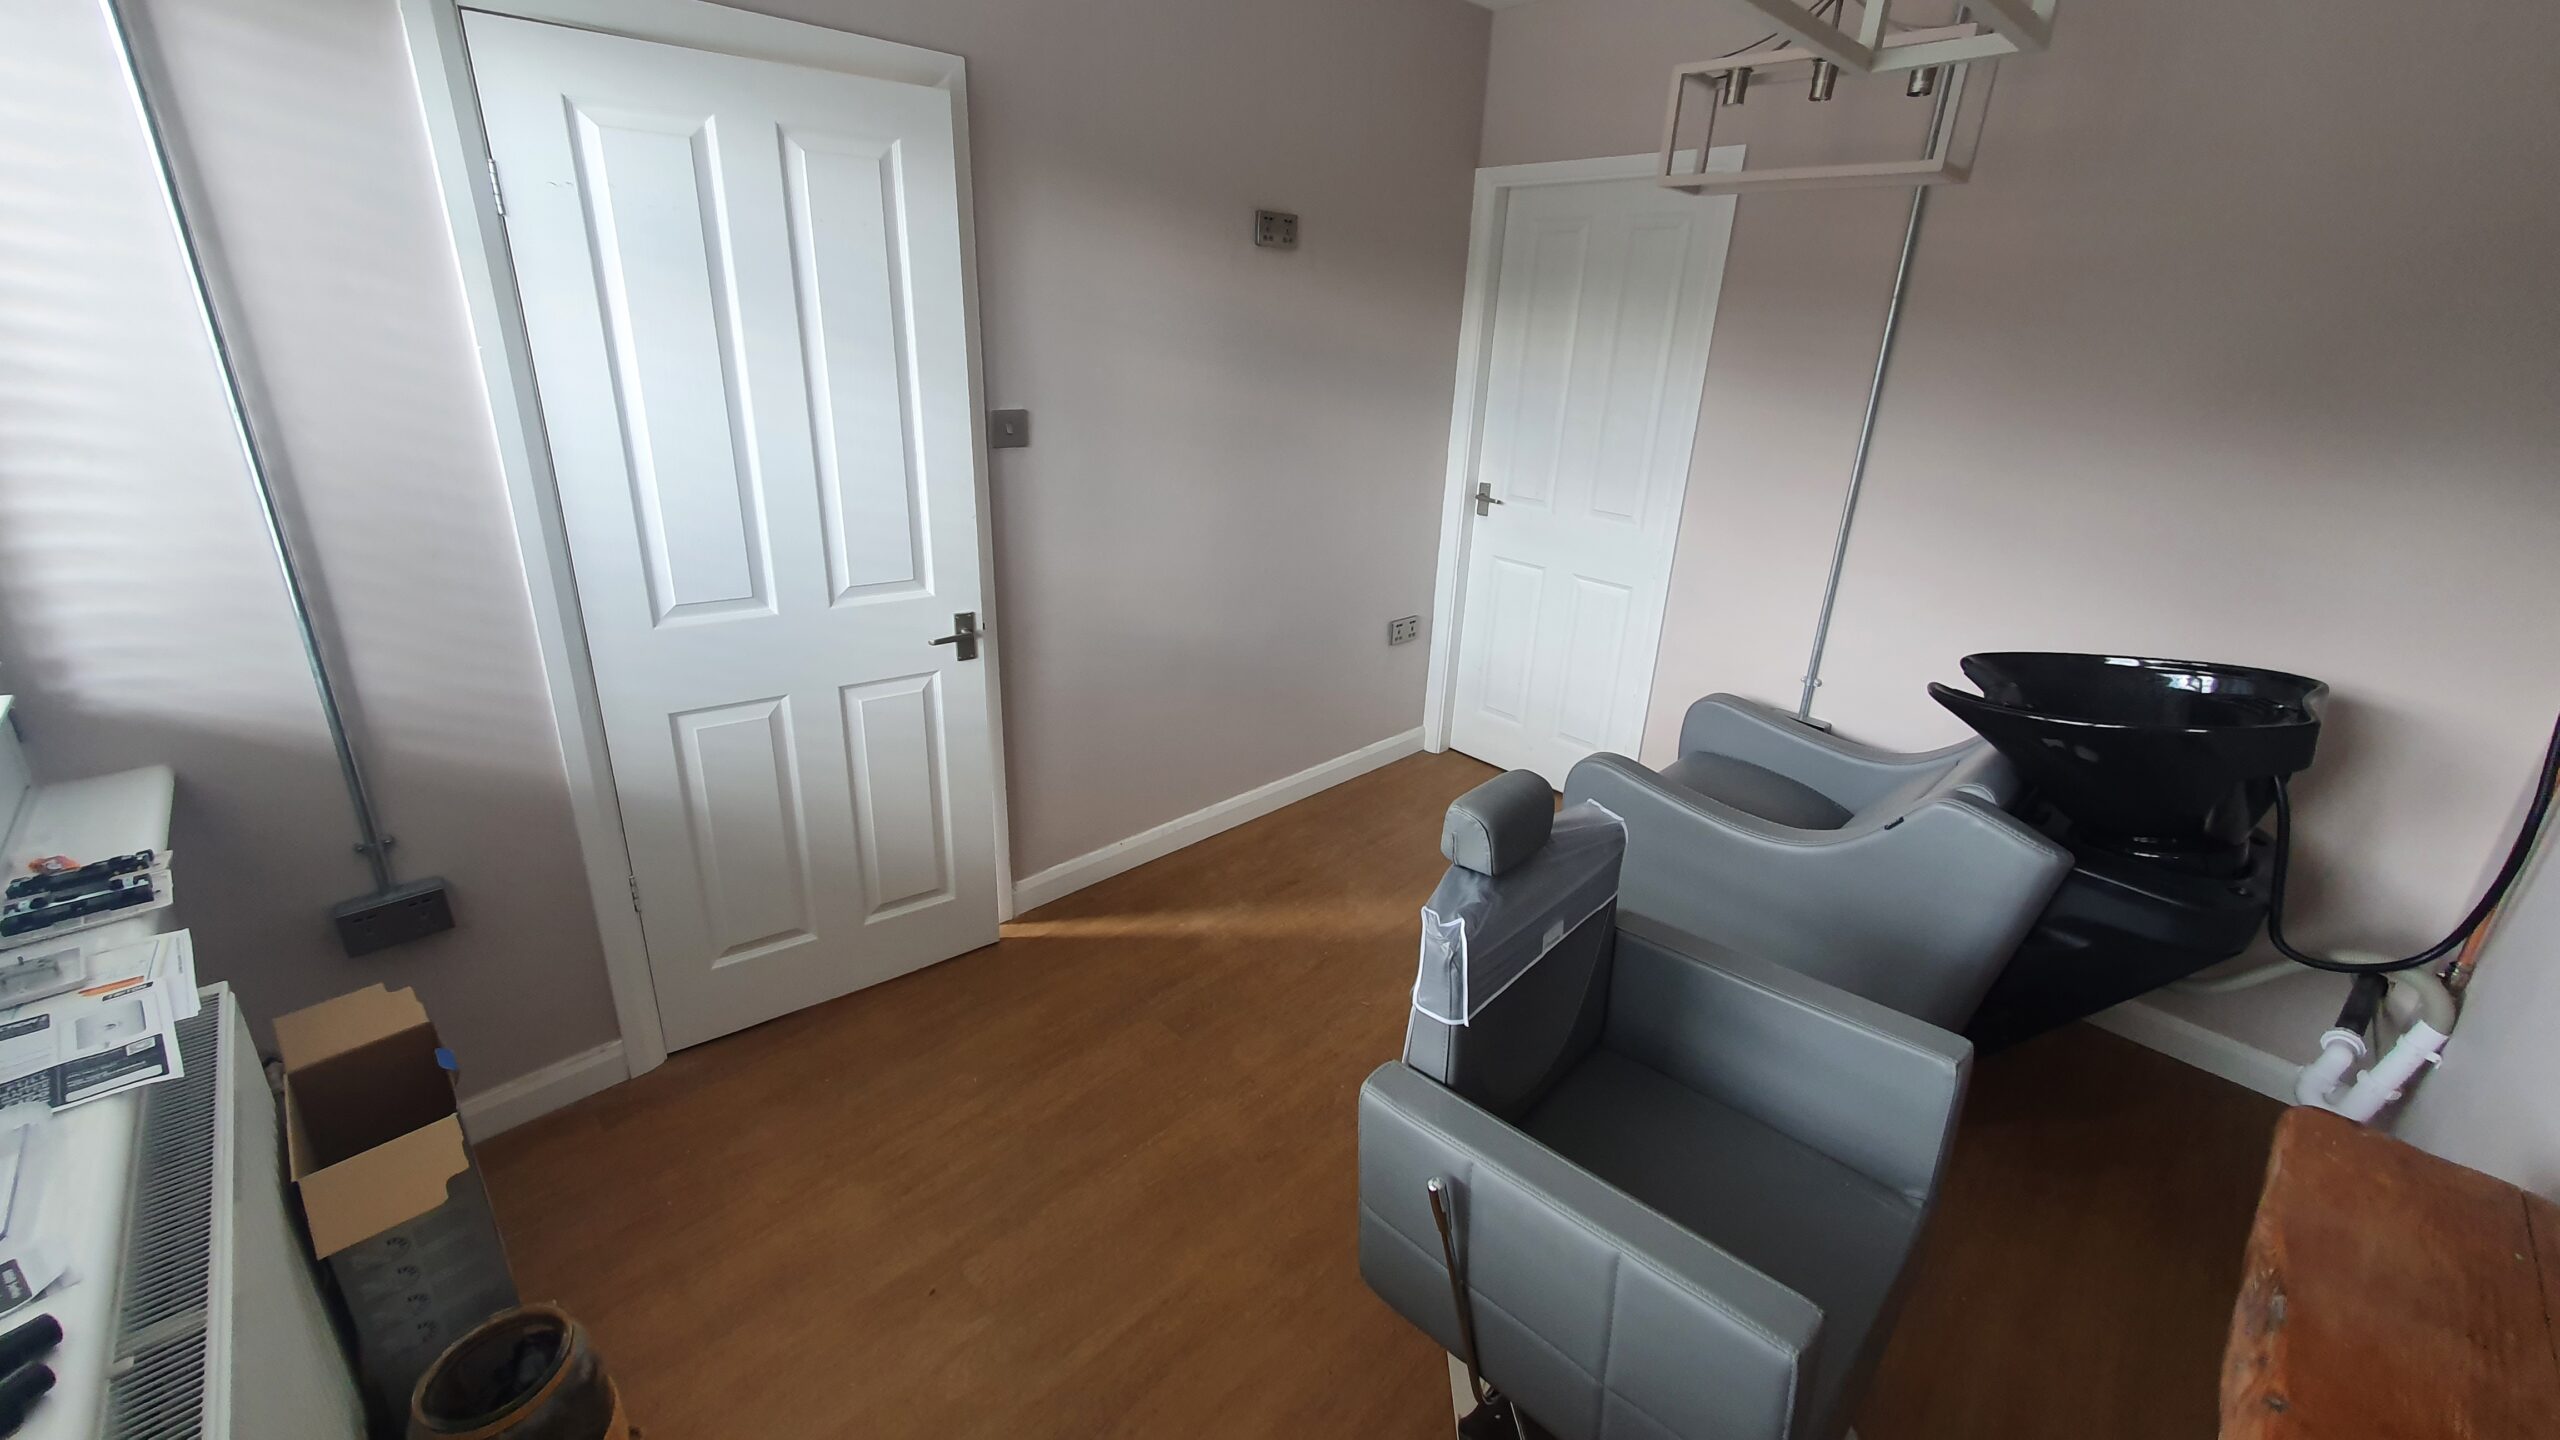
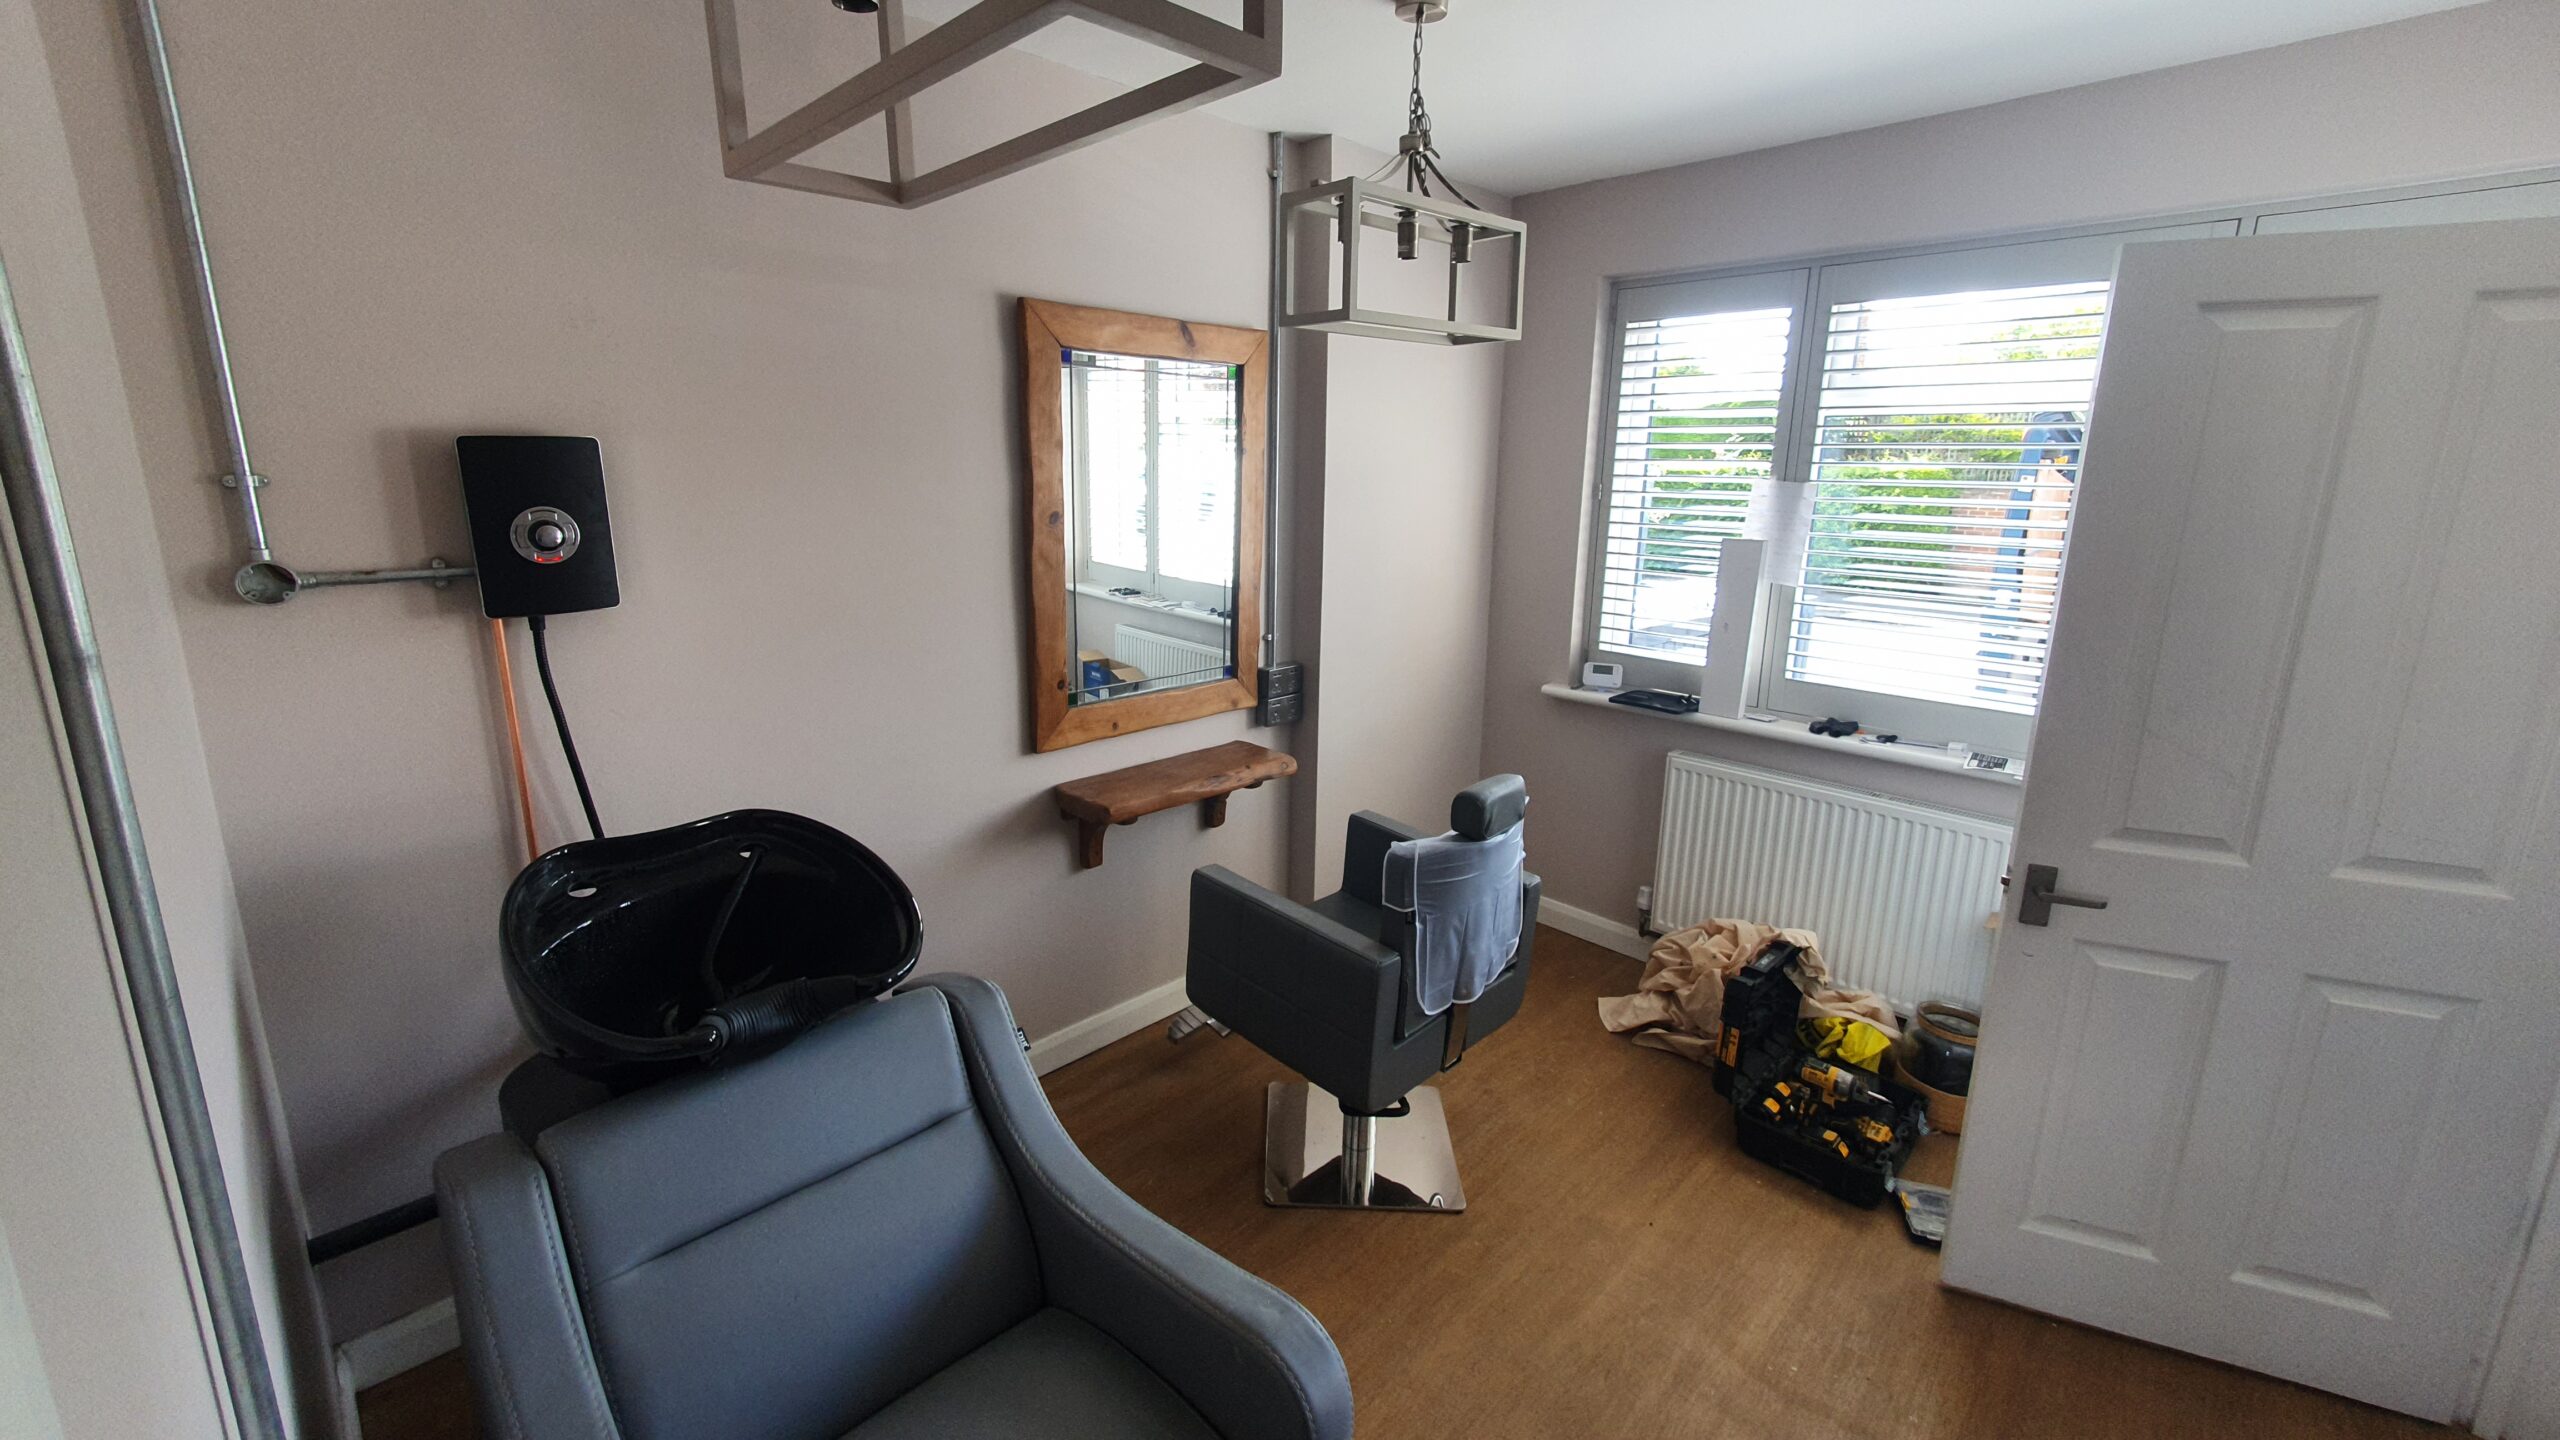
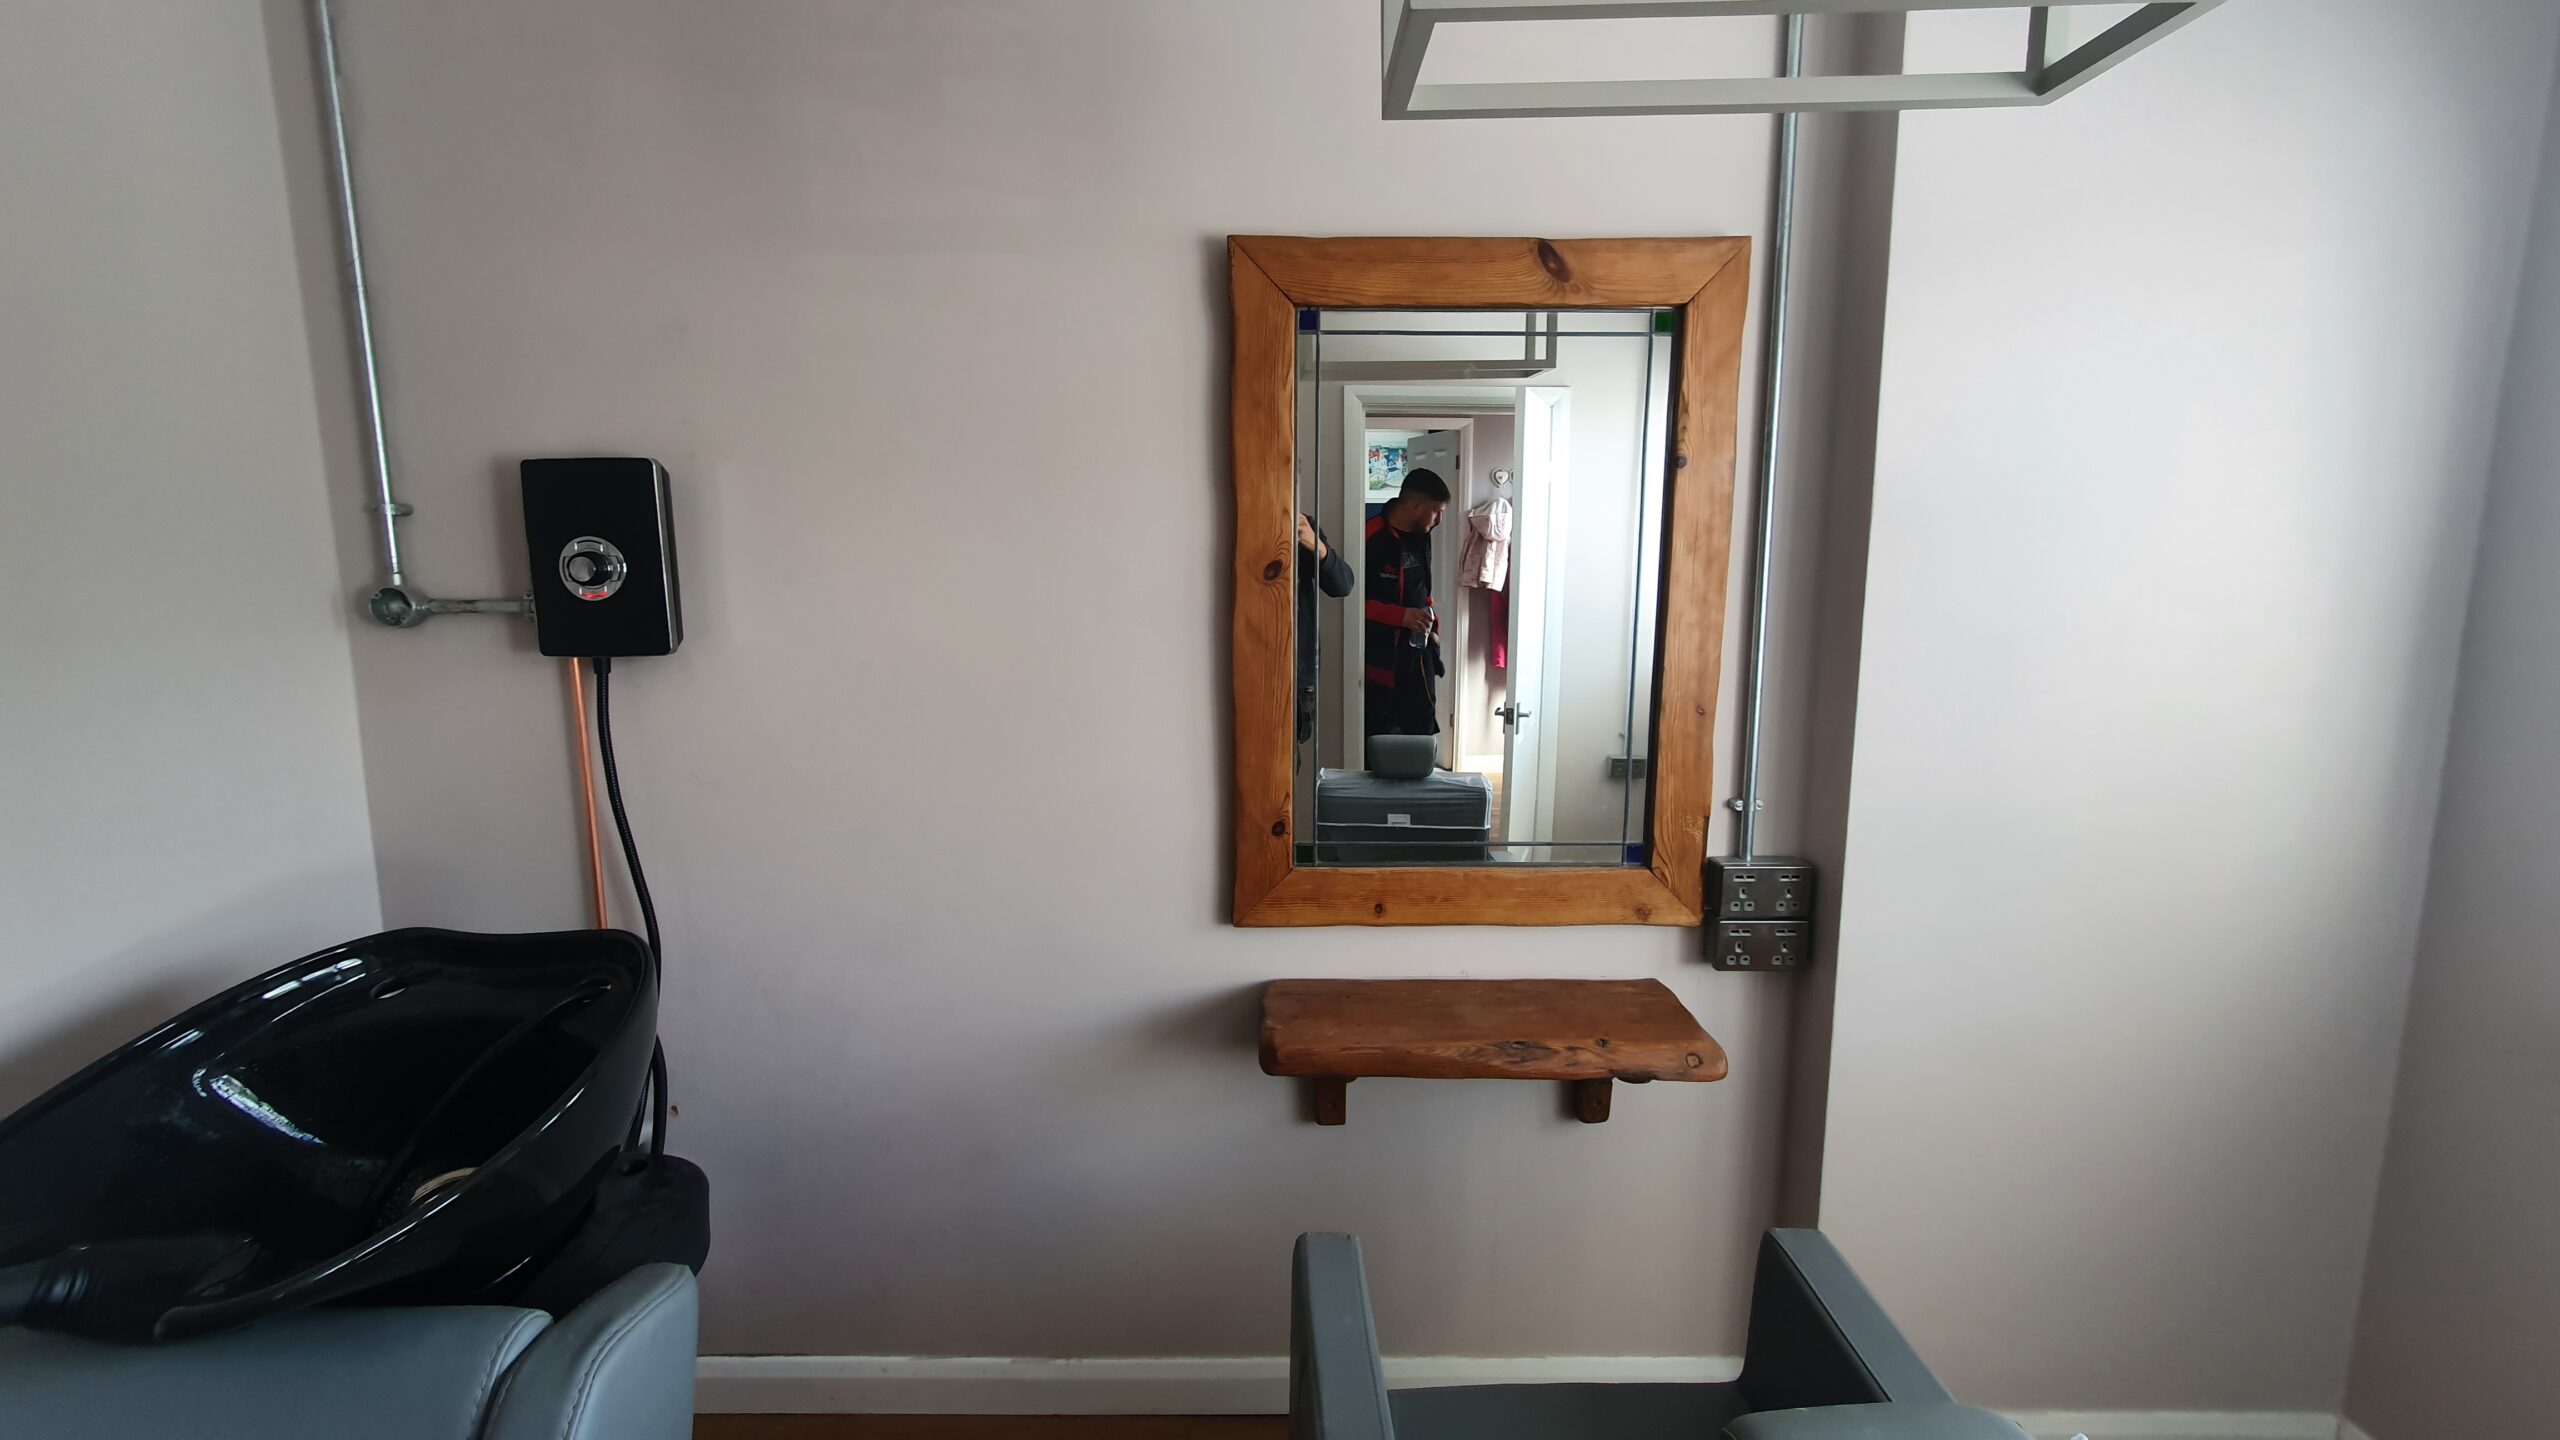
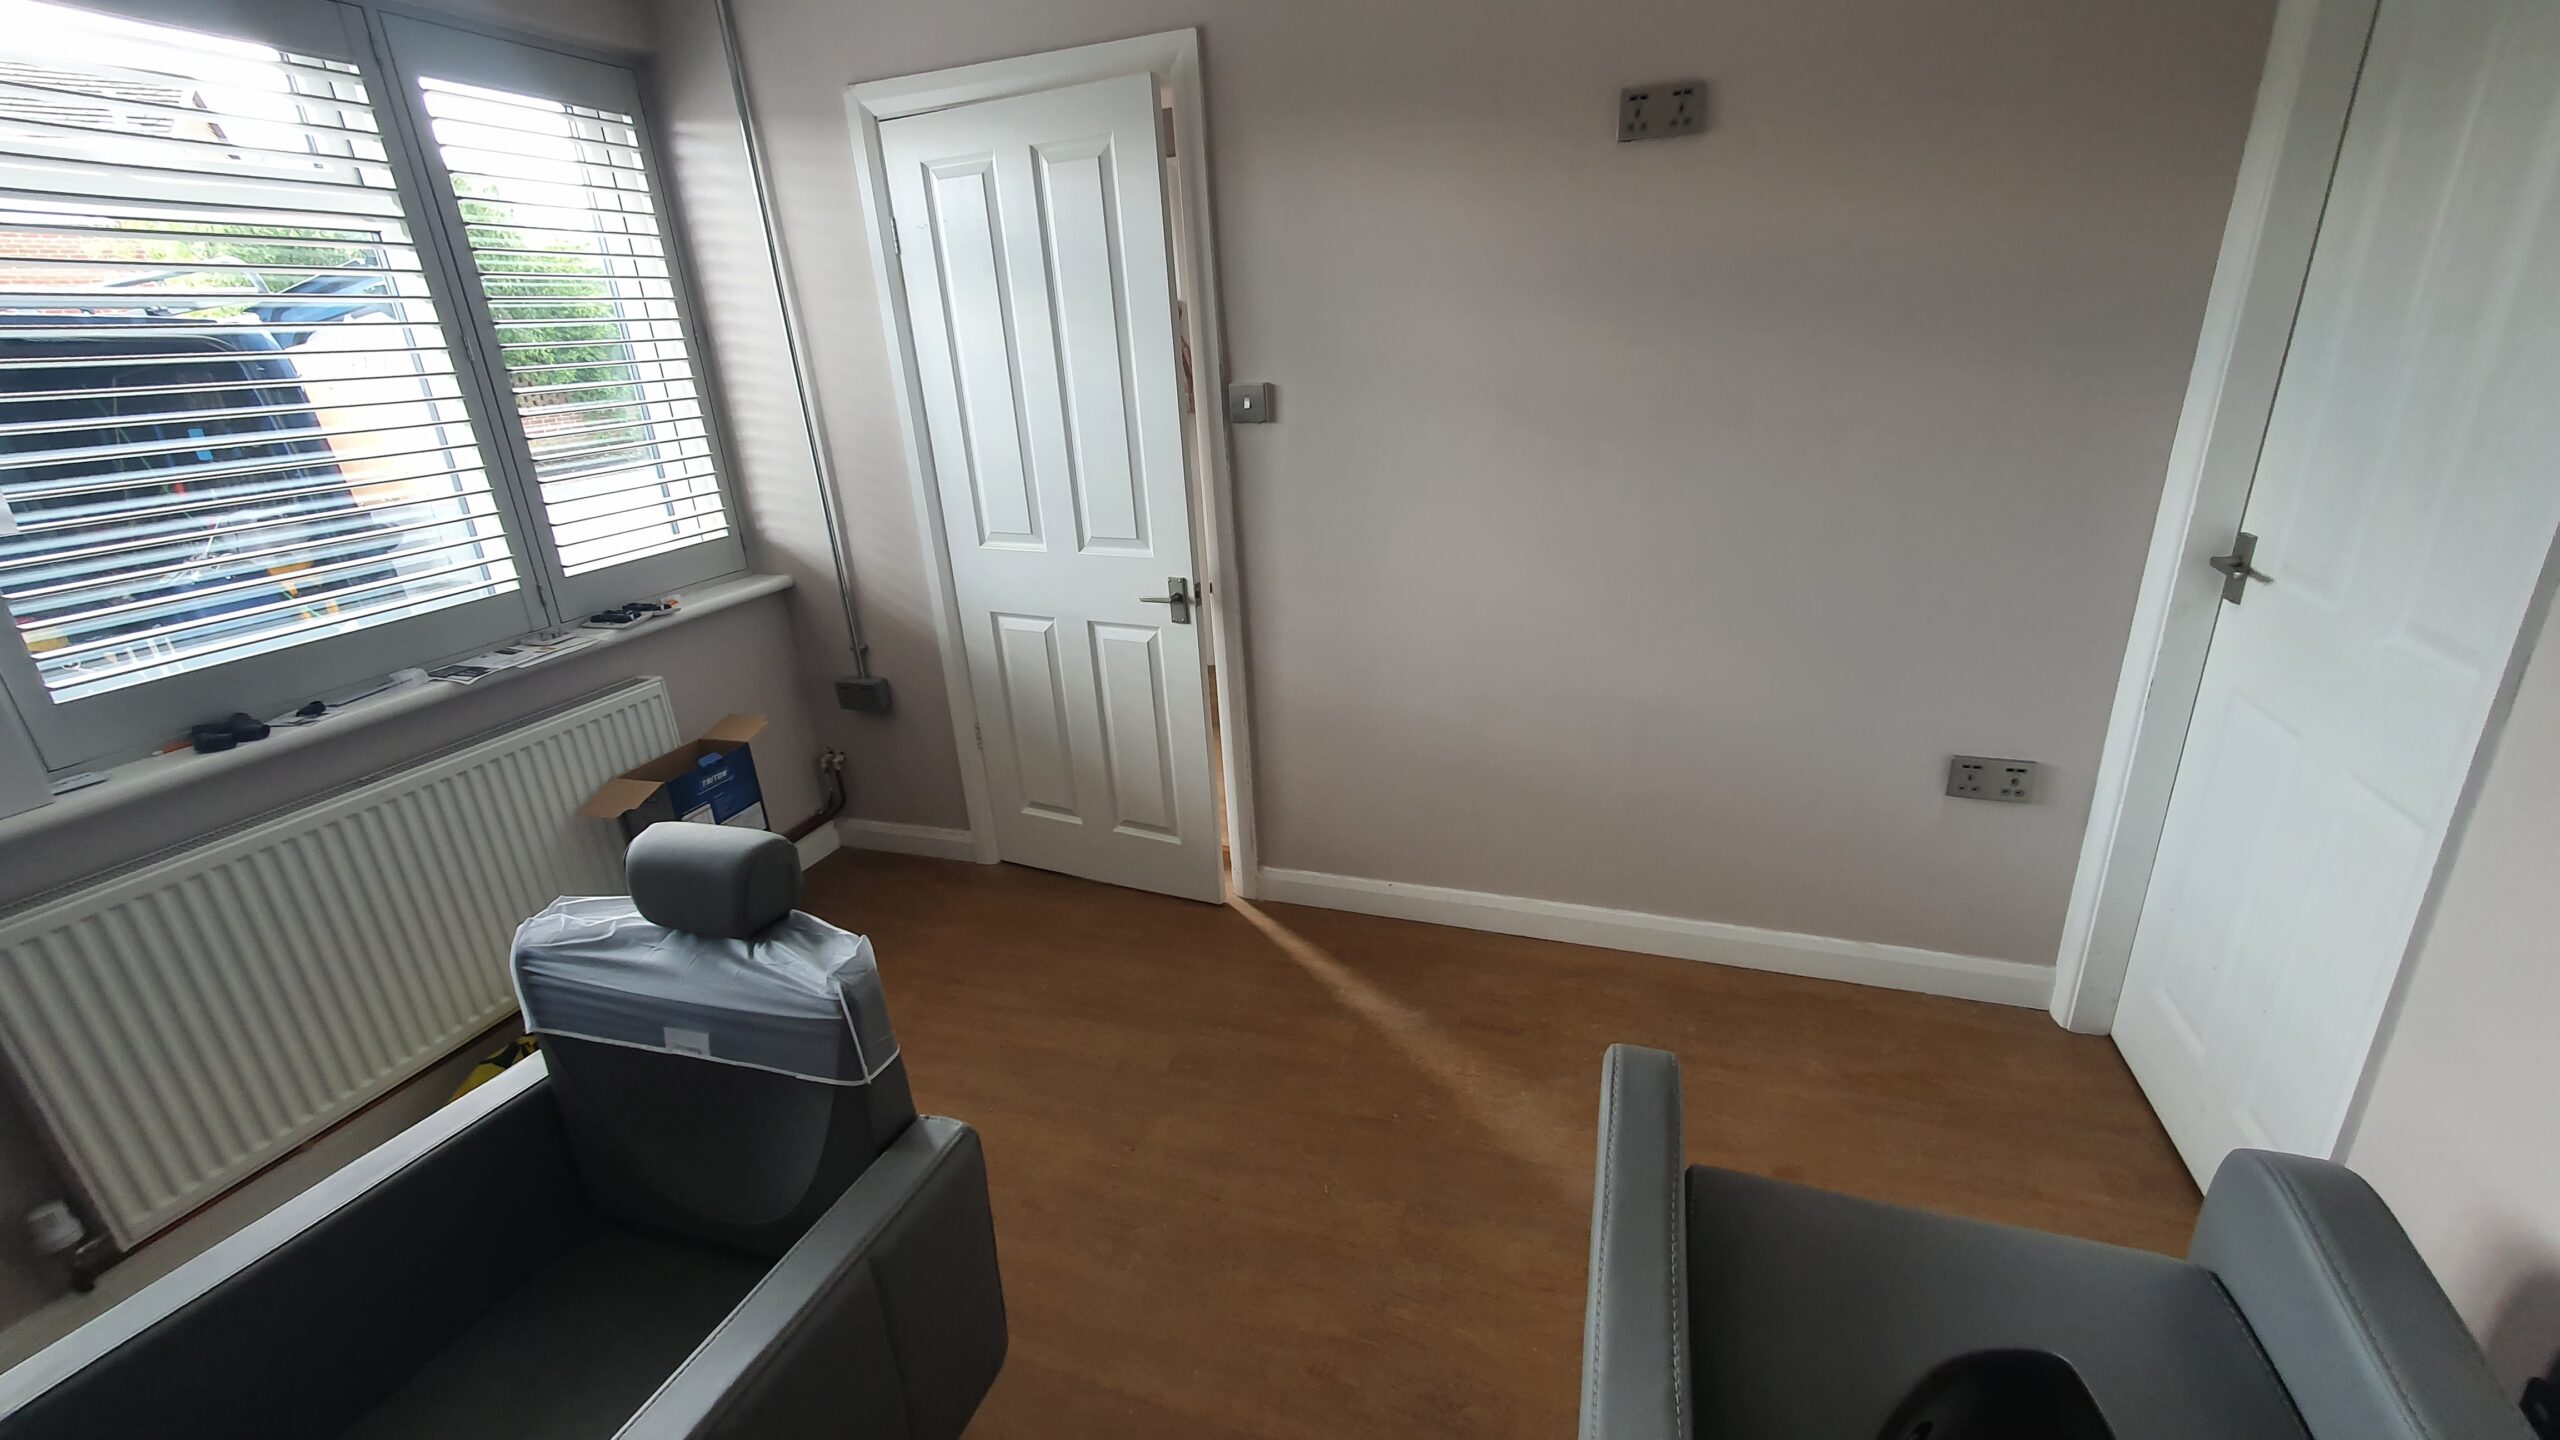
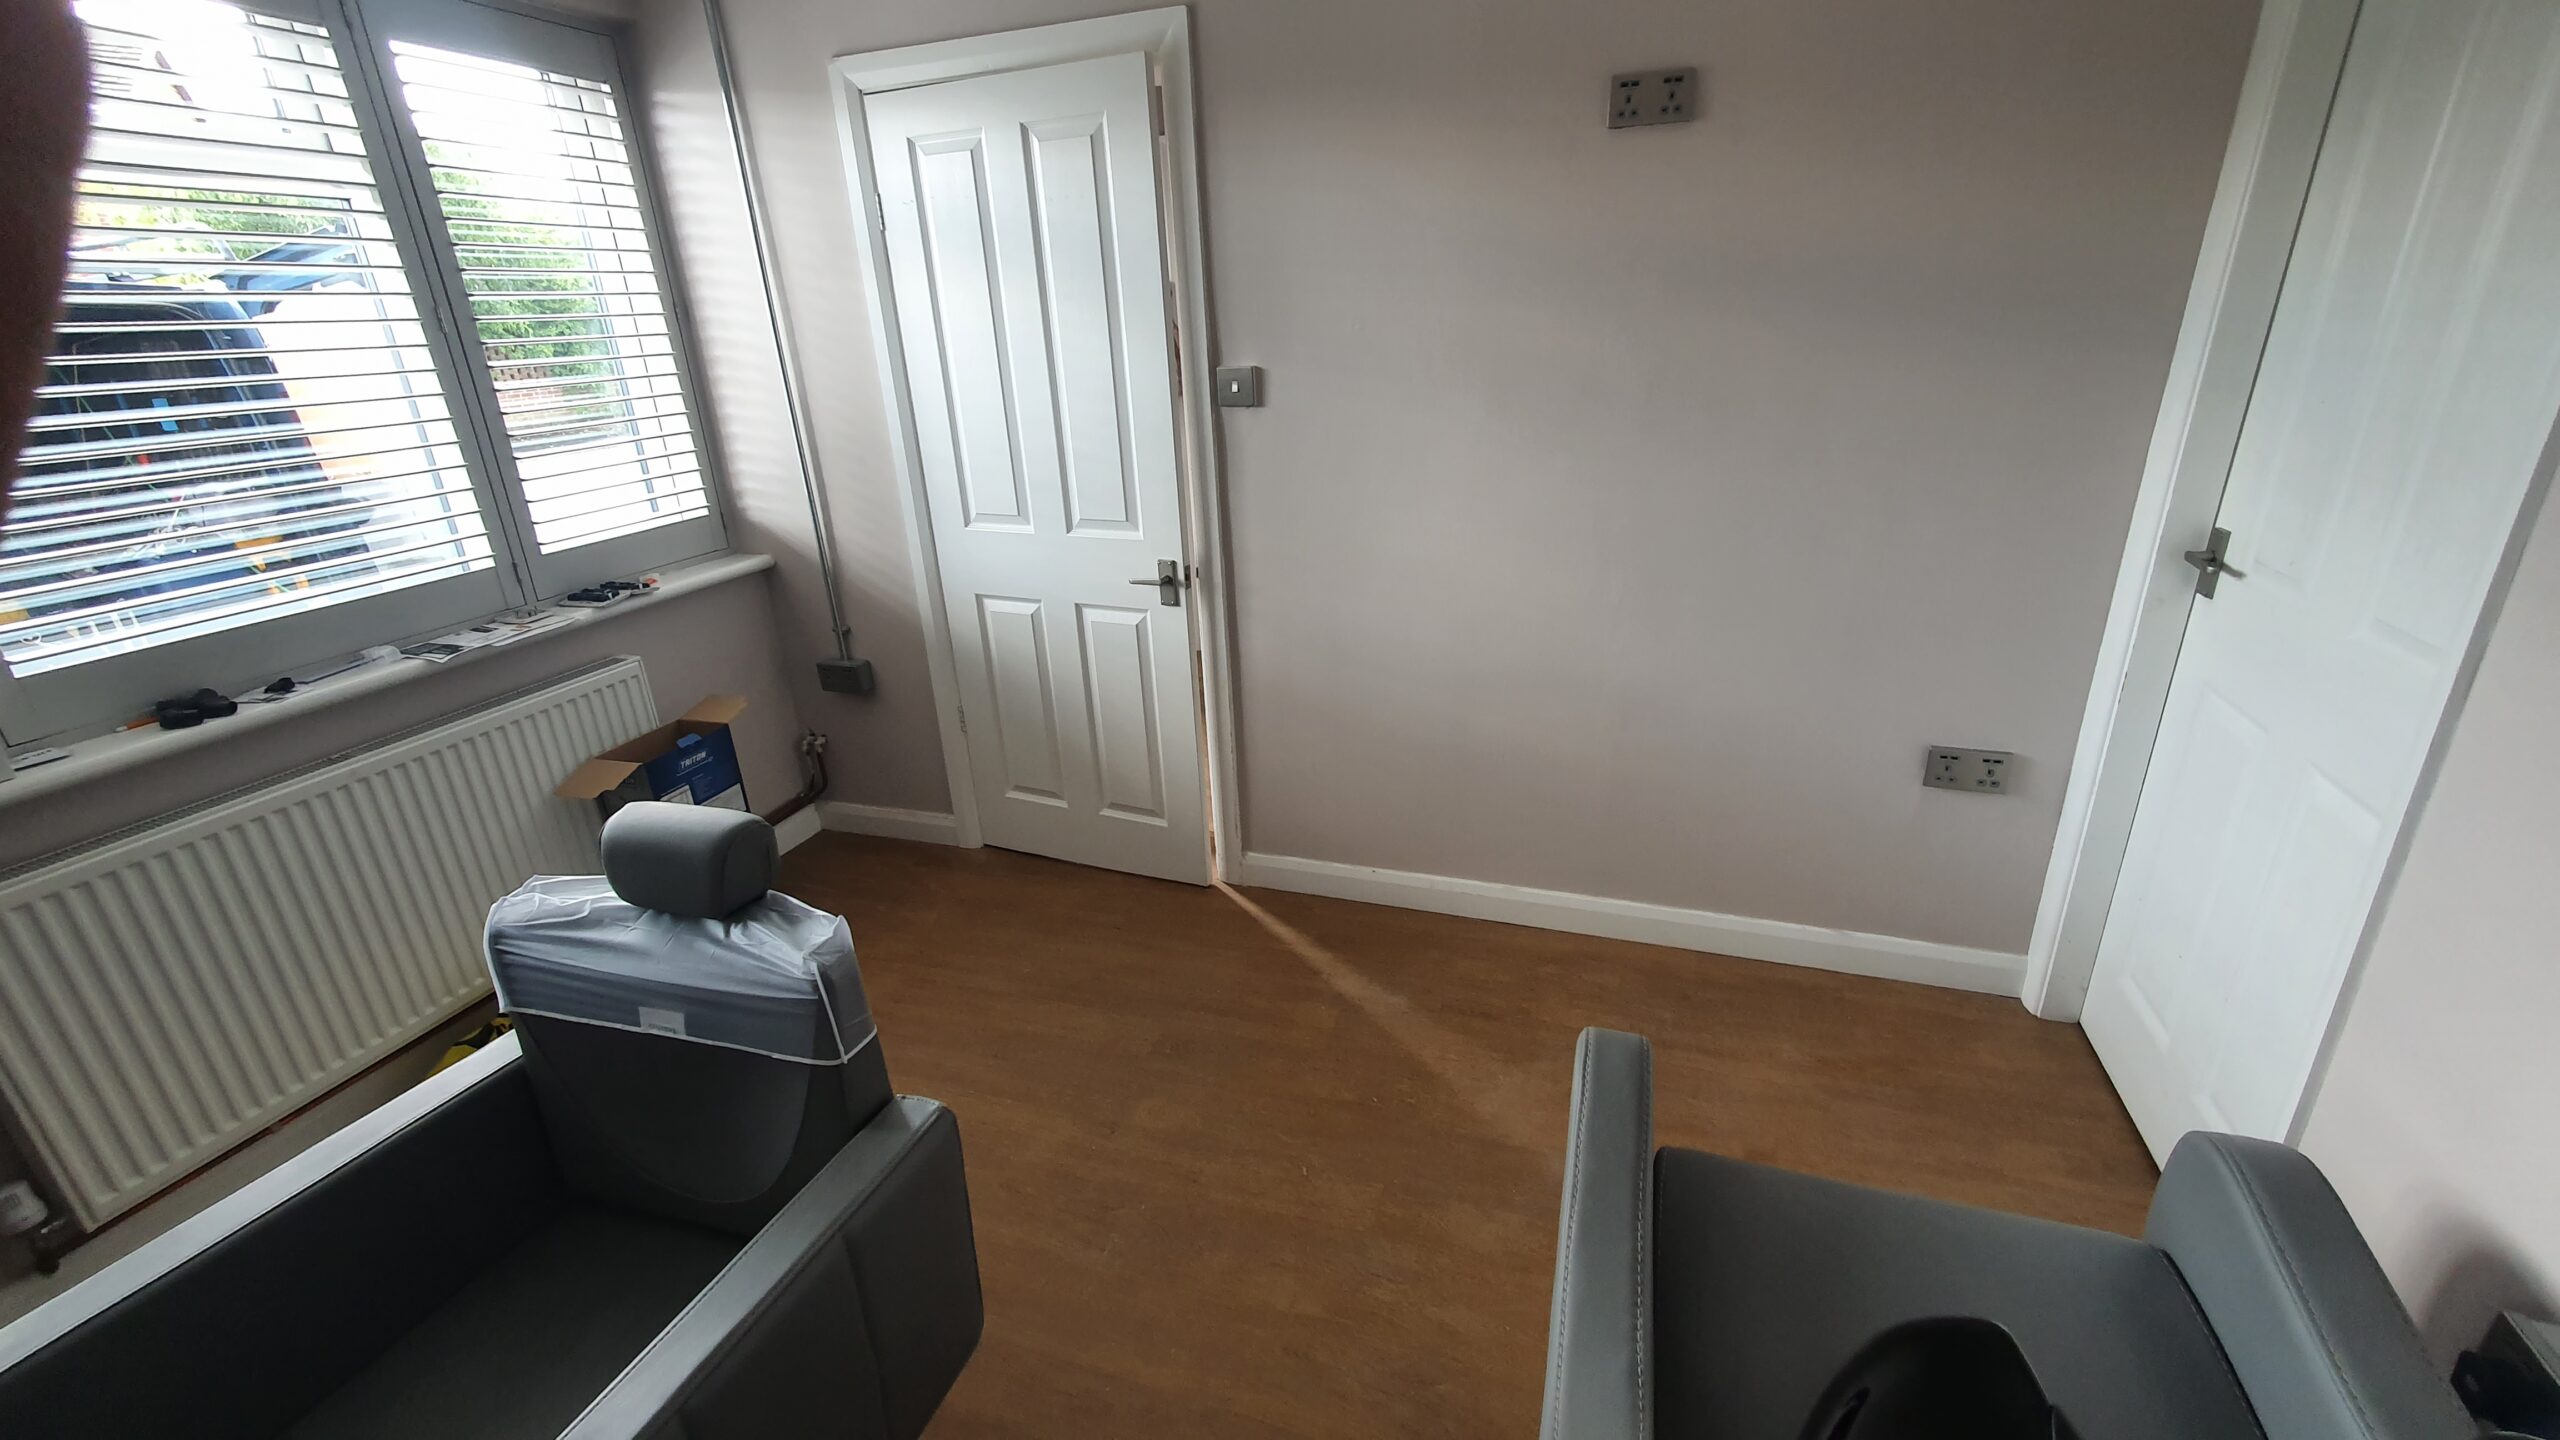
We helped transform this customer’s spare room into a working hair salon for her business. First we added electrical sockets and old metal conduits that gave the room a steampunk look. Then we plumbed in the shower and sink so that that it can be used in the same room, finally we hung shelves, and a mirror and changed the light fixtures
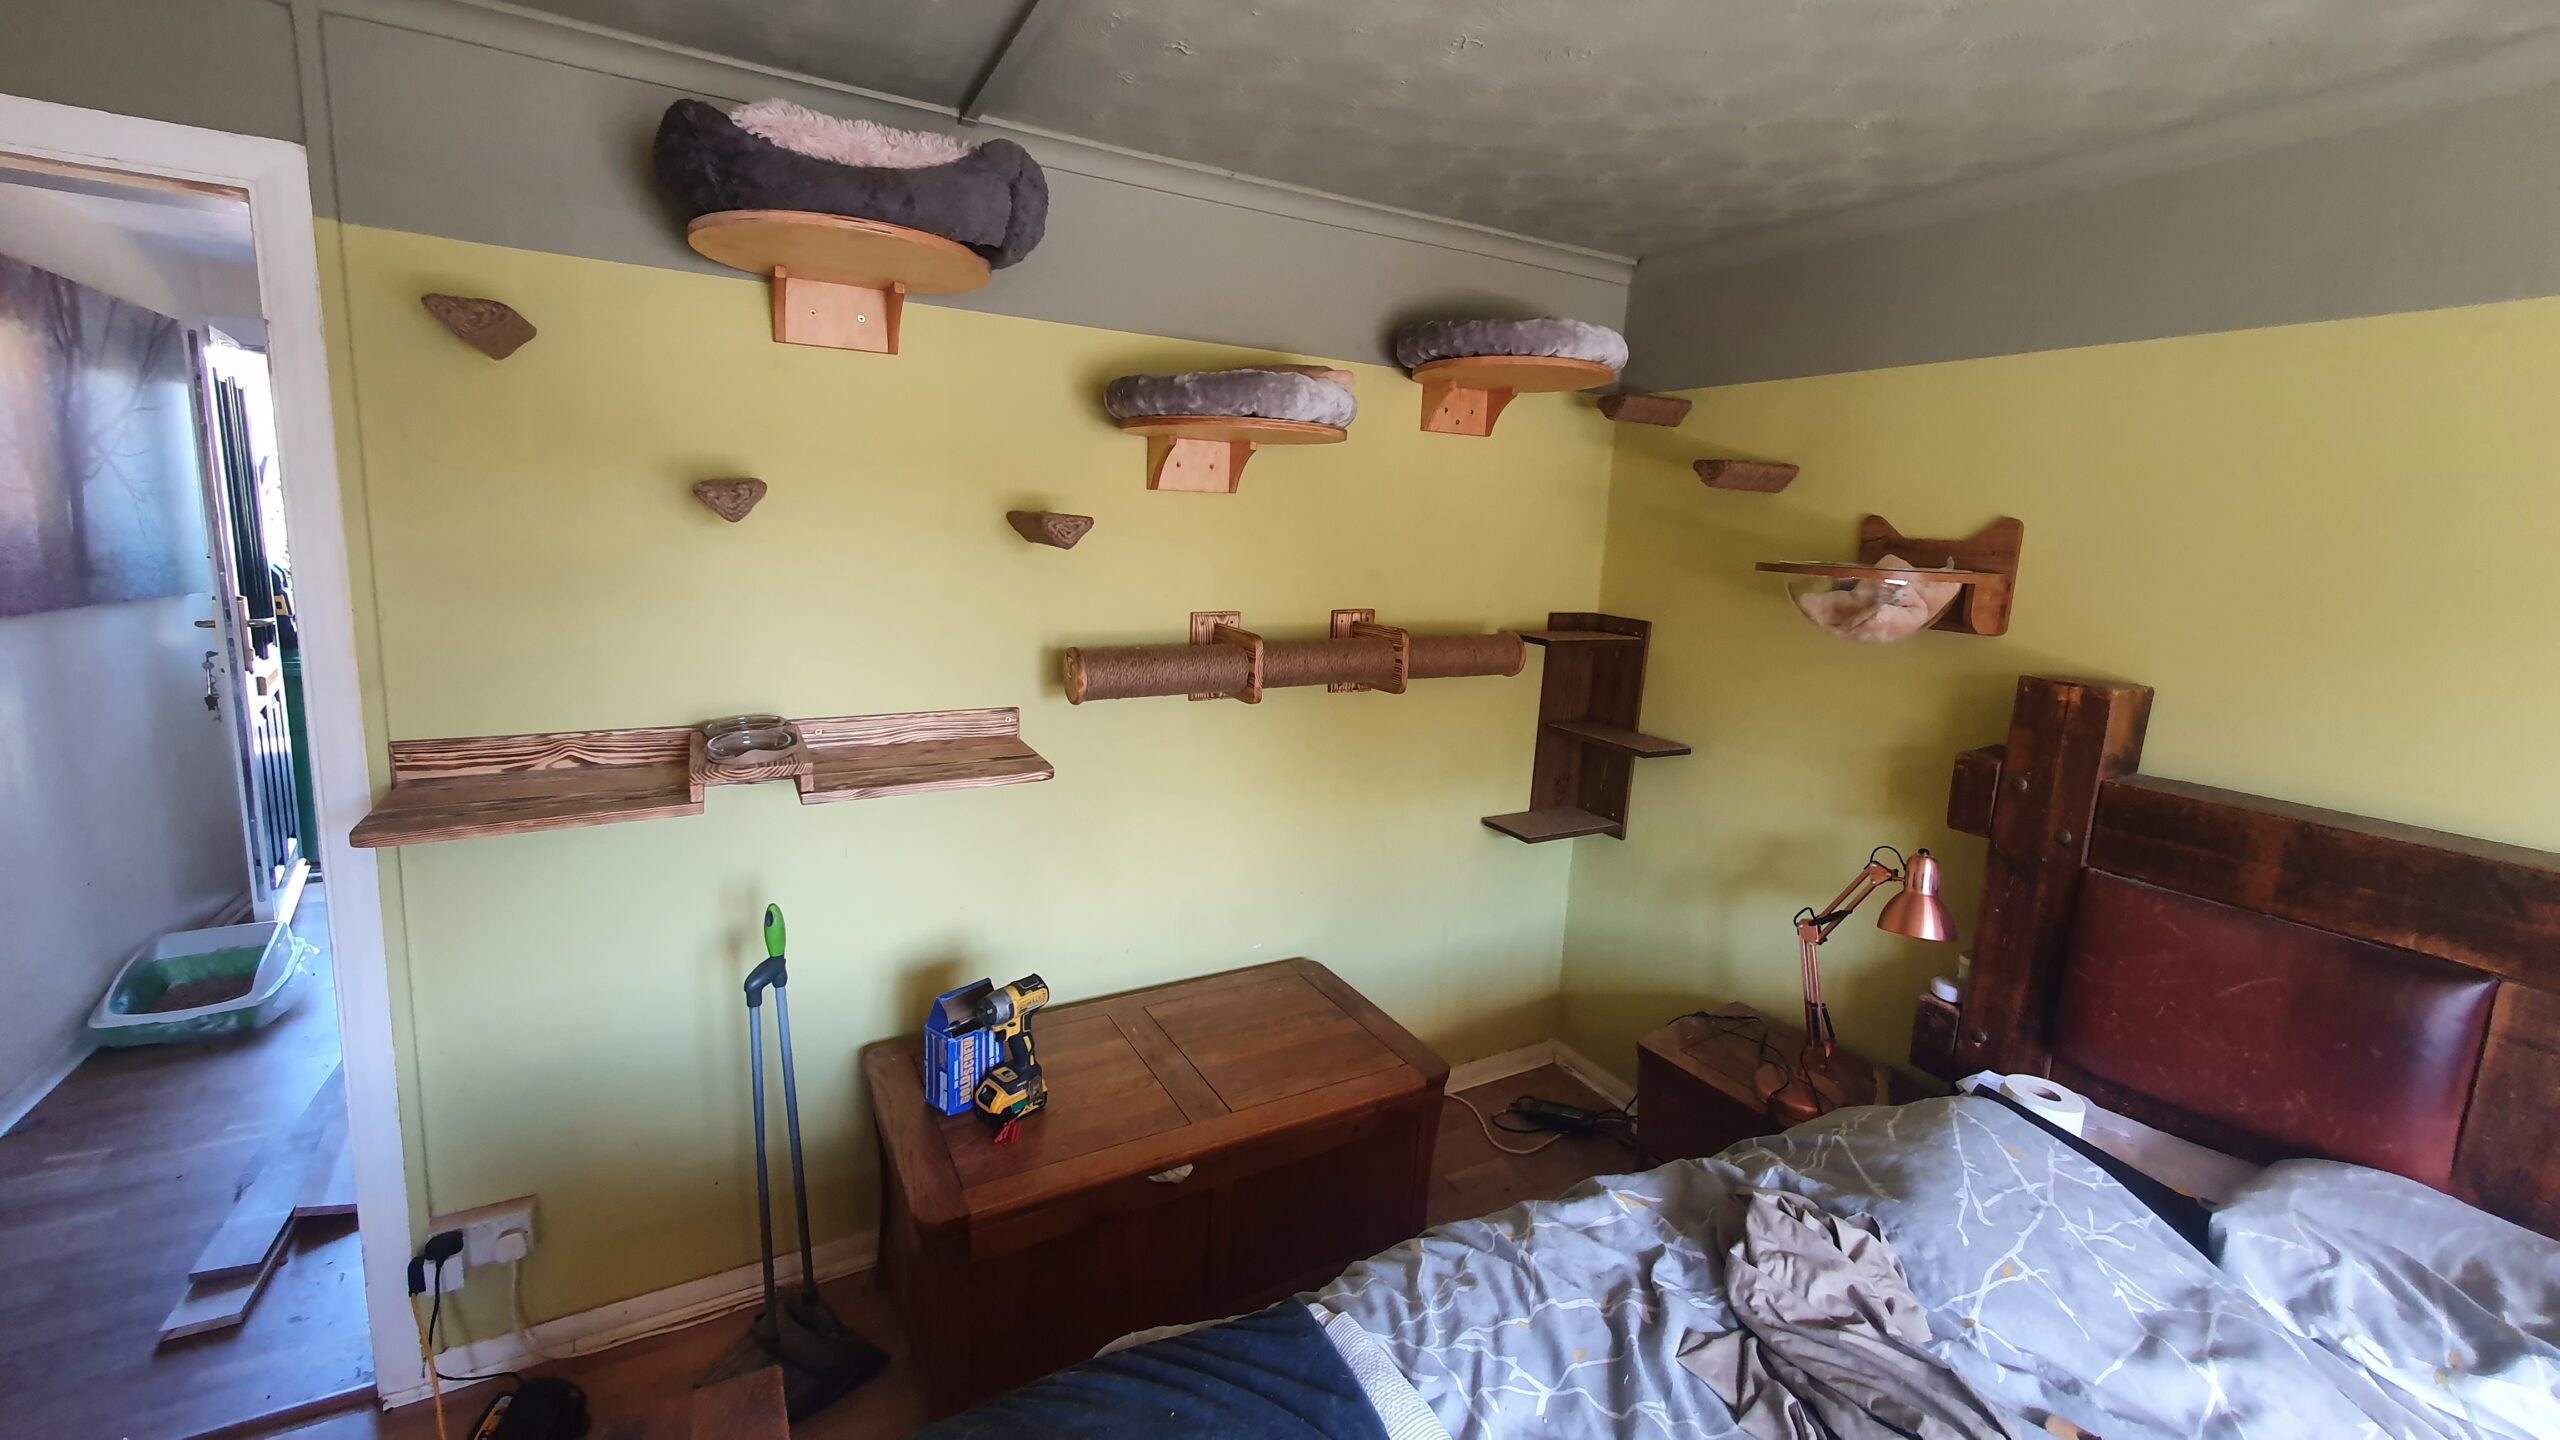
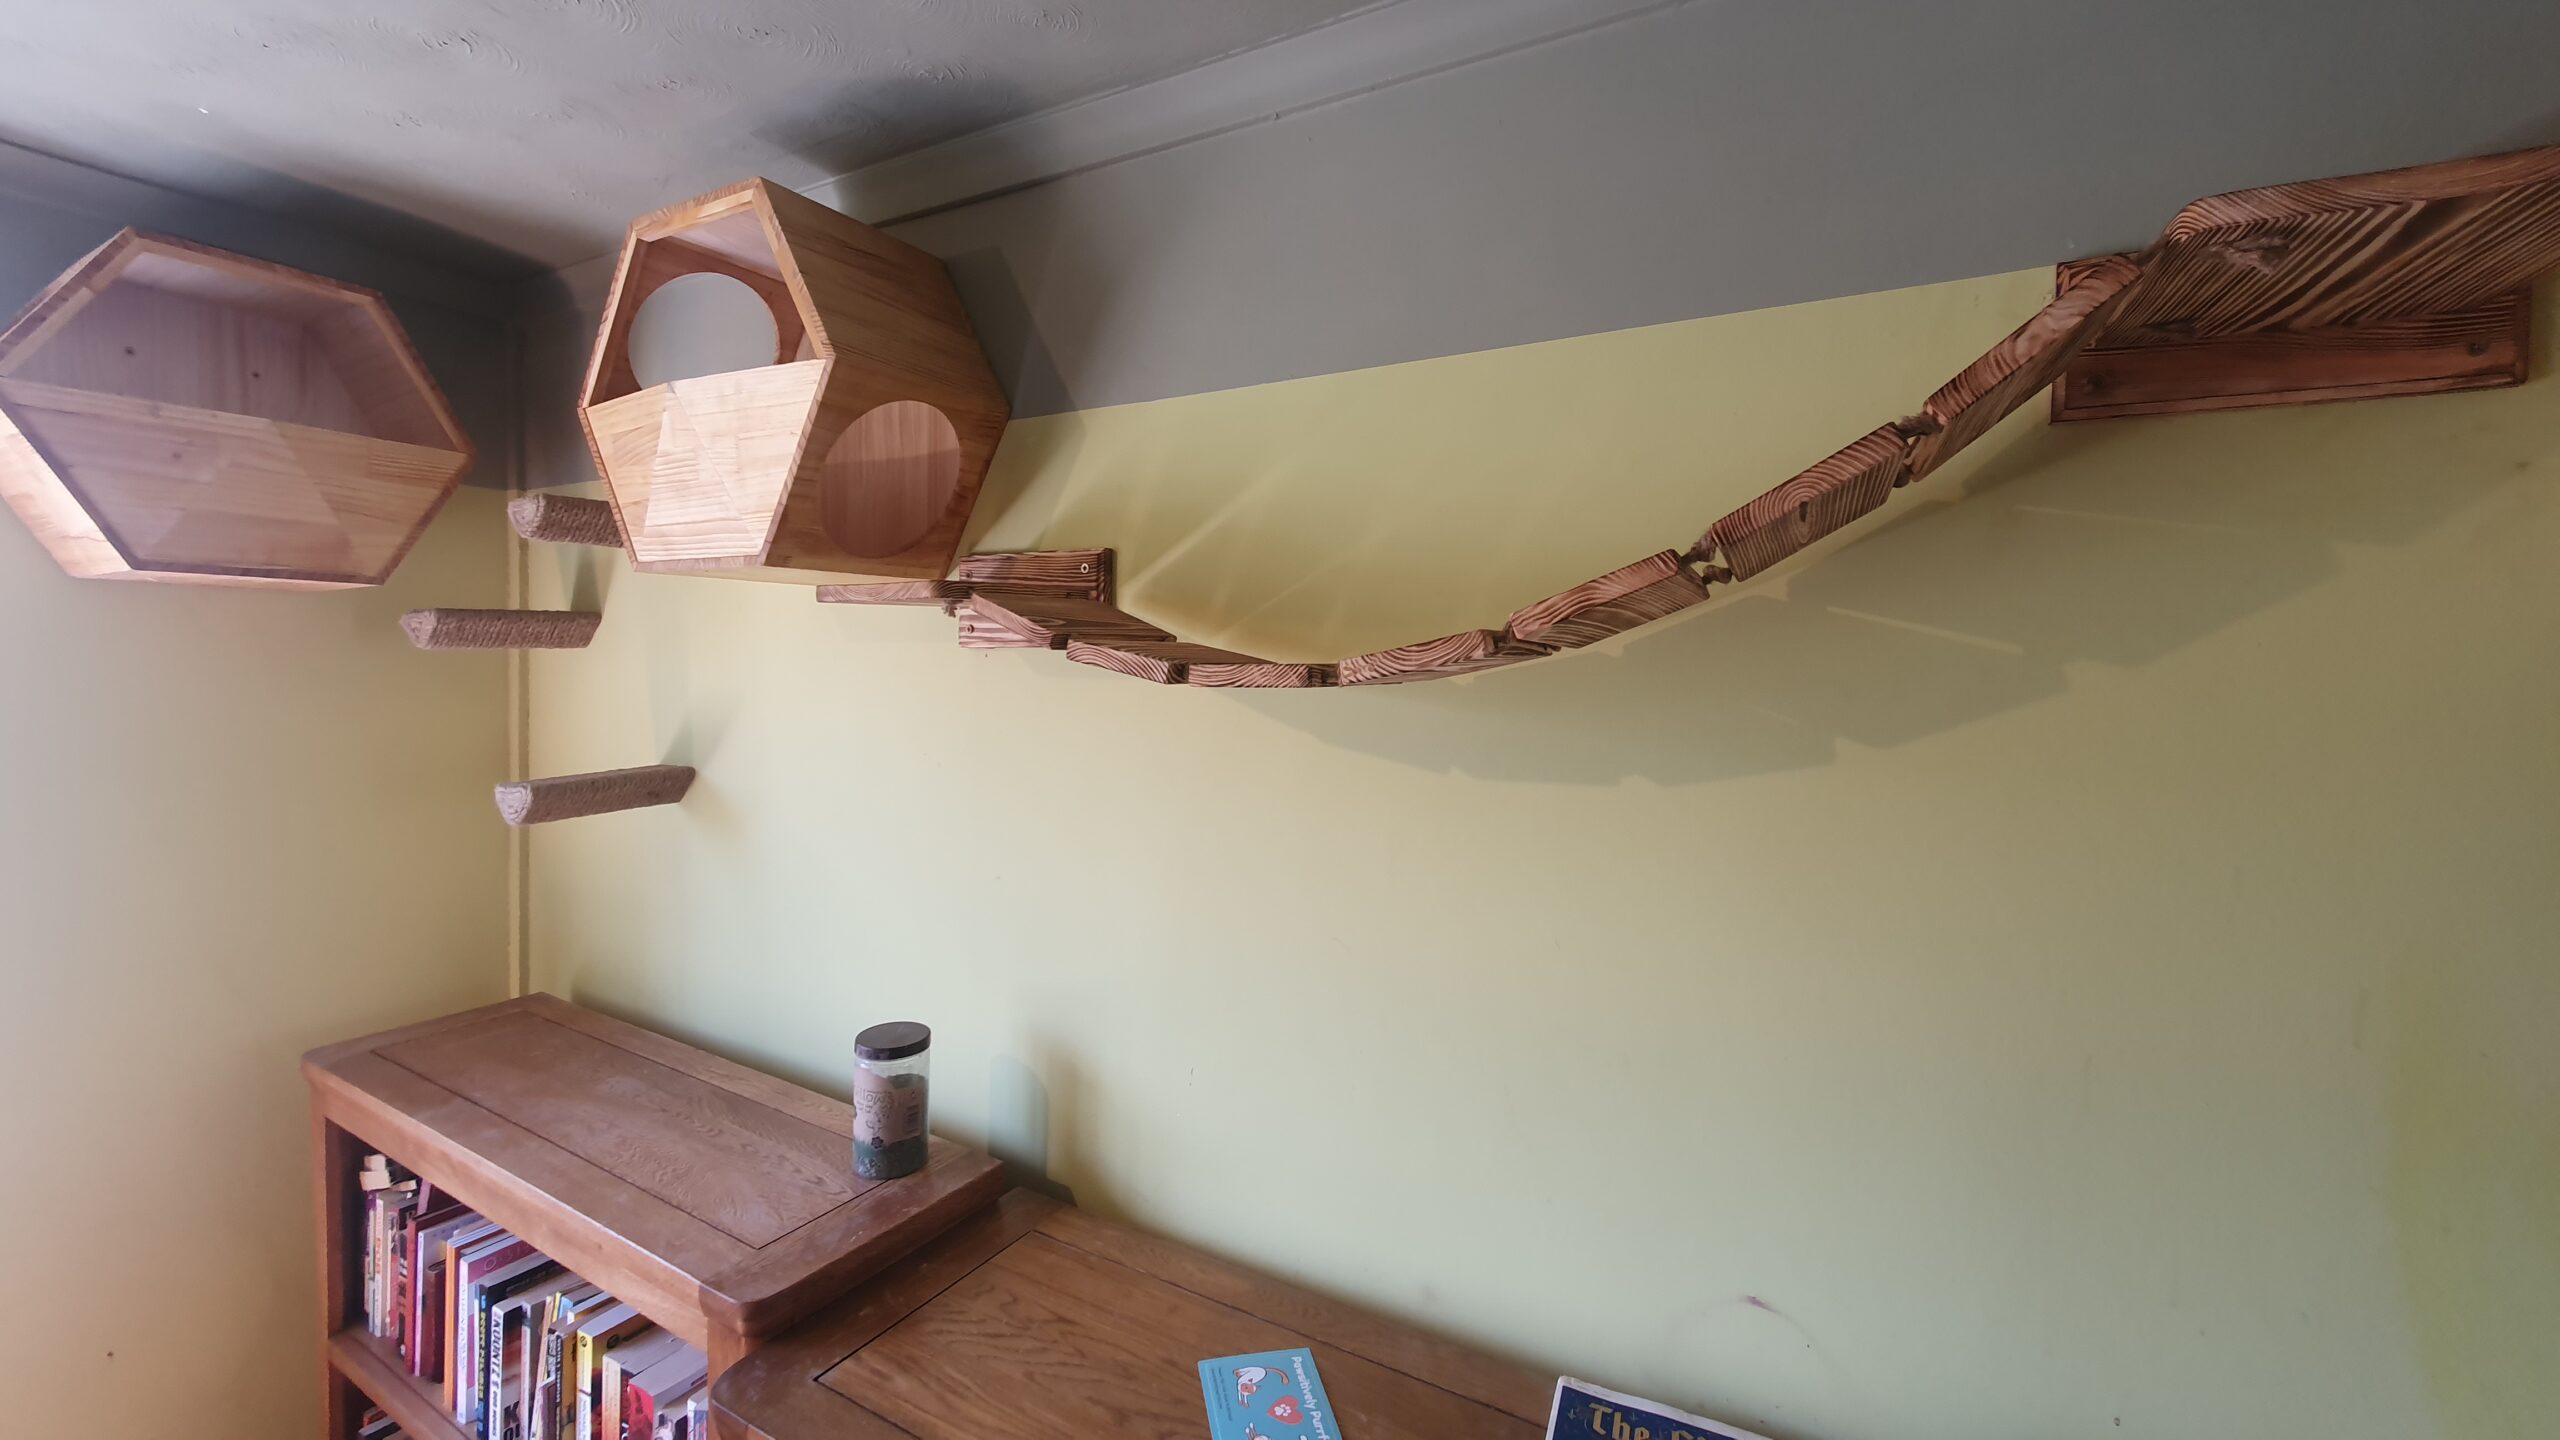
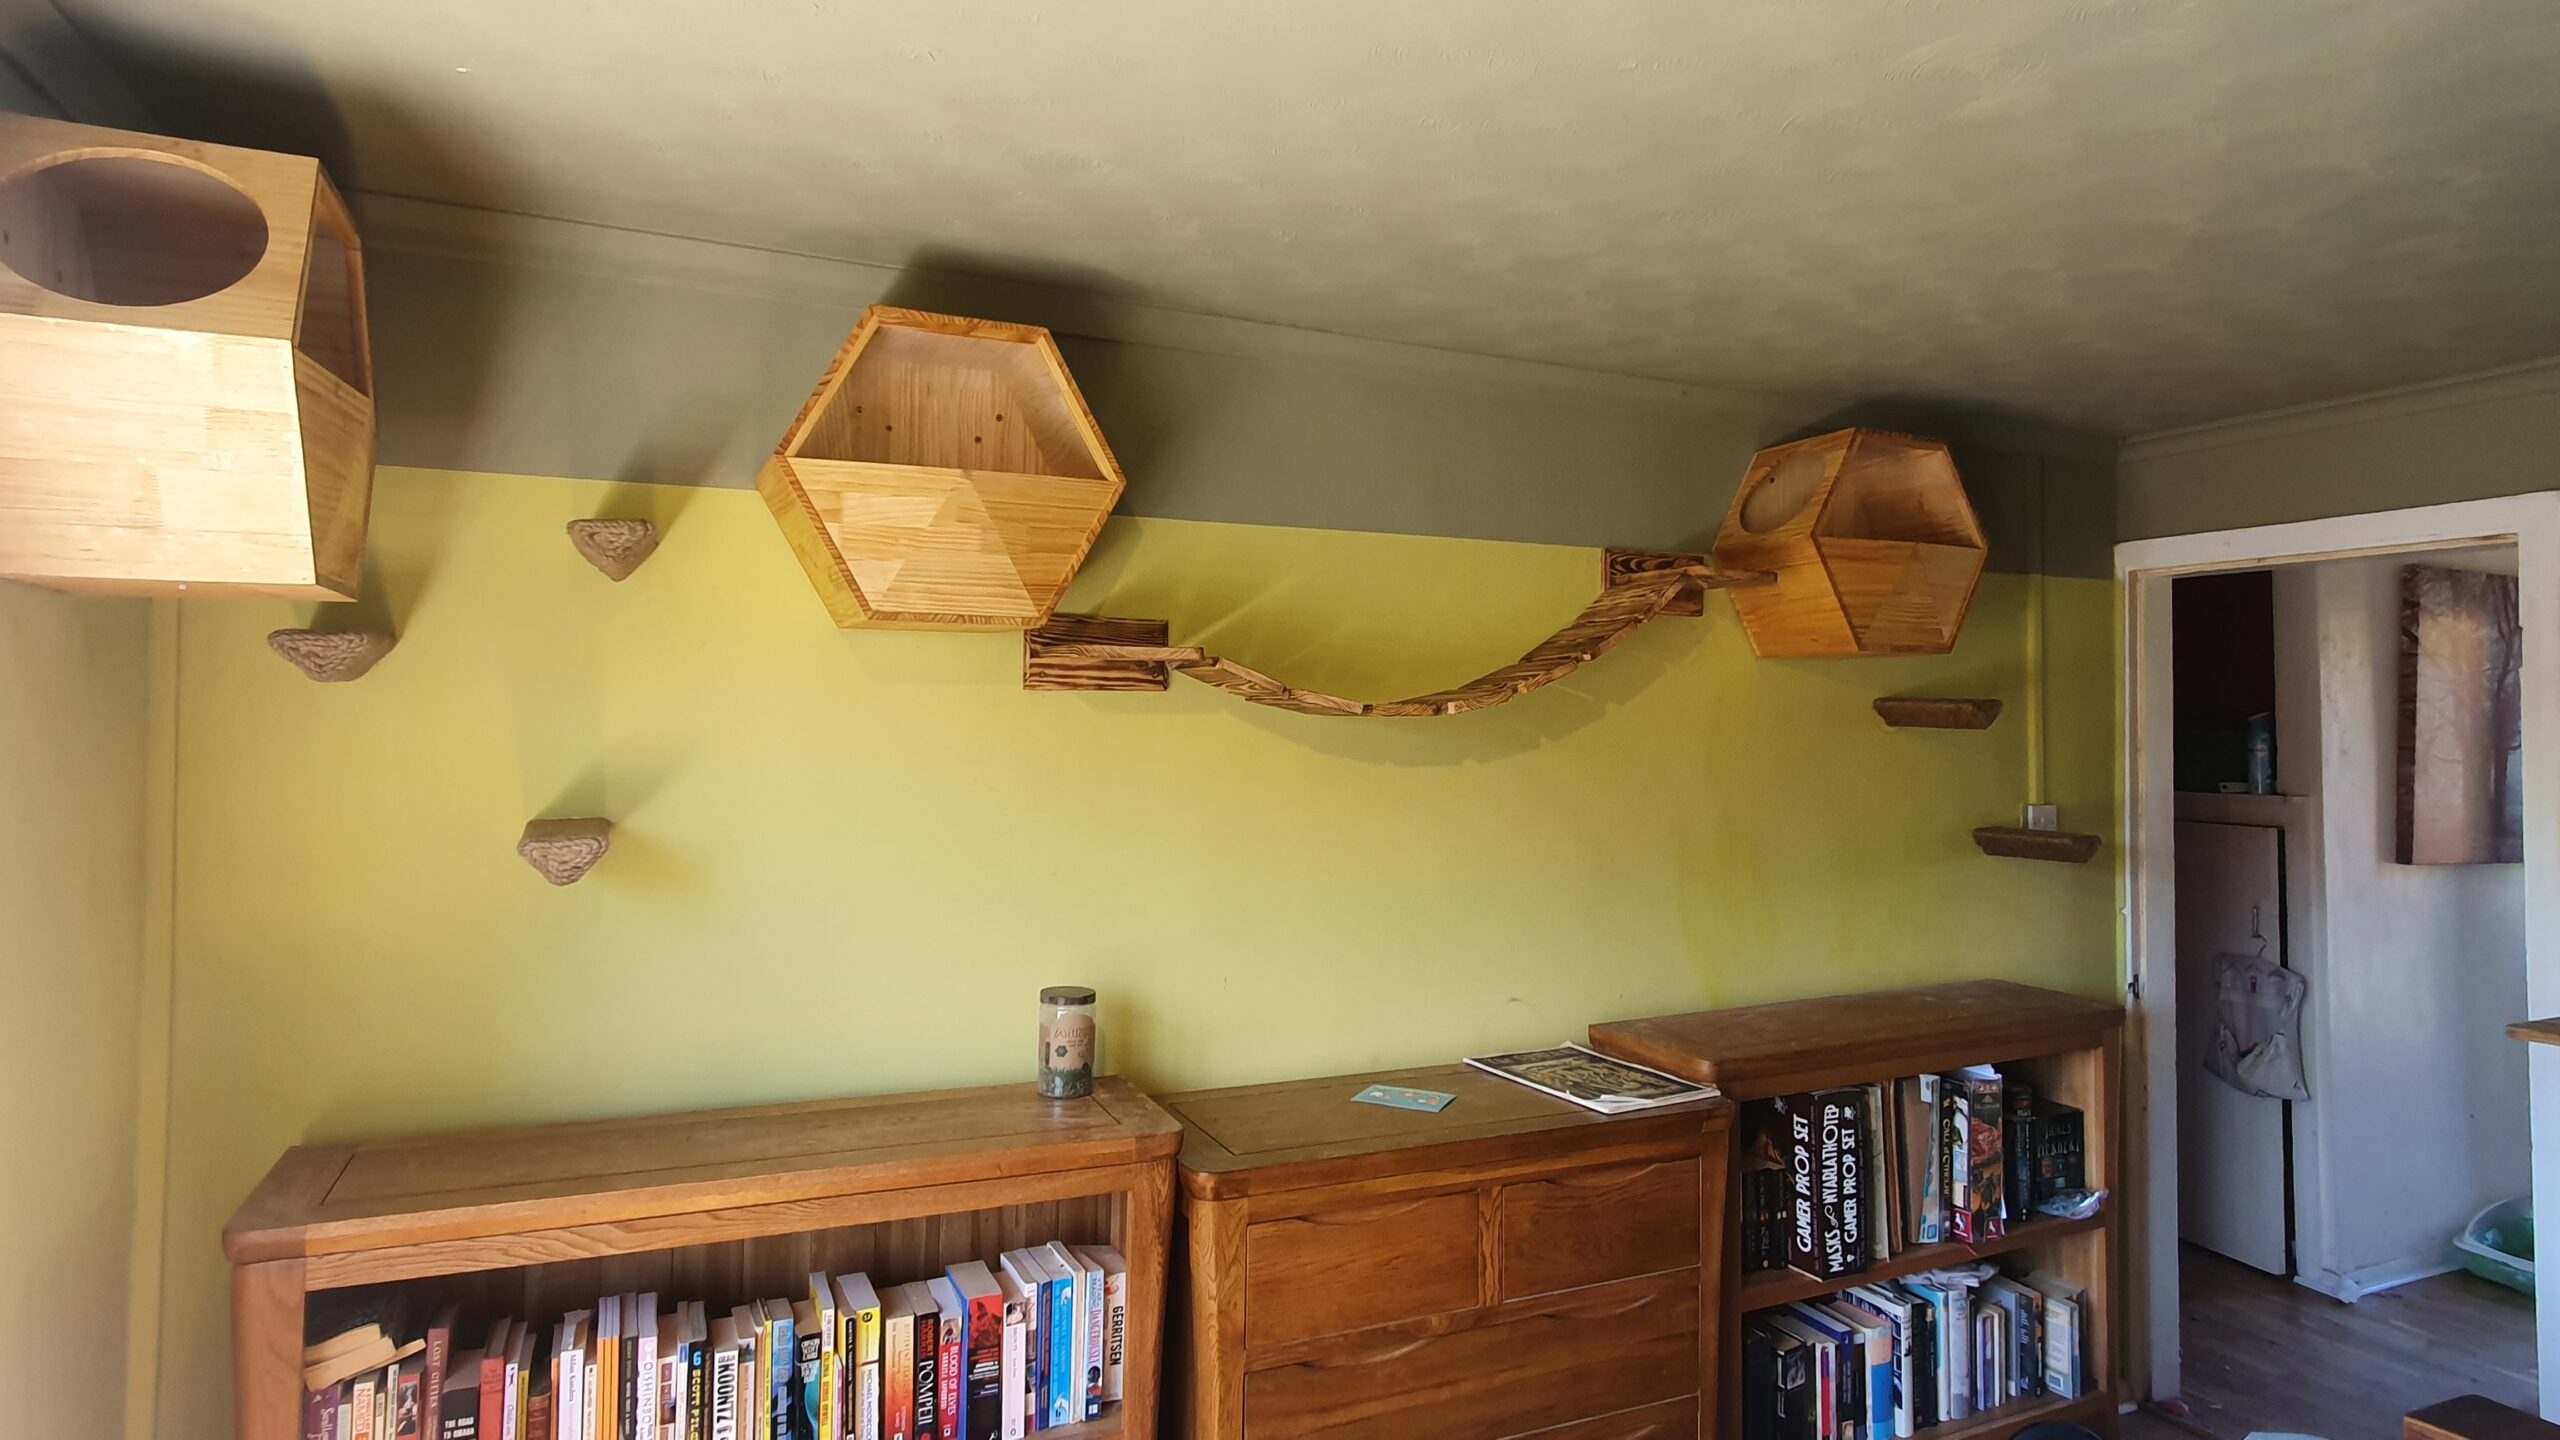
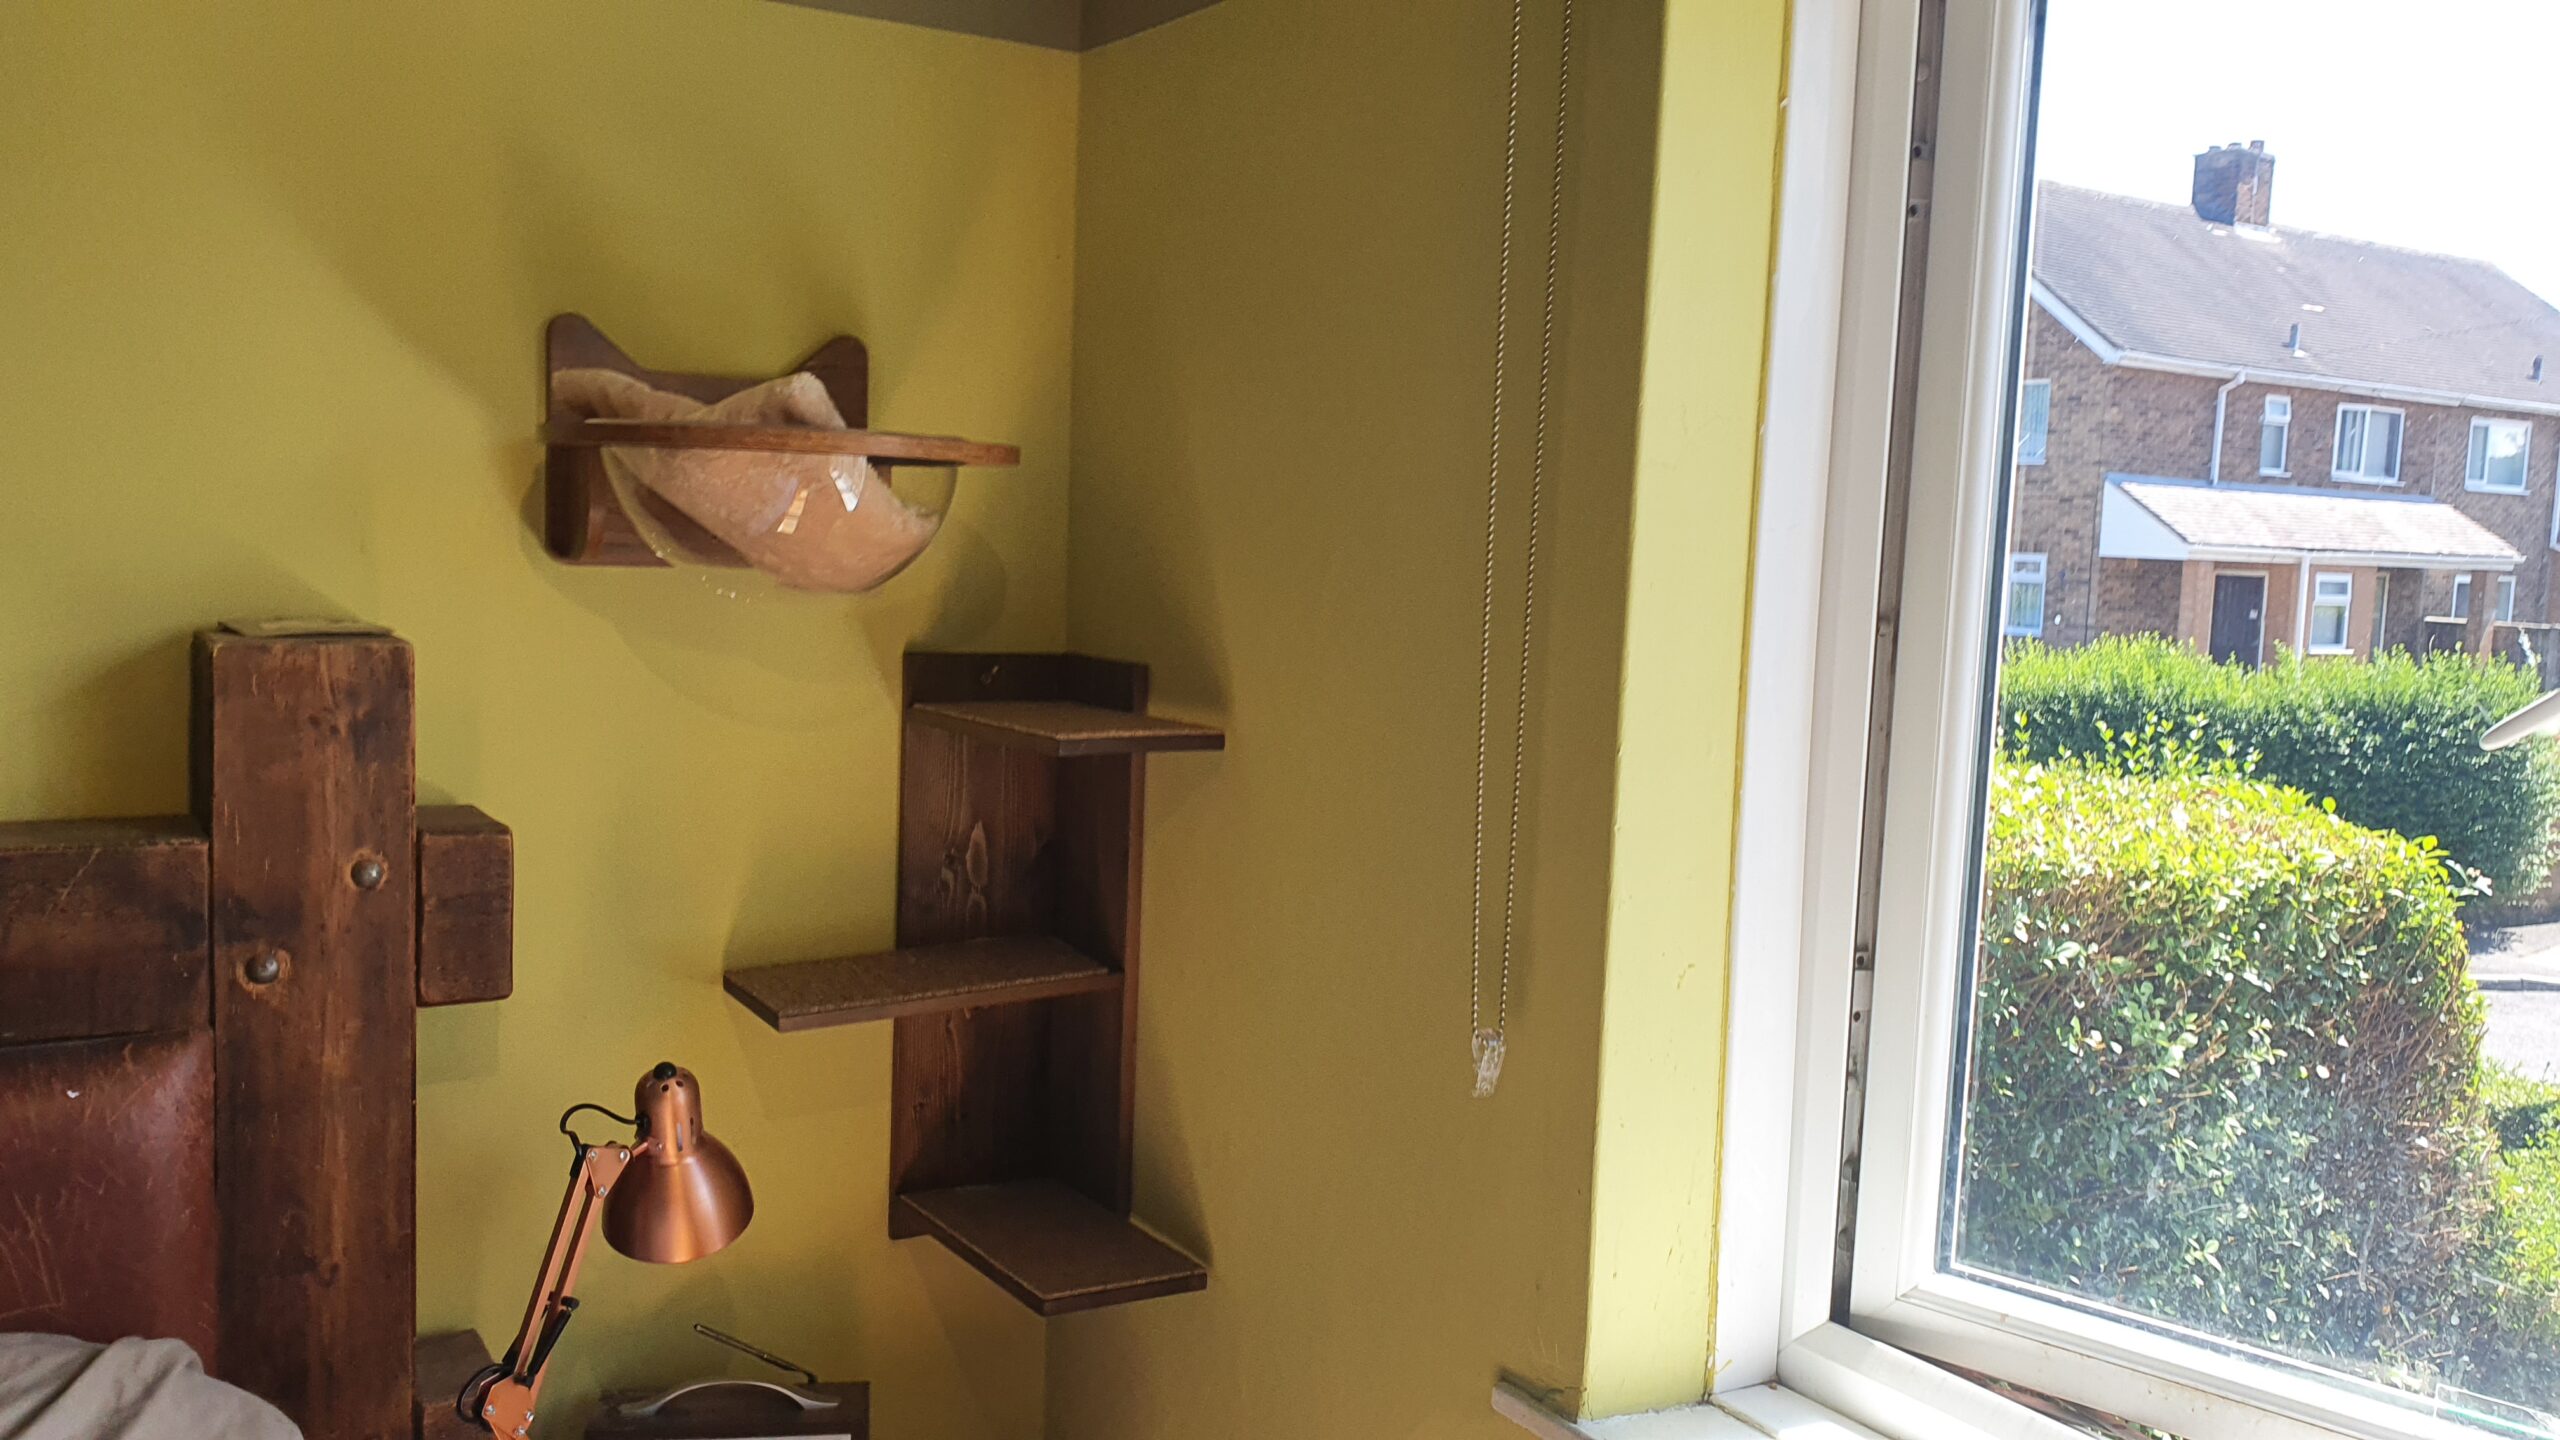
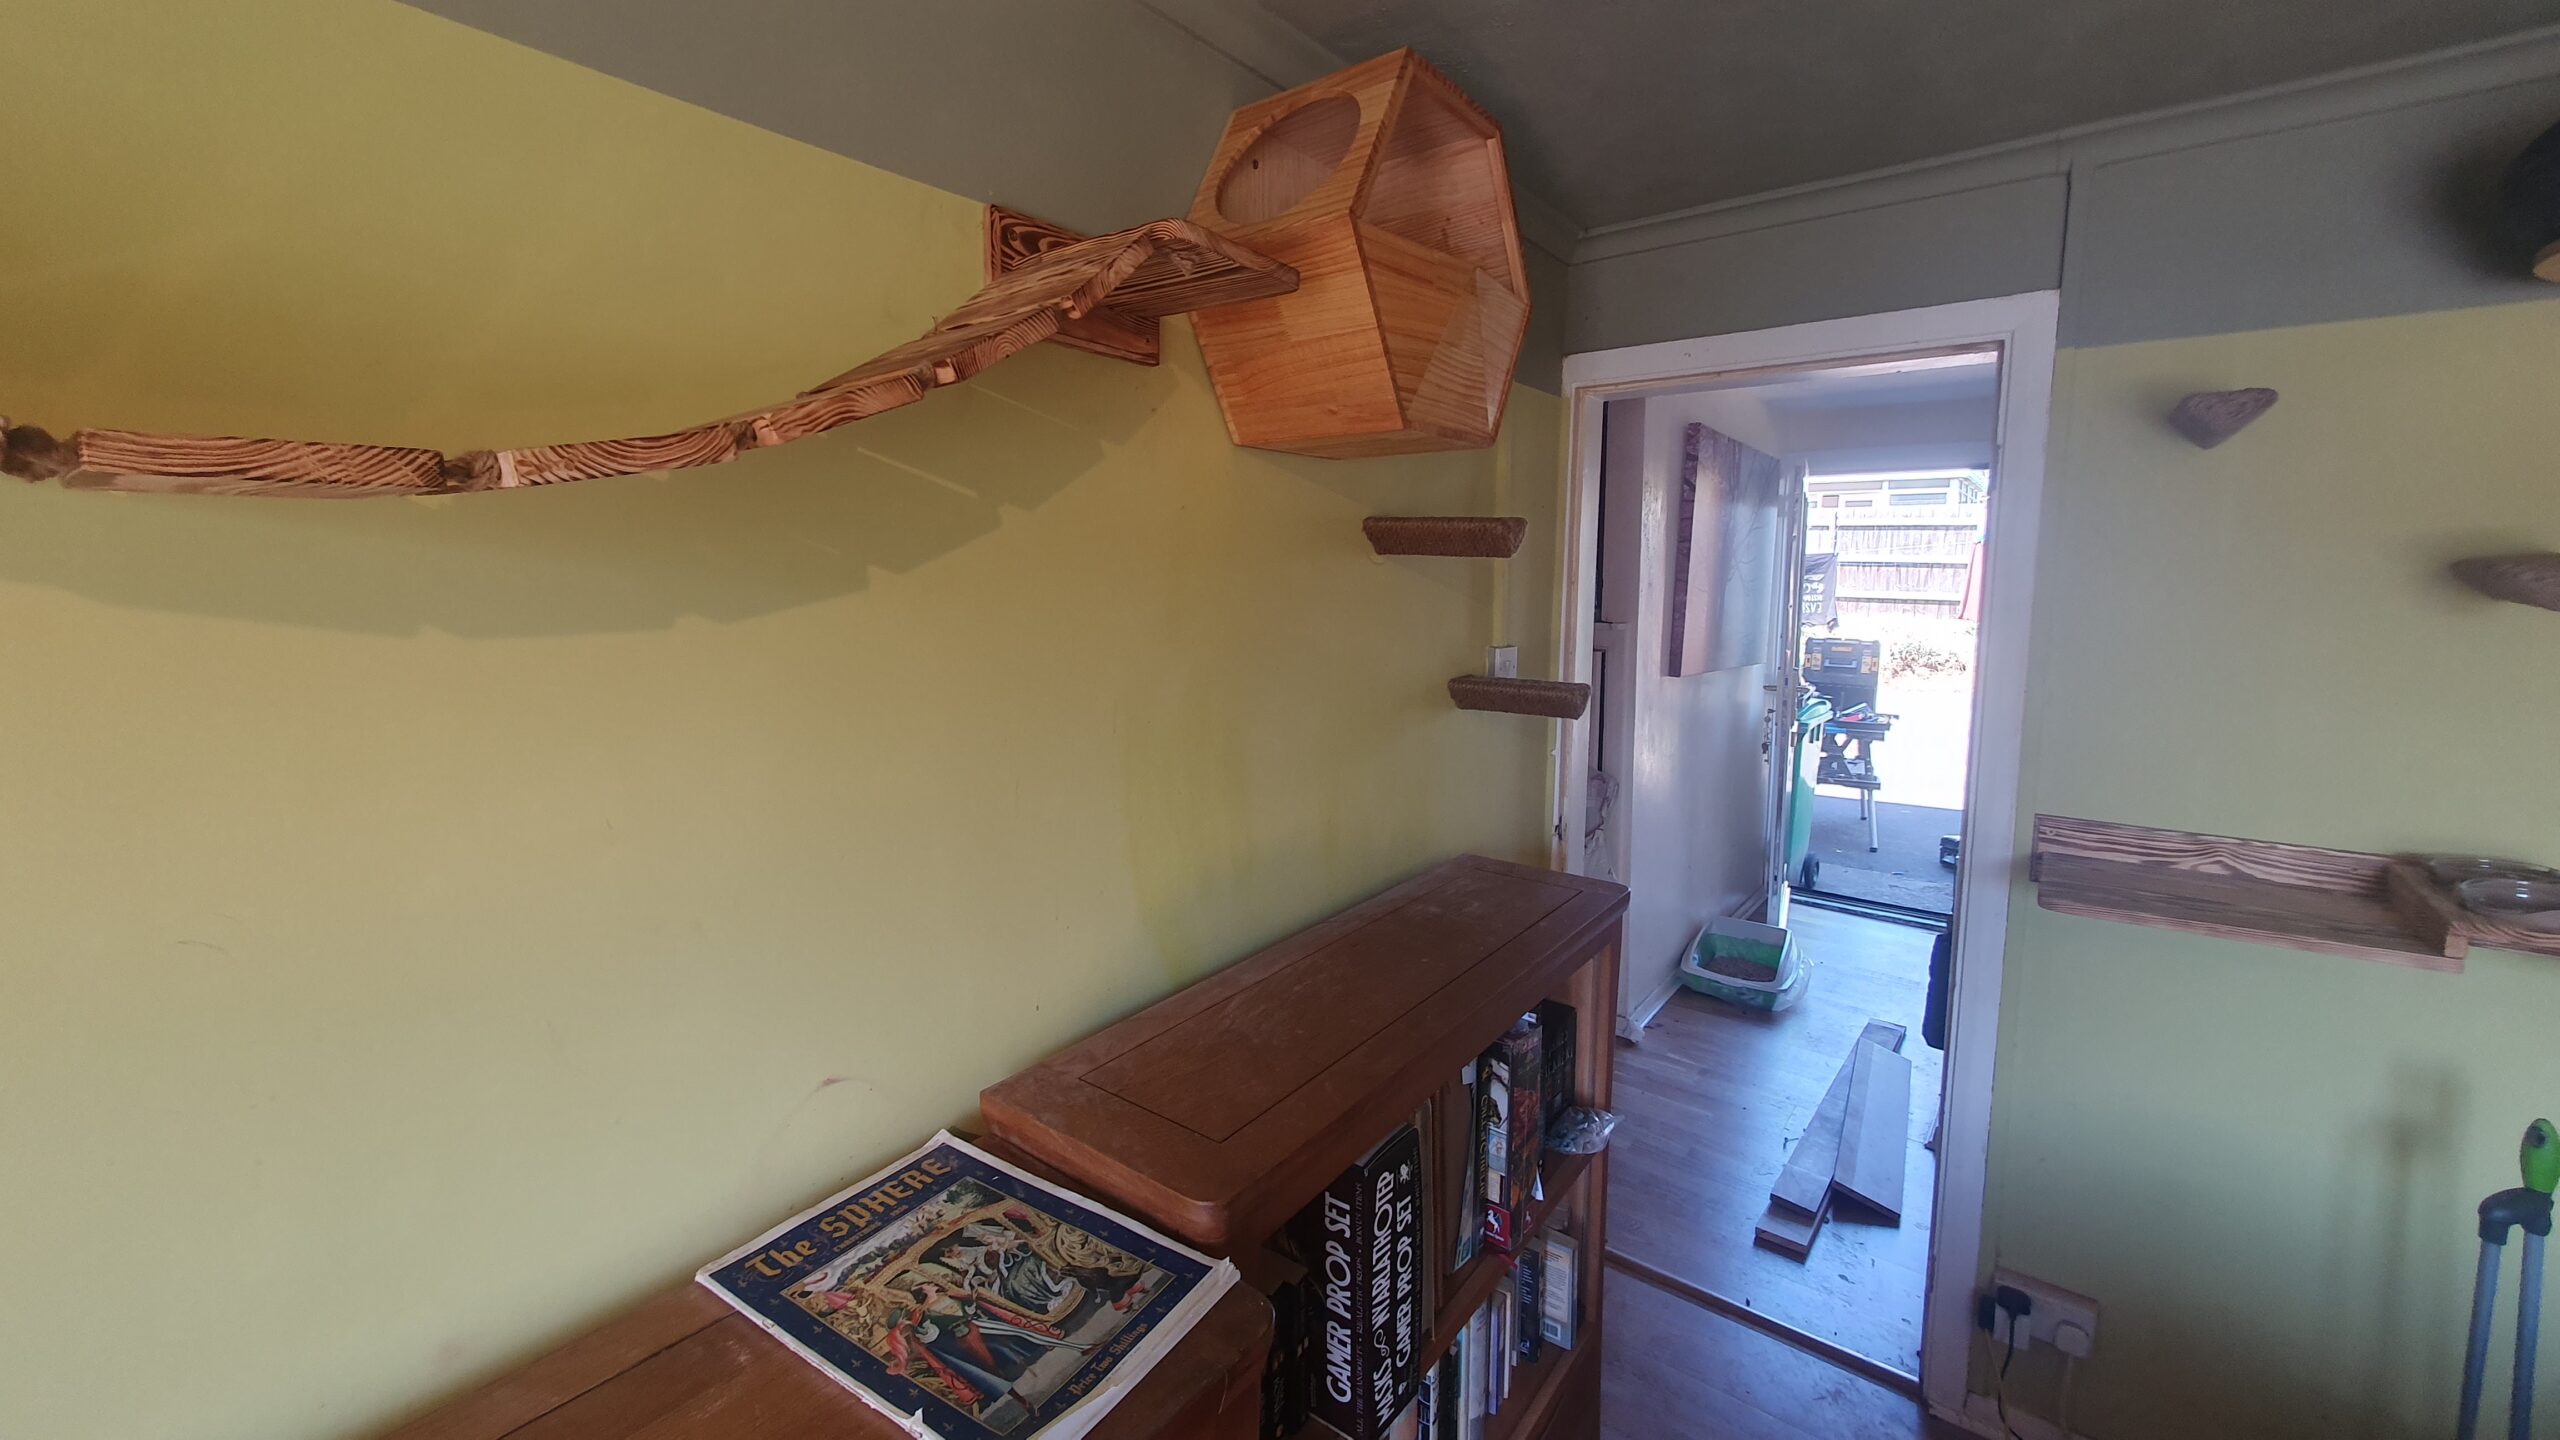
We transformed this customer’s bedroom into a cat paradise, adding runs and steps along the wall so the cats can access floating beds and hiding areas.

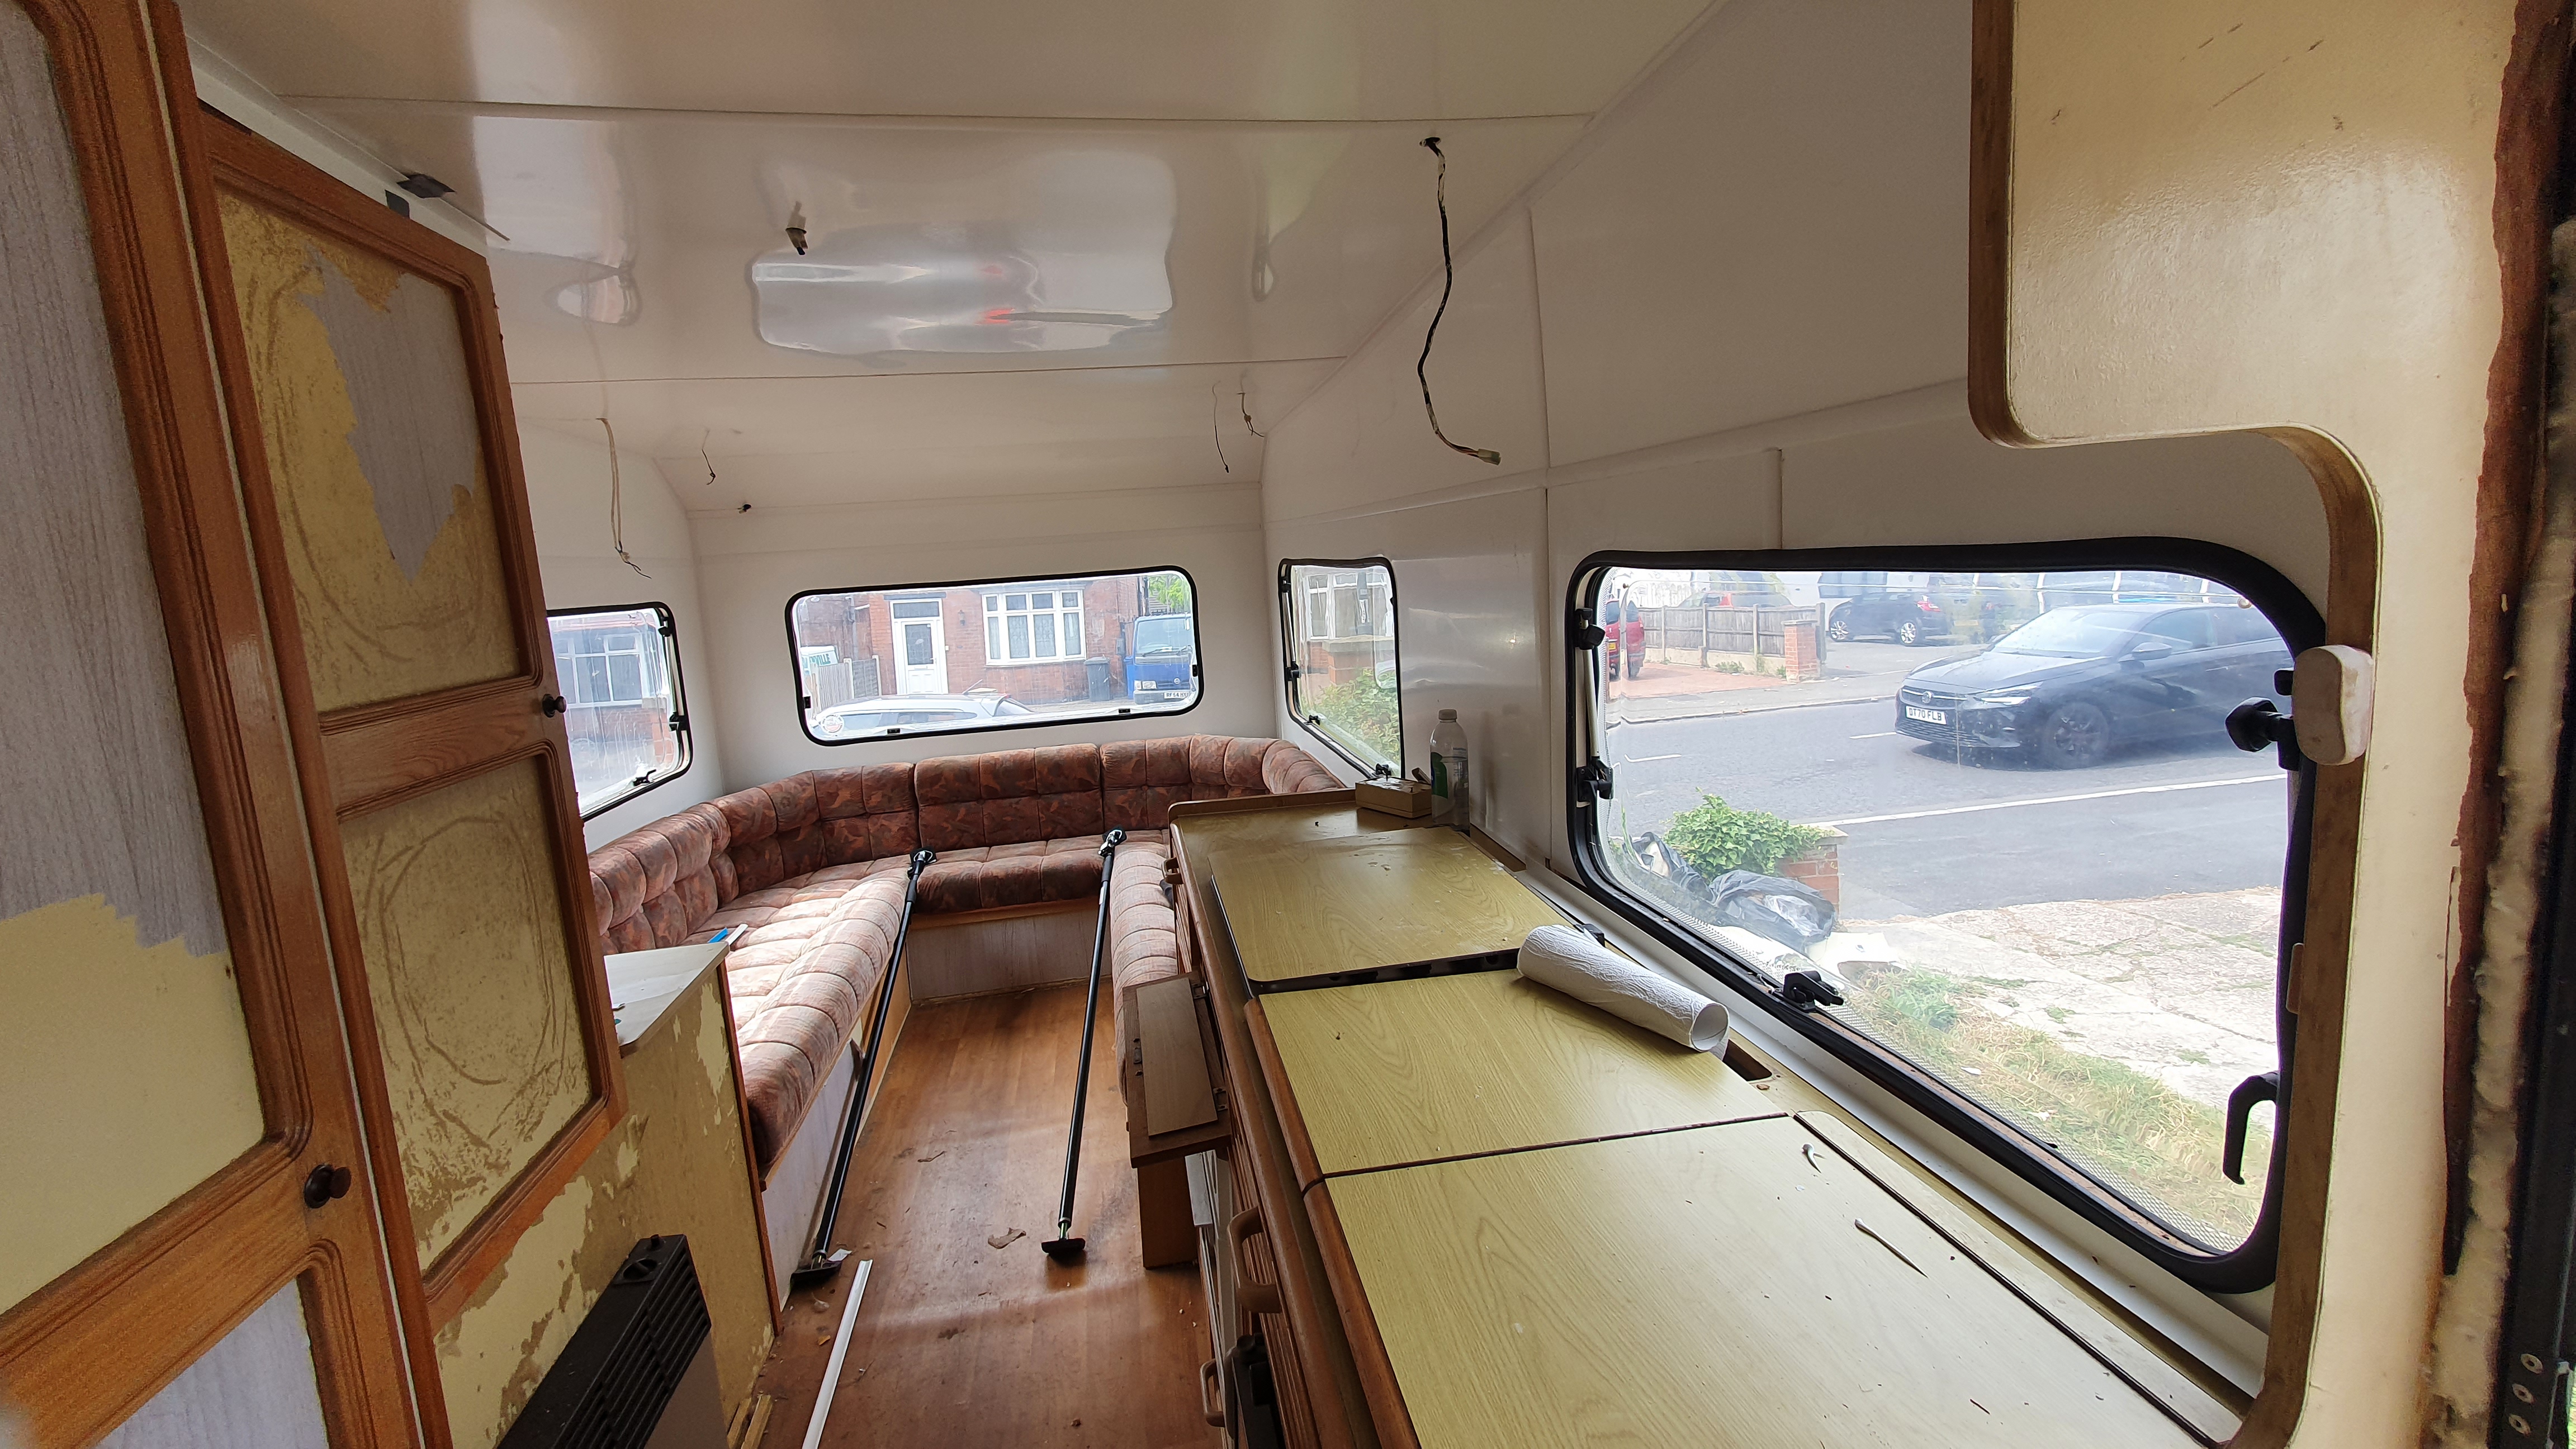
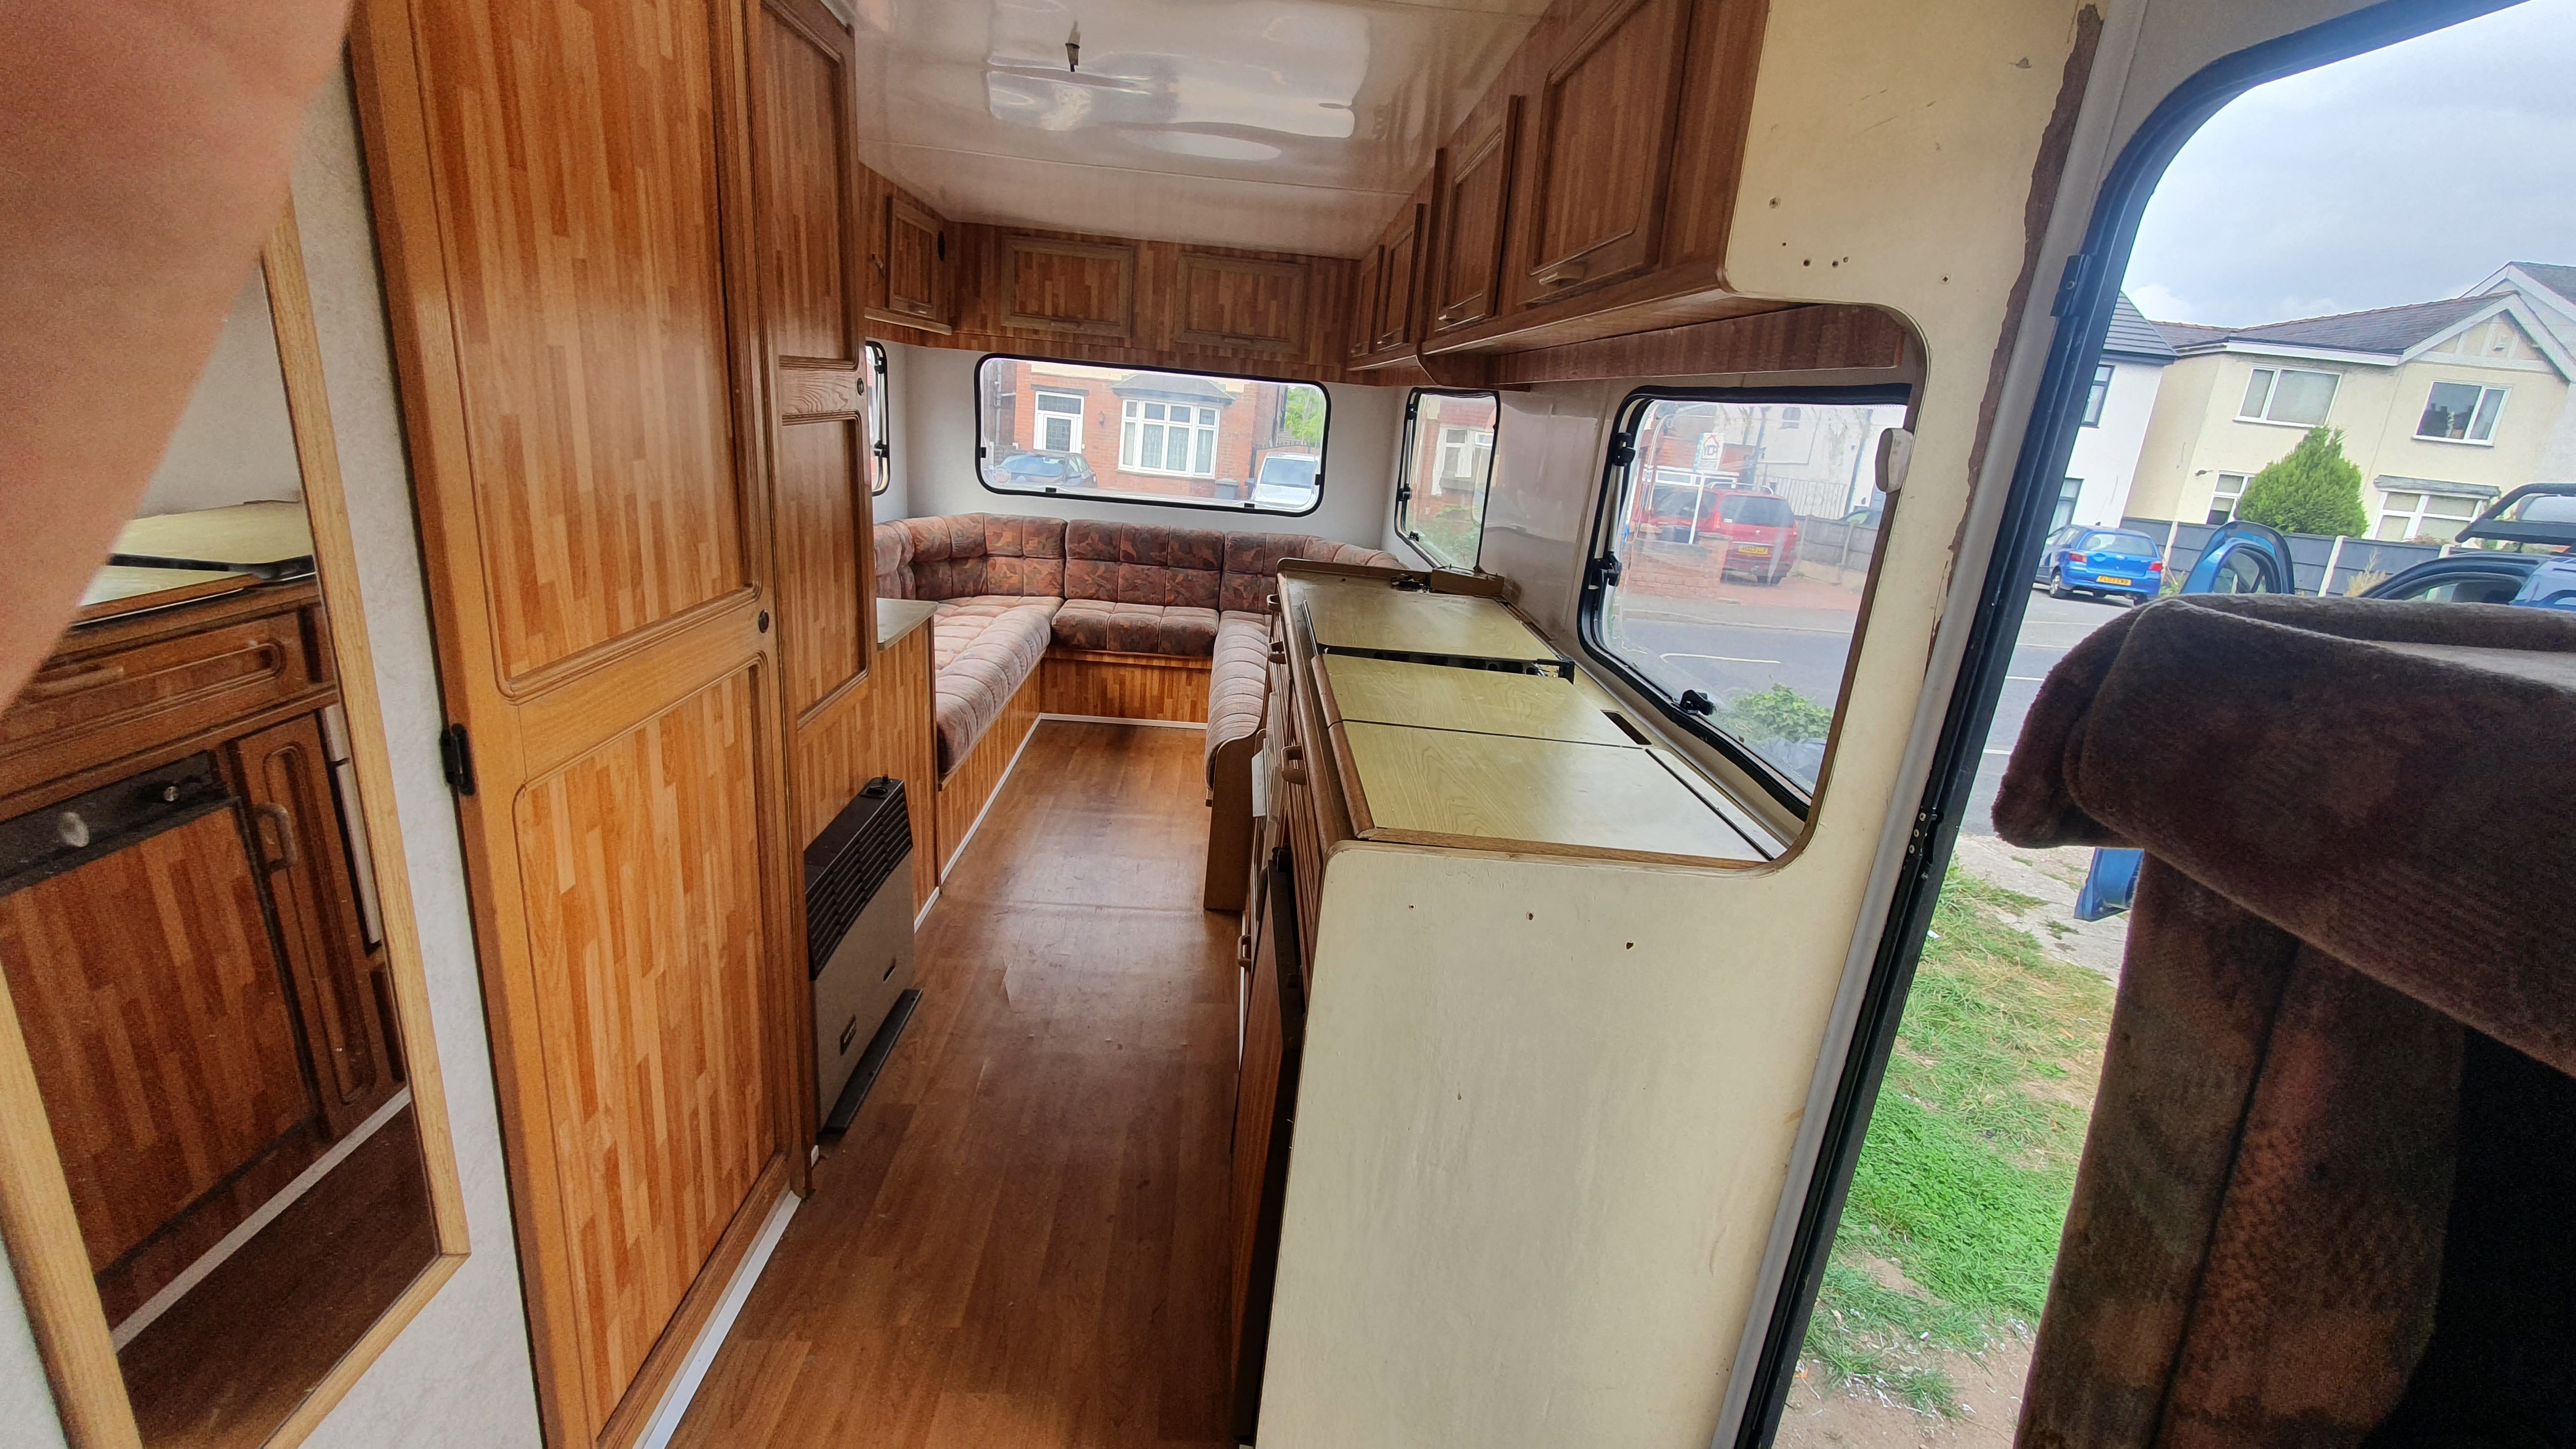
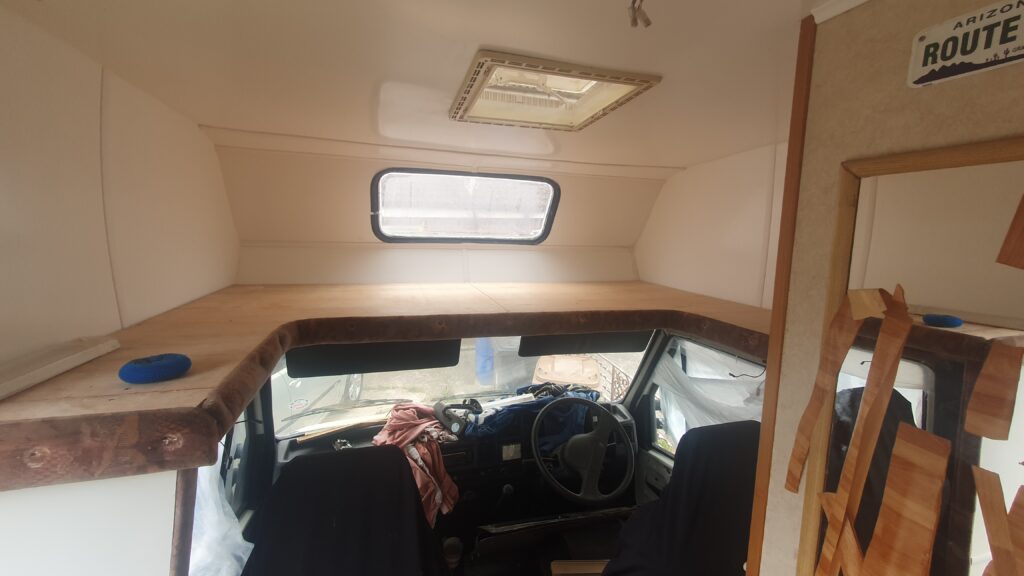
This caravan had become rotten from leaks and damp, we had to replace some of the structural timbers holding the roof. Then we replaced all the wood panelling with plastic sheets, we also replaced the front bed with a new piece of plywood.
First, we had to remove all the cupboards to be able to access the walls, we replaced and treated the rotten support timbers.
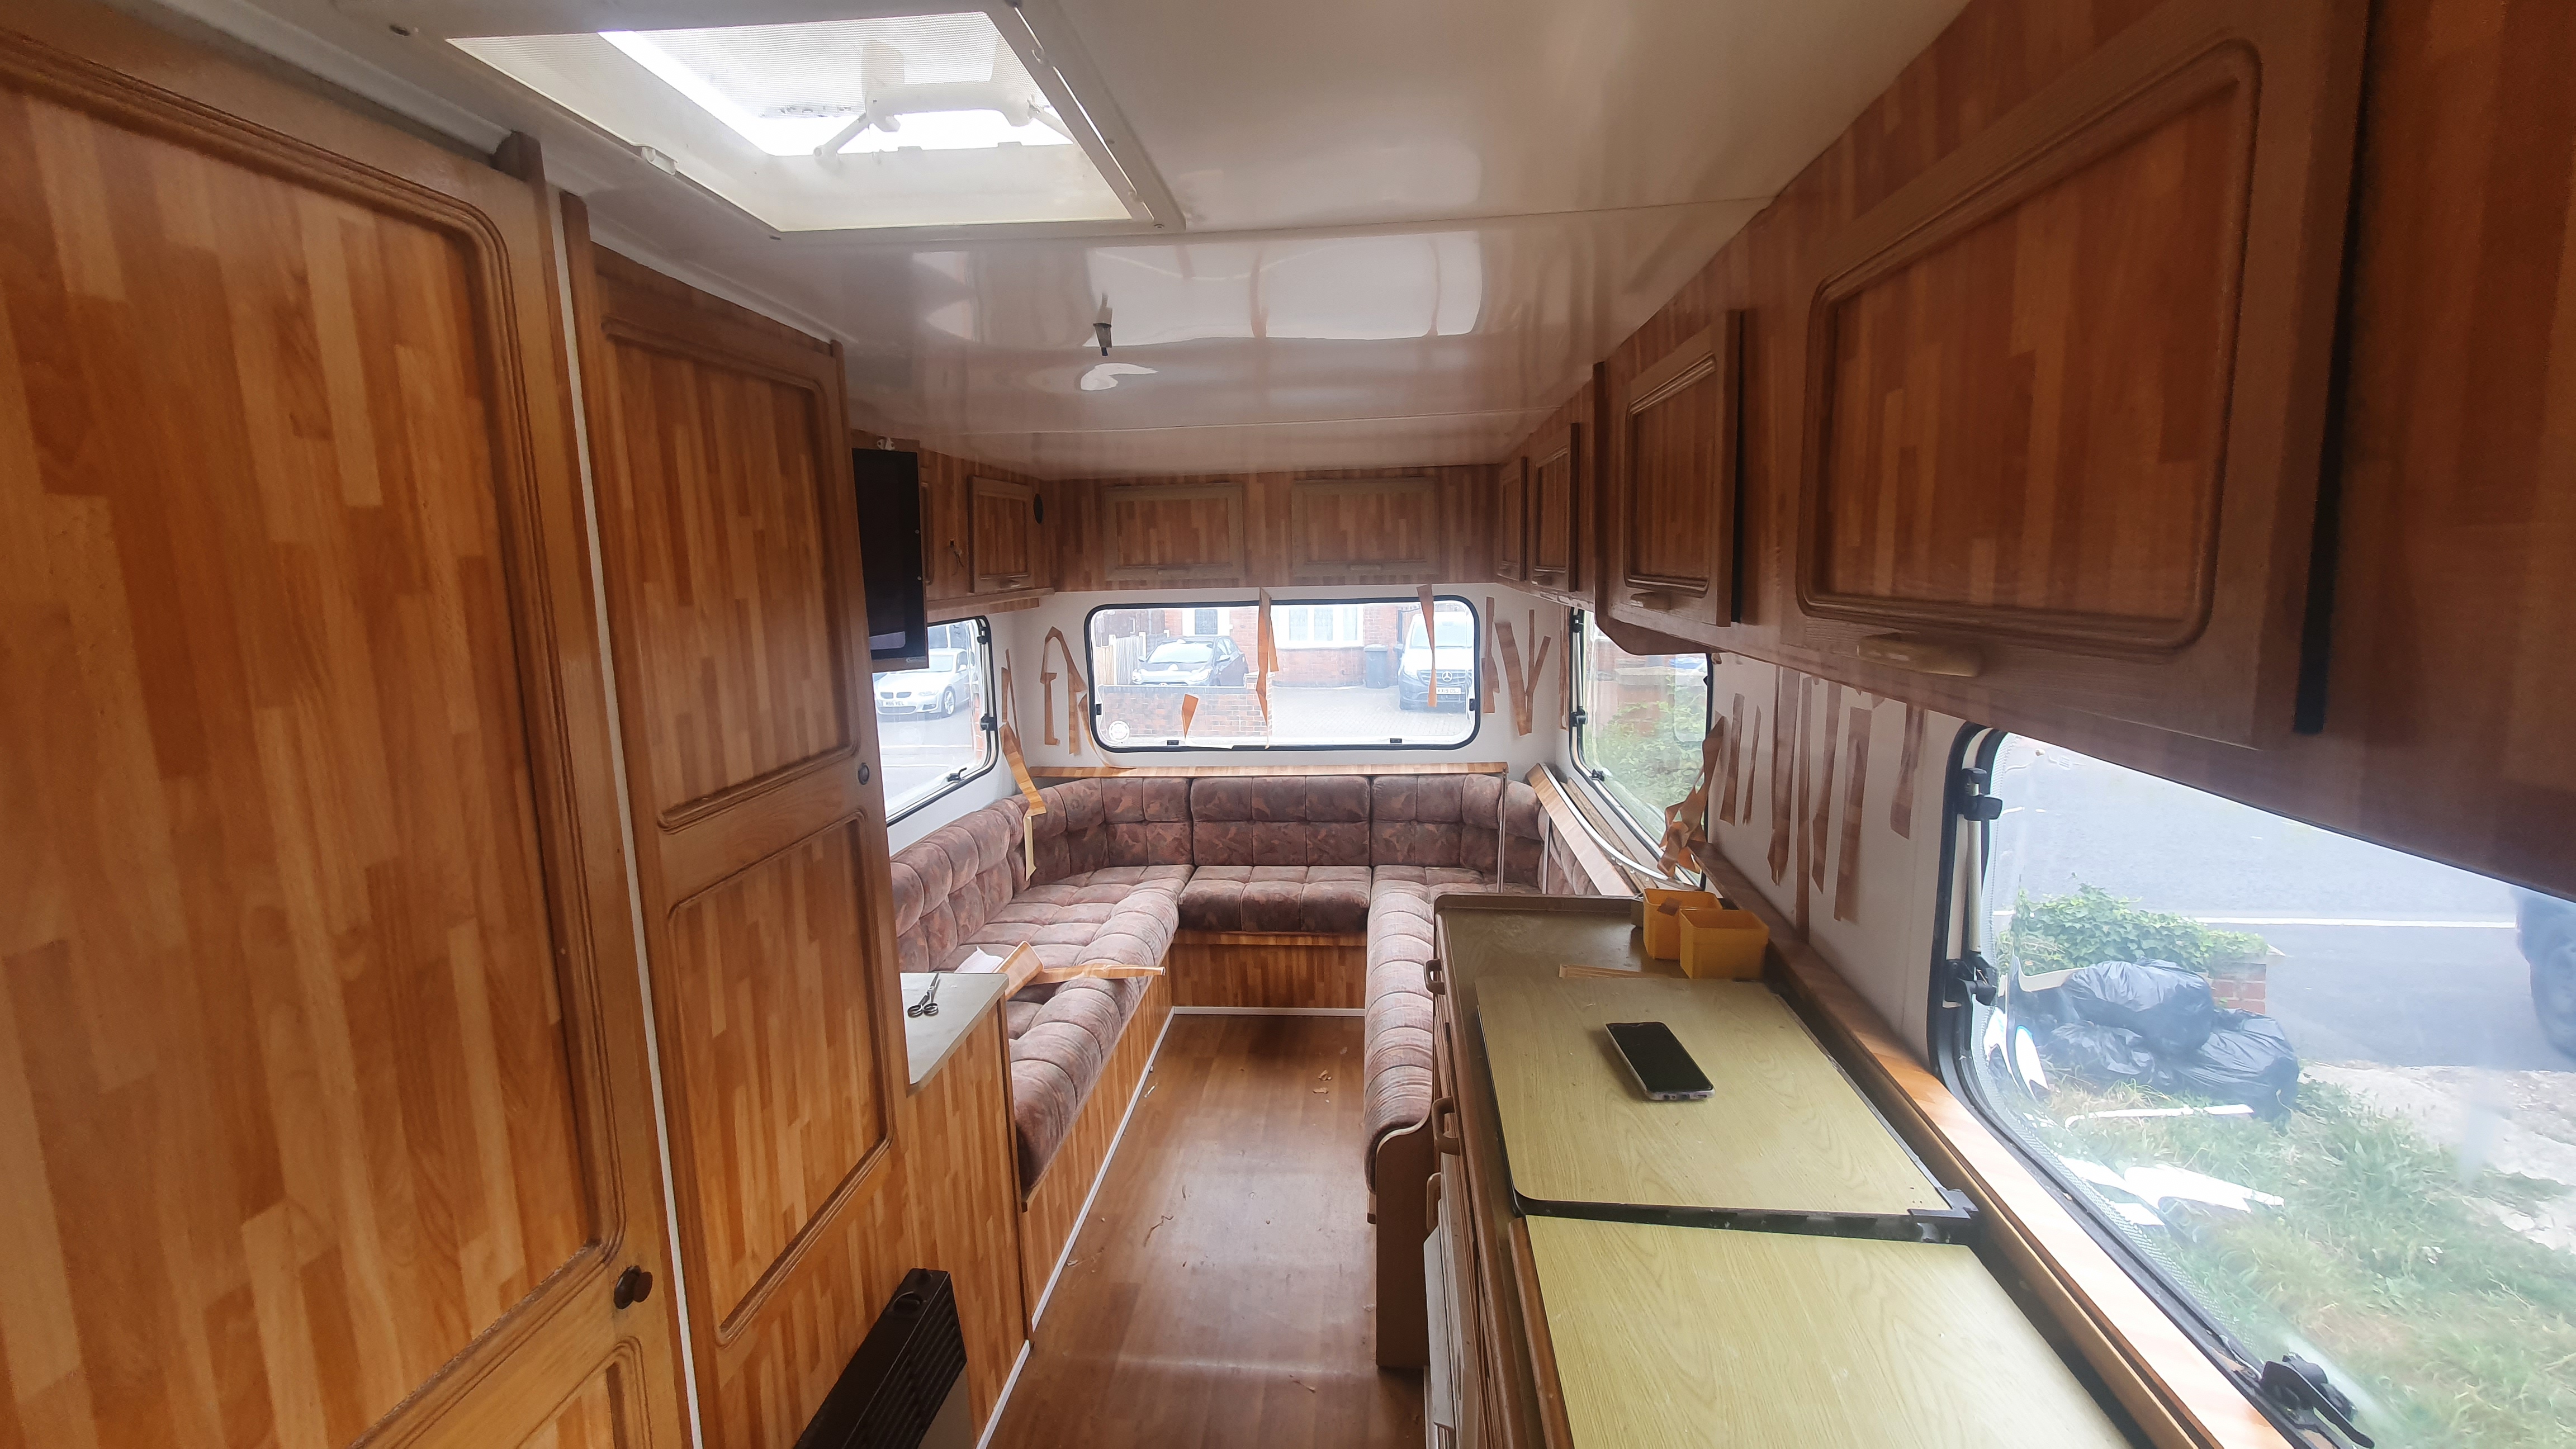
We then added the plastic sheets that we cut to fit the shape of the van, these were held in place with strong glue and pushed against each other.
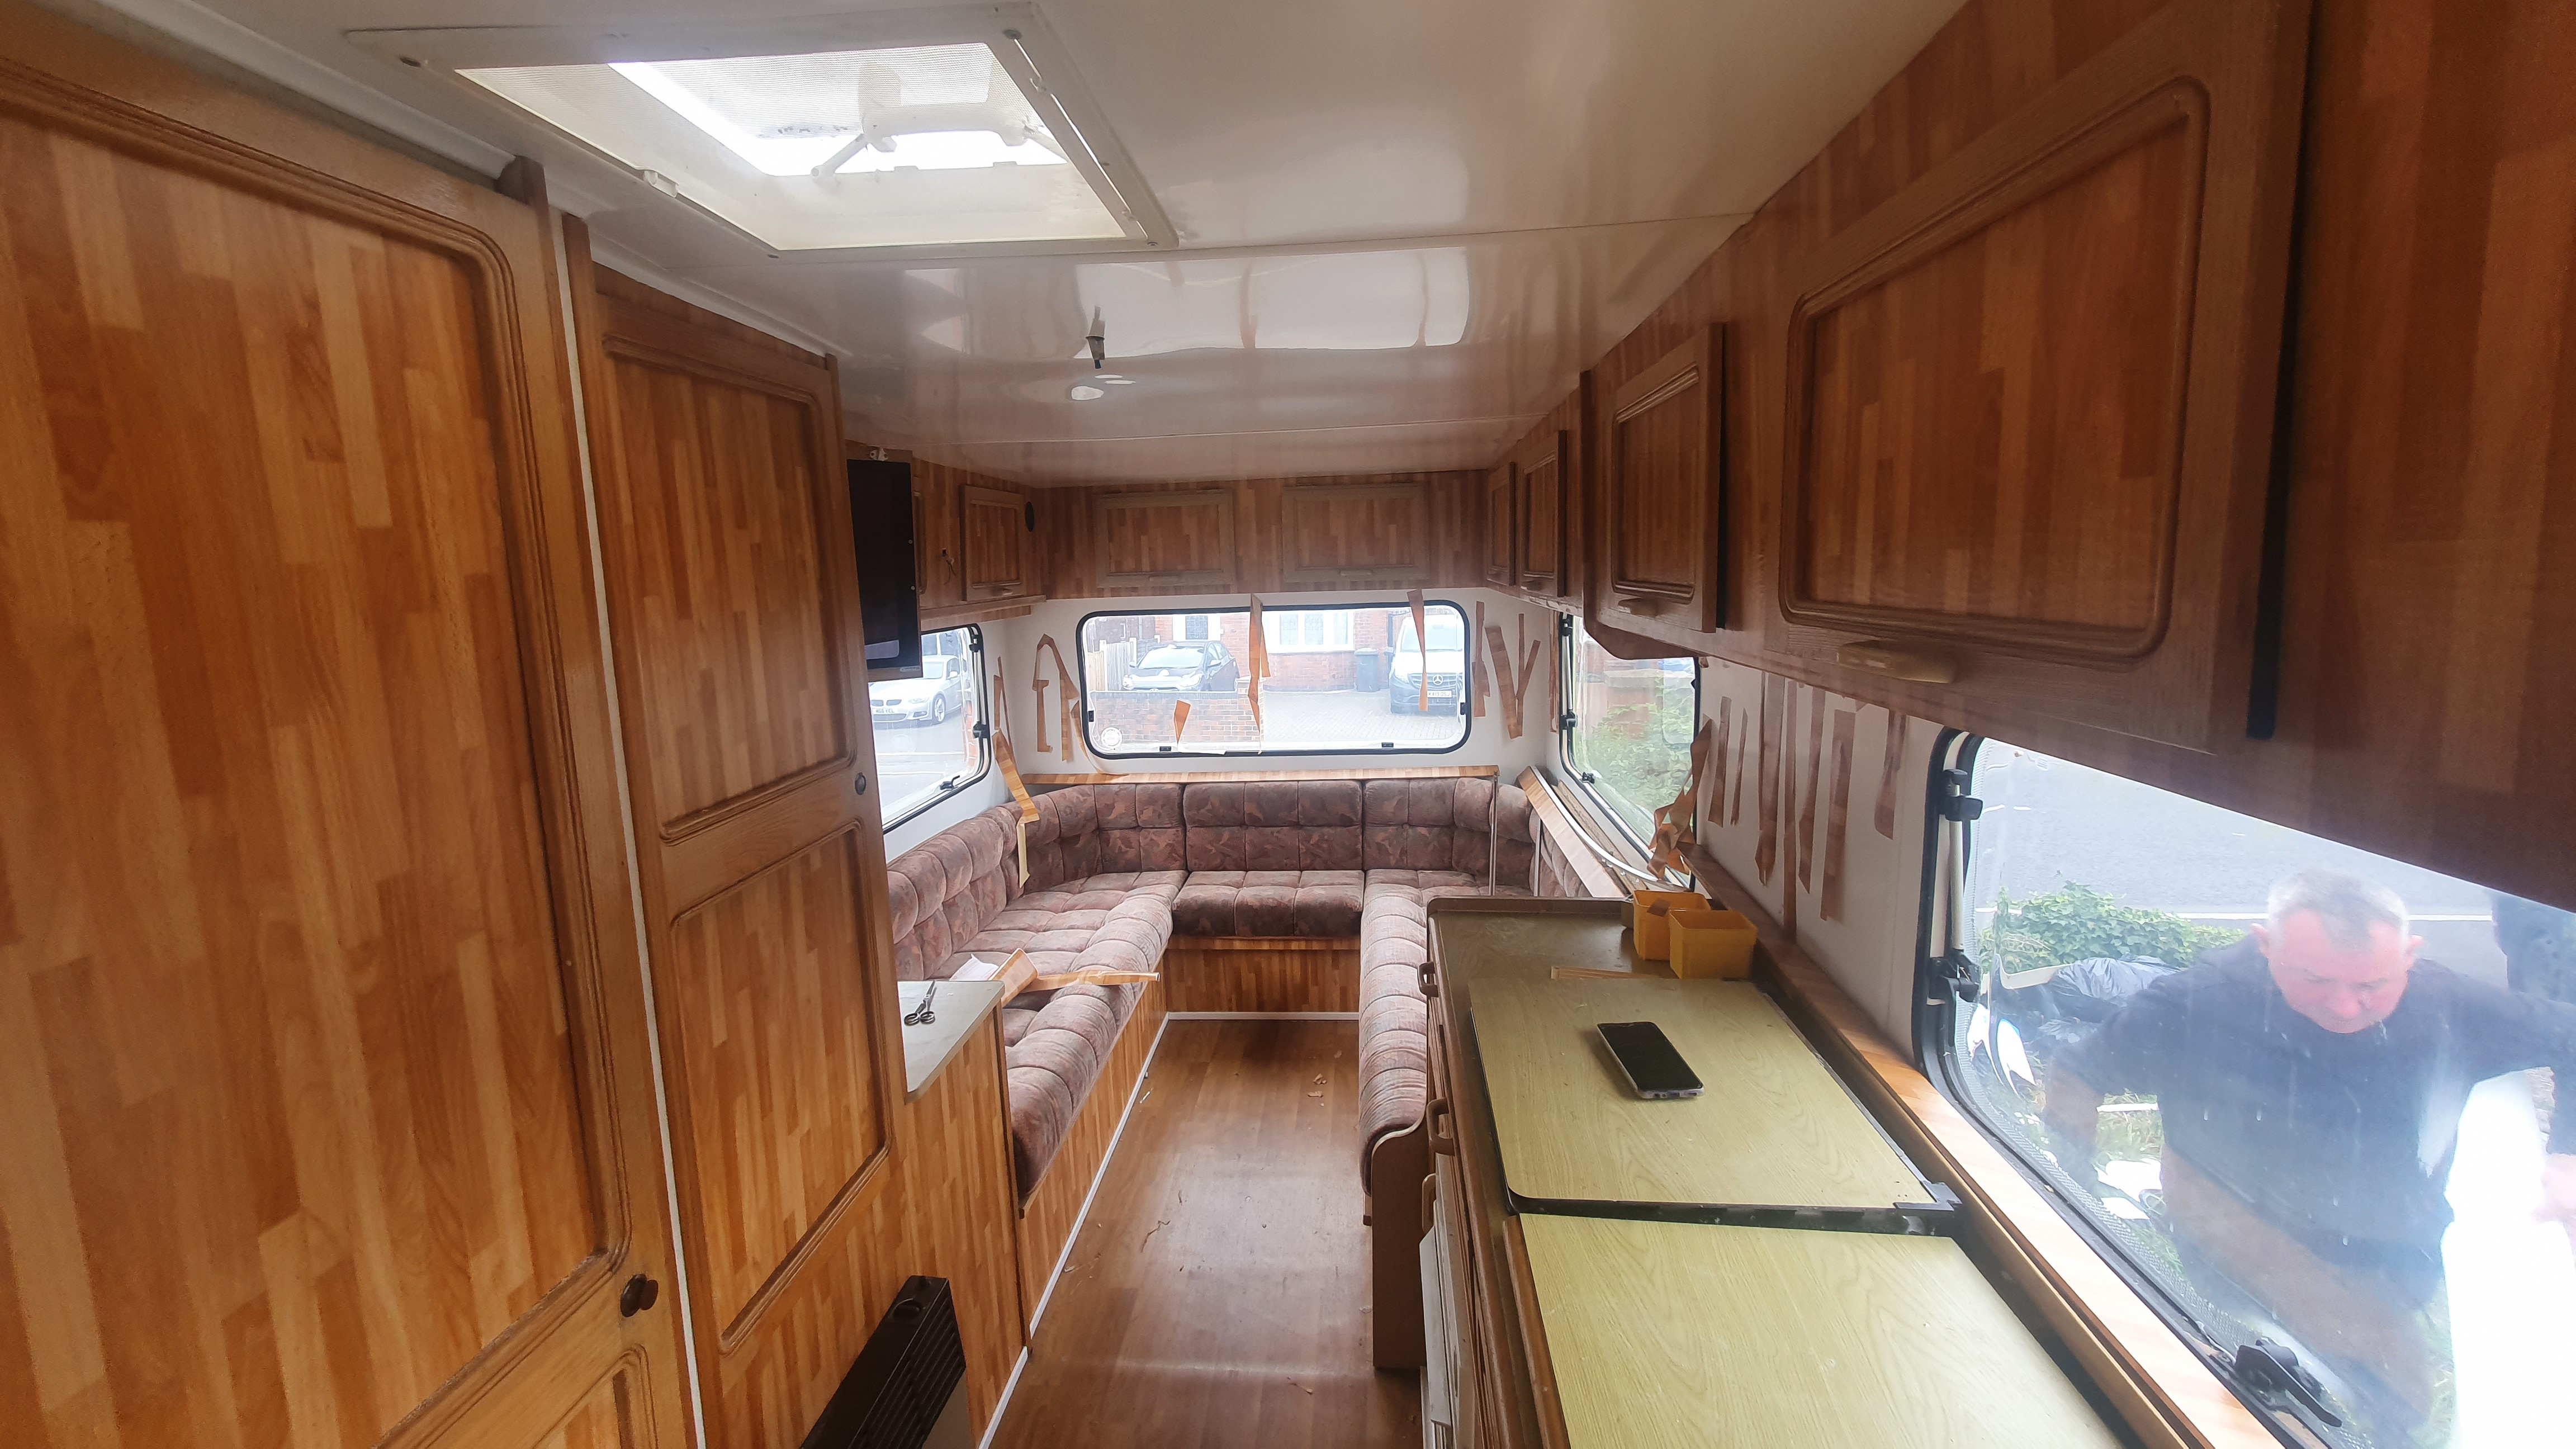
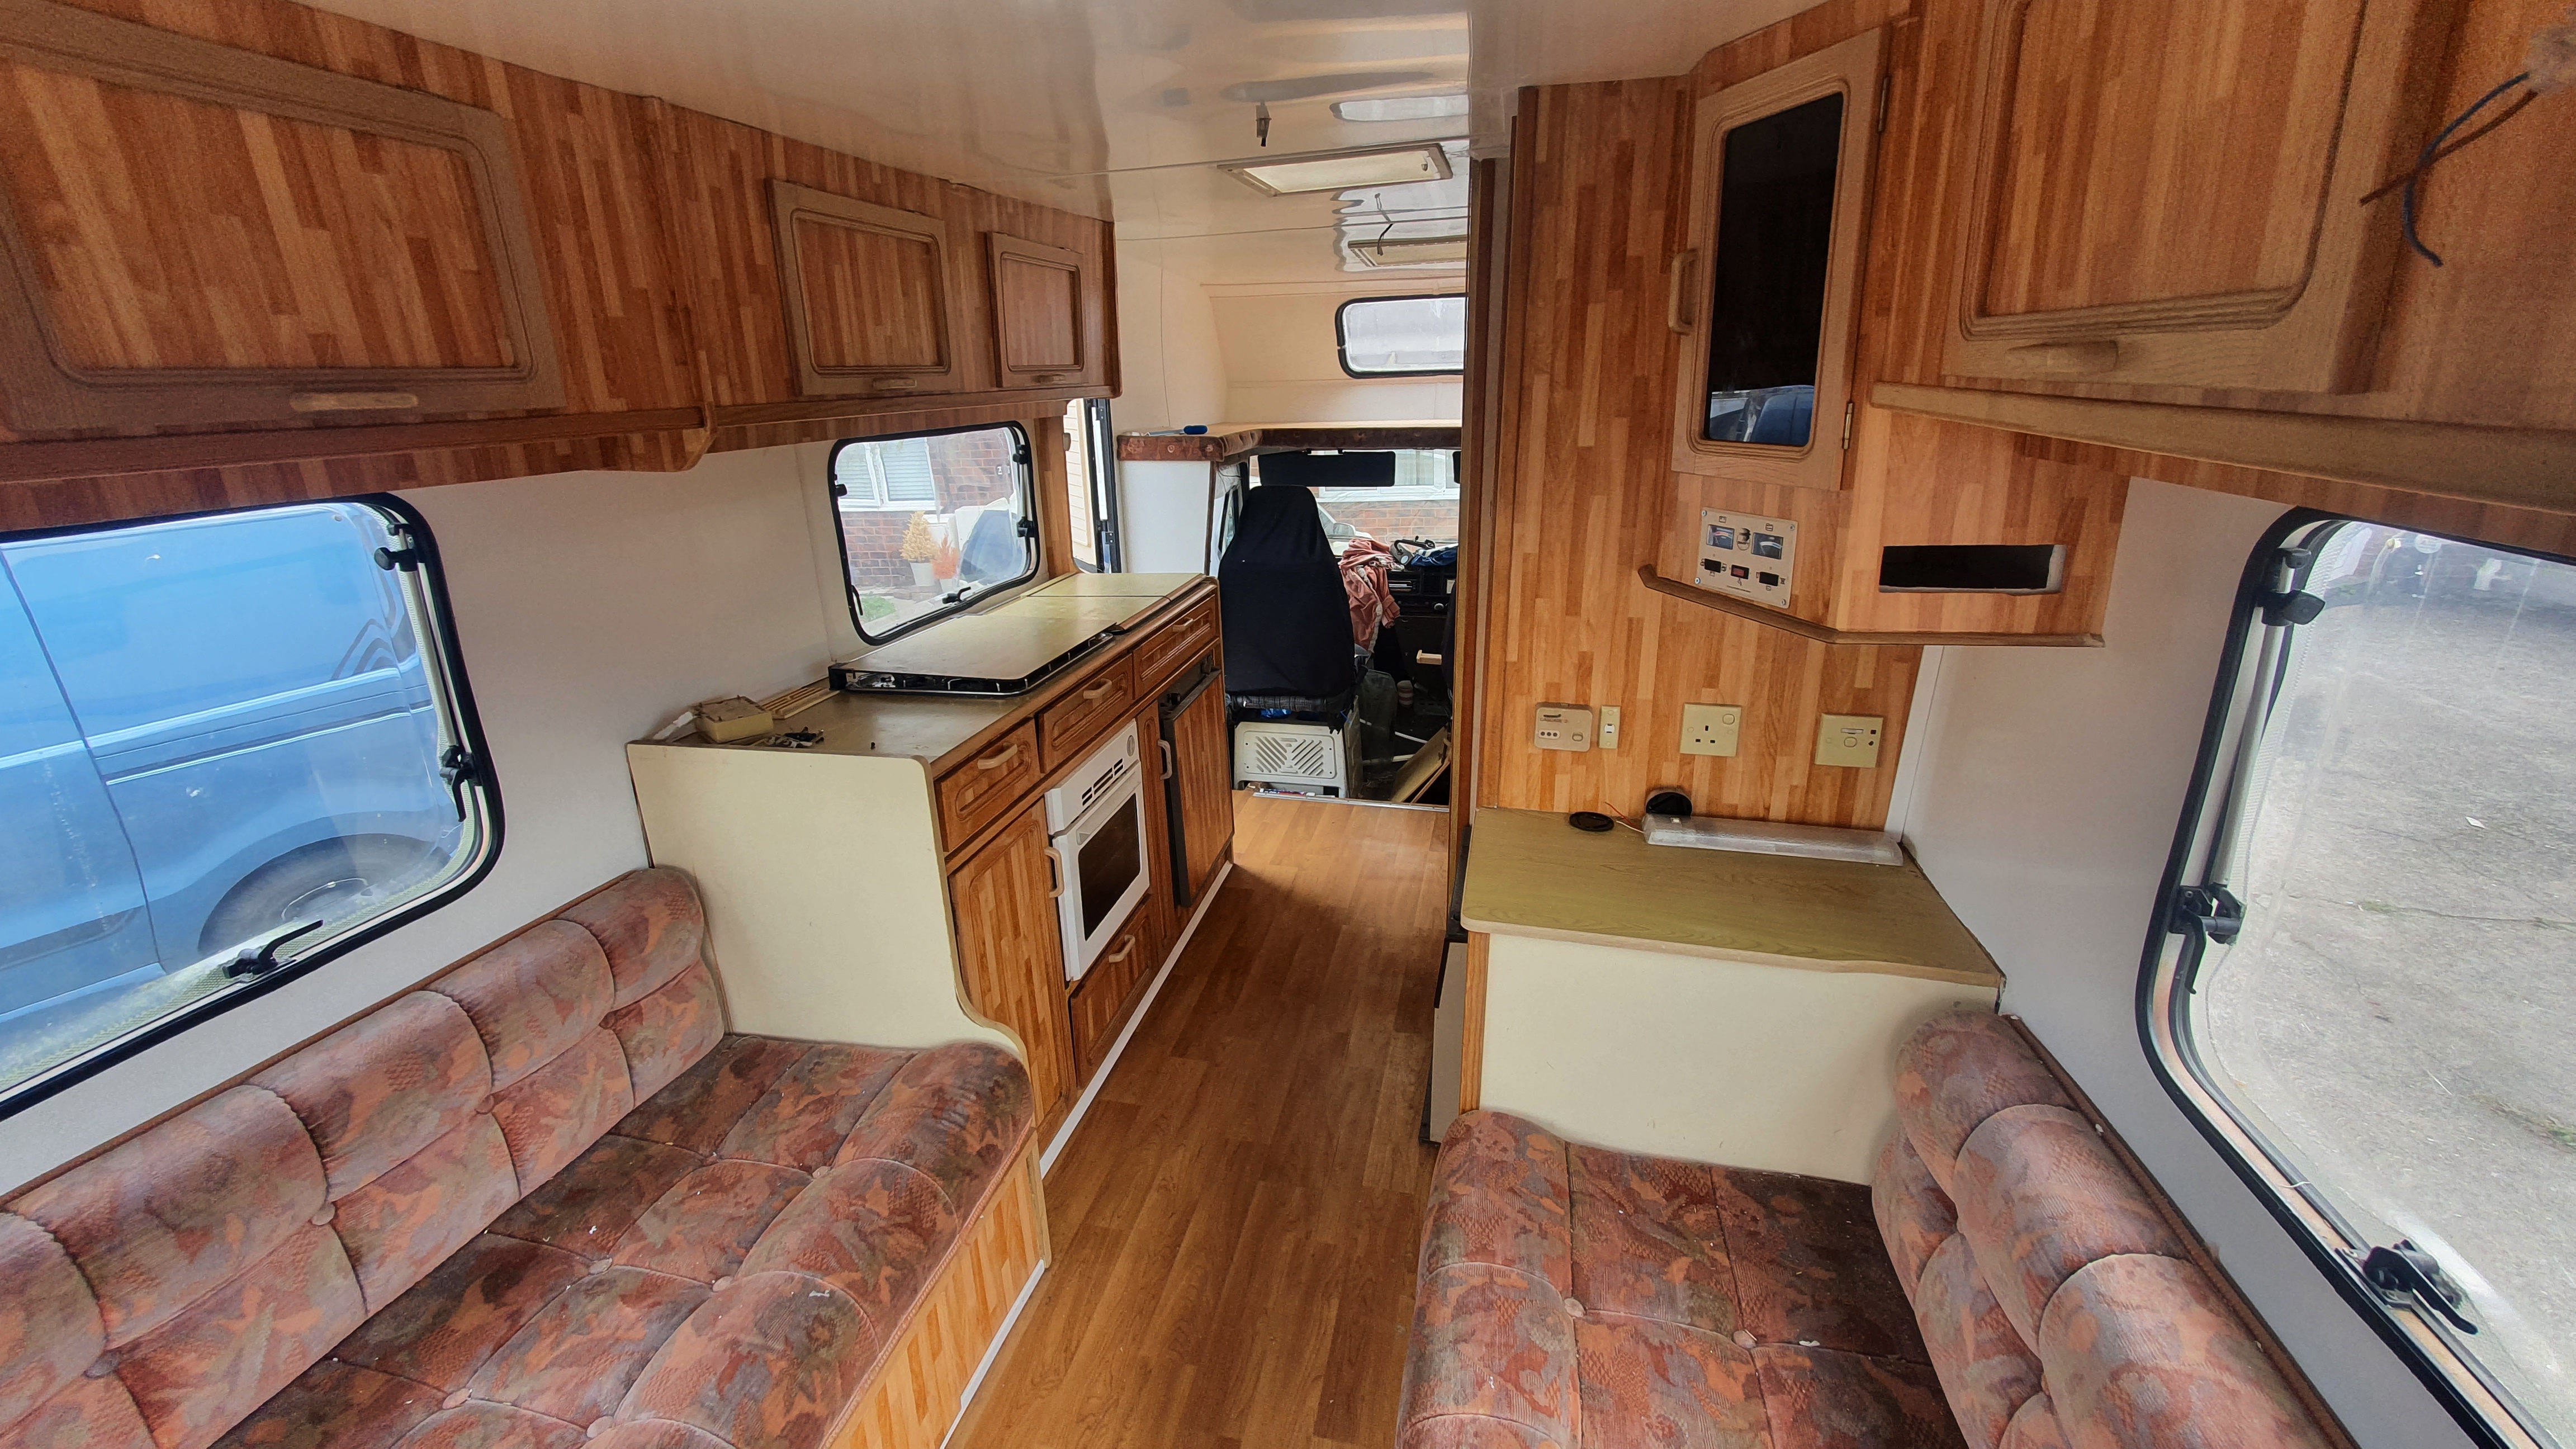
We started adding the cupboards back, we finished with a stick-on wooden finish.
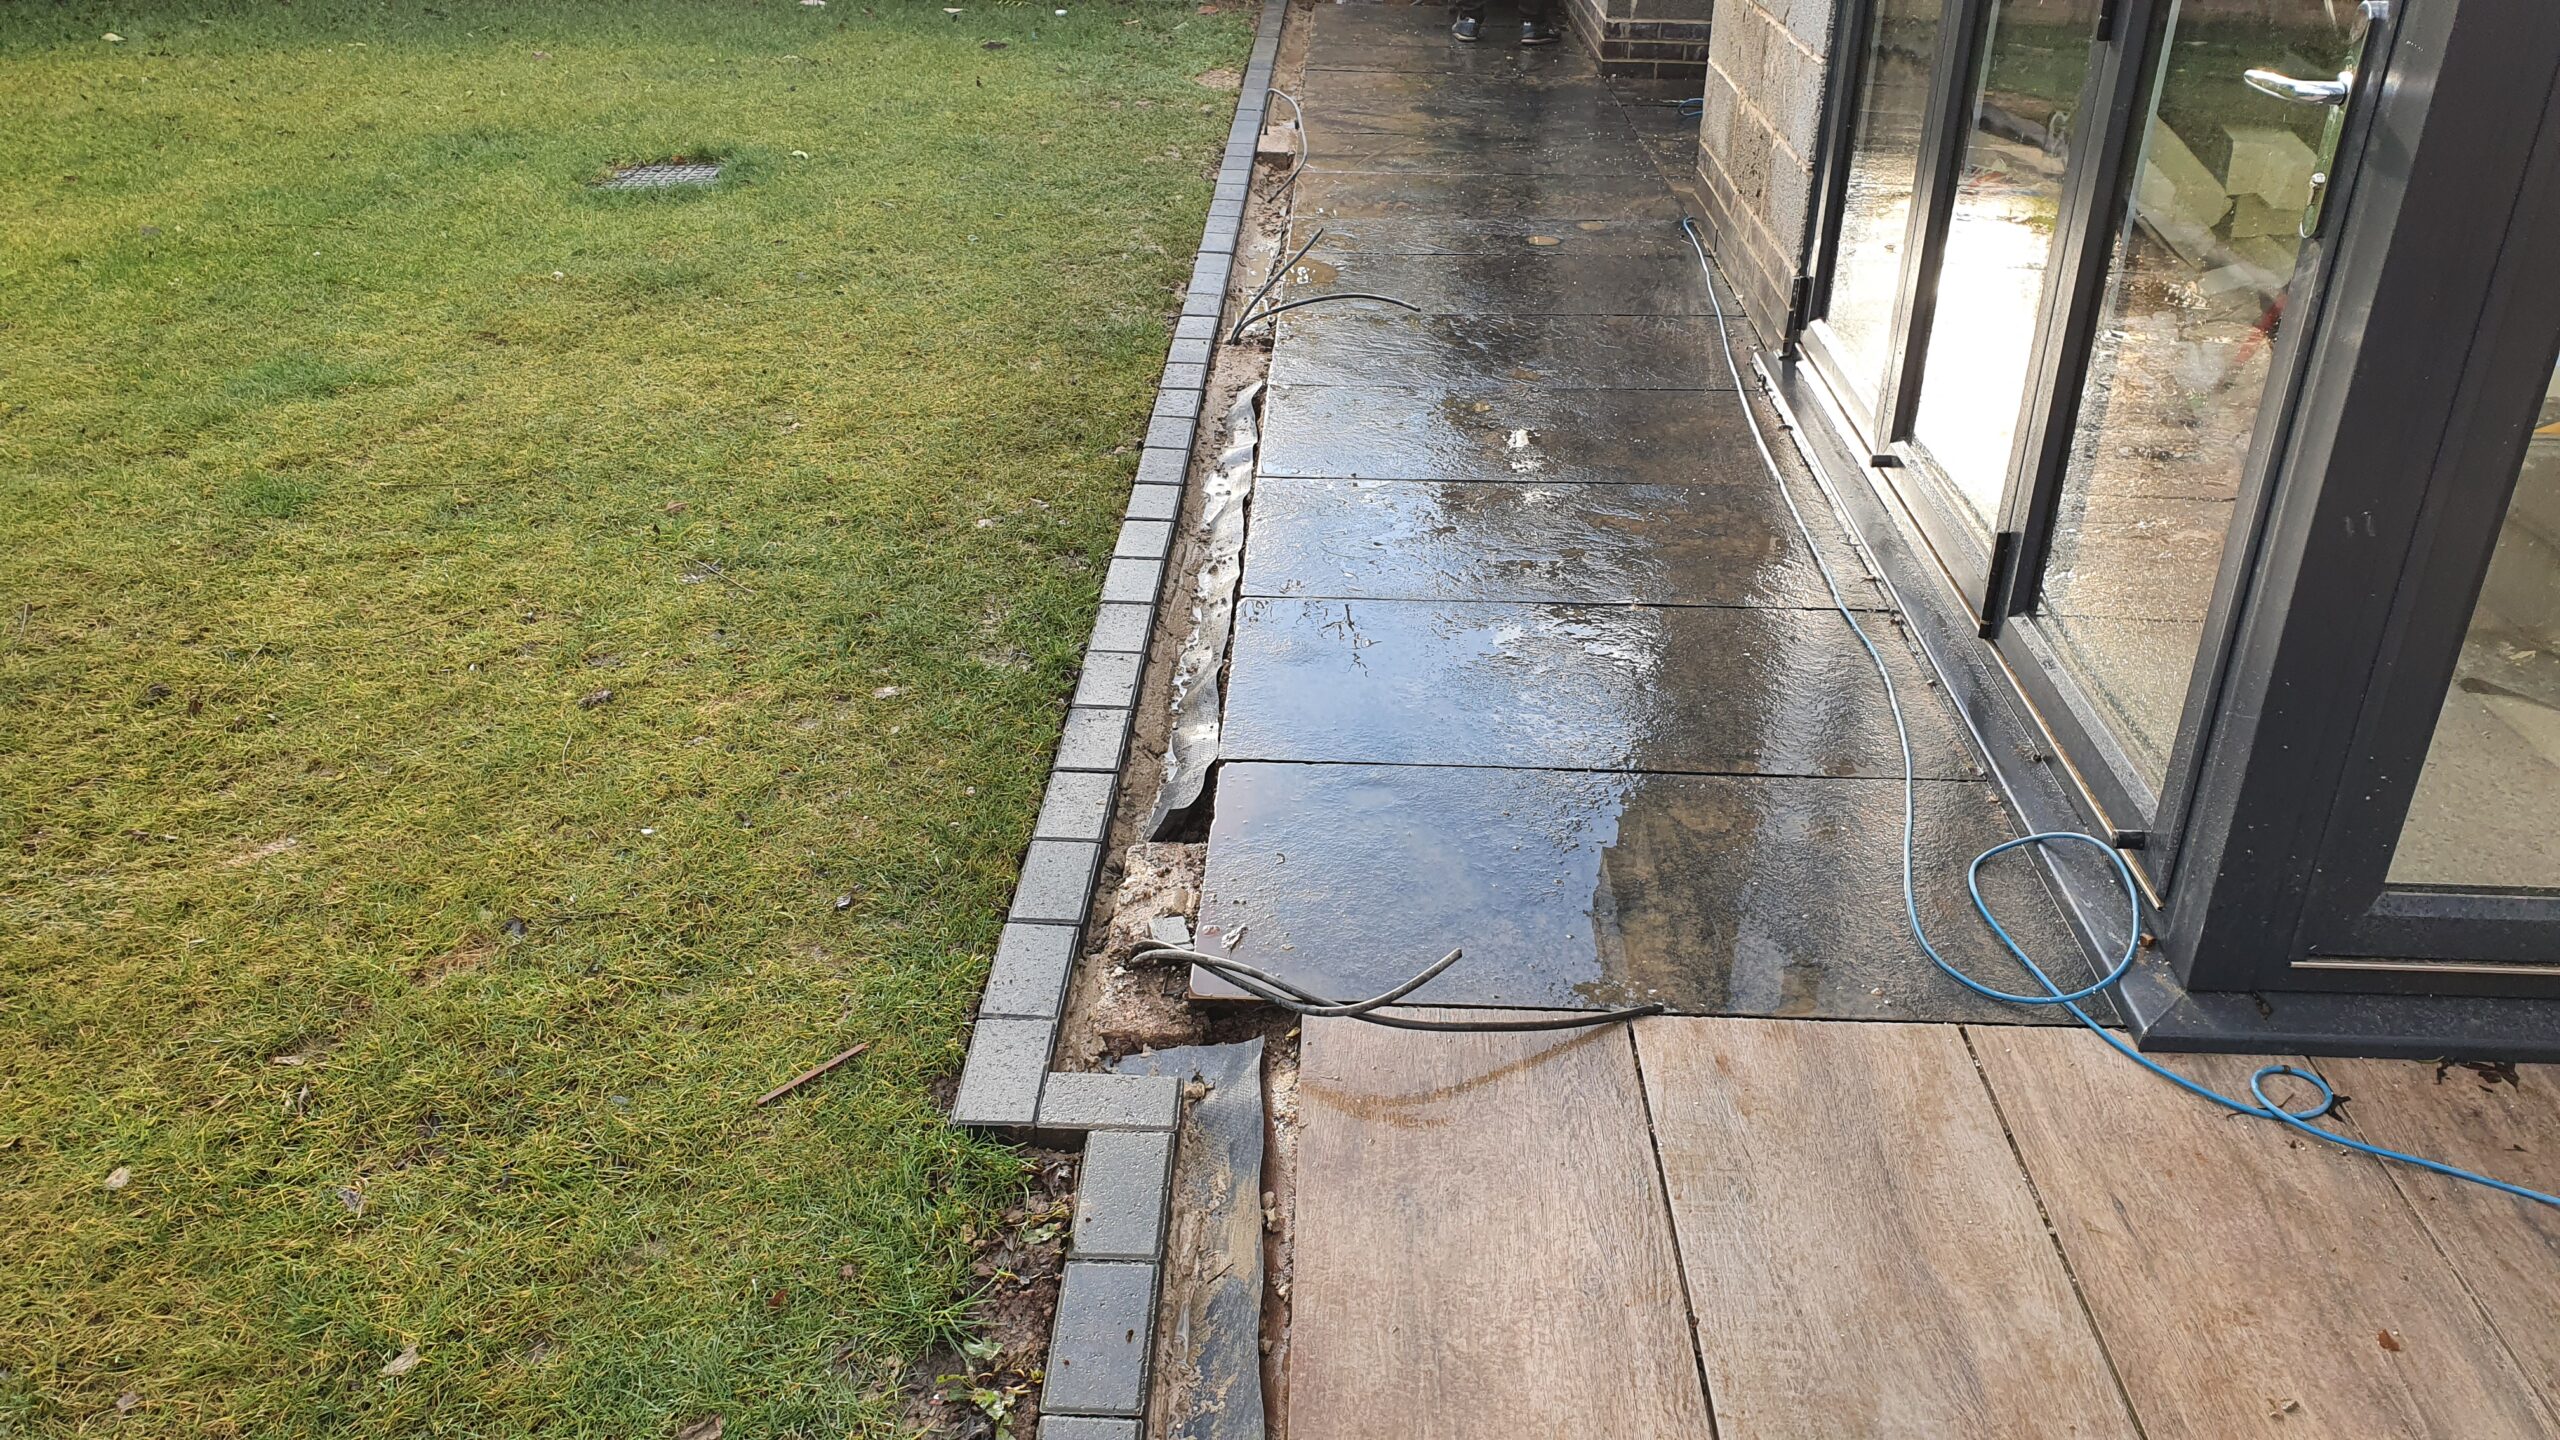
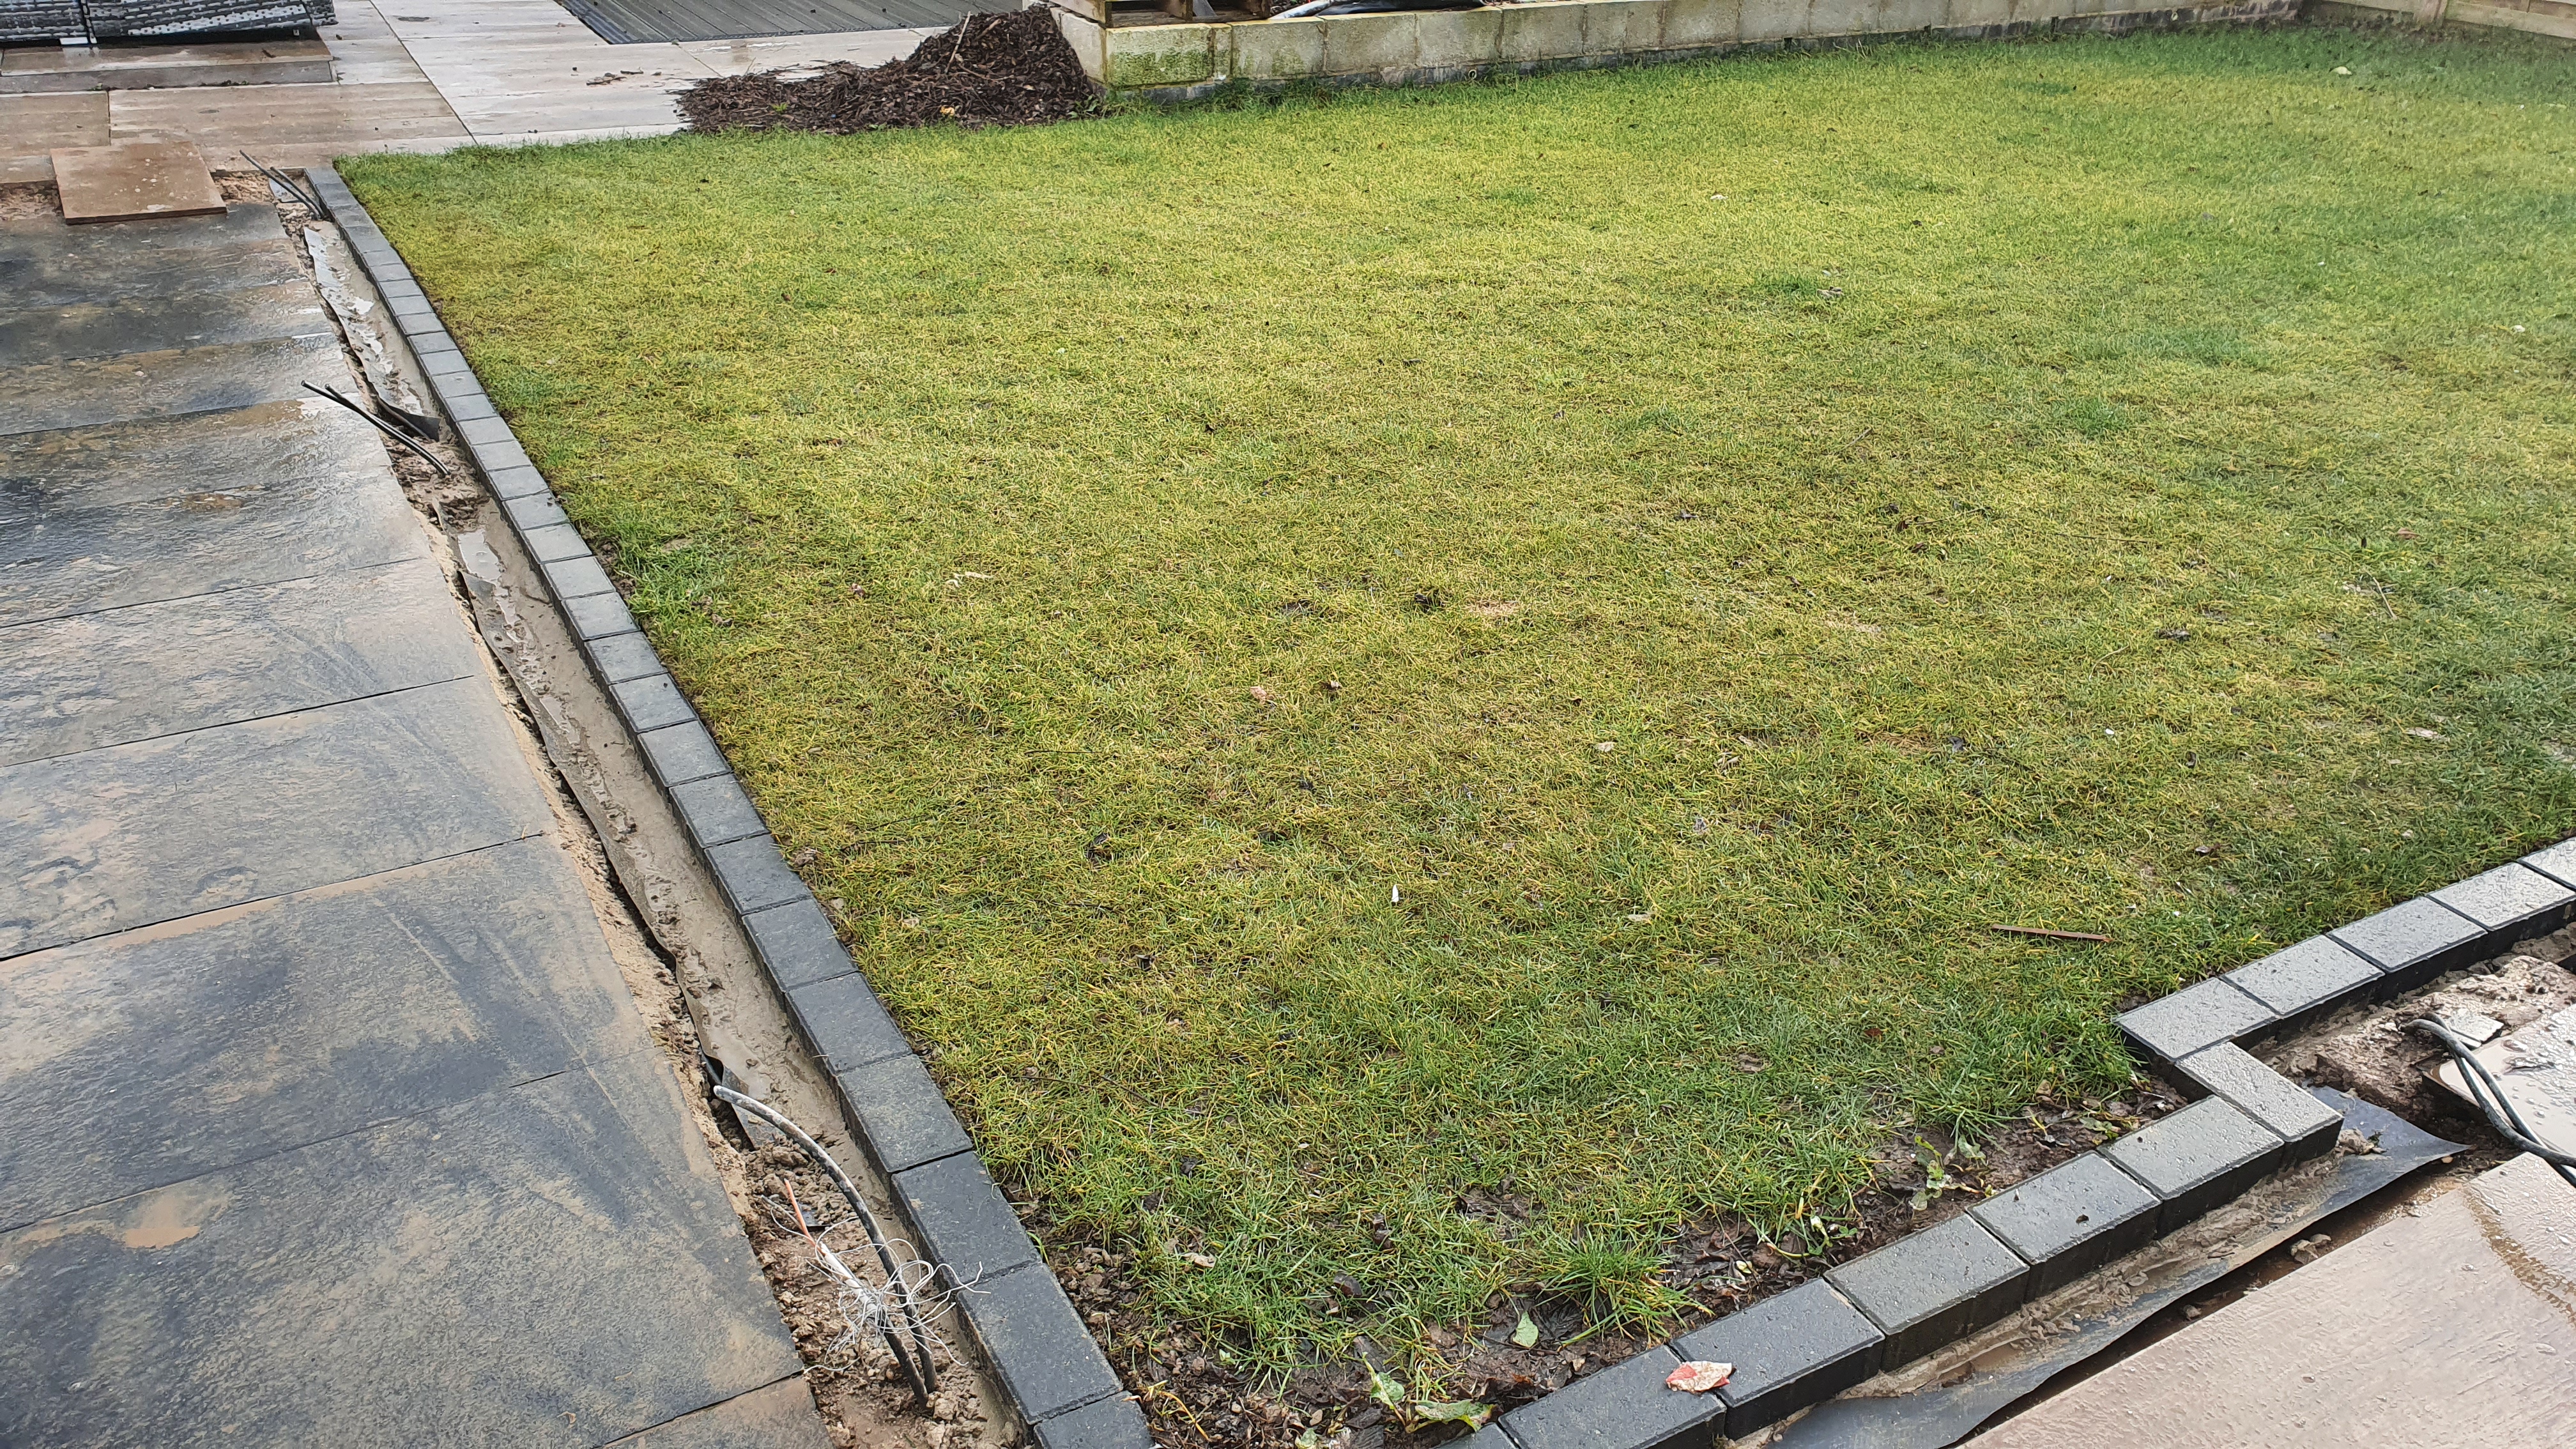
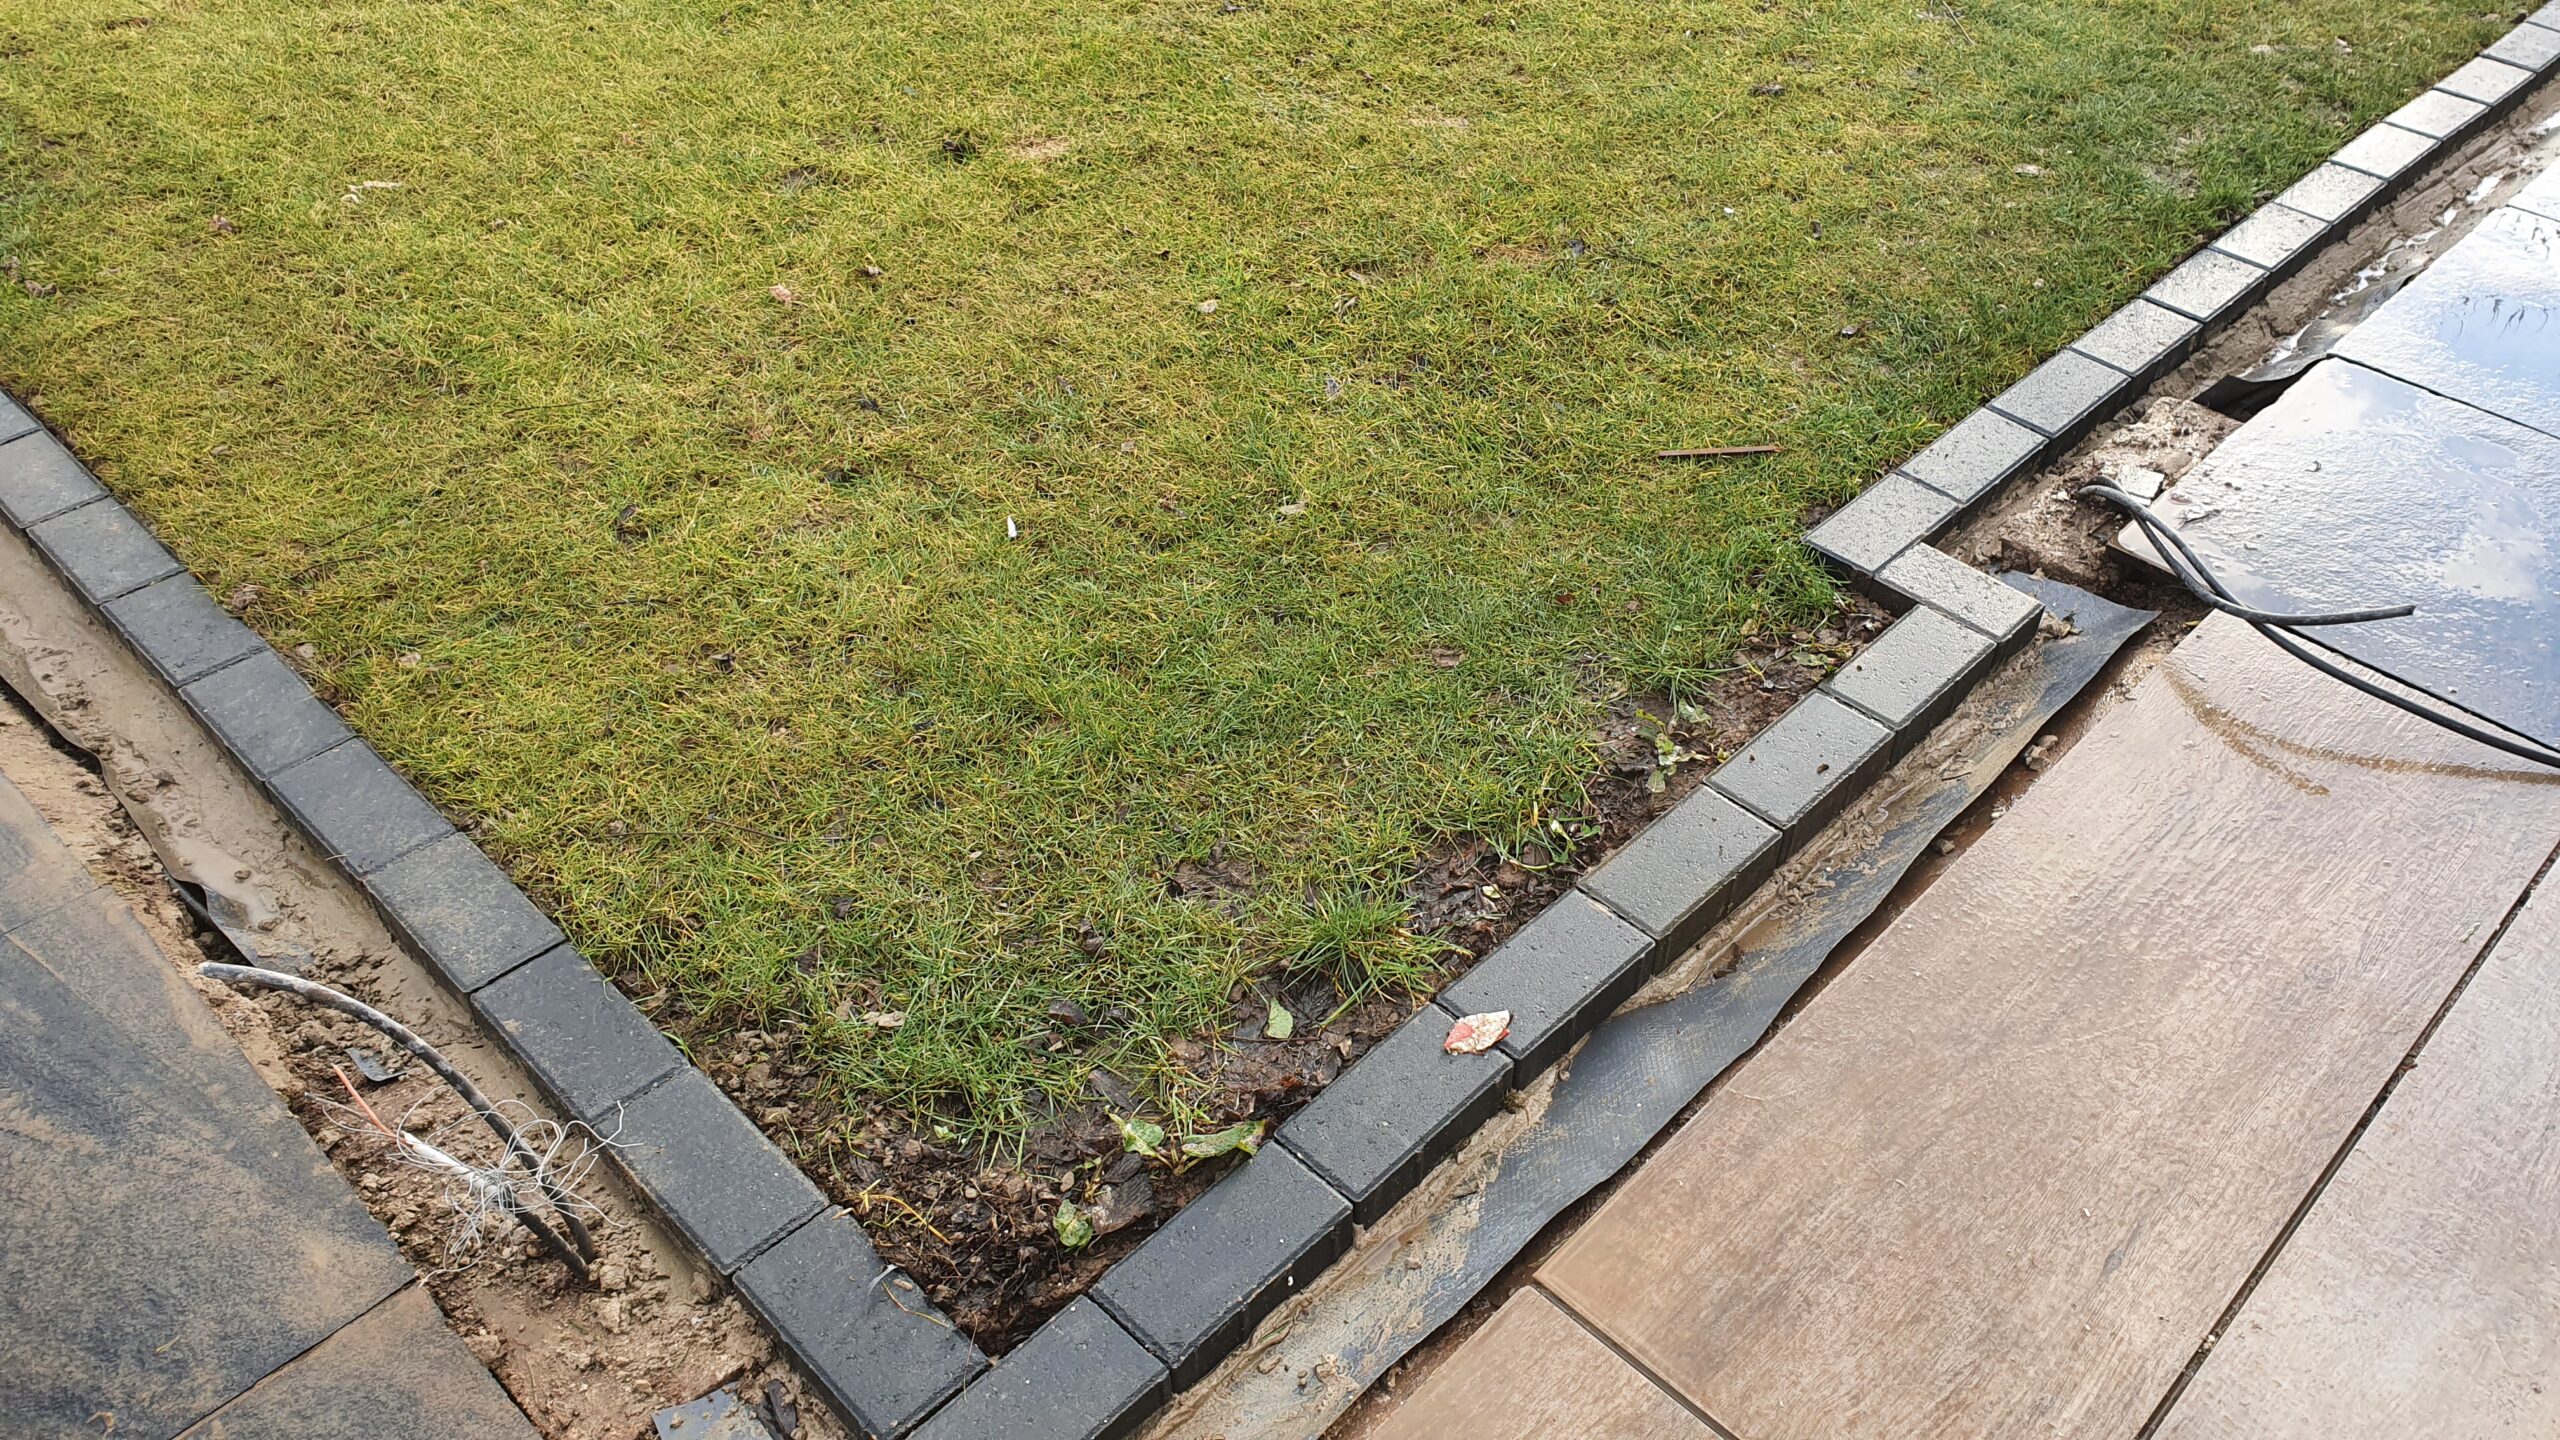
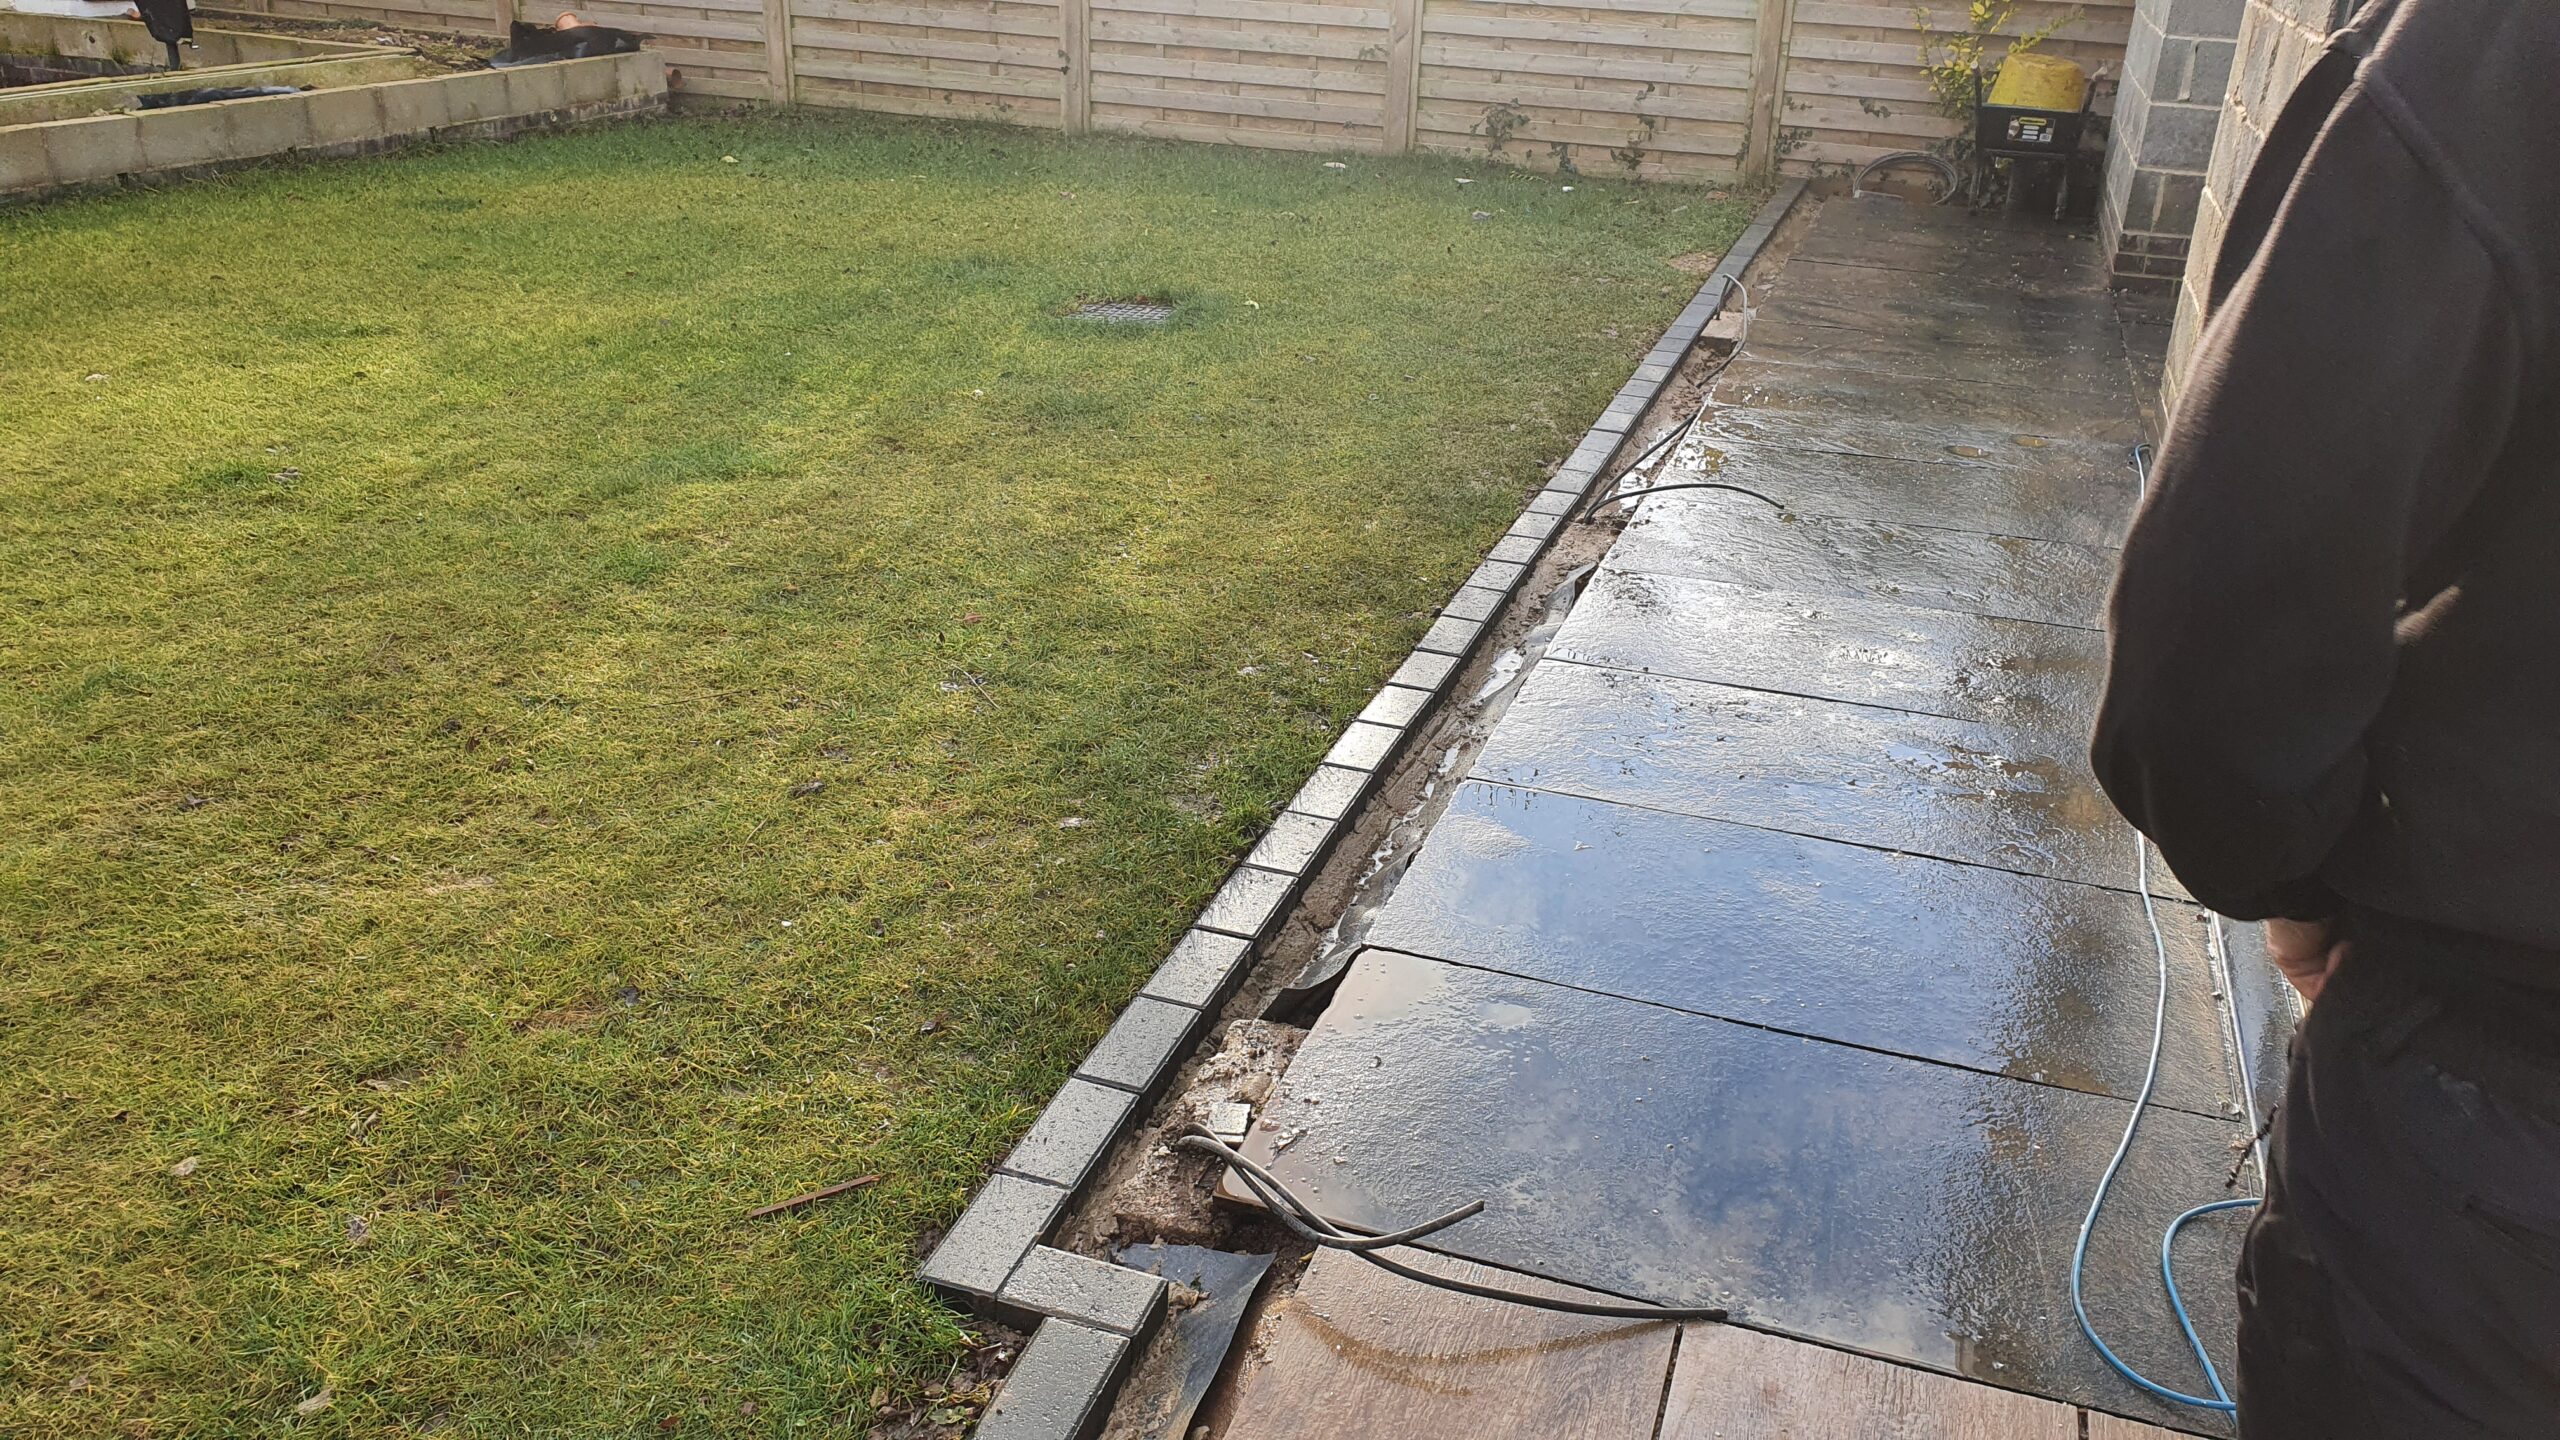
In this garden we layed the pation blocks along side the patio and grass, we also had to dig the uneaven ground to make the garden flat.
We starded by digging out a straight chanel for the patio bricks arround the grass, we removed the weeds and rough looking plandation that had grown onto the patio. We also had to clear the ground around the far end where grass raised up above the patio and spread stones to make the ground look tidy.
We then laid the bricks starting from the corners so that we had clean uncut edges at the front.
Finaly we had to cut and lay the final slap that haddnt been placed yet.
We also jet washed the entire patio are to remove cemetent and dirt from the building work and green moss that ahad built up.

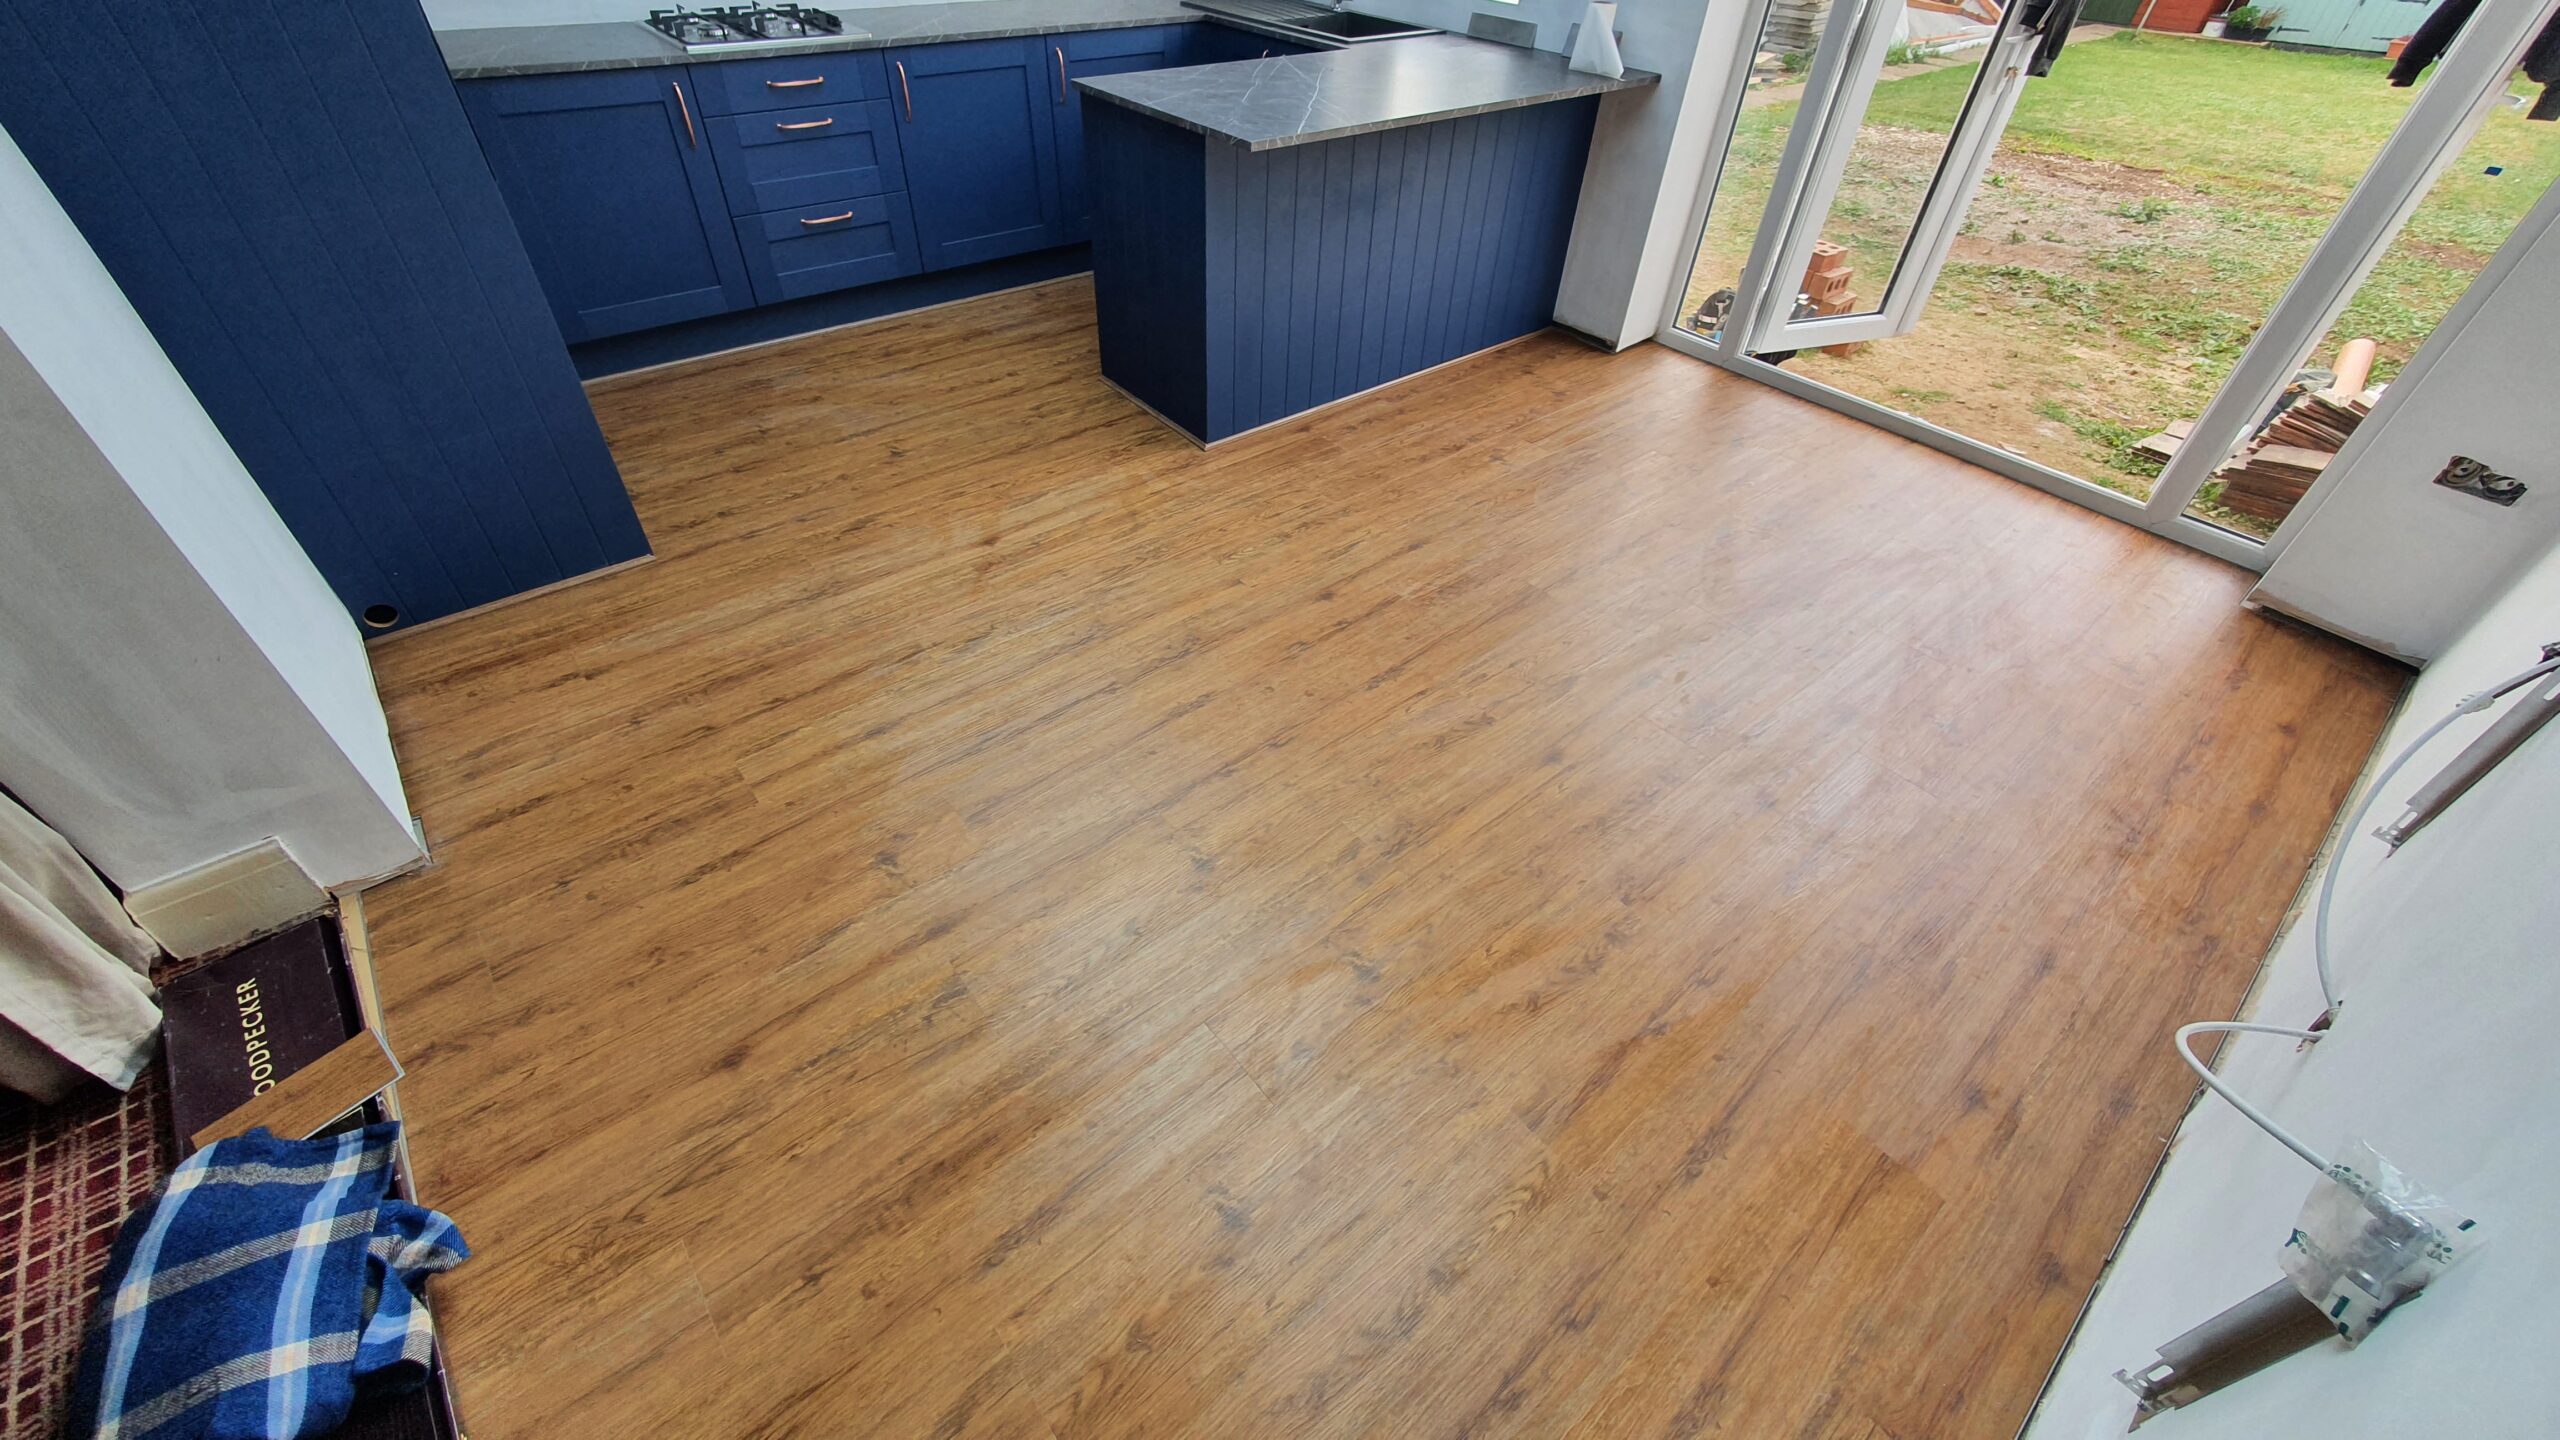
Here we laid the floor for a customer after they had their new kitchen fitted, pretty straightforward, click-in vinyl wood floor with trims around the unit and a carpet strip to the living room.

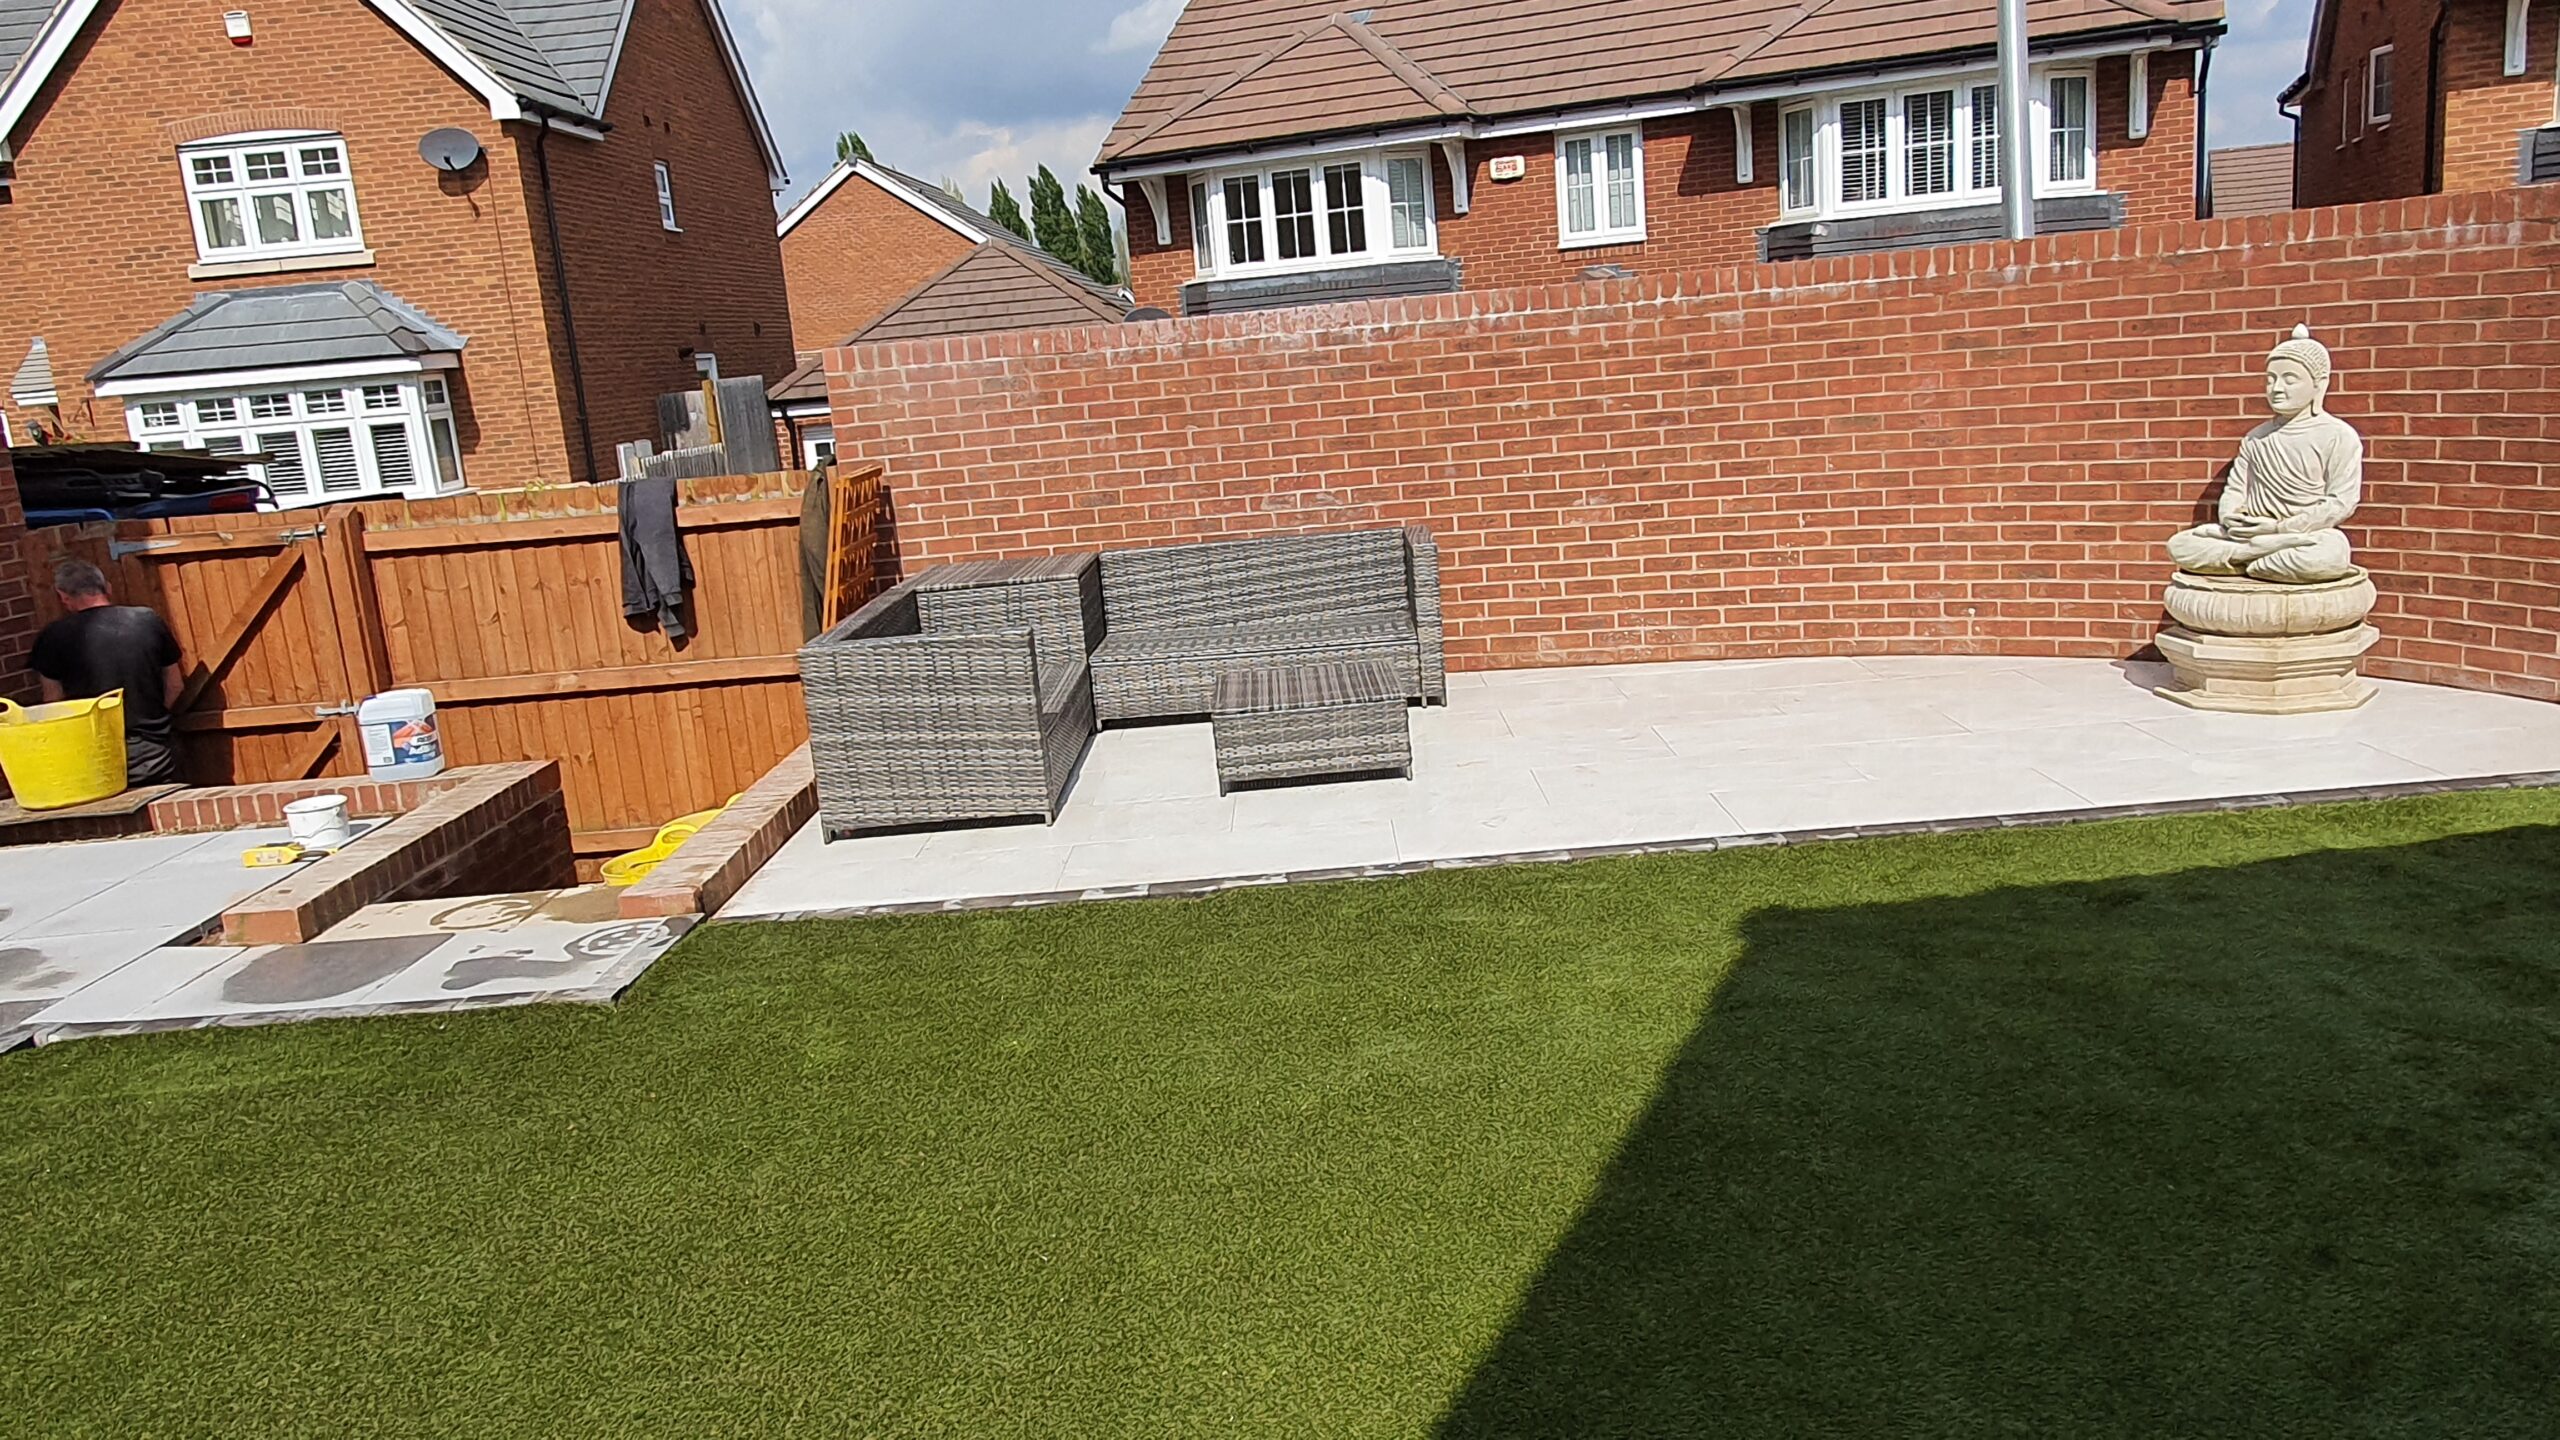
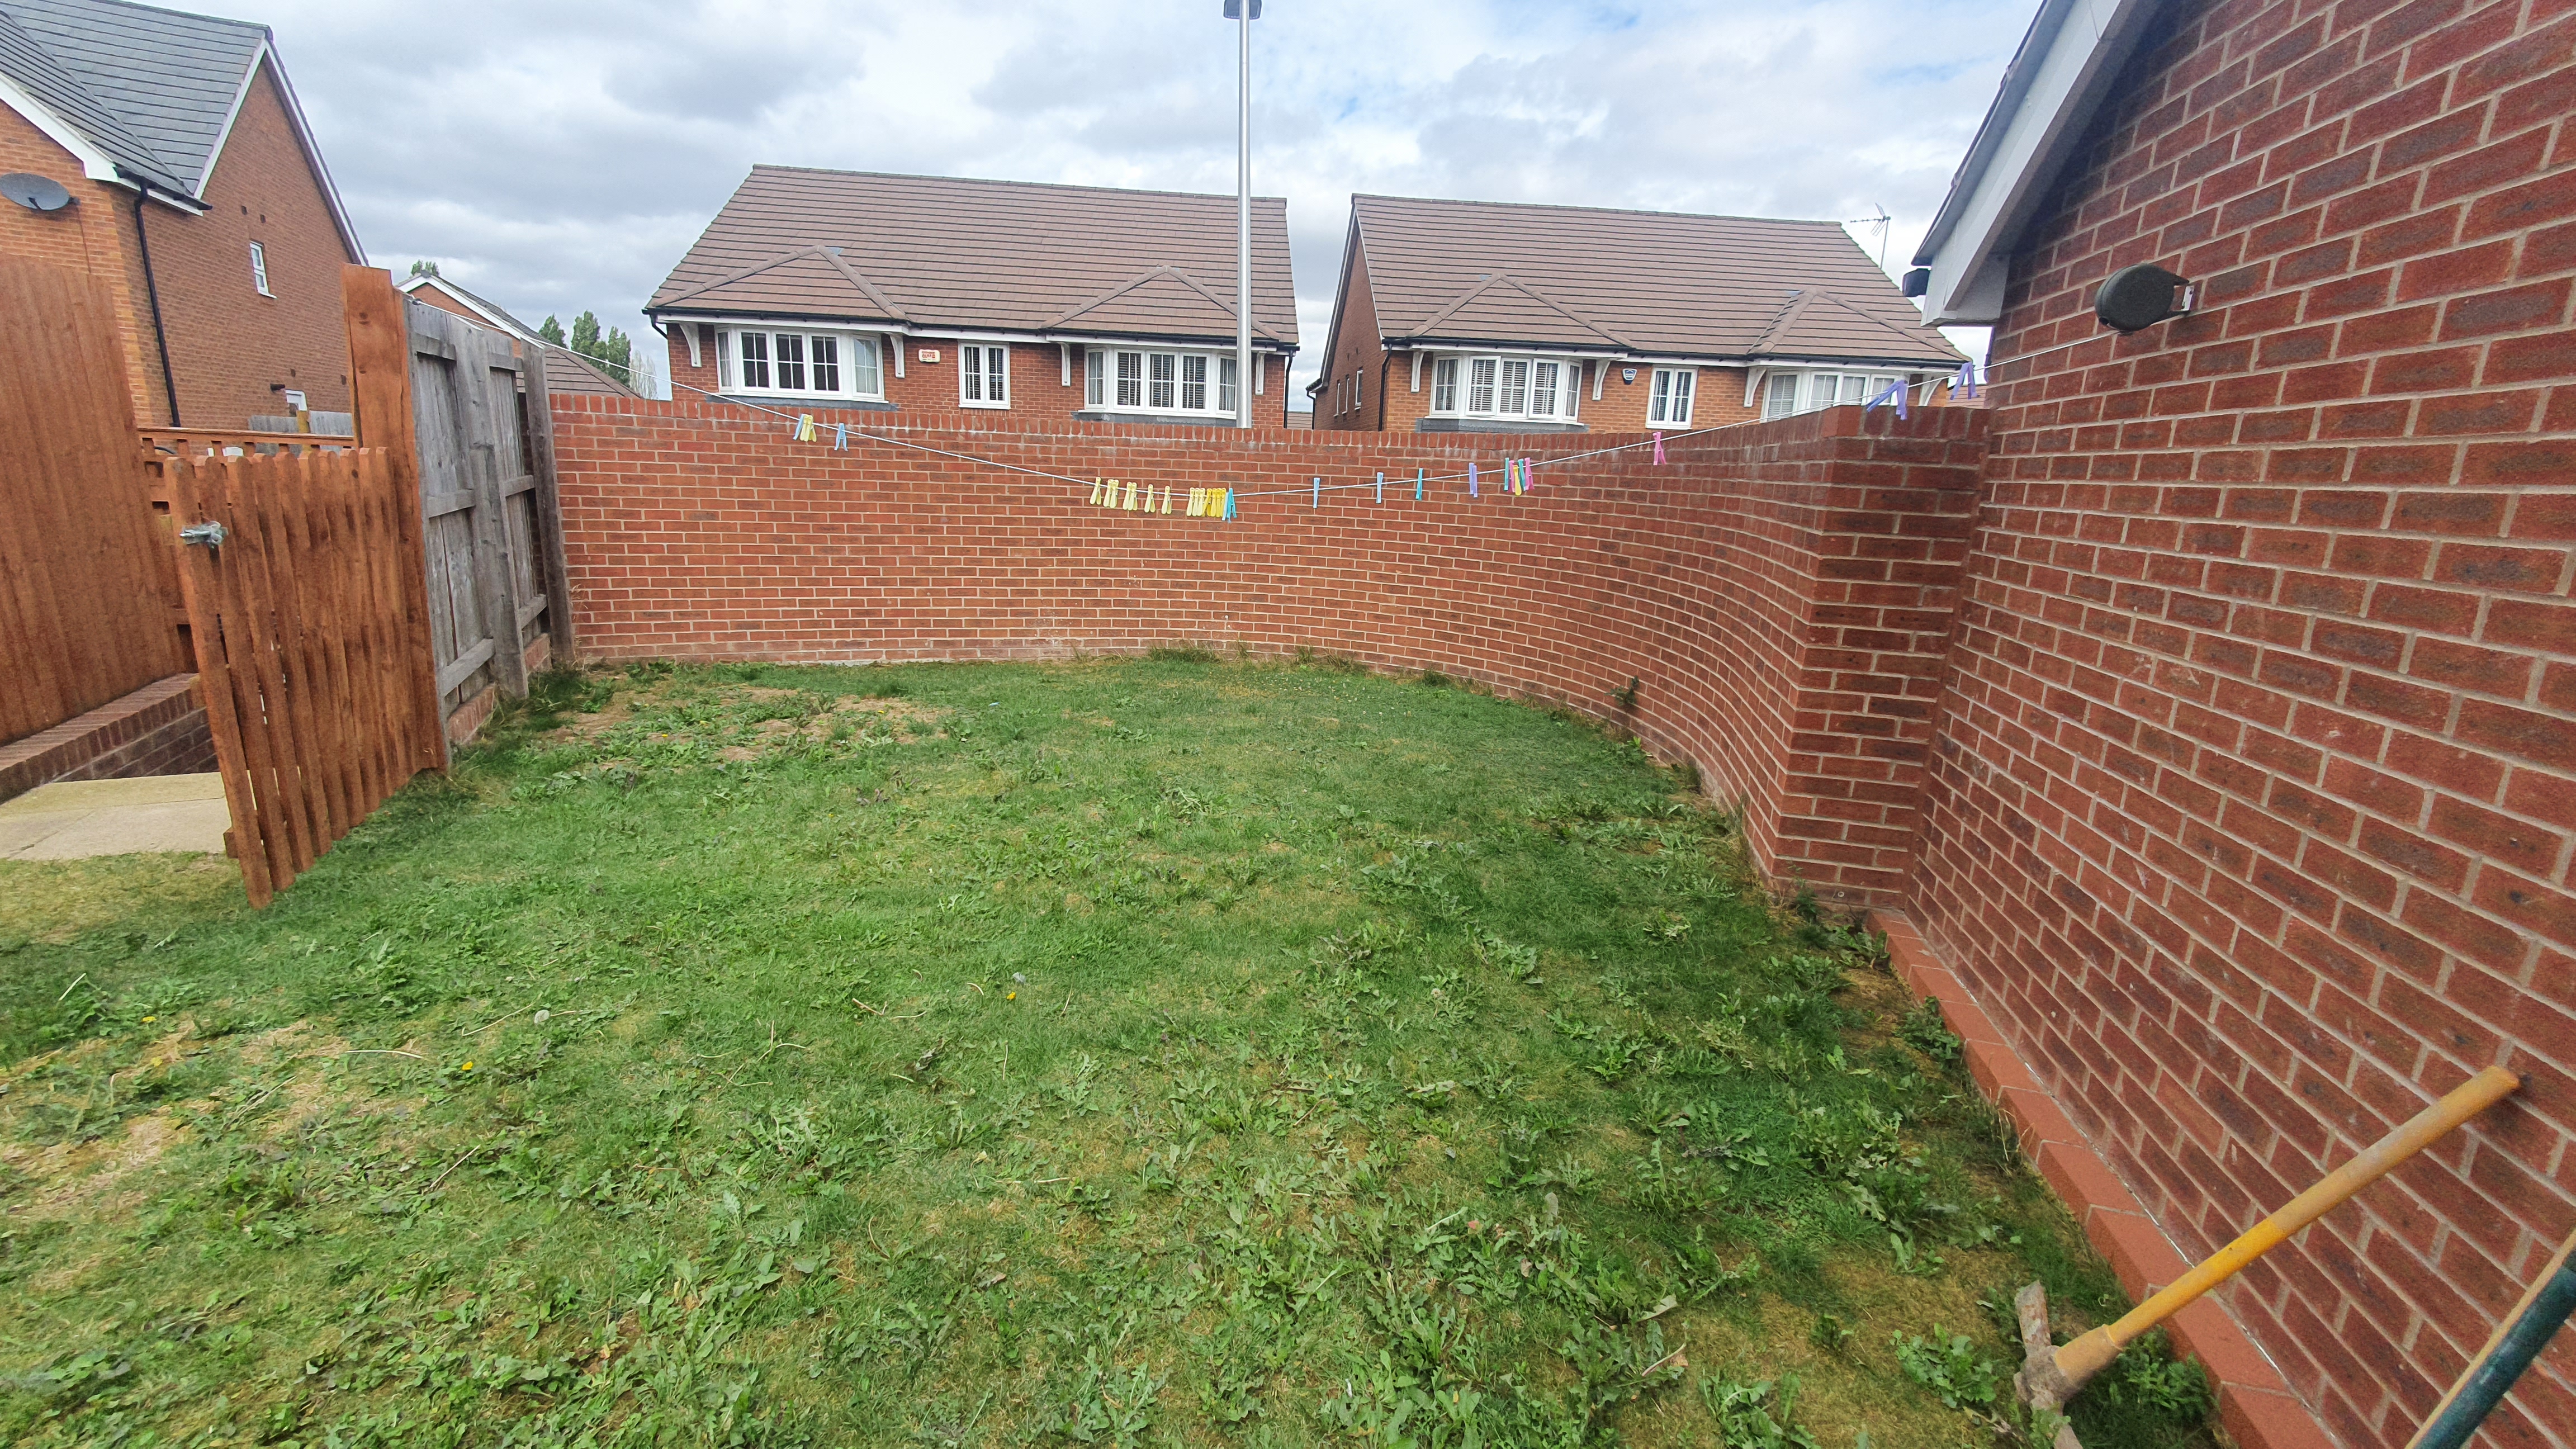
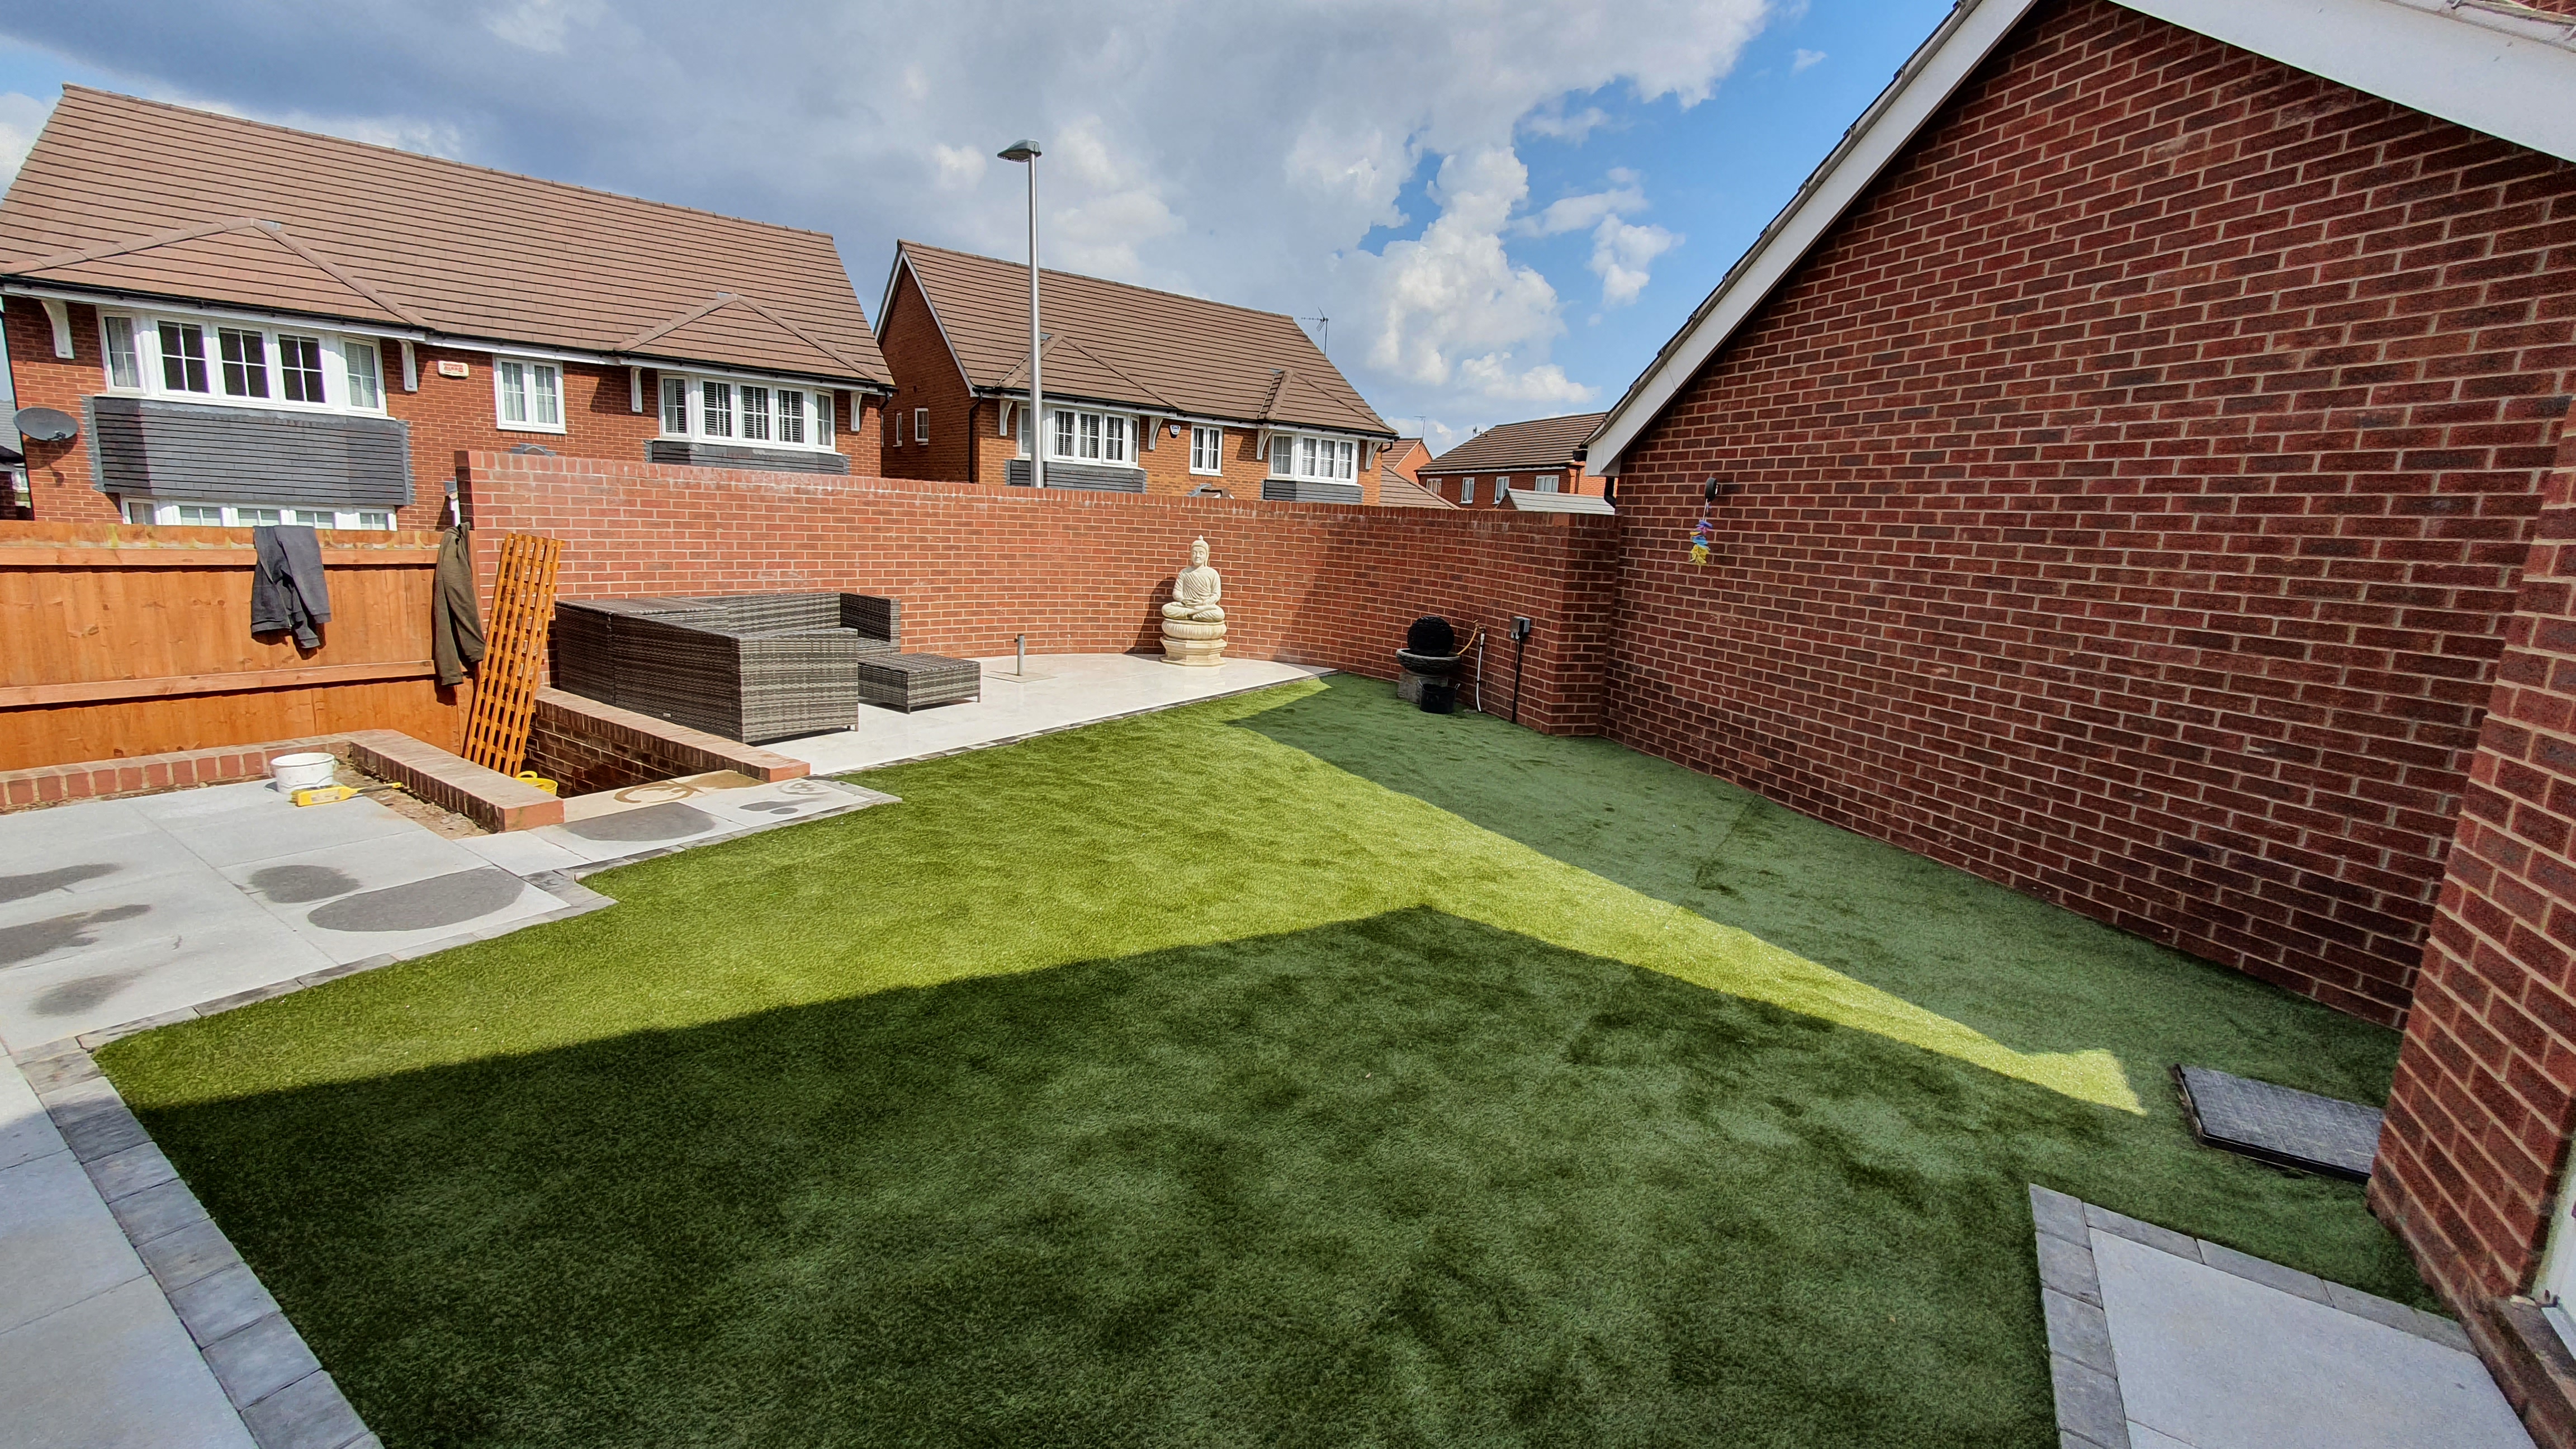
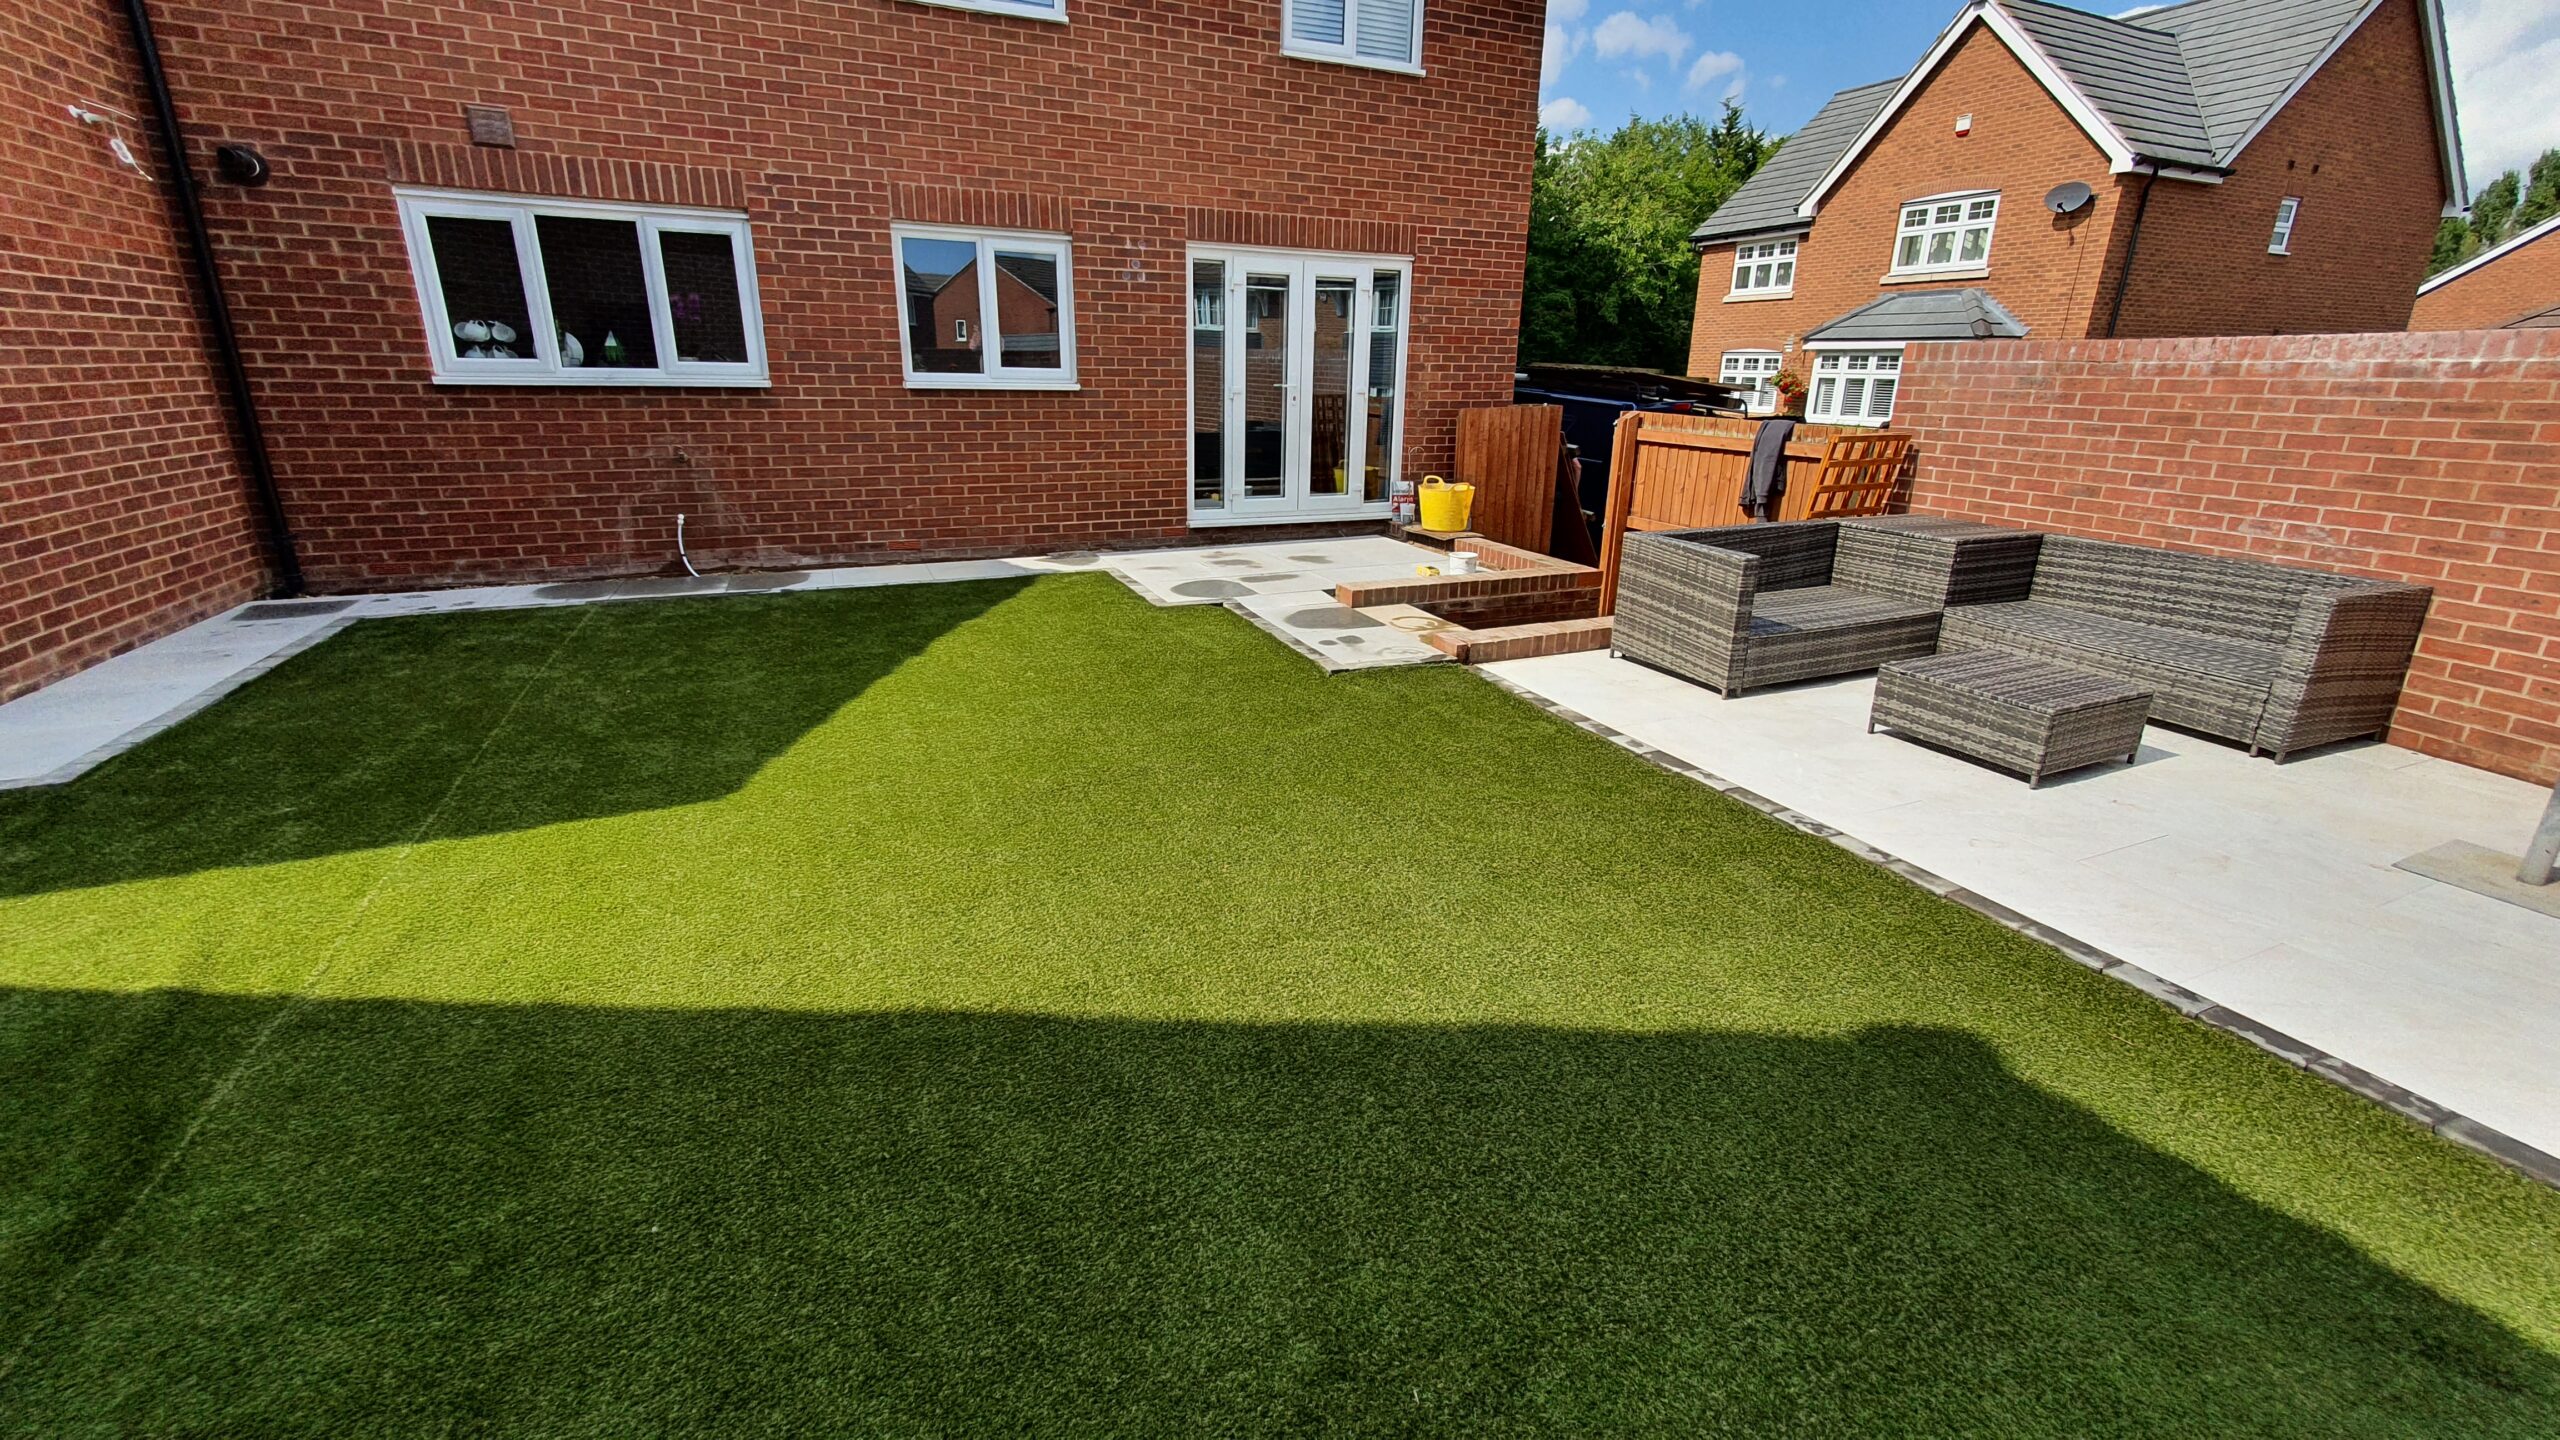
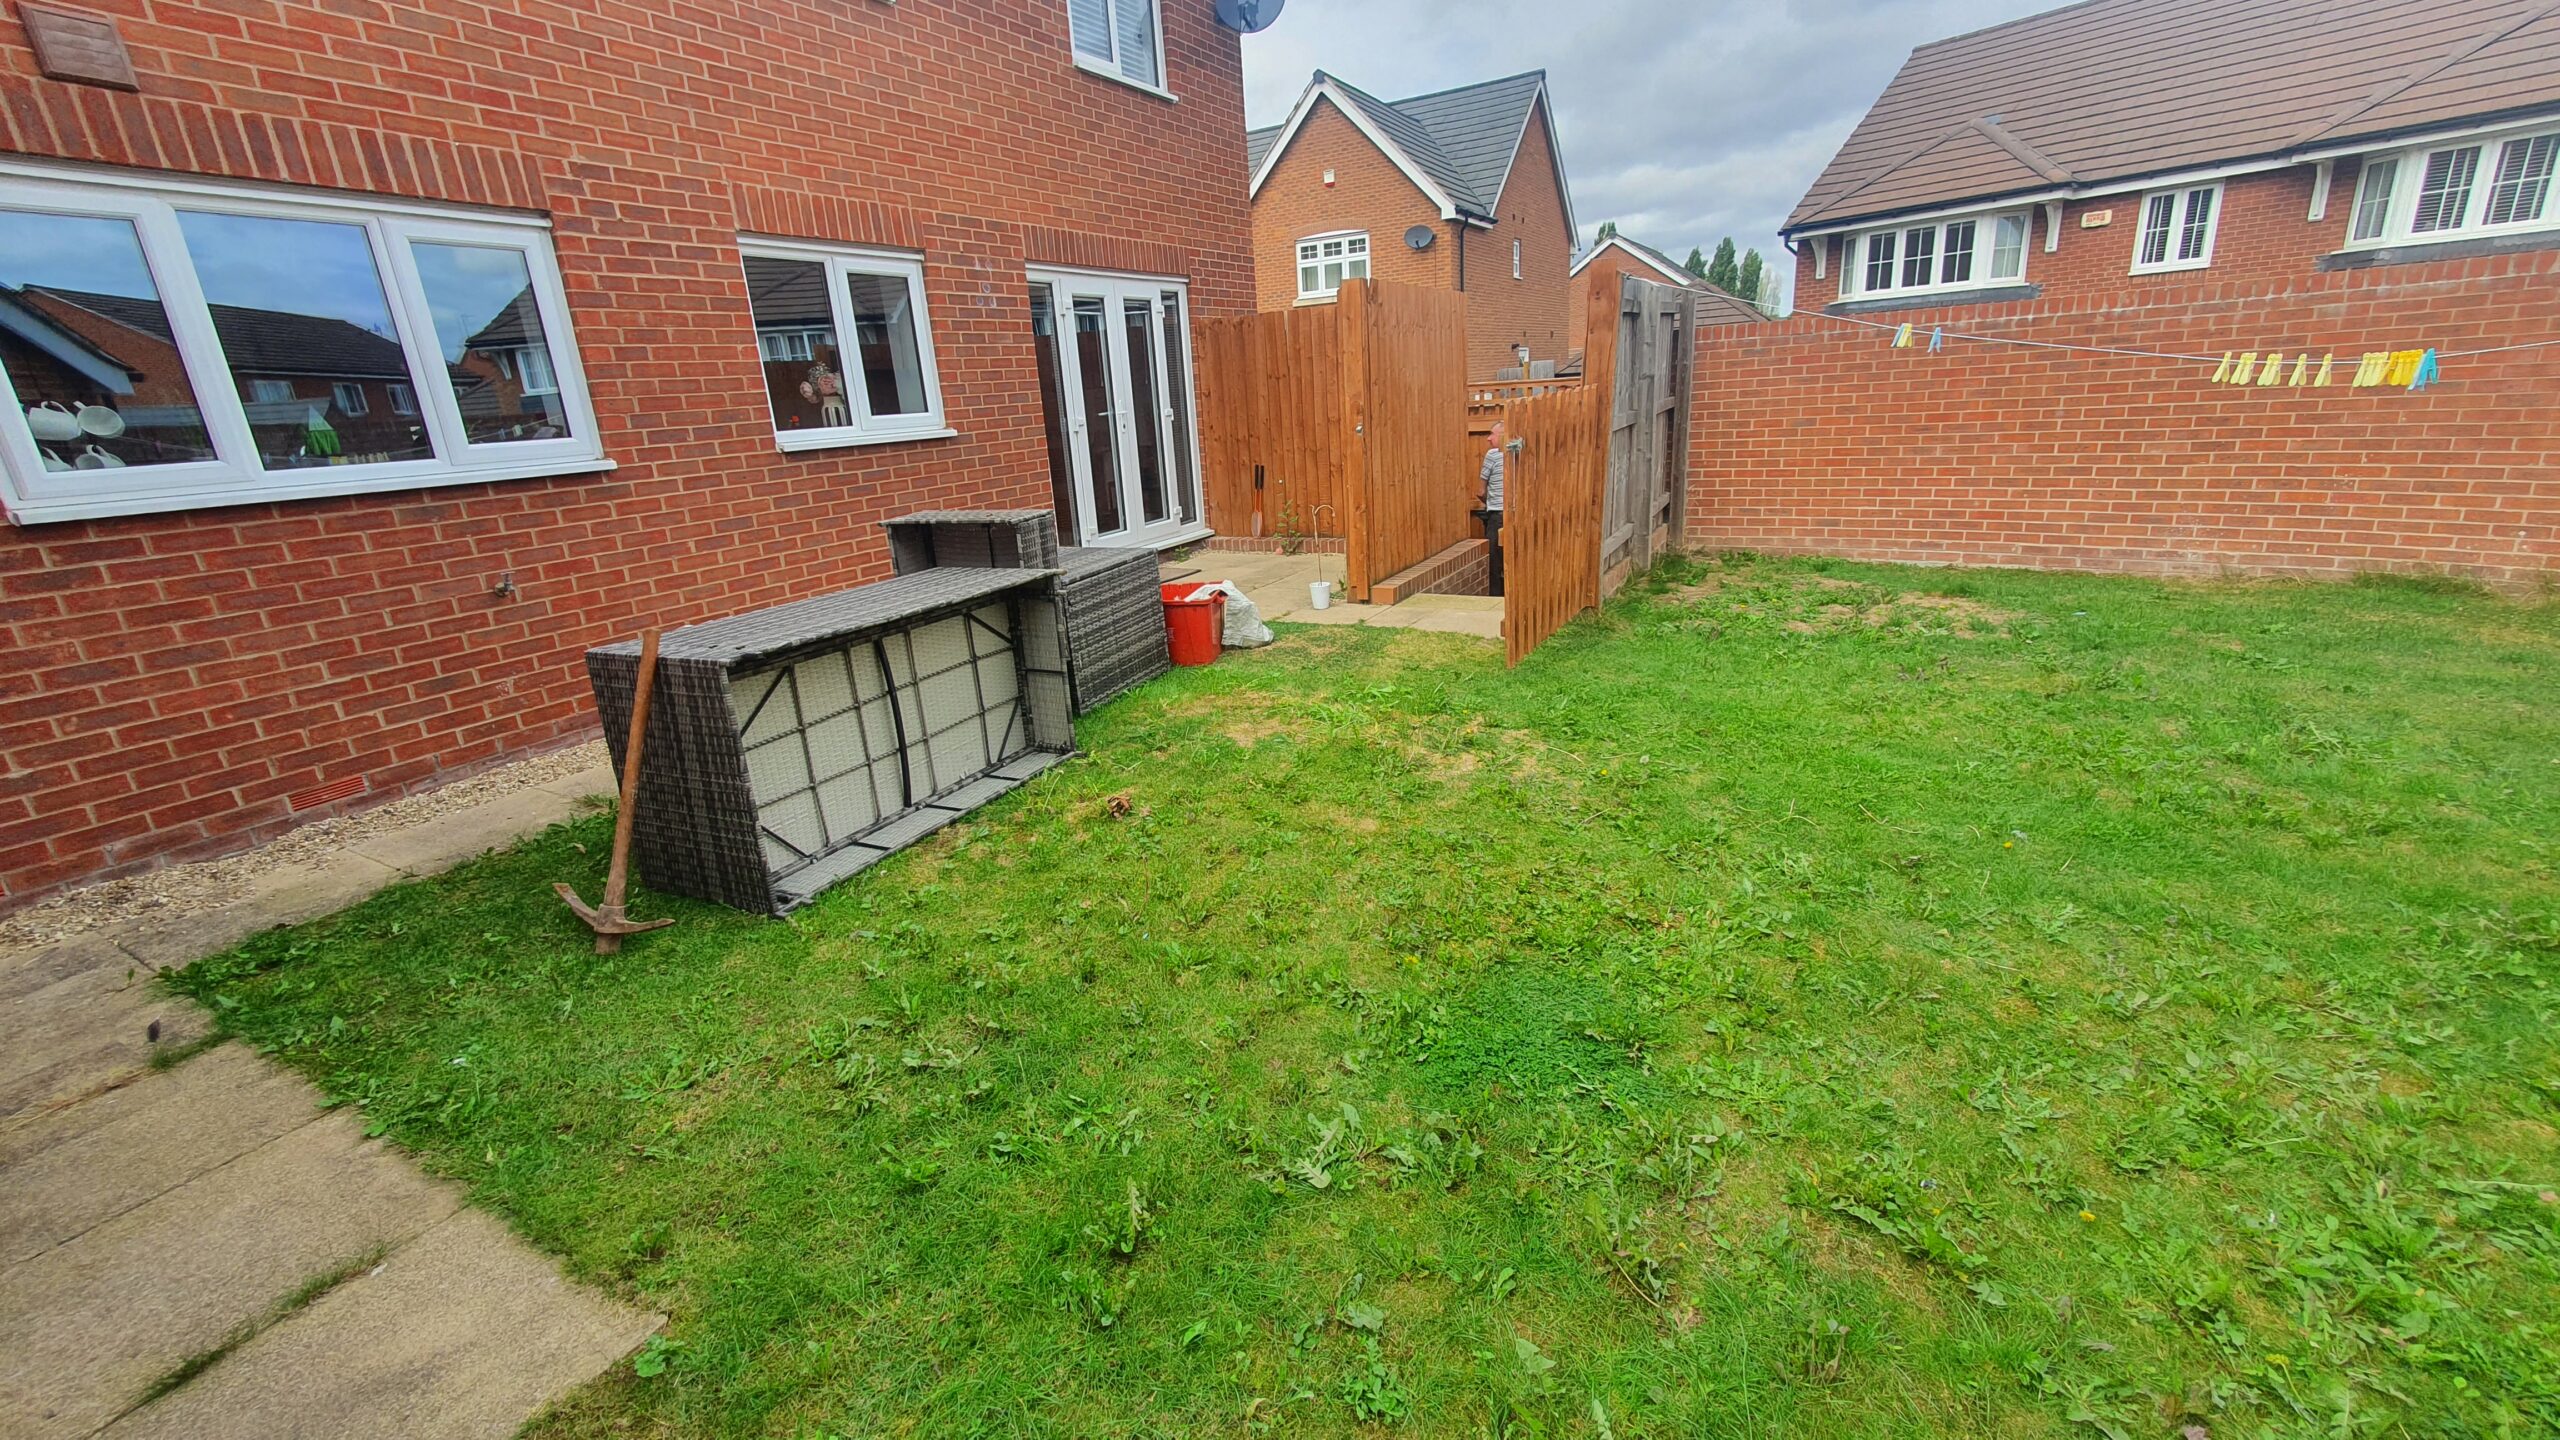
With this garden, we added a patio with porcelain slabs, replaced the grass with artificial grass, renewed the existing walkway and removed the large fence.
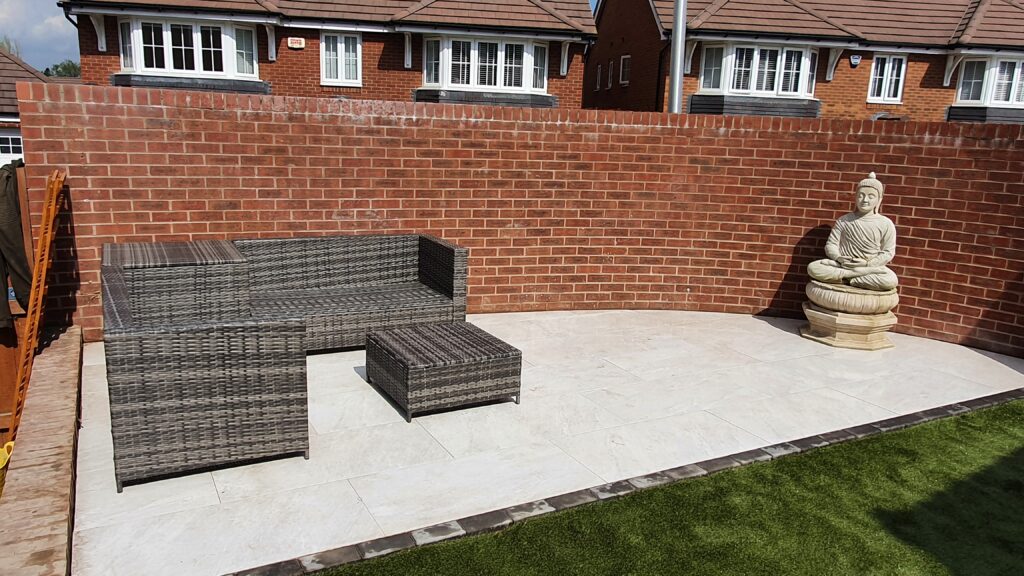
The new patio consists of large white porcelain slabs, we cut them into the shape of the garden wall to fill the available space then added a row of charcoal patio blocks to decorate the edge.
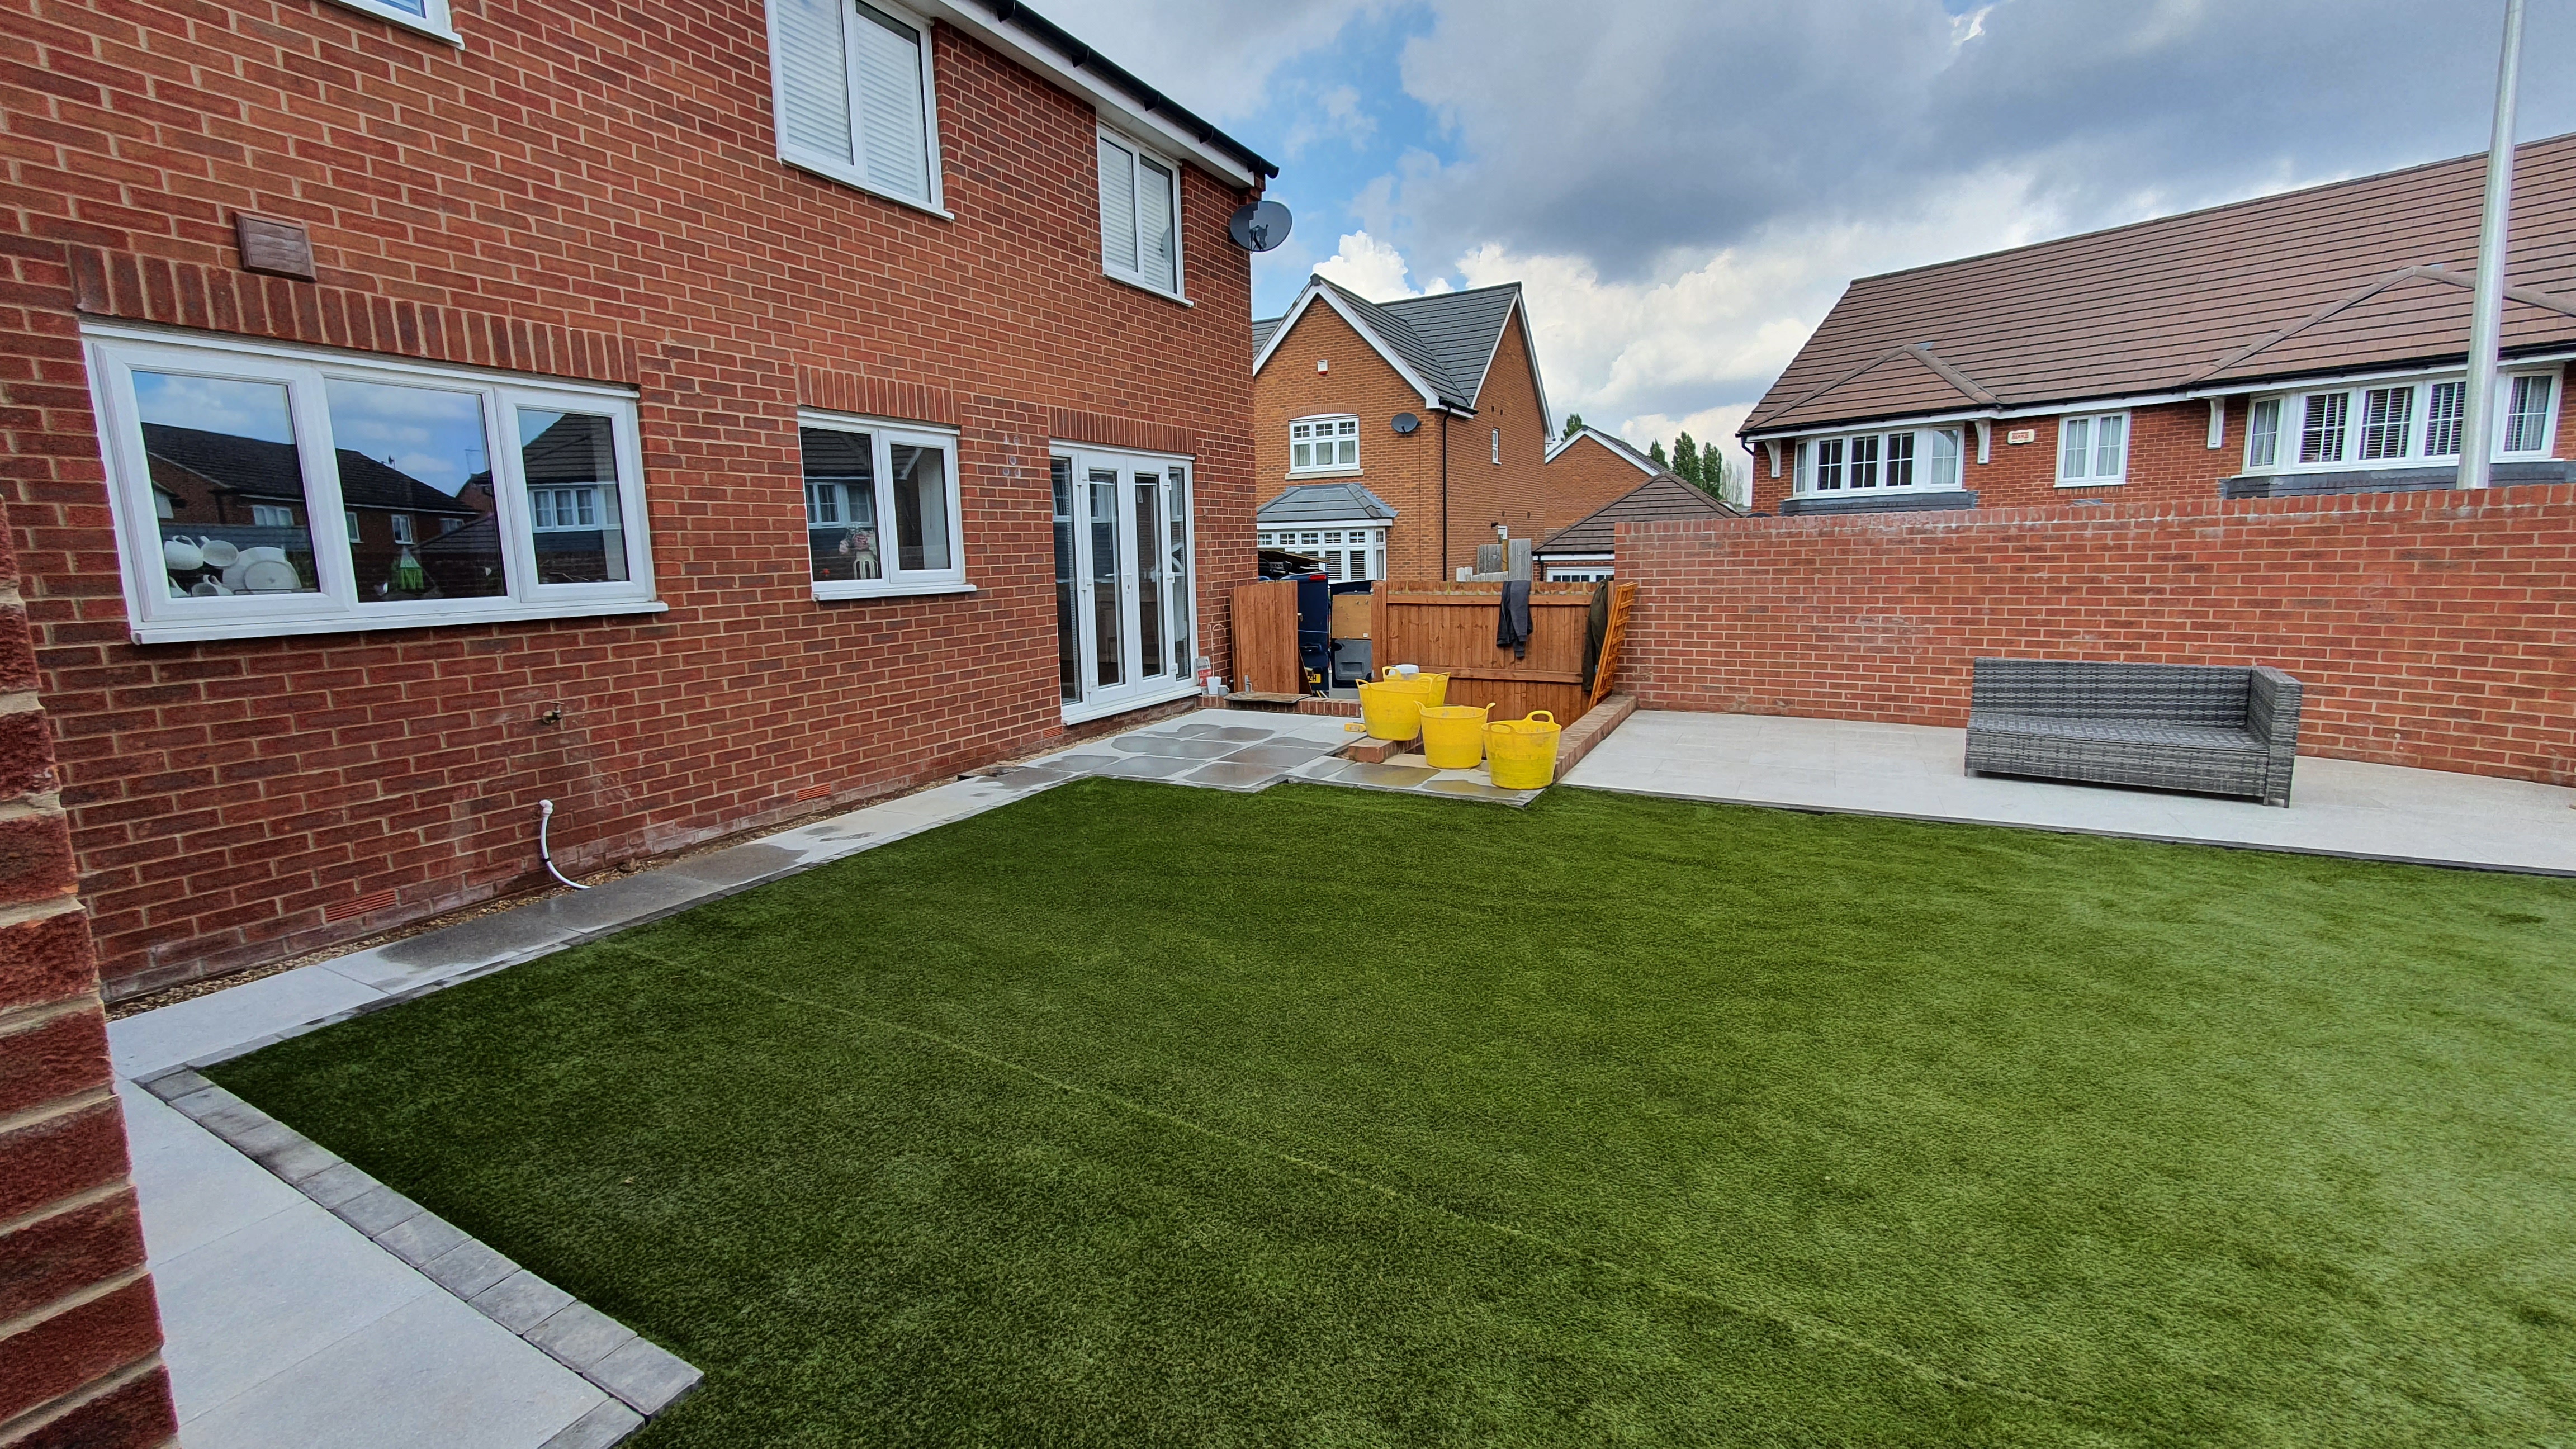
The artificial grass was cut from to roles to fill the rest of the garden, there is a slight seam visible where the join is but it should fade together over time.
The existing walkway from the back door to the garage and back gate was replaced with new darker concrete slabs, they were also decorated with charcoal patio blocks to match the patio.
We added water and electric supply for the water fountain, these run under the garden and supply a tap and socket behind the water fountain for convenience.
Welcome to WordPress. This is your first post. Edit or delete it, then start writing! test